yankee-flyer
Well Known Member
Little Bird II is trimmed for me and about 2/3 fuel. With full fuel and a passenger she really wants to go right. After thinking about it for quite a while I bought Van's RV-7 manual aileron trim kit and fouynd a way to make it work. I apologize for photo quality-- camera didn't focus where I wanted)--but think you'll be able to get the idea.
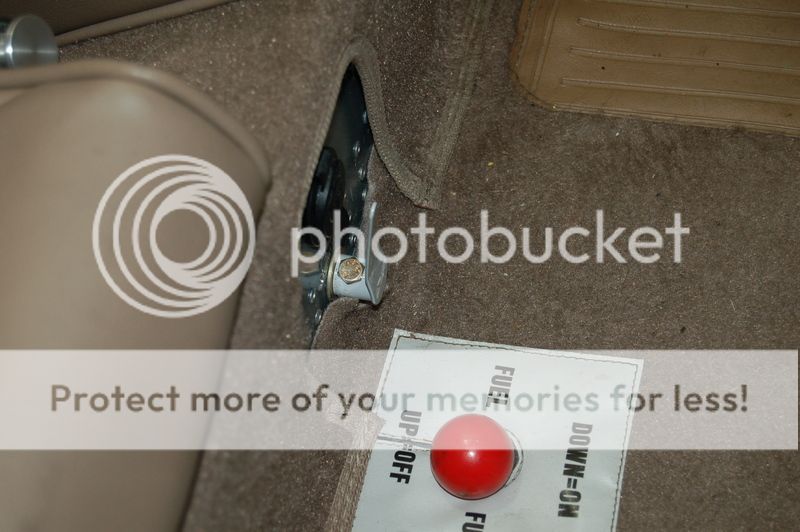
Instead of mounting the handle between the seats where our flap handle is I mounted it on the vertical face of the seat floor, below the electrical output.
http://smg.photobucket.com/user/Yankee-Flyer/media/RV-12/a_zps0iy2dehj.jpg.html]
 [/URL][/IMG]
The "L-shaped" actuator lever was too short and too high to connect to the sticks without biding on the lightening hols in the structure so I cut it off and riveted on a new one made from mild steel. Guys who can weld would probably do that. It extends the arm down just a bit more than an inch and moves the connecting holes back about 1.5 inches.
 [/URL][/IMG]
The springs were connected to this actuating arm
 [/URL][/IMG]
Then instead of using safety wire as Van;s suggest, I made turnbuckles from Du-Bro threaded rod and clevises (R/C airplane section of your hobby shop), connected those to the springs and then to the sticks with safety wire. Checked clearance with stick in all four corners and flaps in all three positions.
 [/URL][/IMG]
Yesterday I had 16 gallons and a 210 pounds passenger (I weight 165) and we could trim out hands off. A really sharp stick input will pull the trim off the setting but it's no problem to re-trim. Stick forces are increased slightly by the springs but not having to hold left stick makes up for it.
Wayne 120241/143WM at 311 hours
Instead of mounting the handle between the seats where our flap handle is I mounted it on the vertical face of the seat floor, below the electrical output.
http://smg.photobucket.com/user/Yankee-Flyer/media/RV-12/a_zps0iy2dehj.jpg.html]

The "L-shaped" actuator lever was too short and too high to connect to the sticks without biding on the lightening hols in the structure so I cut it off and riveted on a new one made from mild steel. Guys who can weld would probably do that. It extends the arm down just a bit more than an inch and moves the connecting holes back about 1.5 inches.

The springs were connected to this actuating arm

Then instead of using safety wire as Van;s suggest, I made turnbuckles from Du-Bro threaded rod and clevises (R/C airplane section of your hobby shop), connected those to the springs and then to the sticks with safety wire. Checked clearance with stick in all four corners and flaps in all three positions.

Yesterday I had 16 gallons and a 210 pounds passenger (I weight 165) and we could trim out hands off. A really sharp stick input will pull the trim off the setting but it's no problem to re-trim. Stick forces are increased slightly by the springs but not having to hold left stick makes up for it.
Wayne 120241/143WM at 311 hours


