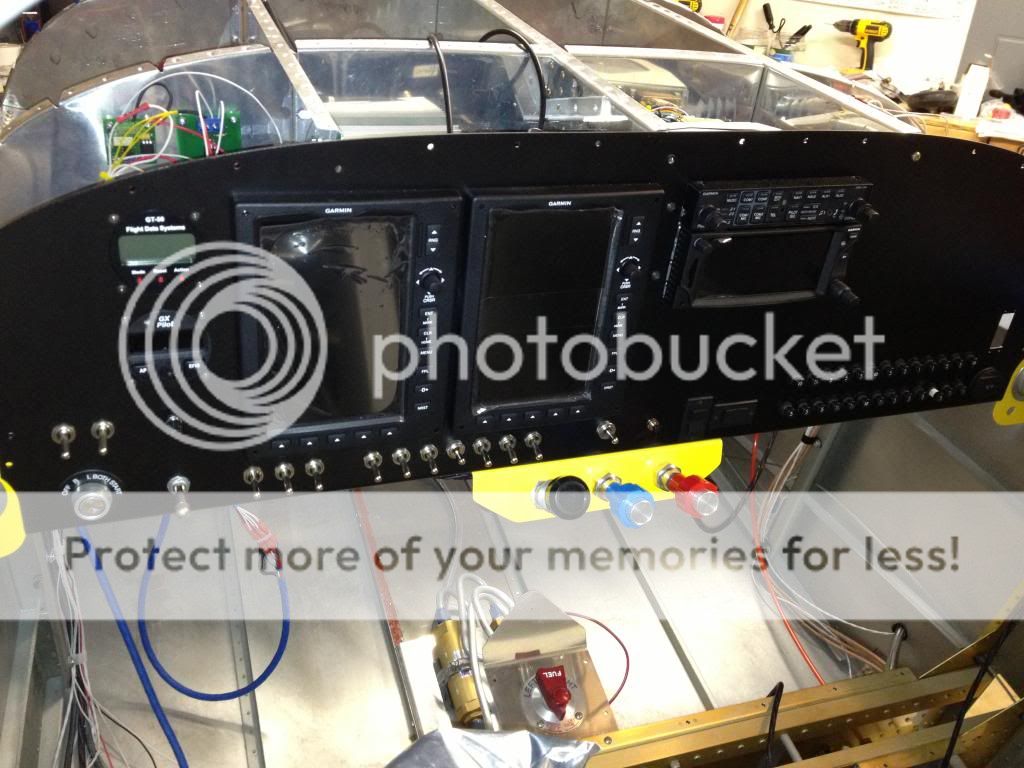
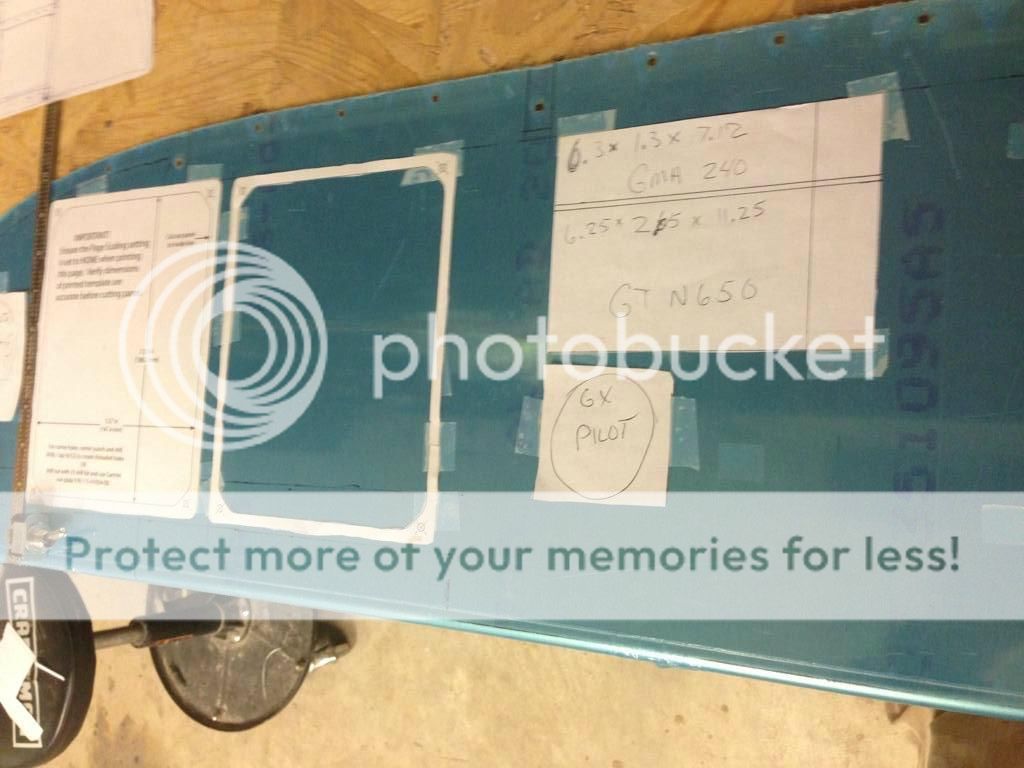
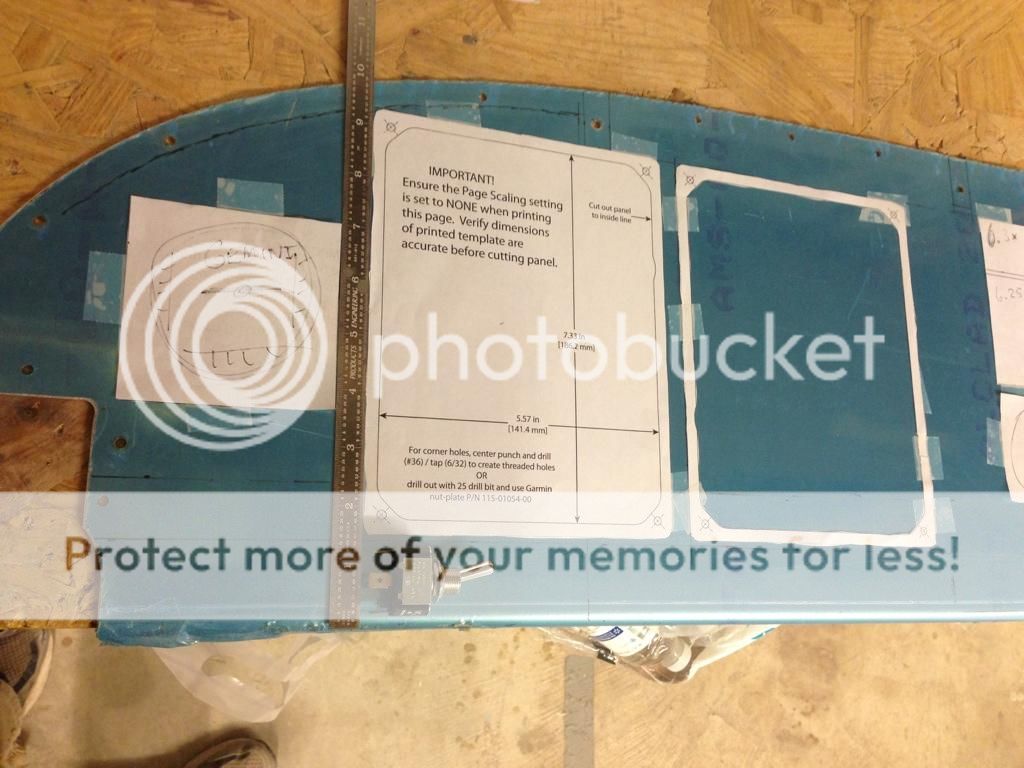
I'm trying to get the basic layout of my panel accomplished, eventually have 2 screen G3x, Gemini, GMA240,GTN650 and Gx pilot and remote transponder. I plan on flying with 1 screen G3x only until I can buy the other boxes and put them in my modular panel. I couldn't find a dimension for the depth of the GDU 370.
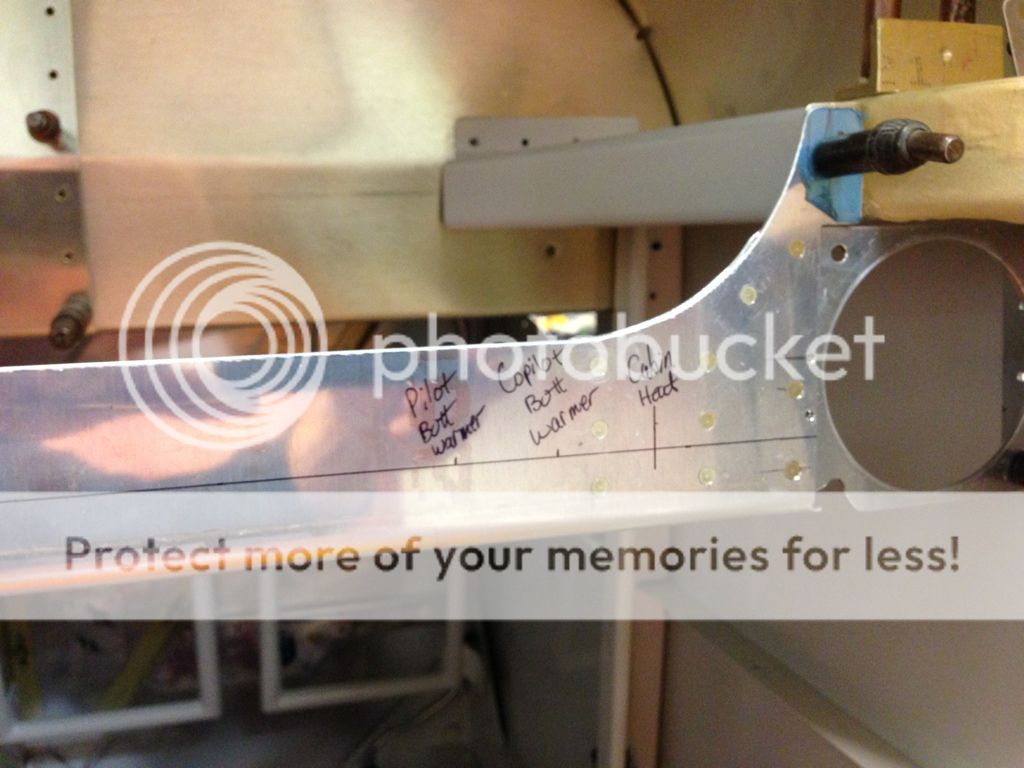
I plan on a row of switches along the bottom and the main purpose of this post is if I have enough room on the stock panel height. The top of the GDU 370's and radio stack are parallel with the bottom of the left F-7107L rib nutplate. I will have to trim the F-7107L rib depending on the depth of the GDU370. The top left corner of the left GDU 370's outer face clears the F-7103B attach angle. From the bottom outer face of the GDU370's to the bottom half of the panel I have 1 1/2 inch for switches. Am I trying to cram it all in there?

I plan on a row of switches along the bottom and the main purpose of this post is if I have enough room on the stock panel height. The top of the GDU 370's and radio stack are parallel with the bottom of the left F-7107L rib nutplate. I will have to trim the F-7107L rib depending on the depth of the GDU370. The top left corner of the left GDU 370's outer face clears the F-7103B attach angle. From the bottom outer face of the GDU370's to the bottom half of the panel I have 1 1/2 inch for switches. Am I trying to cram it all in there?