It looks great in the hangar, but what about in the sun? That's where my swirl marks really show up. Maybe I should just fly in the dark?

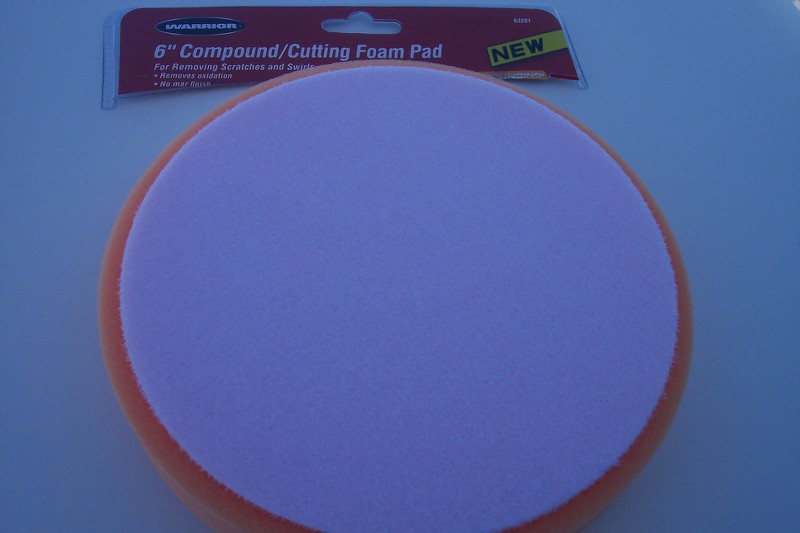
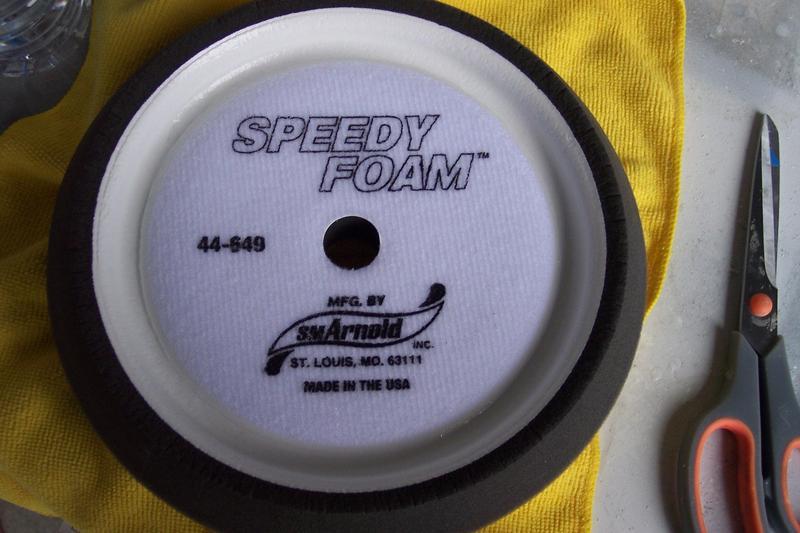
So did you use a DA with the #1 compound, or a rotary buffer? I found a small patch on my fuselage where I can still see scratches and am thinking about trying to remove them with the #1 and a foam pad in my rotary buffer. Yes, I'm a glutton for punishment...
Ok then...
As stated in the very first post, 4th paragraph, light colors are less of a swirl problem, while dark colors may require a few extra steps. You're cutting a white airplane.
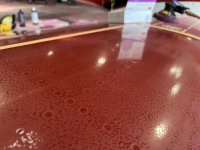
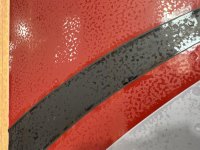
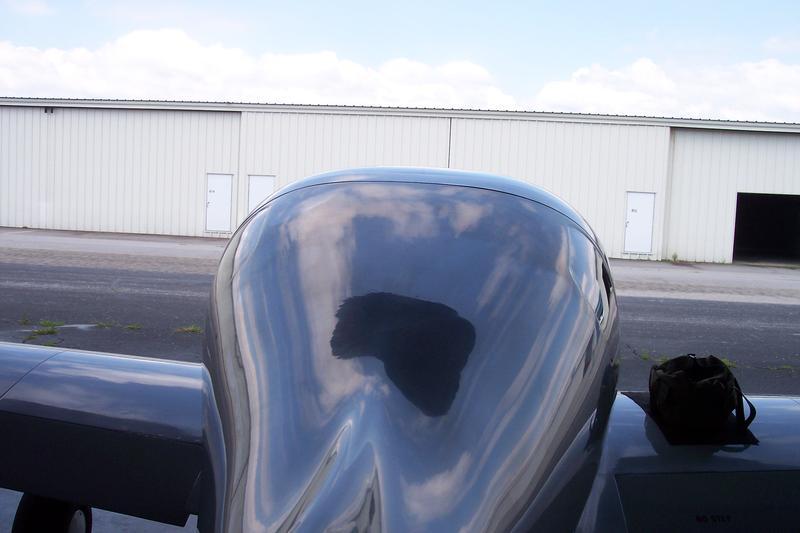
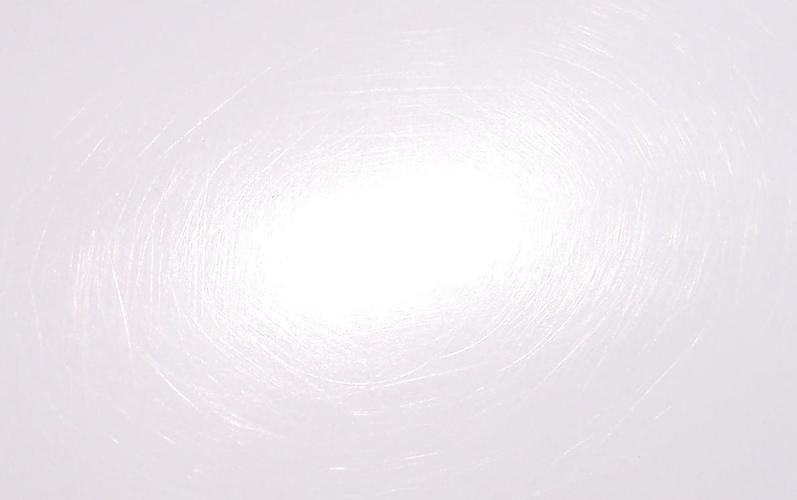
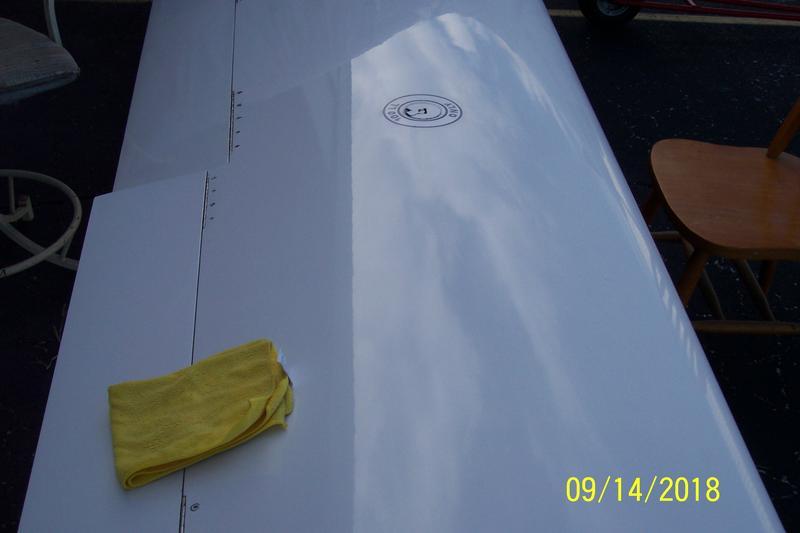
The photo you posted....
...appears to show the result of dirt/grit under the pad, not buffer swirl. Lots of ways for it to happen. Running a fan to stay cool while working in a hangar would be a good example, or just working with the doors open on a breezy day. In the early posts, note I'm working inside a paint booth set up in my shop...no dirt, filtered air.
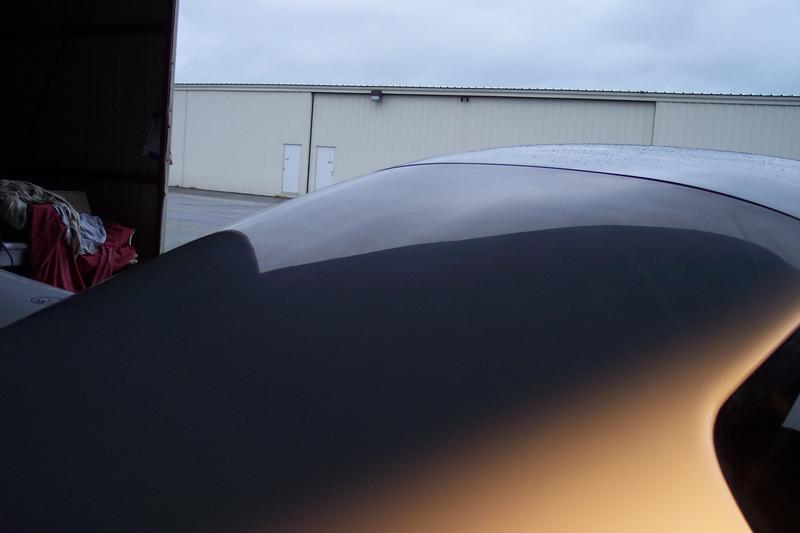
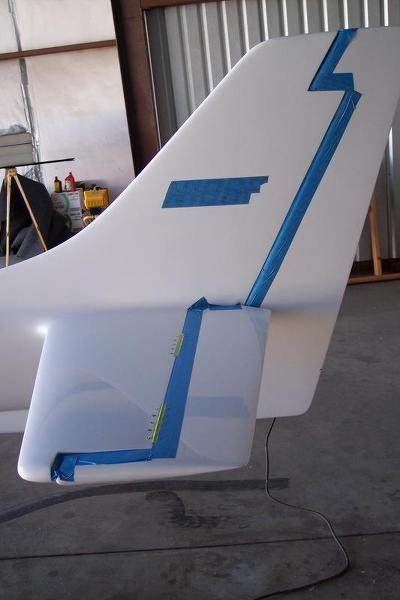
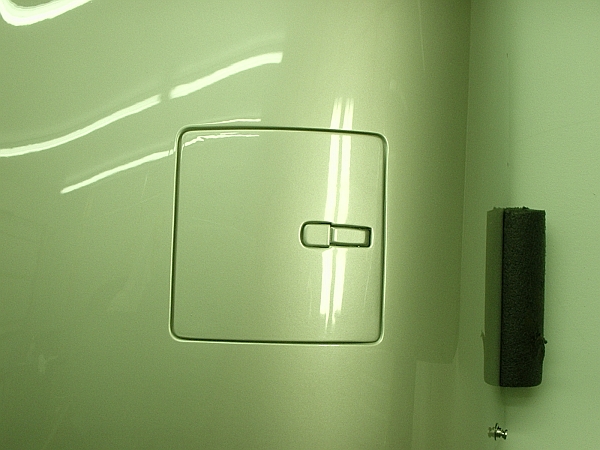
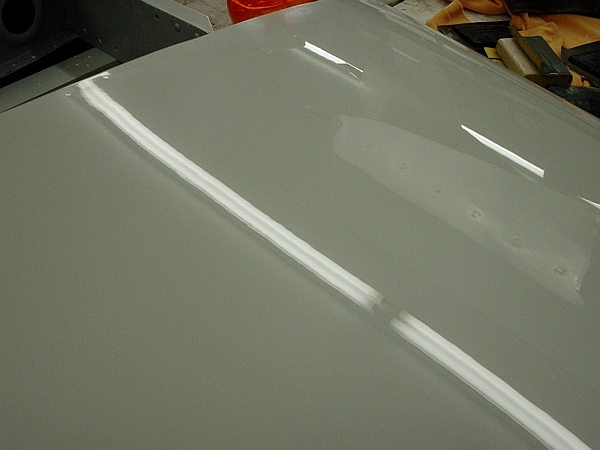
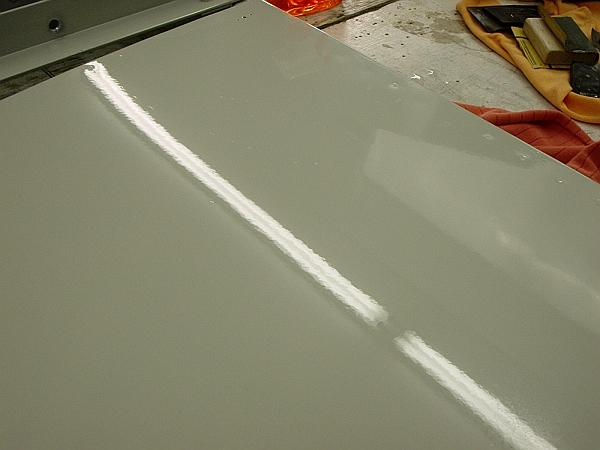
There's no reason to cut a whole project with a dirty pad. Paint damage is easy to catch in a few square feet if the operator is paying attention. How to see what you're doing is also in the first post, 6th paragraph. Best bet is to look at the reflection of an overhead fluorescent tube fixture; moving your vantage point sweeps the tube across the surface. See the photo below. The average hangar doesn't have appropriate lighting, so you need to set up lights for the work. The same is true for painting.
If you can see damage of any kind in bright sun, it's
bad. Buffer swirls, scratches, and even hail damage are all
least obvious in noontime sun. Low sun angles show more. Swirls are most visible after sunset, when viewed under typical metal halide lot lighting. On the lot at night is where detailer skill is rated.
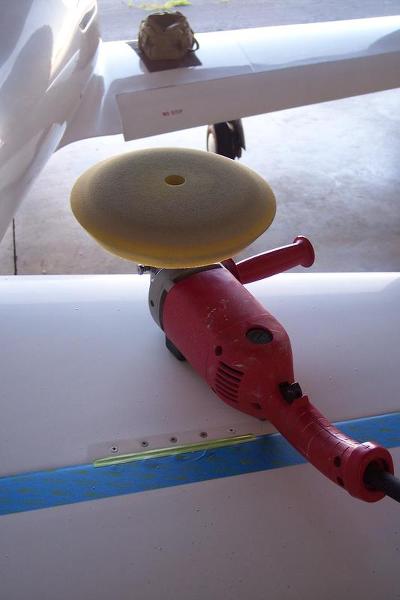
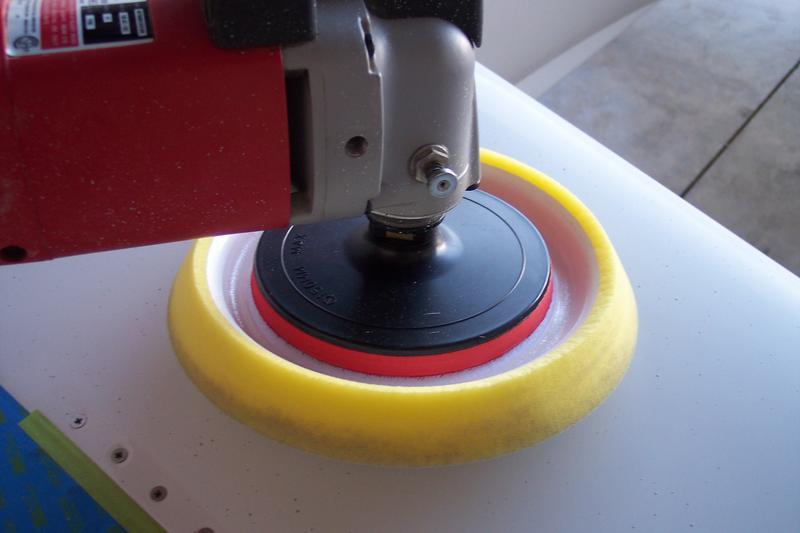
You seem fixated on my use of a cut down 3M pad on a DA sander. It's described in post 27, which is pretty clear. The DA is a handy way of buffing small parts when working by yourself,
as you can hold them in one hand and cut with the other, something you can't do with a big buffer. For what it's worth, I mostly allow the pad to rotate. I've never cut a big panel that way, because it would be a waste of time, and I have no idea what happens with foam pads from Harbor Freight.
Bottom line is that with care, it's not anywhere near as hard as you're making it appear. And you can excoriate "the experts" as you please, but brother, it's a crappy way to garner additional help.


 . Of course, it?s possible the theory that this is something that happened afterwards is possible. Seller certainly isn?t indicating this happened and is point finger at painter. We?ll see. Not a showstopper on the purchase, just a pain to deal with later.