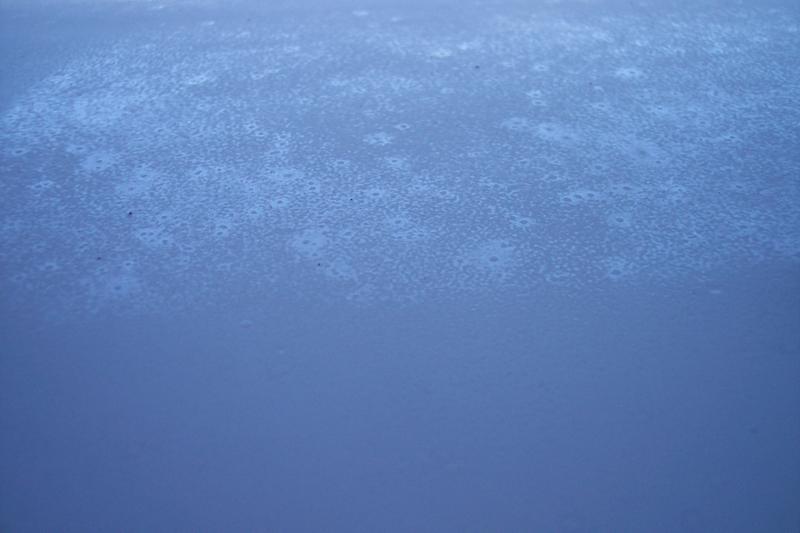
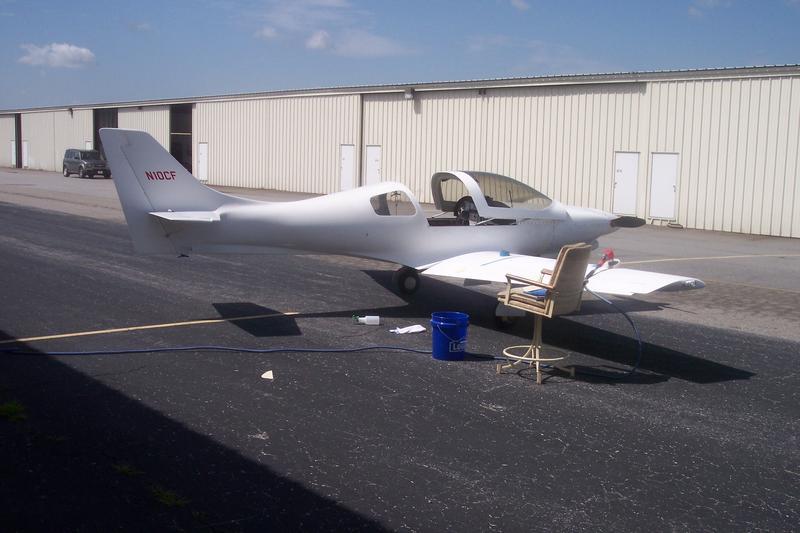
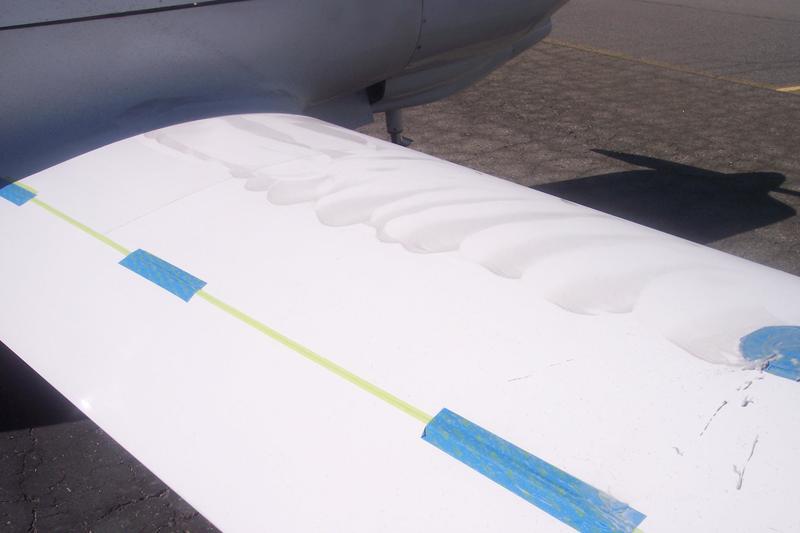
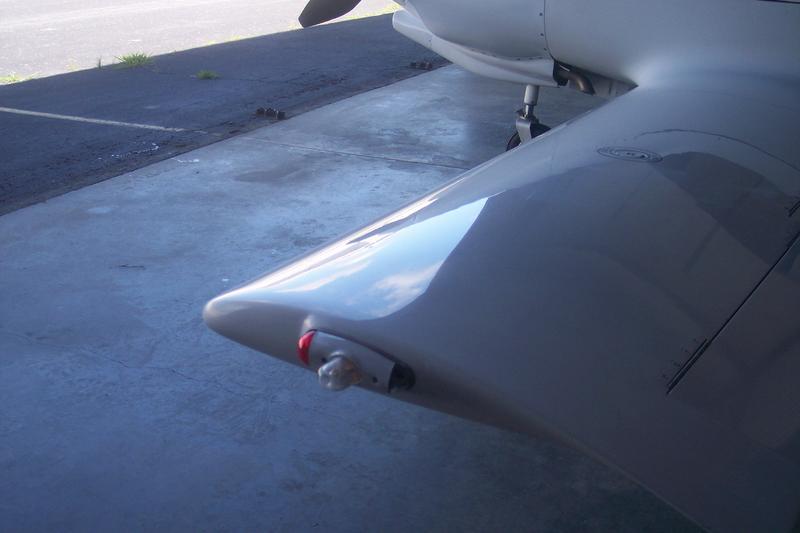
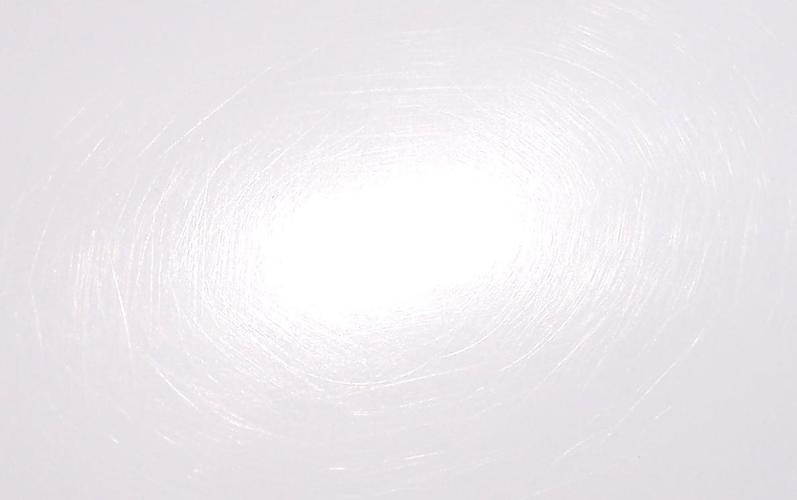
I finished the fuselage, such as it is. Not hearing back from the "experts" here, I used my 6" DA sander with a foam pad to apply the 3M Perfect-It #1 compound. That was a bad mistake. I had previously wet sanded the fuselage up to 3000 grit Trizact, and it was very smooth, but hazy. After buffing with the DA, it had deep, oval-shaped swirl marks which the #2 and #3 compounds wouldn't remove. The wings came out pretty shiny (with light swirl marks) using the wool pad on my rotary buffer for the #1 compound, and a flat foam pad for the #2 polishing compound. I never used the #3 ultra-fine on the wings. Since the wings came out so well, I should have ignored the "expert" advice against using the wool pad and done the same on the fuselage. As it was, I wasted a week's work and ended up with a mediocre job. Now, if I want a good finish, my only option is to drop back and re-sand the fuselage with the 3000 Trizact (or maybe even 2000) to remove the heavy swirl marks left by the DA and foam pad. Hopefully there is enough paint left to do that if and when I decide to. If there are any lessons here, they would be, 1. DO NOT use a DA sander for buffing, and 2. Use your own judgement instead of listening to "experts".


")