Getting into my -10 build. Working on the rudder with everything going smooth... until the part about a slight bend to the trailing edge.
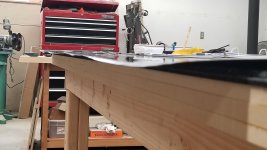
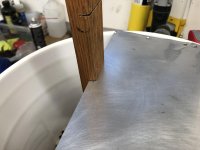
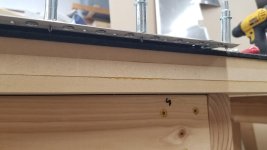
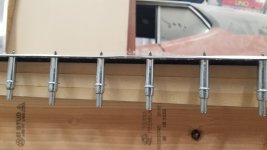
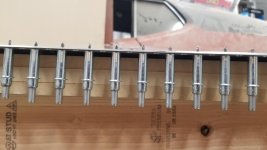
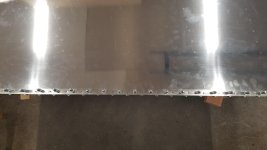
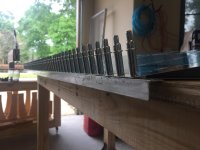
Making use of the vise grip style edge breaking tool and I'm concerned with the results. I feel like the material was stretched as it's now wavy with sections barely broken over (as expected) and others very broken.
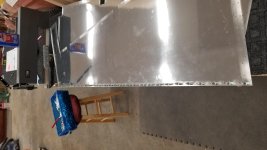
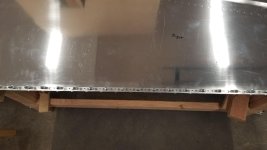
unfortunately it's hard to get a pic of both sections
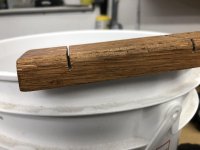
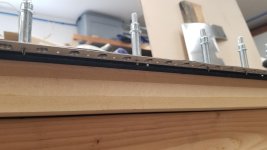
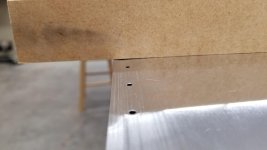
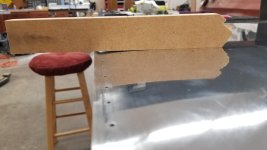
Making use of the vise grip style edge breaking tool and I'm concerned with the results. I feel like the material was stretched as it's now wavy with sections barely broken over (as expected) and others very broken.
unfortunately it's hard to get a pic of both sections