Hello all,
I've been lurking for a while and decided to go ahead with the project.
My son (Ryan - 13) and I will be learning to fly and building at the same time.
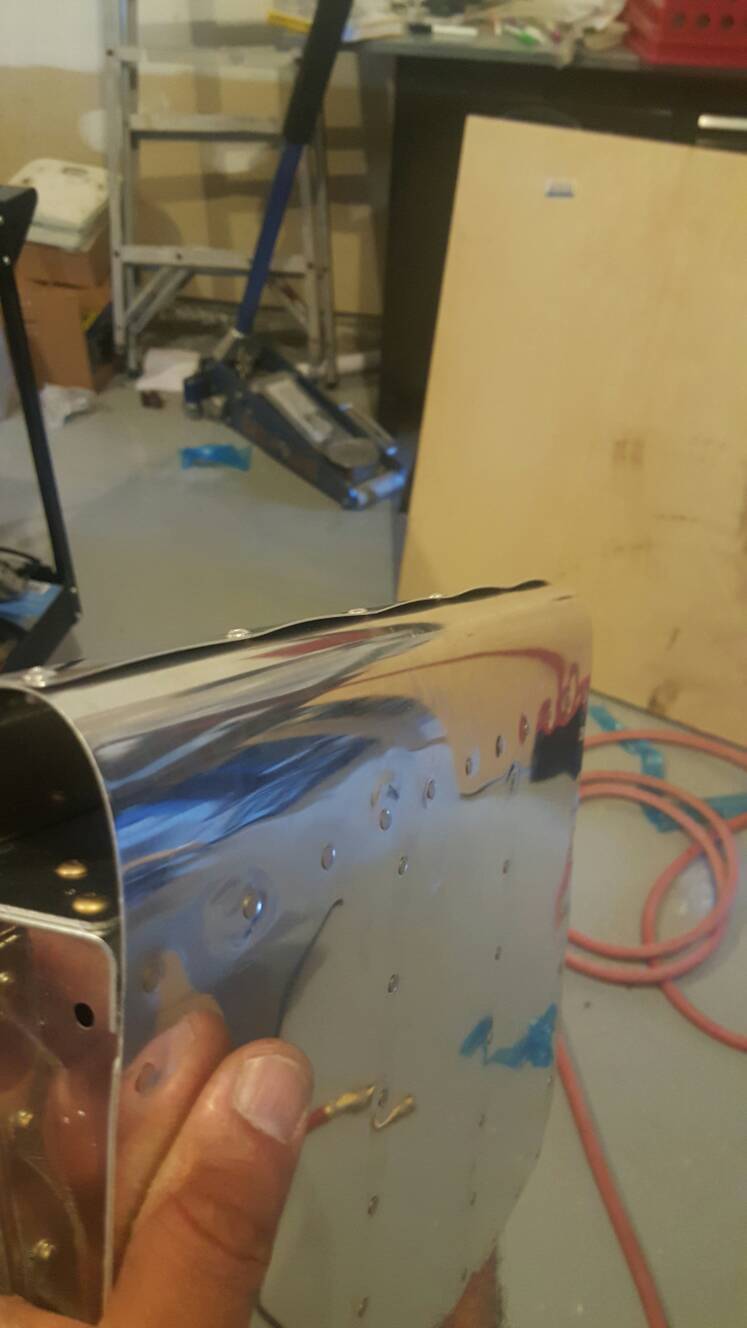
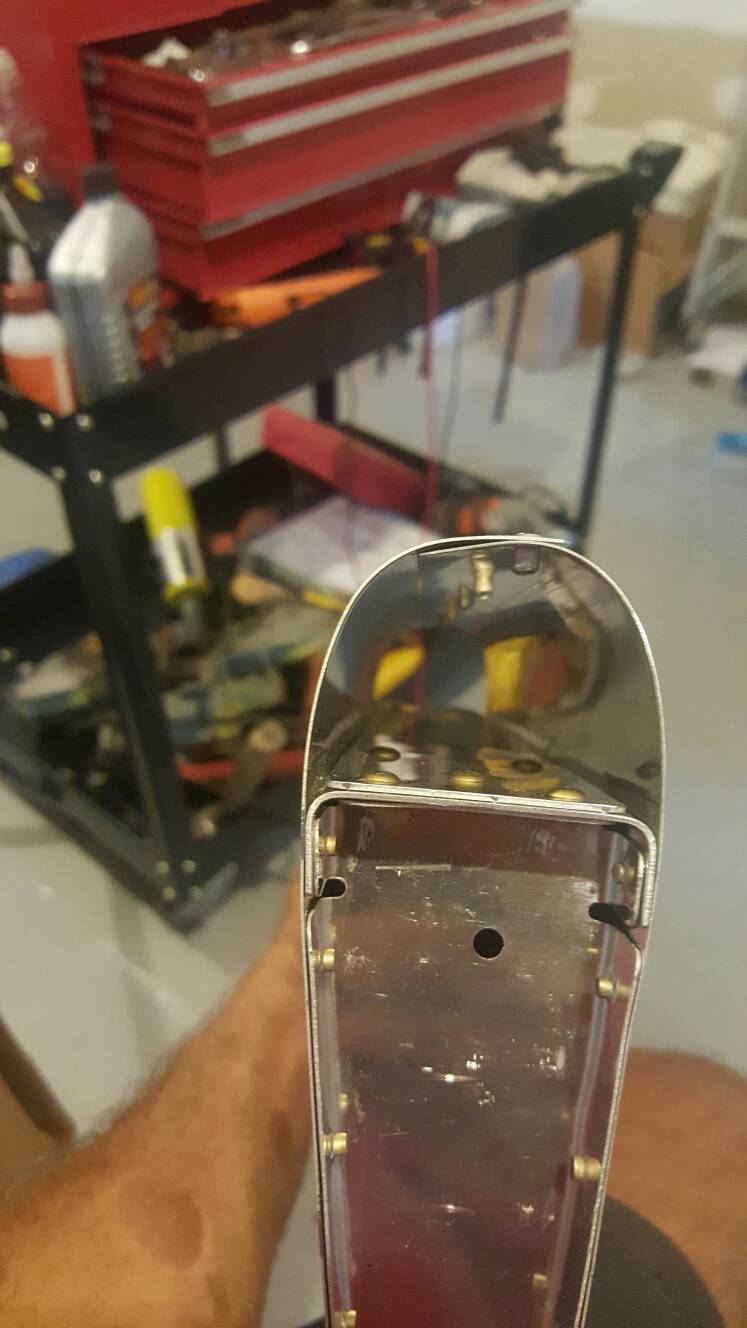
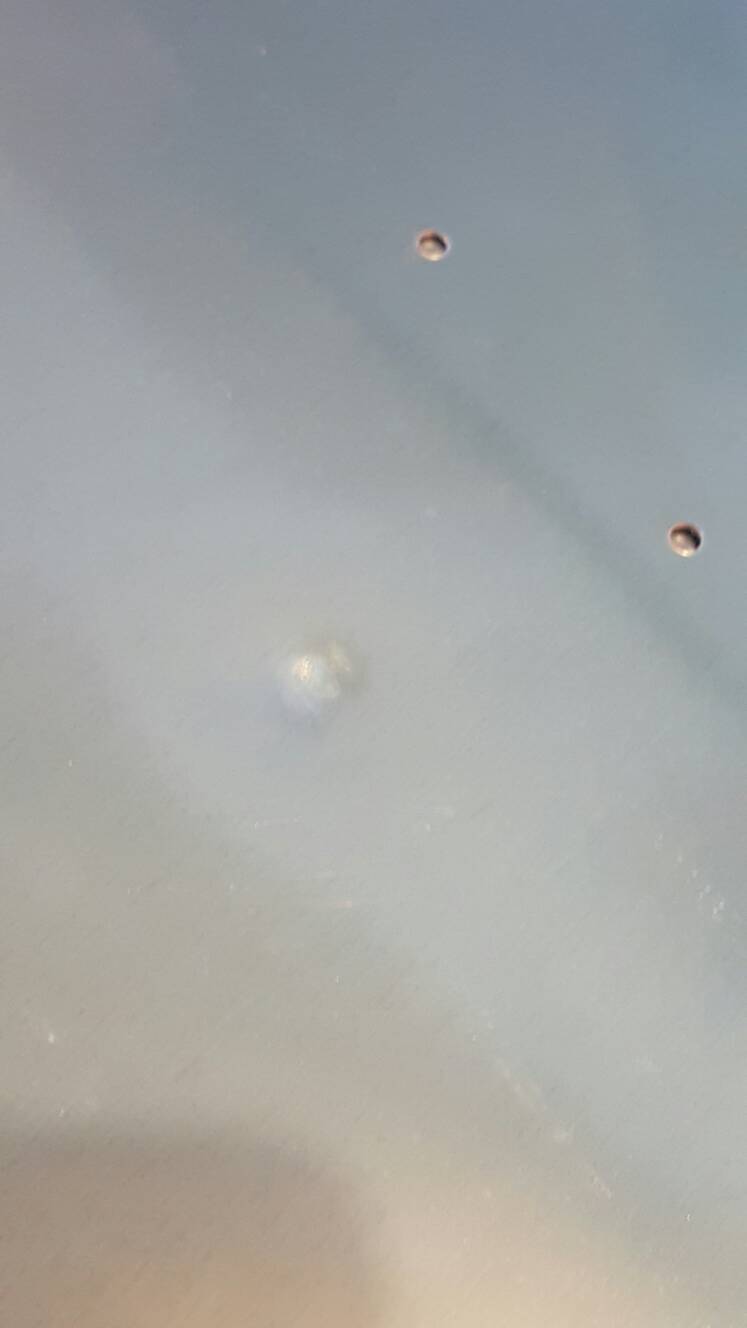
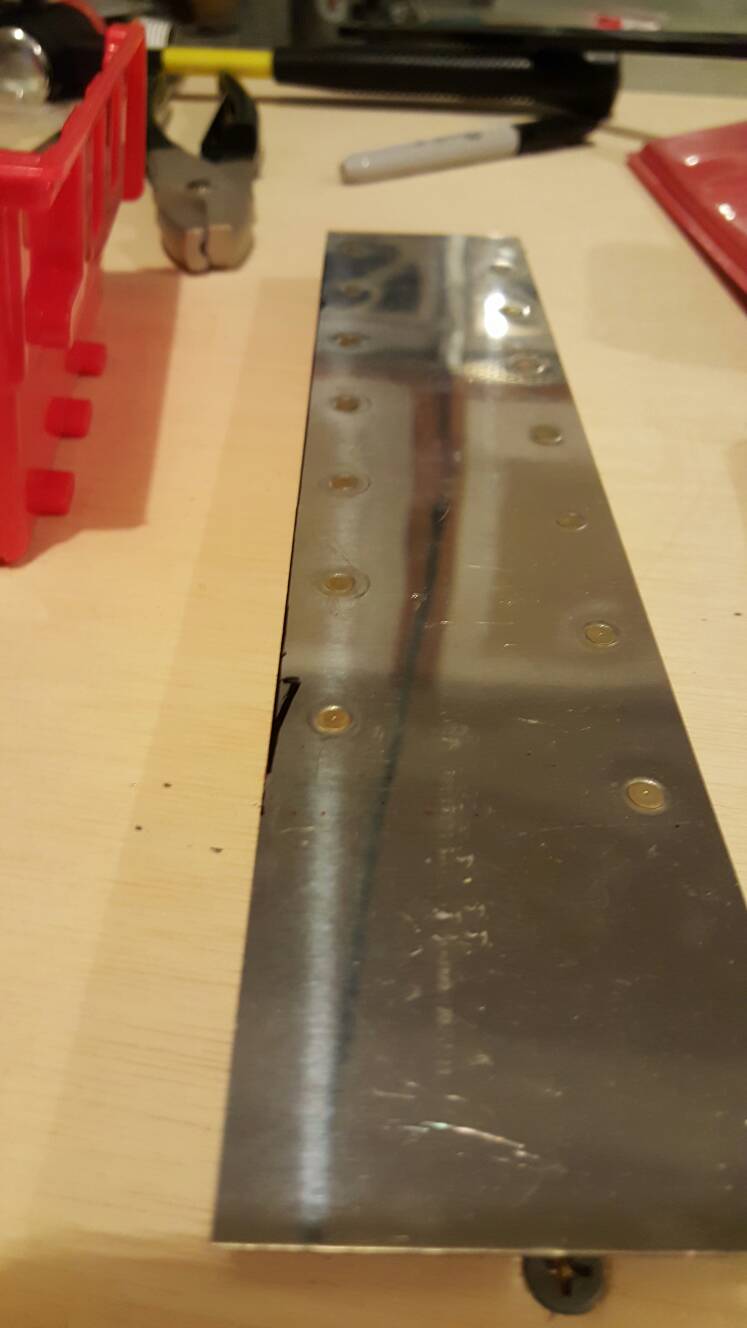
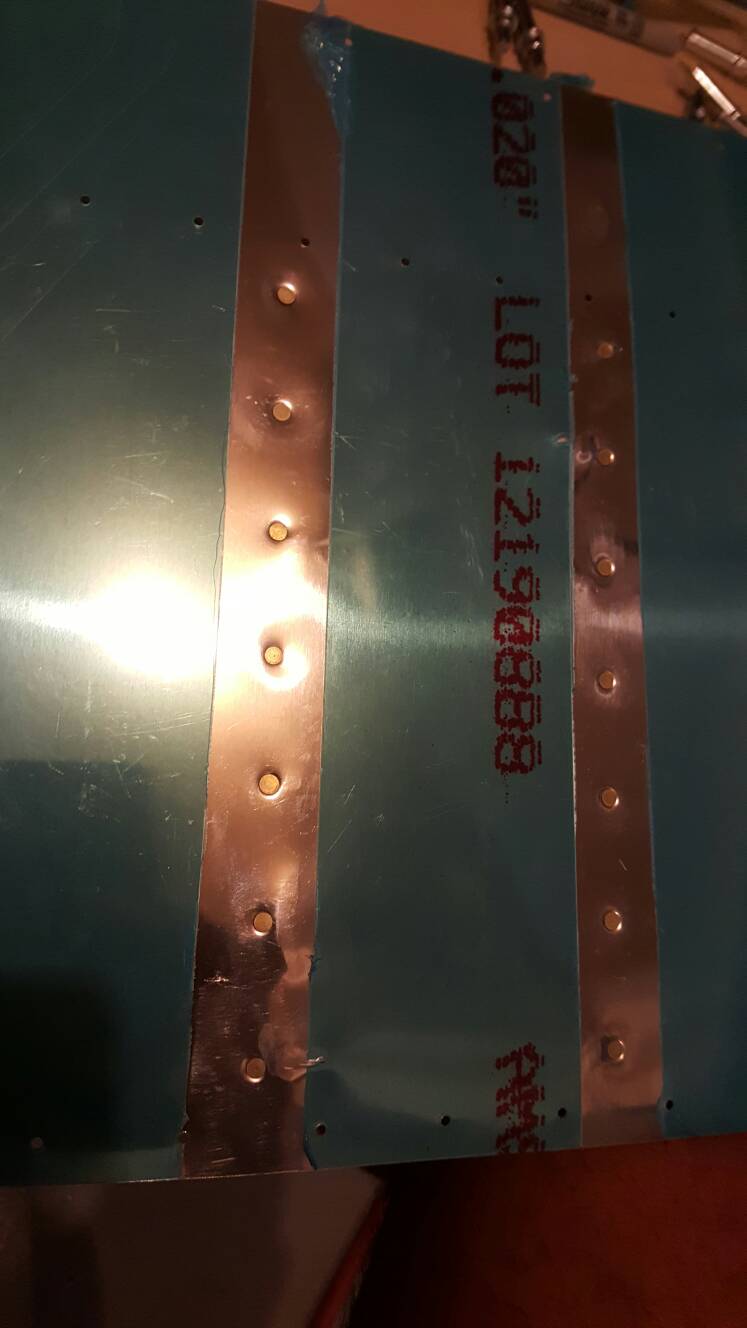
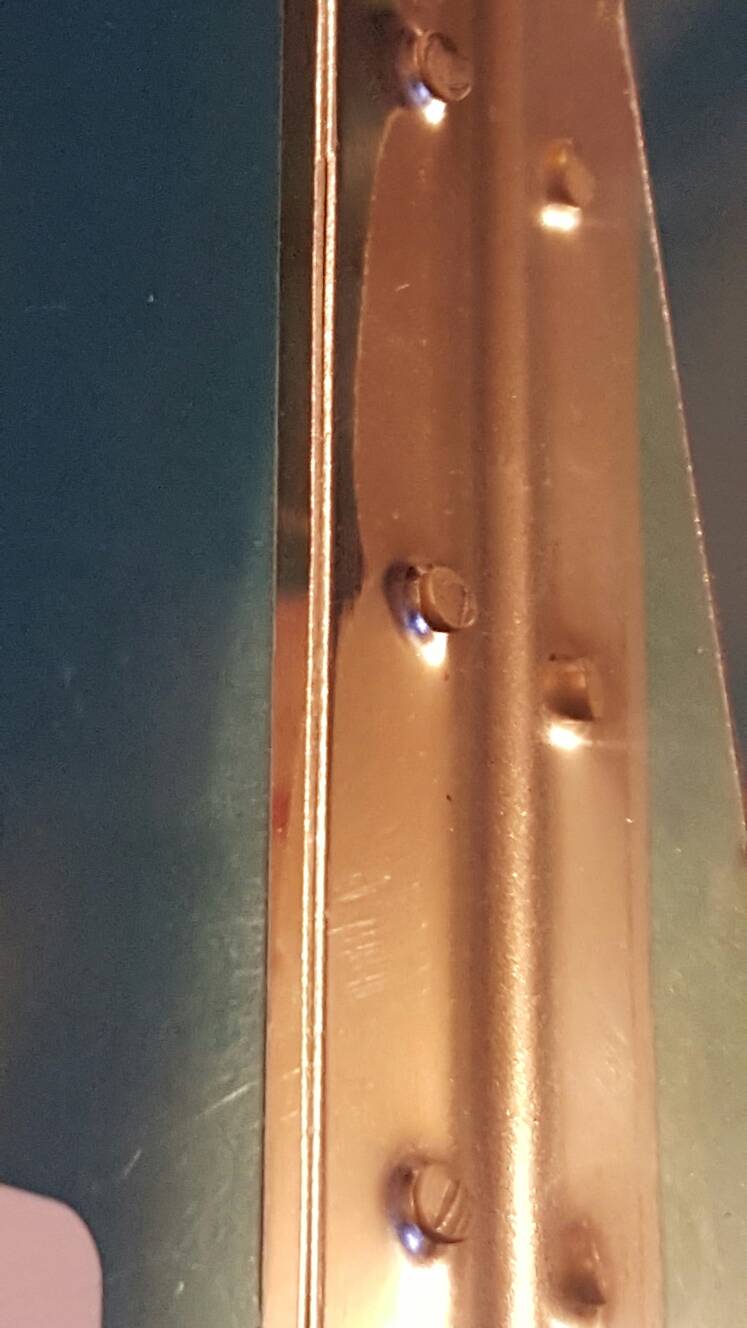
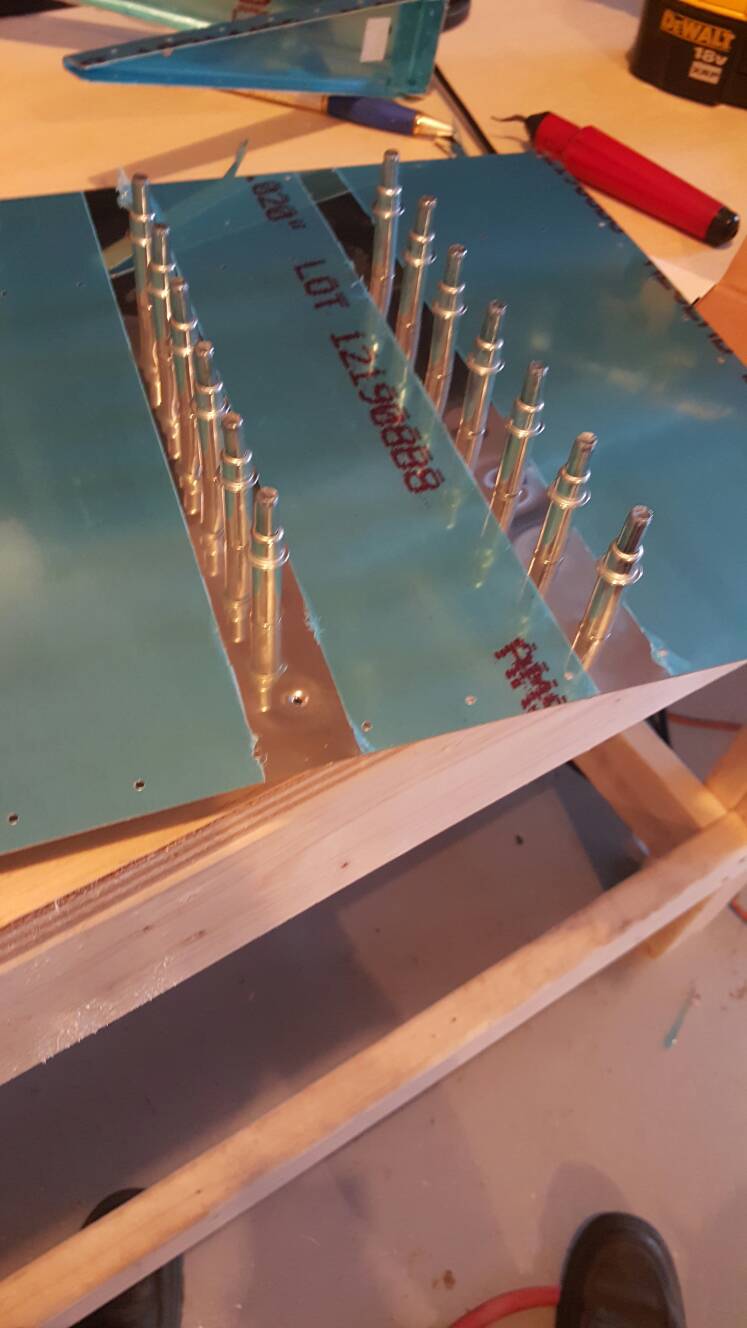
Have not quite started on the build yet, but the shop is almost set up and started on the practice wing kit yesterday.
Empennage kit arrived Friday and is still in its 2 boxes. I can just tell that tail is wagging in there, ready to start.
We're building in Purcellville, VA. Learning to fly in Martinsburg, WV.
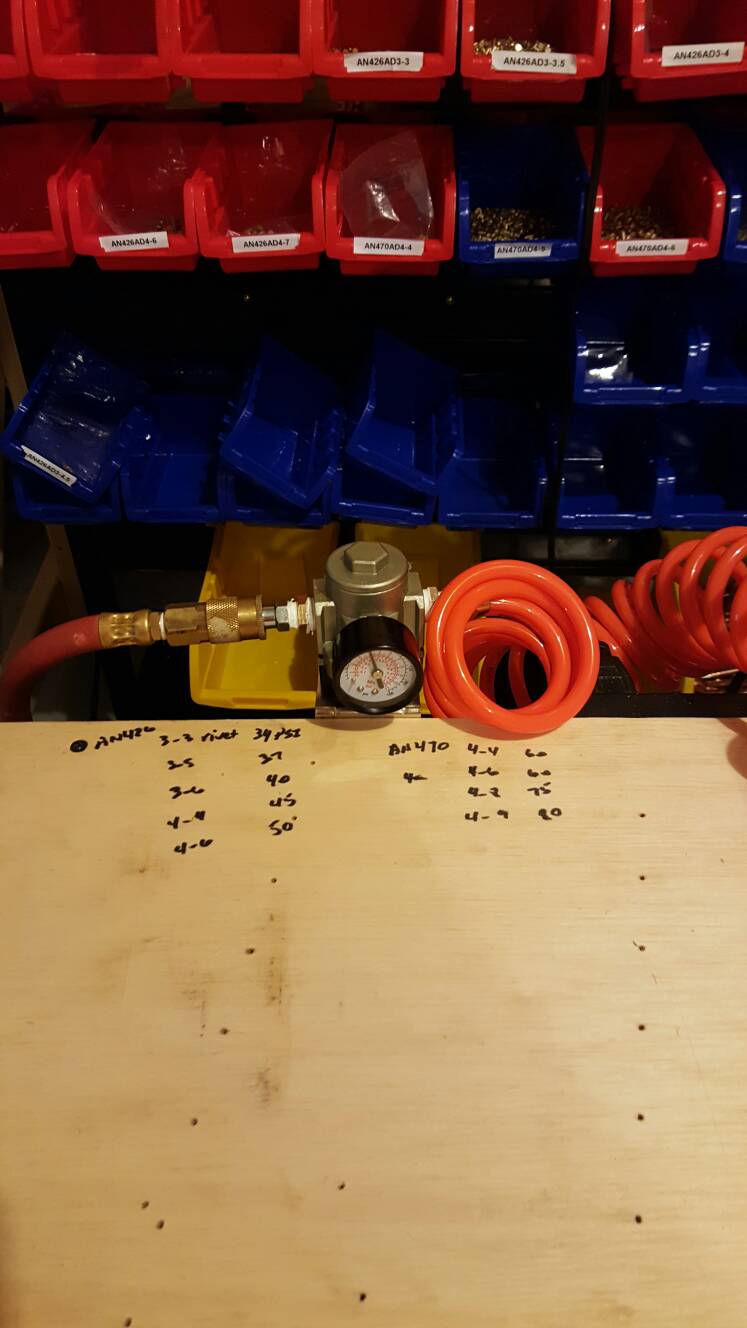
We bought the brown tool kit with a few subtractions and adding those pieces either as upgrades or down the road.
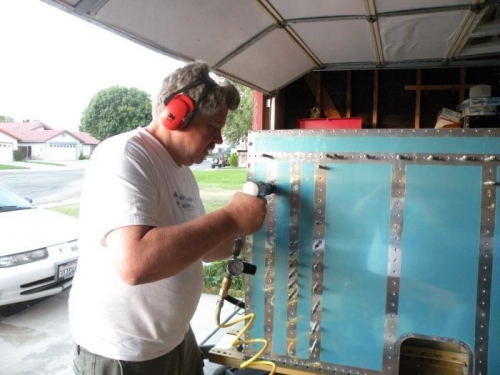
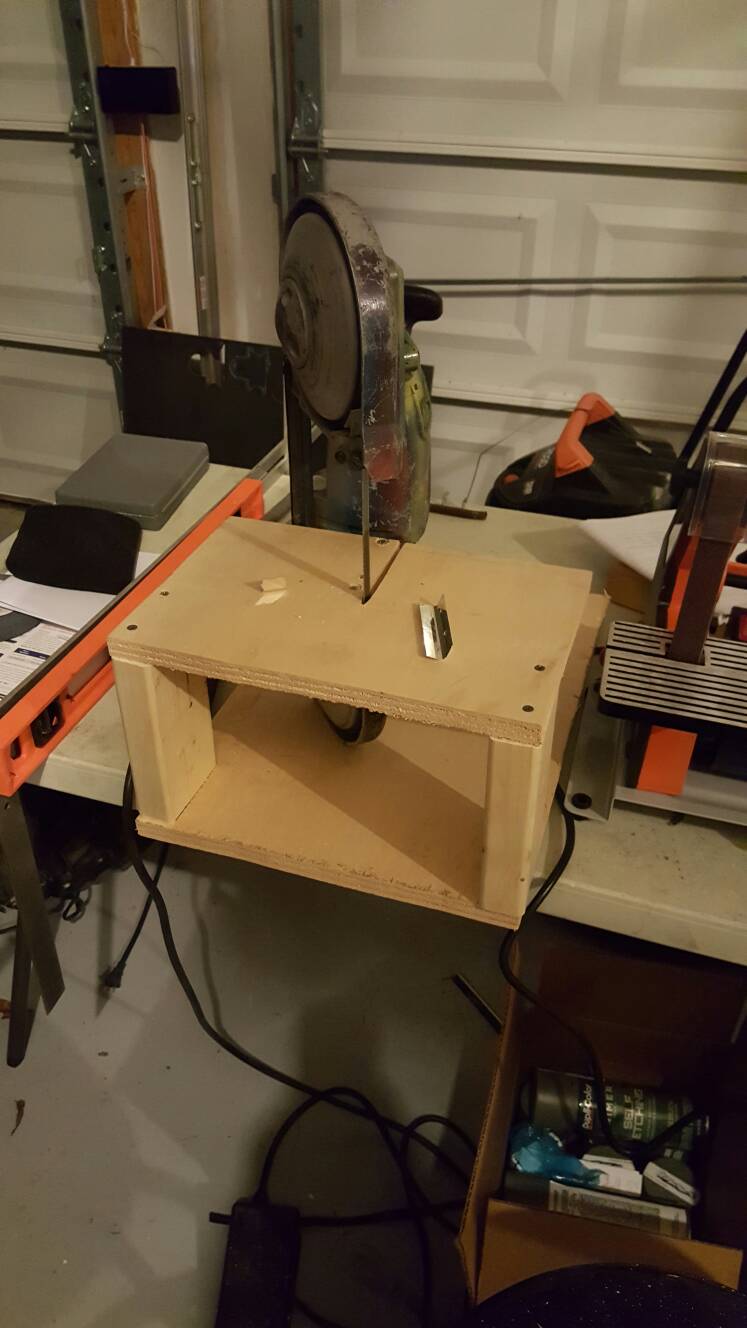
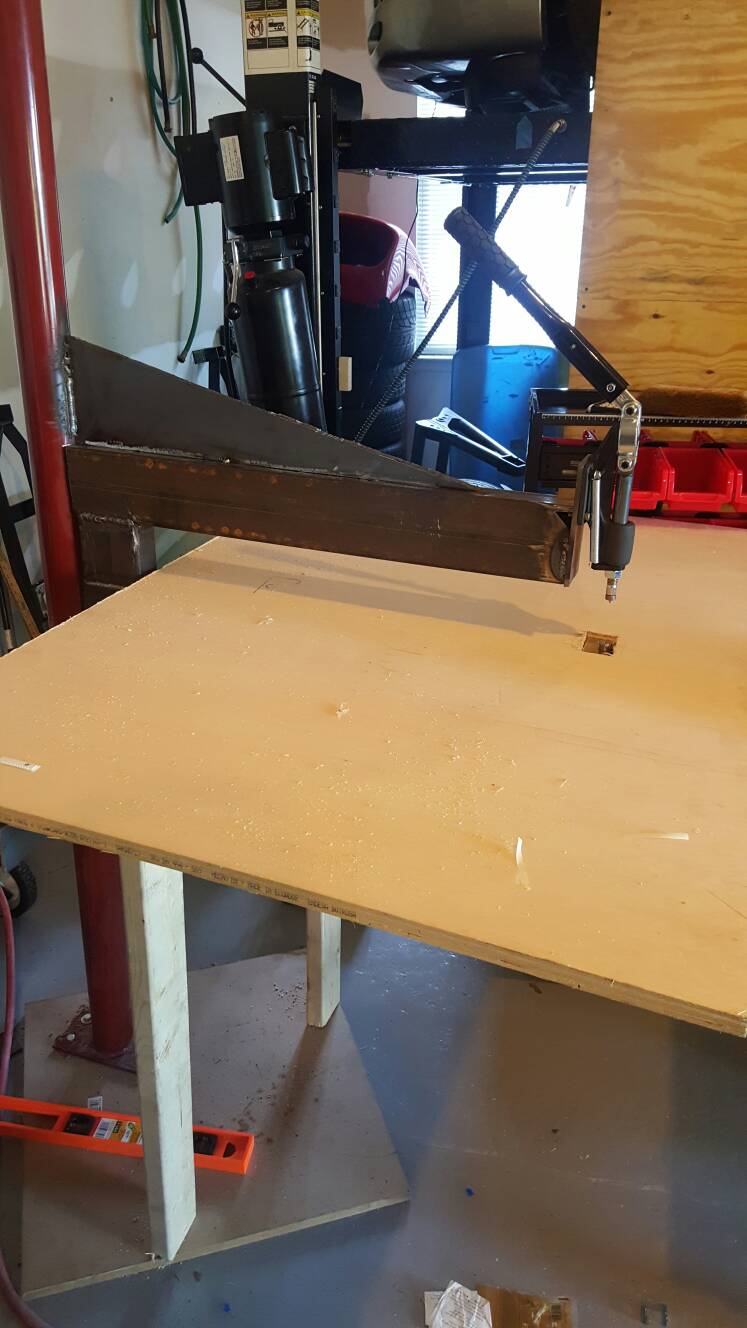
Bought DRDT2 front end without the frame, and welded up a frame for it with scrap I had laying around. The tube is 2x3, which isn't as stiff as the 3x6 that comes with the tool, so added some stiffners, used a column as the base and made a table of it.
Definitely a backyard special, but stiff and does the job nicely.
I've been lurking for a while and decided to go ahead with the project.
My son (Ryan - 13) and I will be learning to fly and building at the same time.
Have not quite started on the build yet, but the shop is almost set up and started on the practice wing kit yesterday.
Empennage kit arrived Friday and is still in its 2 boxes. I can just tell that tail is wagging in there, ready to start.
We're building in Purcellville, VA. Learning to fly in Martinsburg, WV.
We bought the brown tool kit with a few subtractions and adding those pieces either as upgrades or down the road.
Bought DRDT2 front end without the frame, and welded up a frame for it with scrap I had laying around. The tube is 2x3, which isn't as stiff as the 3x6 that comes with the tool, so added some stiffners, used a column as the base and made a table of it.
Definitely a backyard special, but stiff and does the job nicely.
")