Dave Stephens
Active Member
Thanks for posting them!
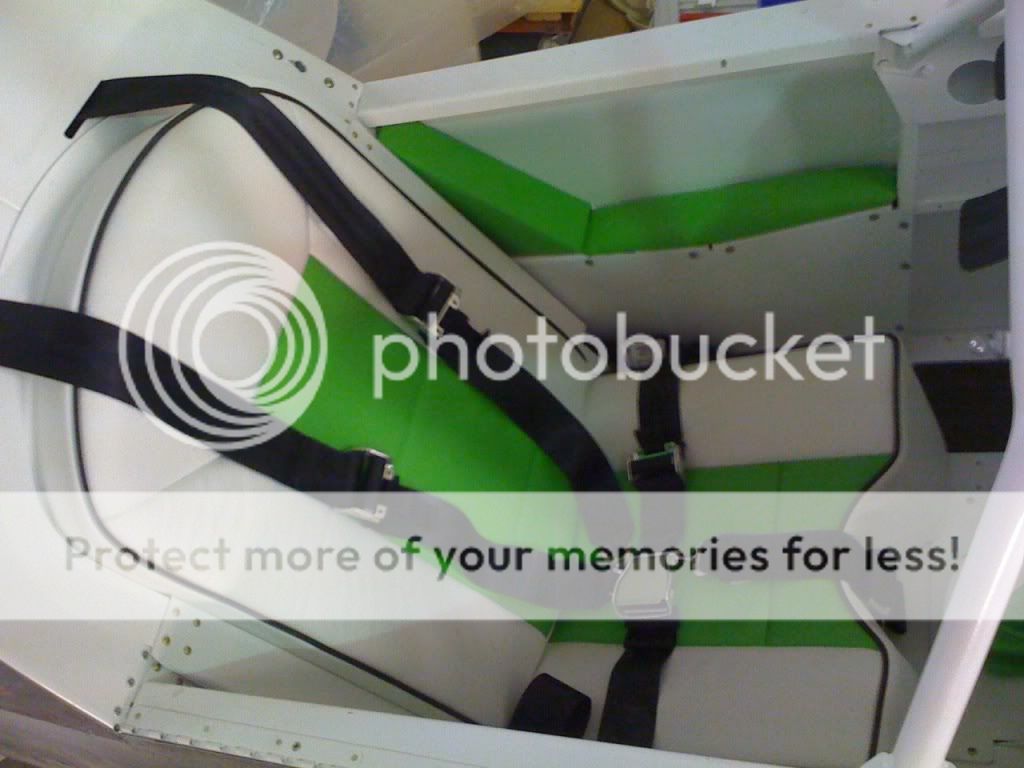
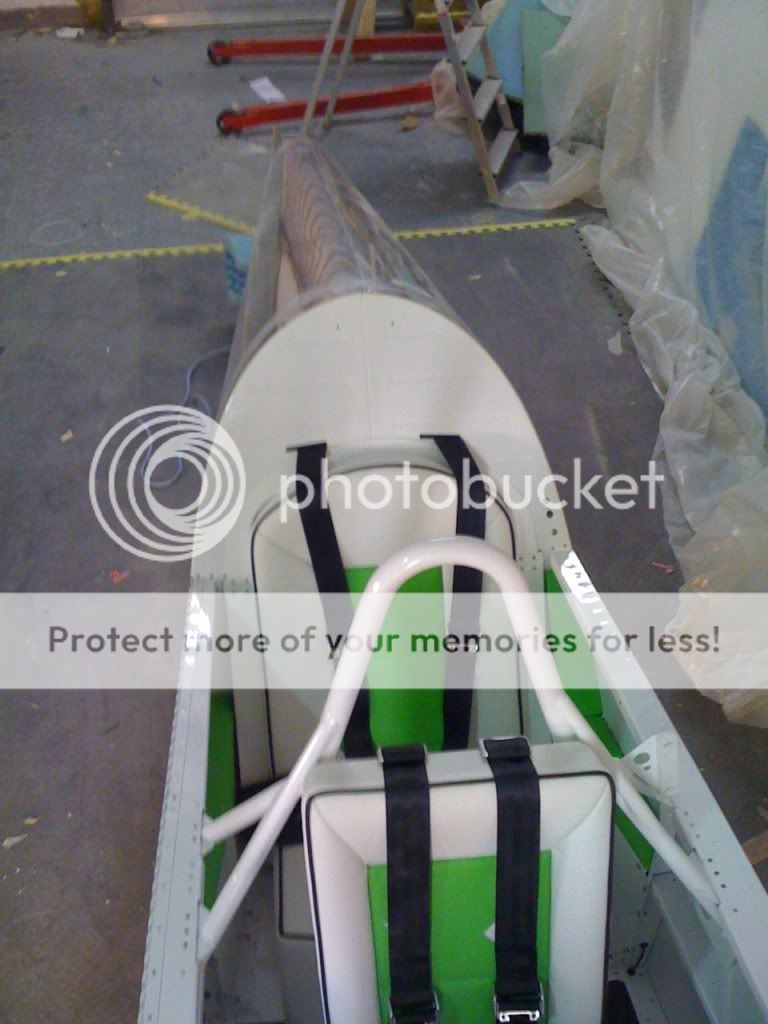
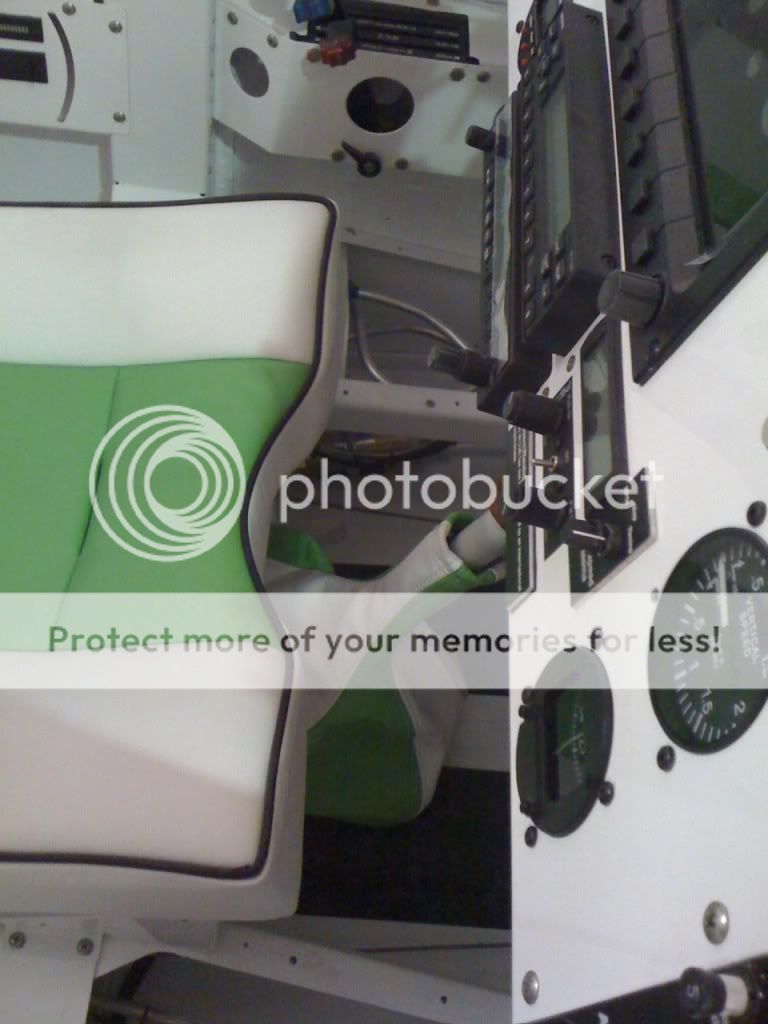
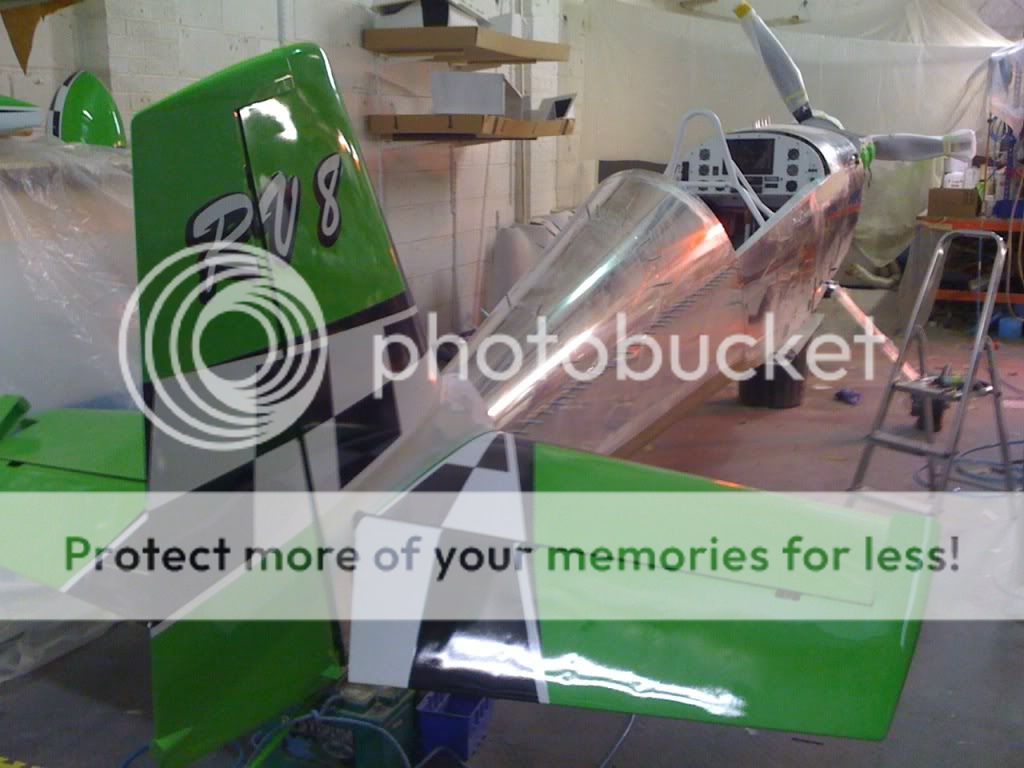
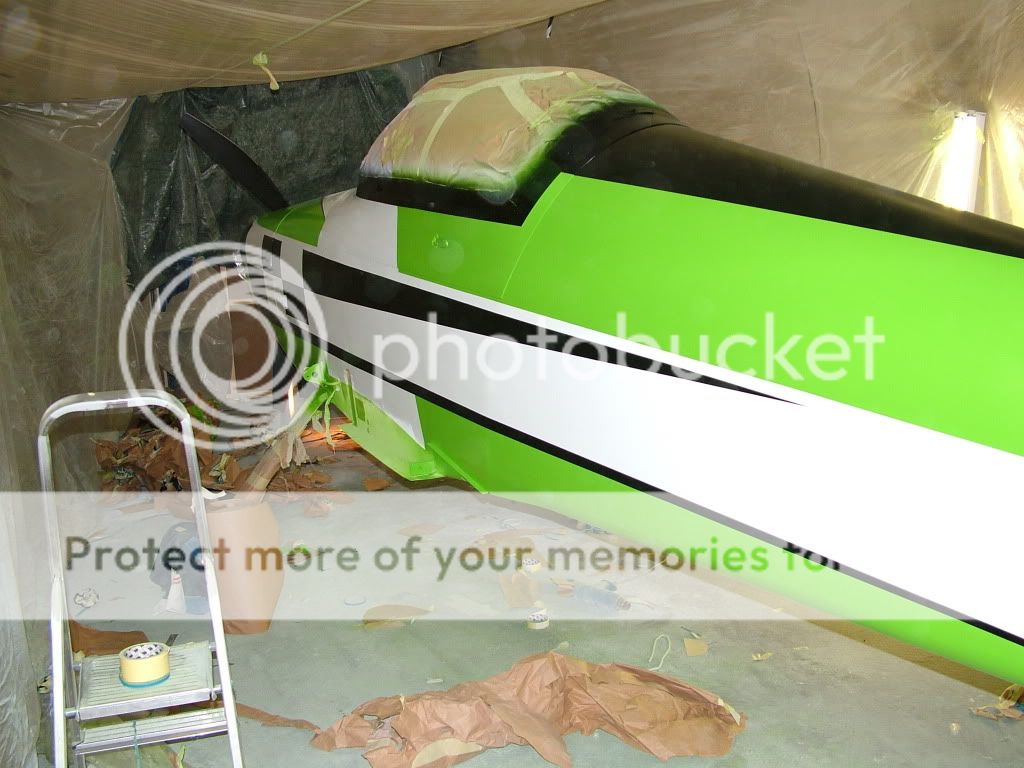
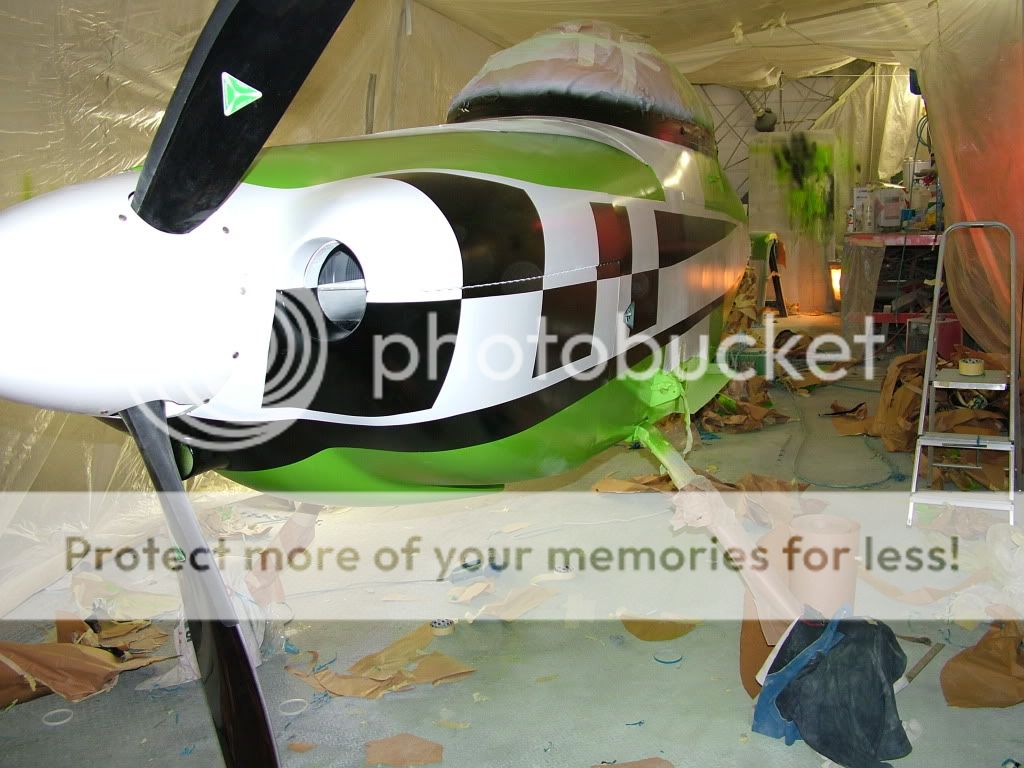
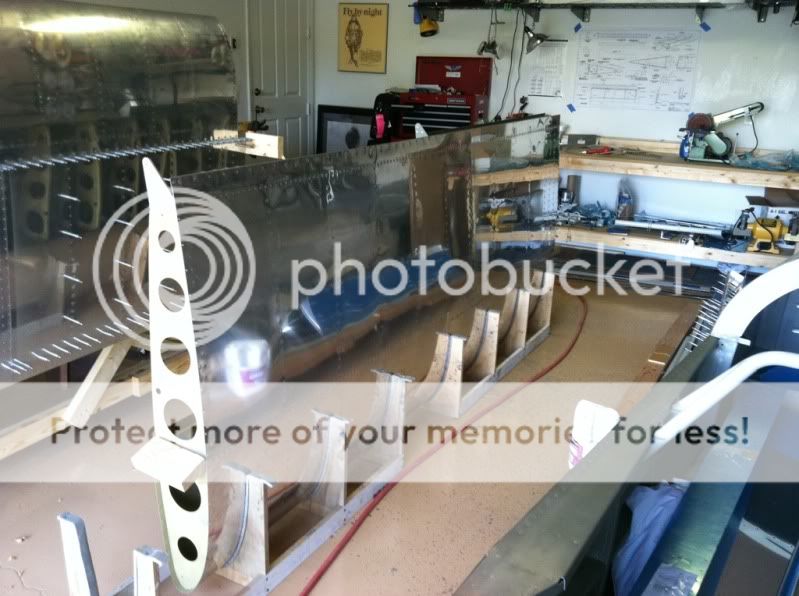
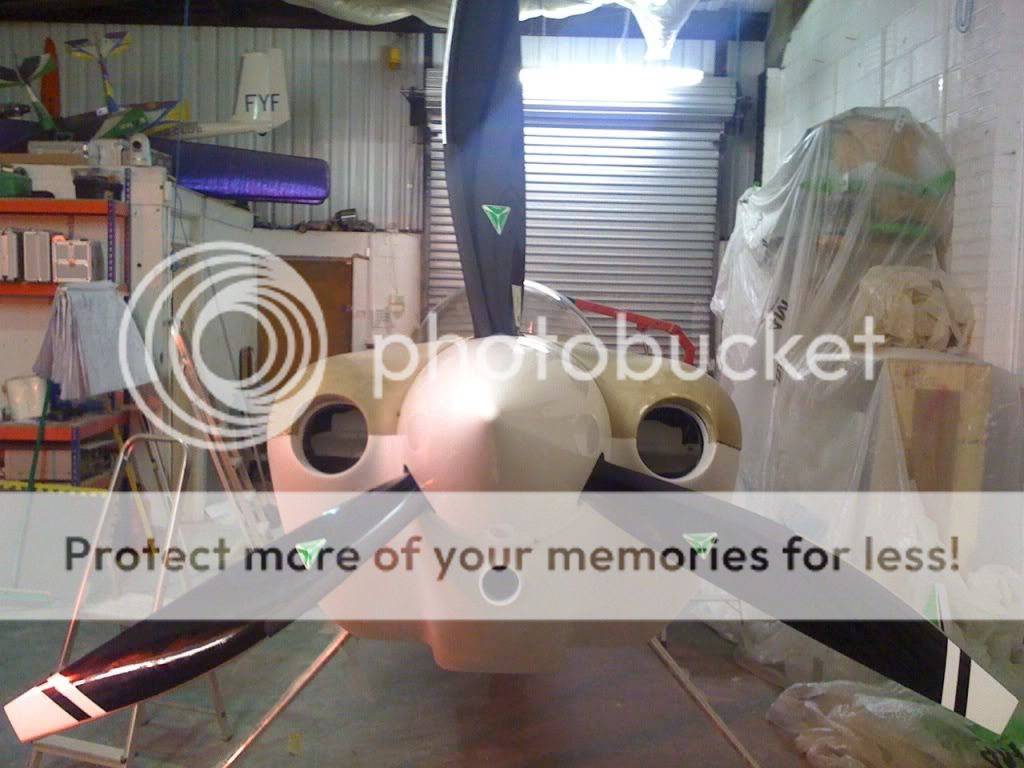
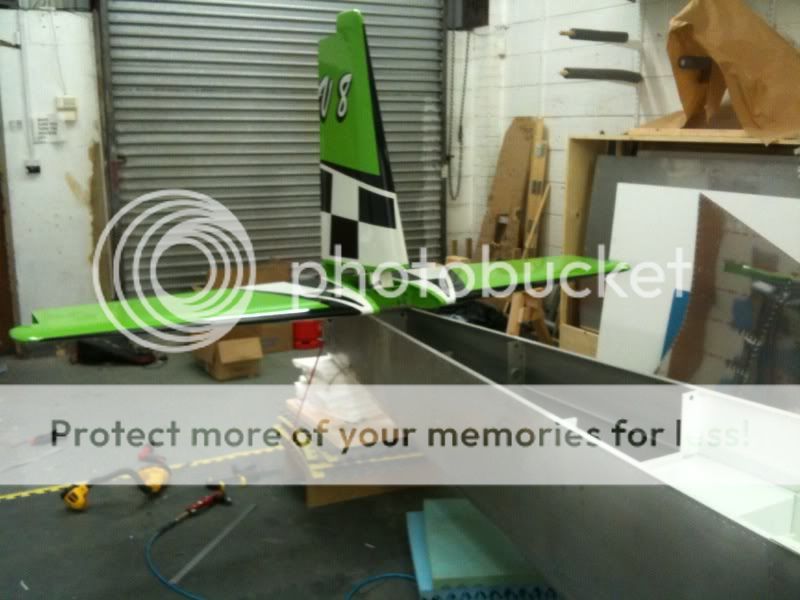
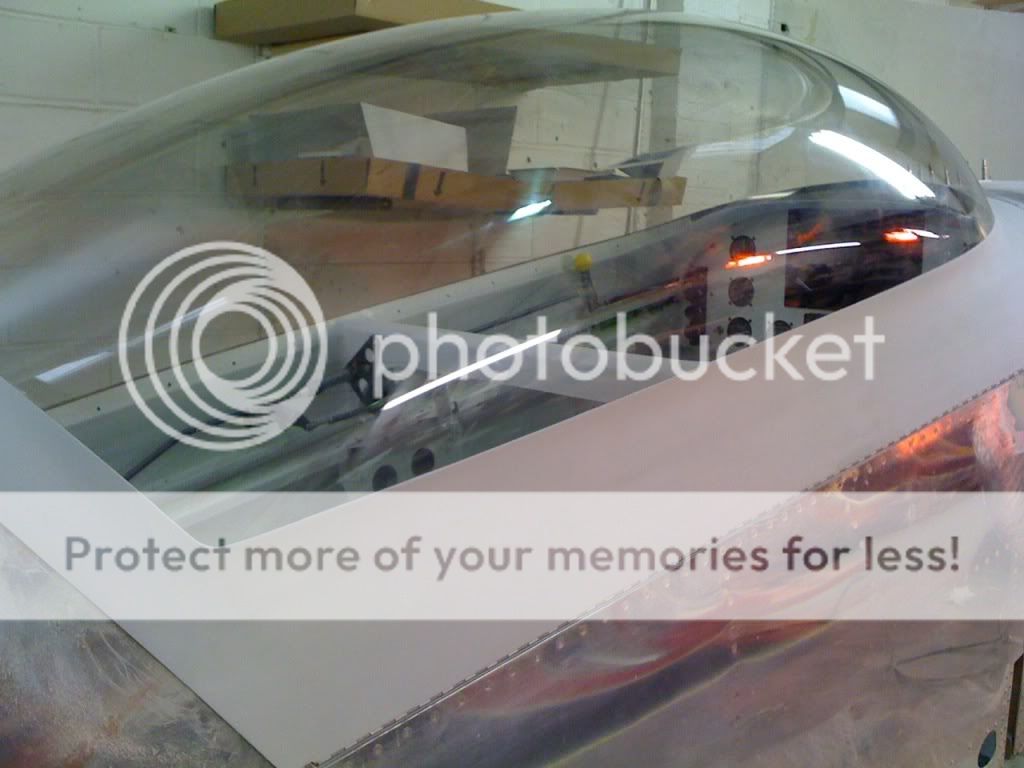
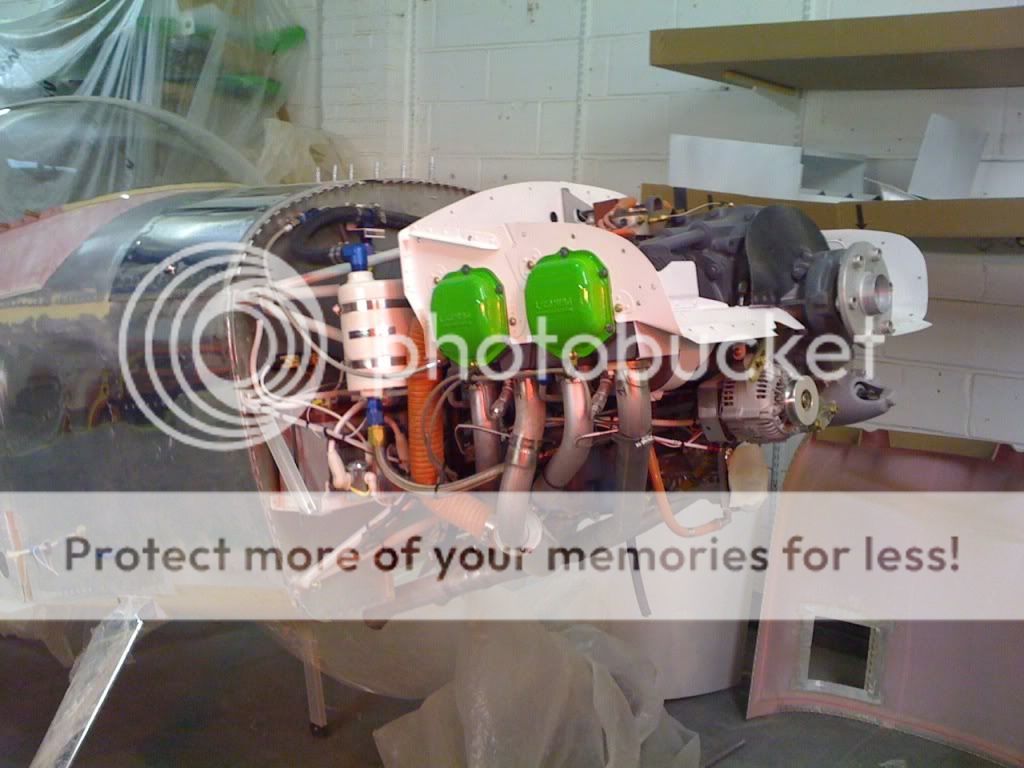
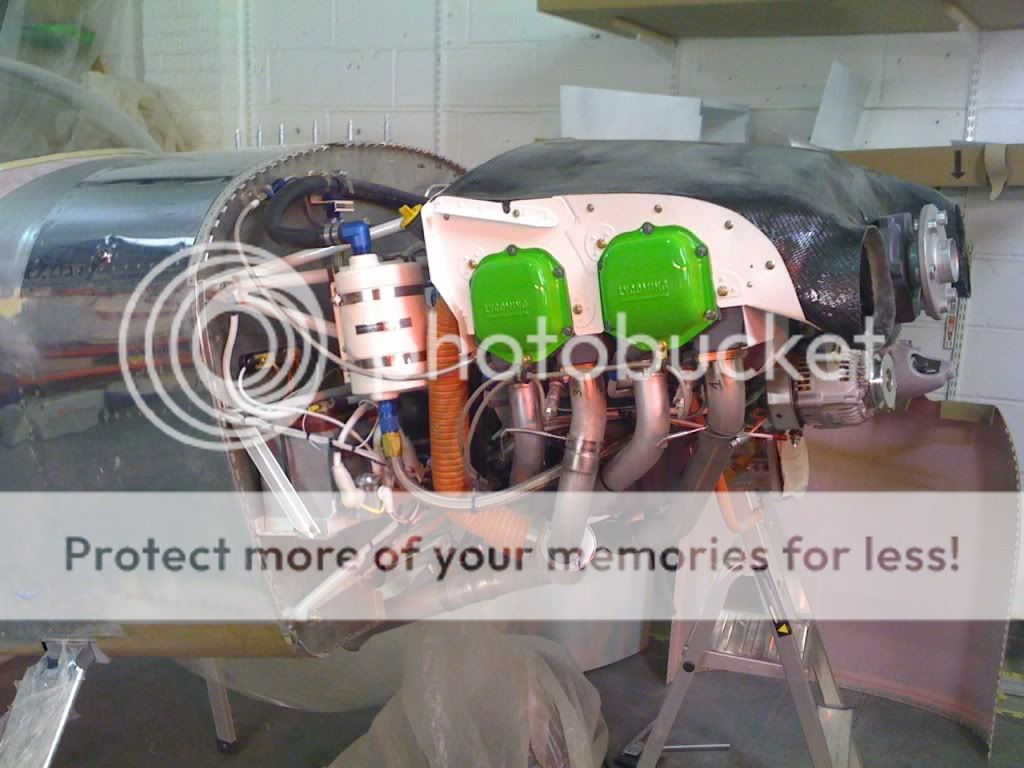
I took delivery of this kit in June this year, and have been working on it full time + since then! prop went on today (MT 3 blade C/S) and will be running the engine up later in the week.
Dave
I took delivery of this kit in June this year, and have been working on it full time + since then! prop went on today (MT 3 blade C/S) and will be running the engine up later in the week.
Dave


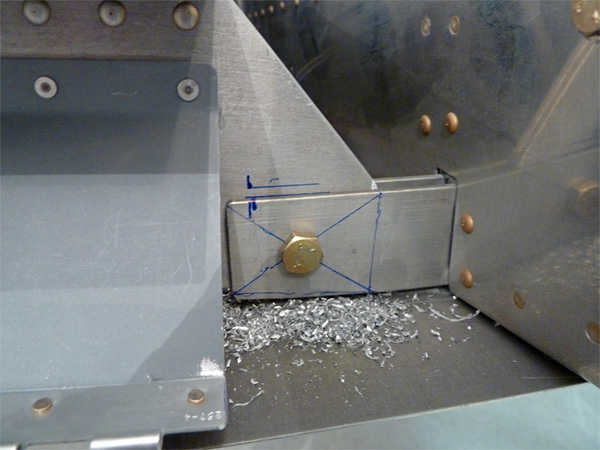
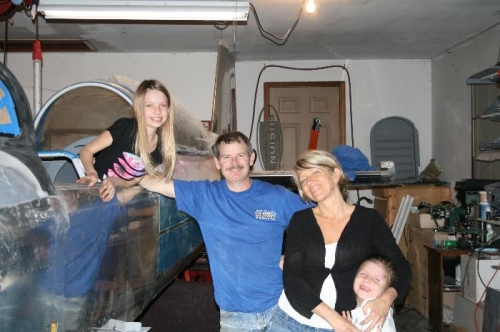
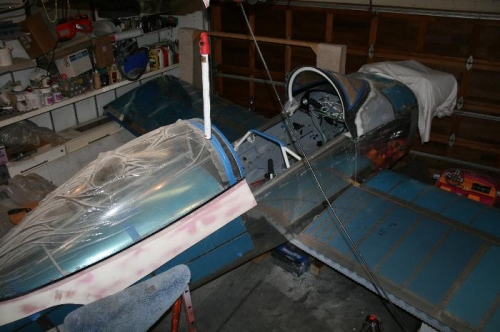
") Live and learn though!
Live and learn though!