Z-EDD
Well Known Member
Hi Everyone!
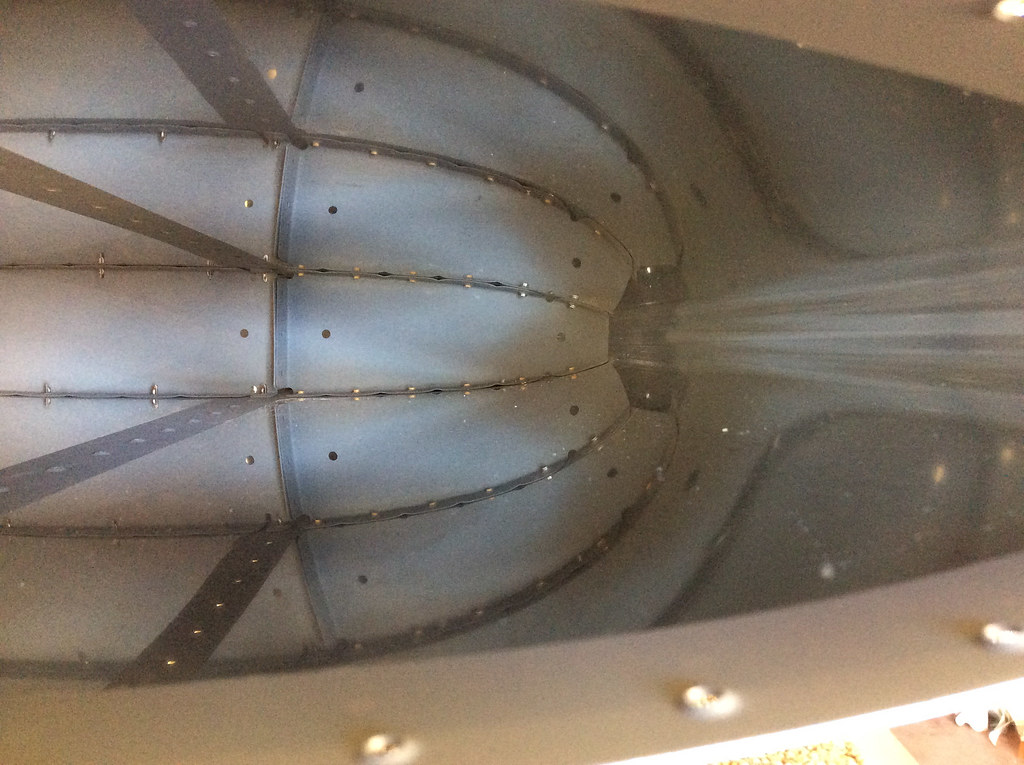
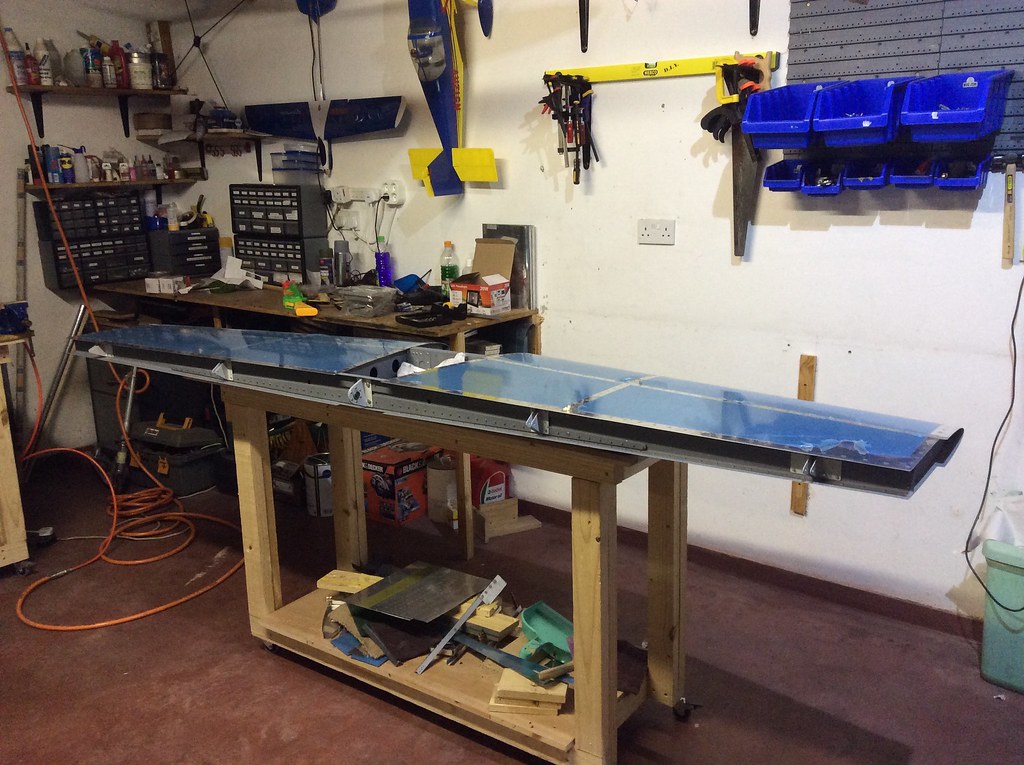
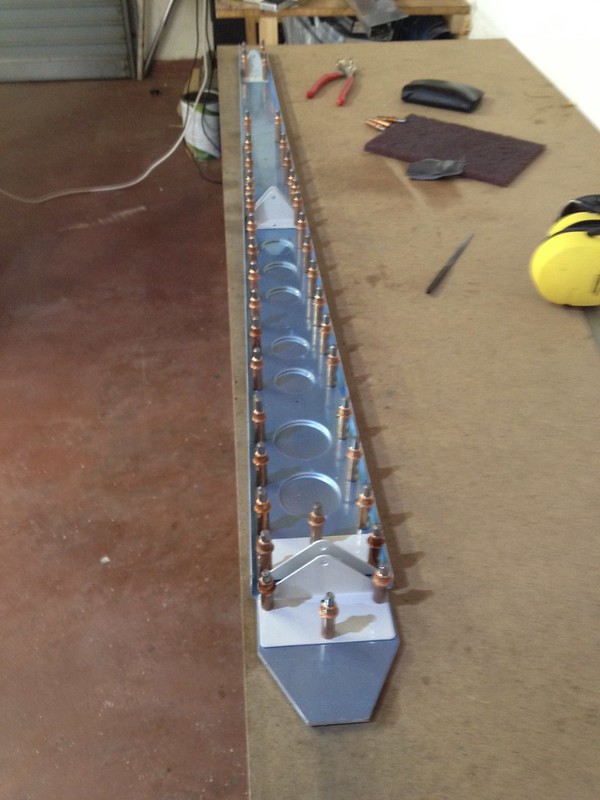
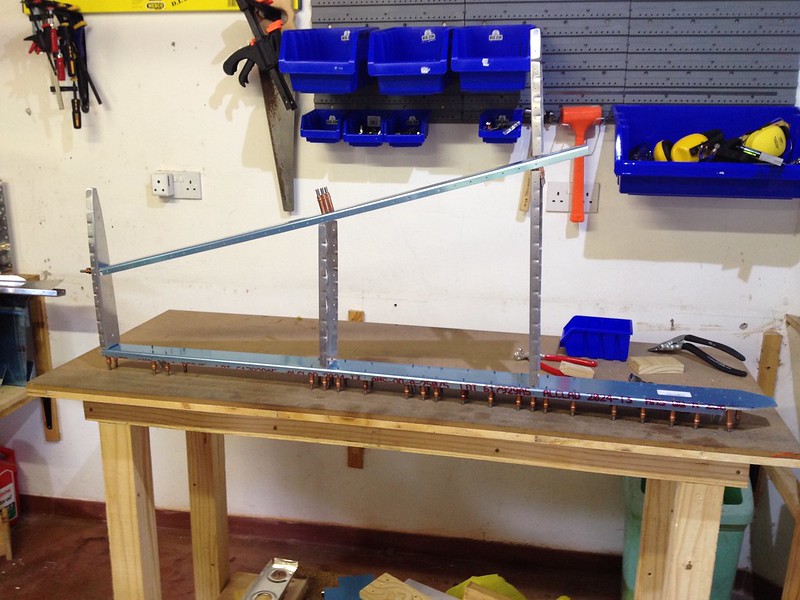
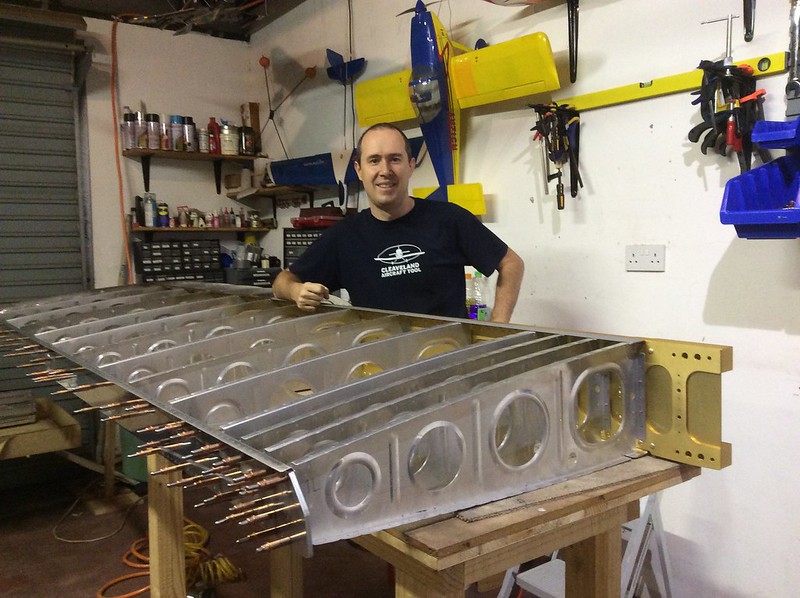
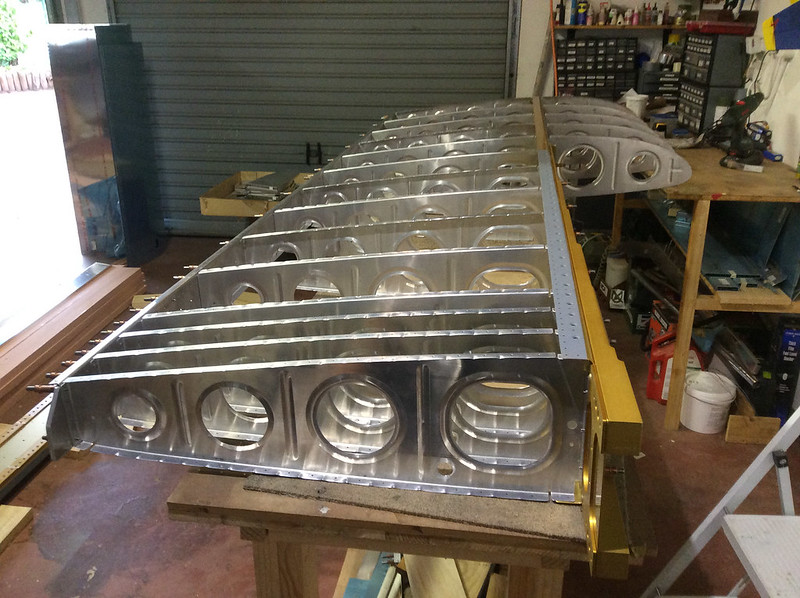
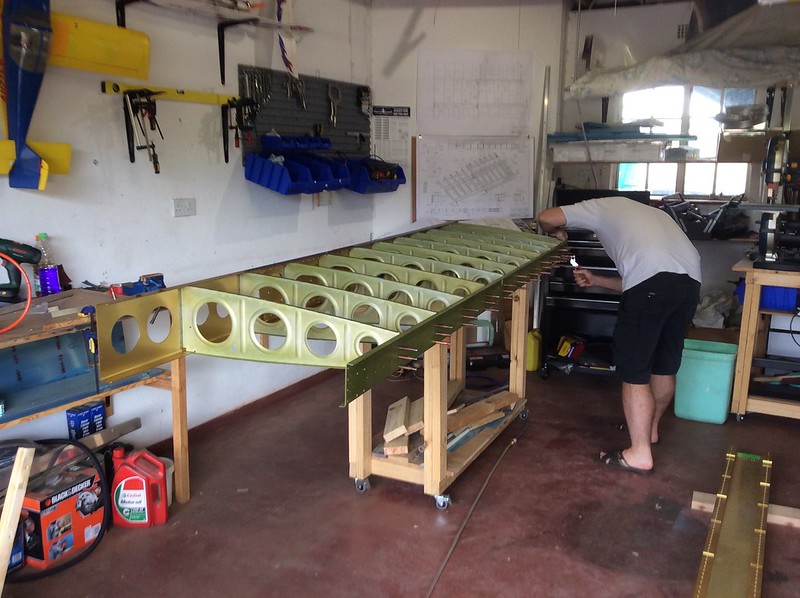
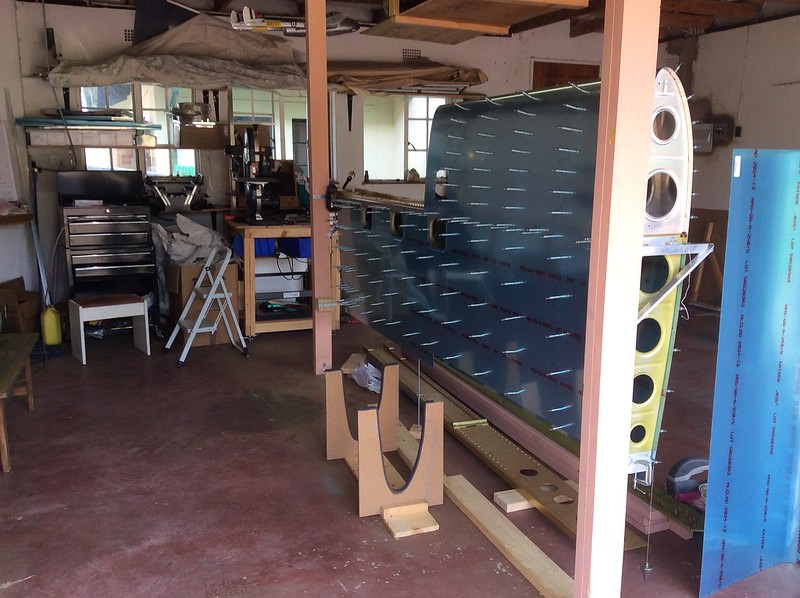
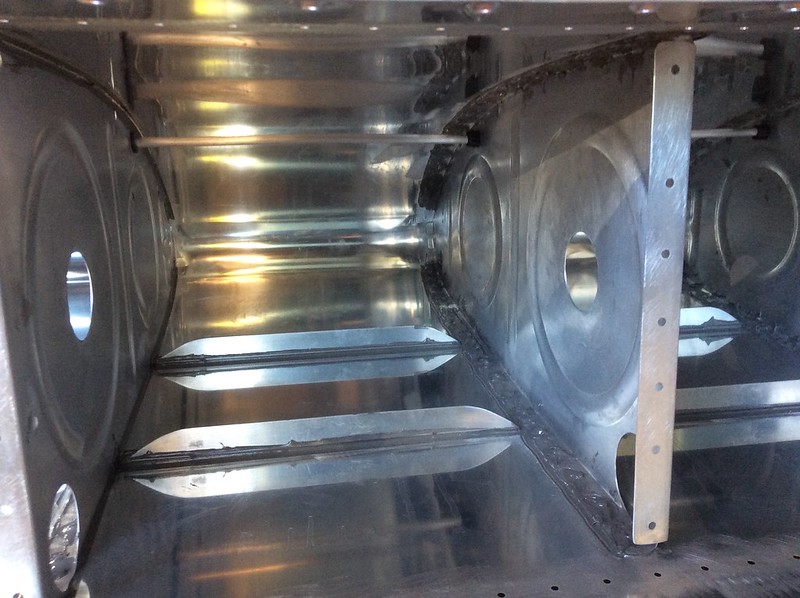
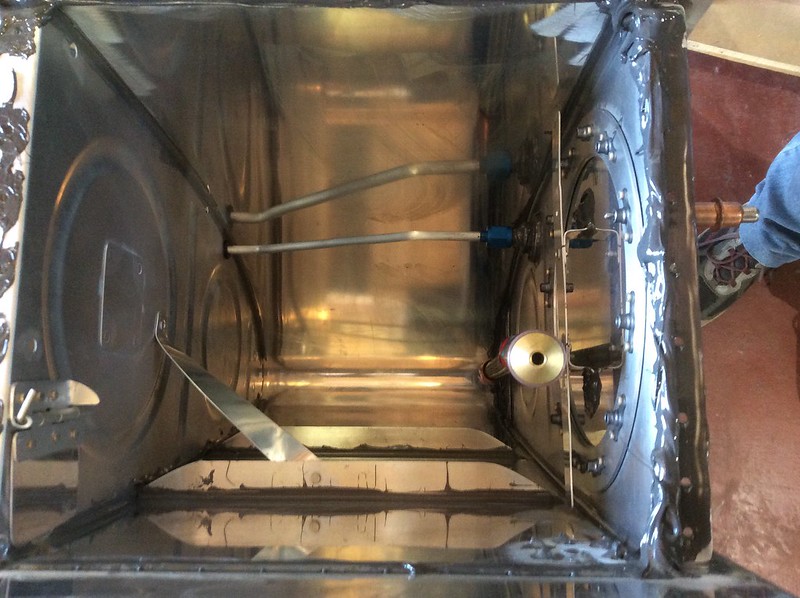
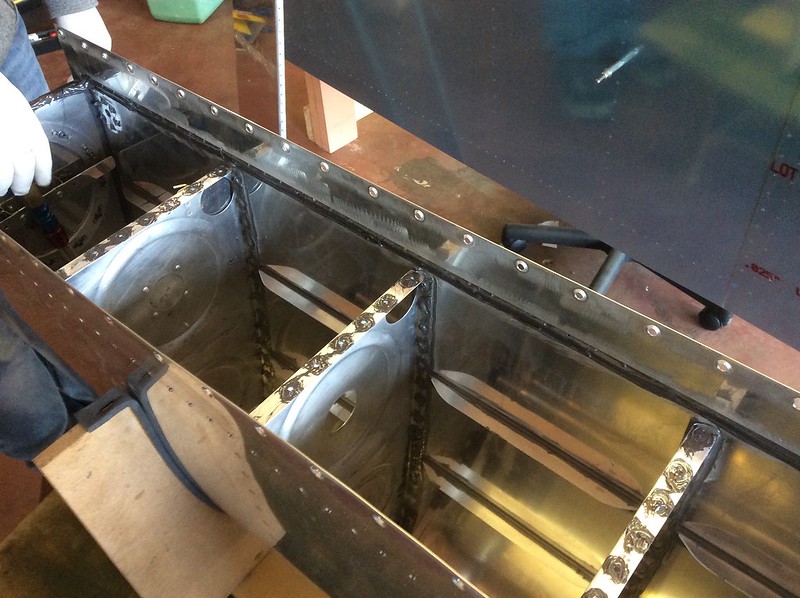
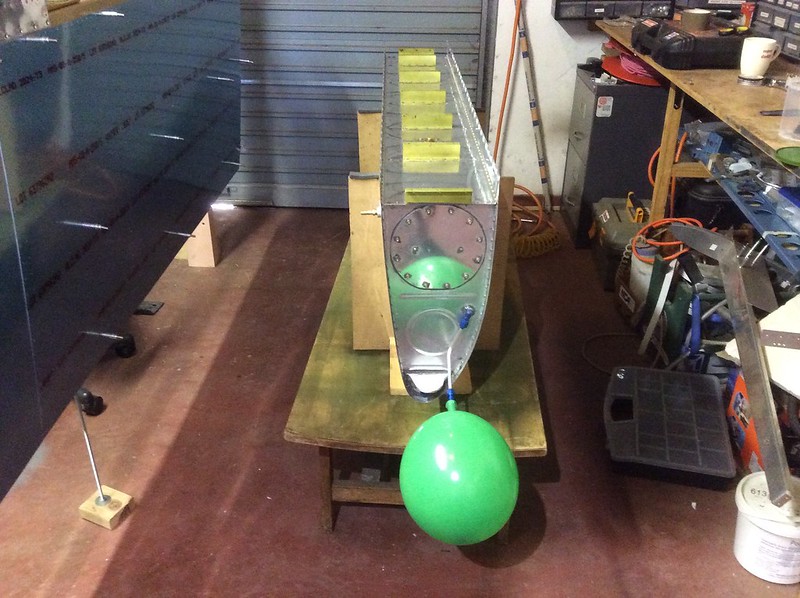
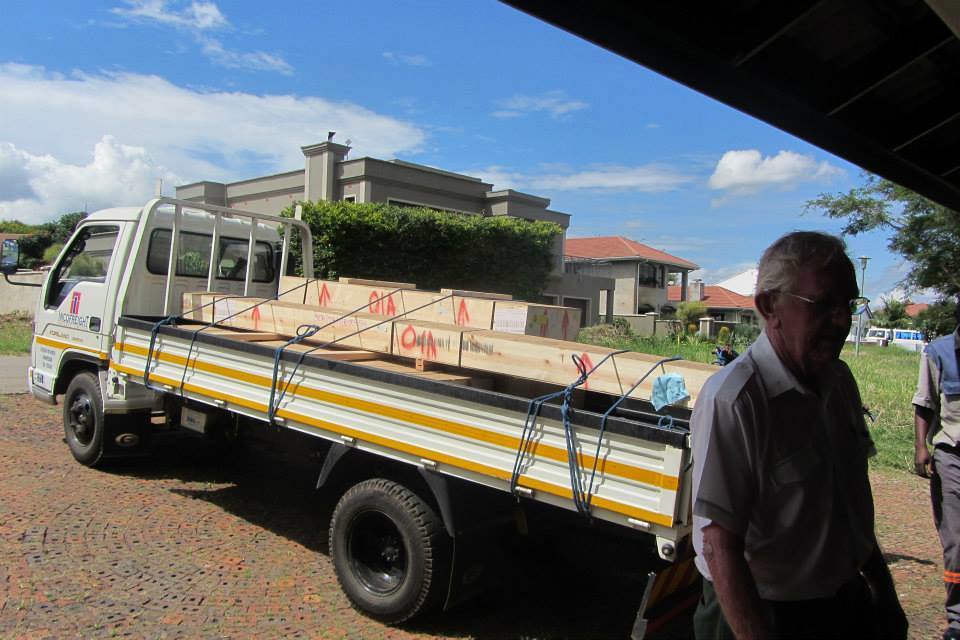
The journey begins for me, but in a uniquely frustrating way! A small delay to the ship meant that the kit got caught up in the Christmas traffic, and then the complete shutdown of almost all industry and transport that paralyses Southern Africa every January. I had arranged vacation so I could get started, but in the end I had to leave on a three week trip just 4 days before it arrived. So the pictures here were taken by my wife, and are still all I have seen of it. But its time to start getting excited again as I'm starting on the way home and should be cracking open the crates on Friday!
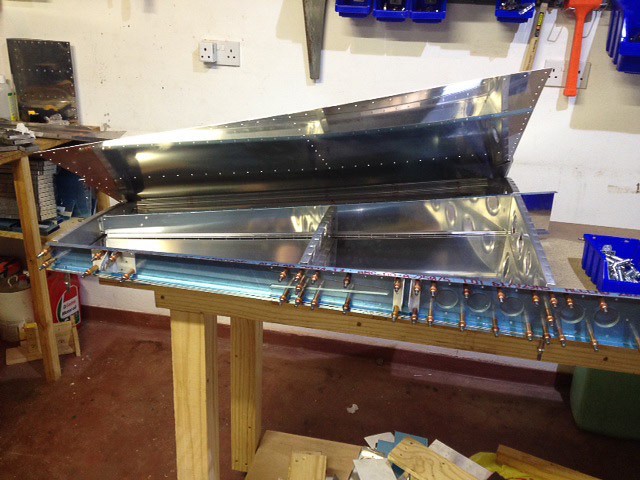
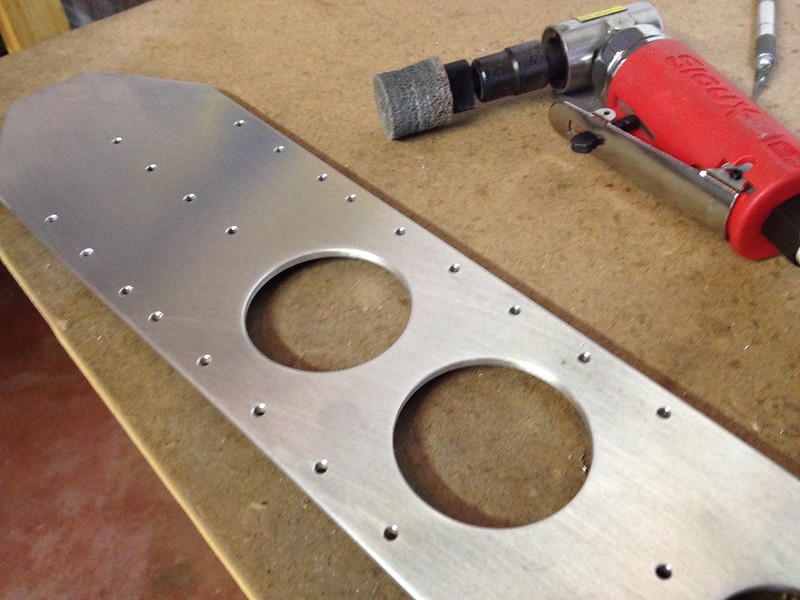
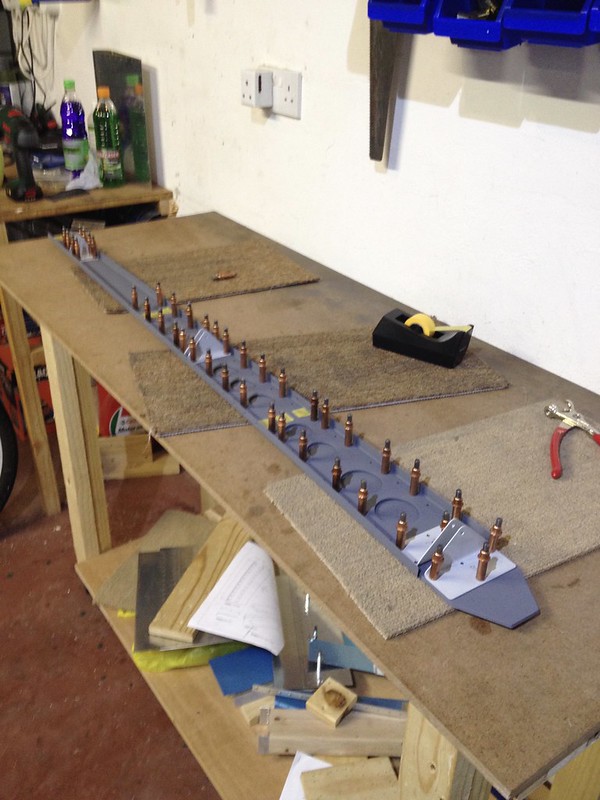
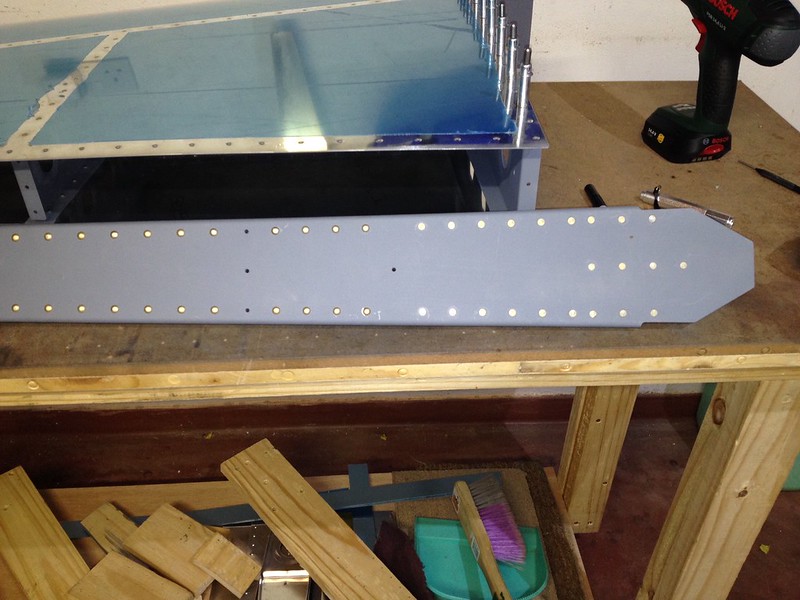
There is of course a silver lining to this delay. If it had arrived on time I might just have finished the HS by now, and then face having to rebuild it to comply with the SB!
Anyway, here are the photos of the arrival and unloading, African style! Never any shortage of labour to carry heavy stuff around here")
 1978862_10151912123891302_631259404_n by Ed Fleming, on Flickr
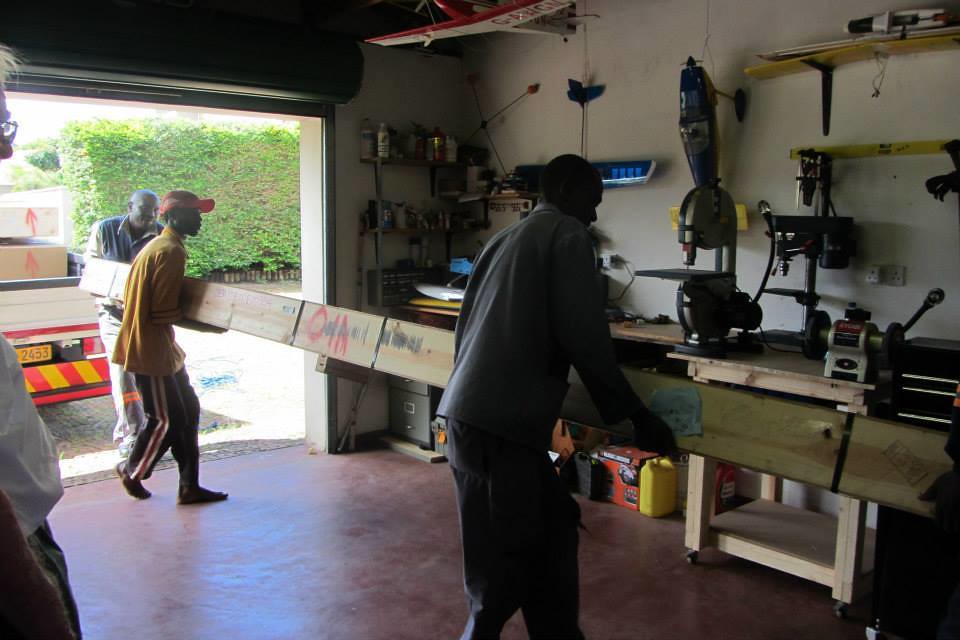 1978862_10151912123891302_631259404_n by Ed Fleming, on Flickr
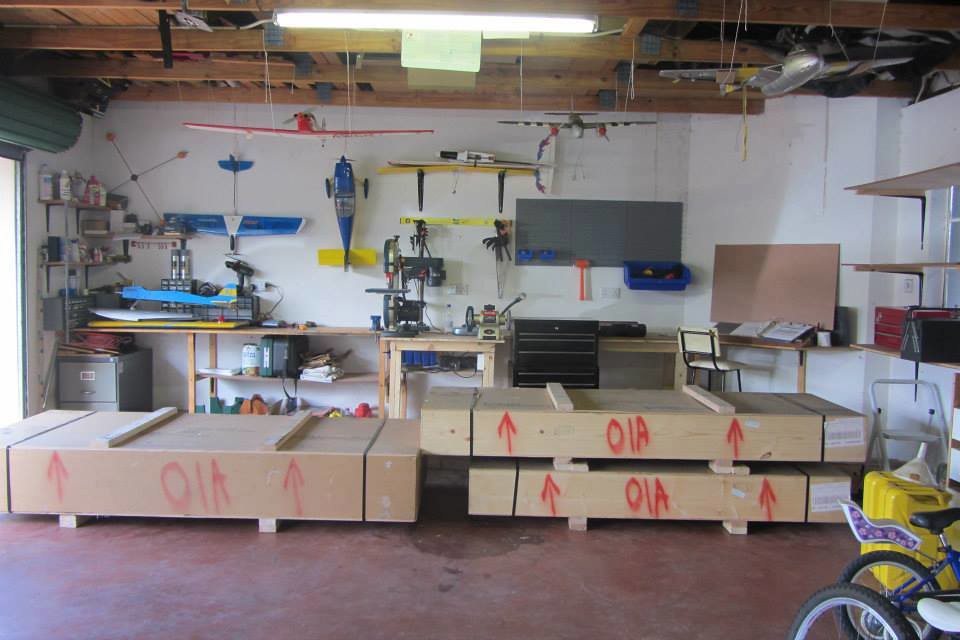 1978862_10151912123891302_631259404_n by Ed Fleming, on Flickr
The journey begins for me, but in a uniquely frustrating way! A small delay to the ship meant that the kit got caught up in the Christmas traffic, and then the complete shutdown of almost all industry and transport that paralyses Southern Africa every January. I had arranged vacation so I could get started, but in the end I had to leave on a three week trip just 4 days before it arrived. So the pictures here were taken by my wife, and are still all I have seen of it. But its time to start getting excited again as I'm starting on the way home and should be cracking open the crates on Friday!
There is of course a silver lining to this delay. If it had arrived on time I might just have finished the HS by now, and then face having to rebuild it to comply with the SB!
Anyway, here are the photos of the arrival and unloading, African style! Never any shortage of labour to carry heavy stuff around here
1978862_10151912123891302_631259404_n by Ed Fleming, on Flickr1978862_10151912123891302_631259404_n by Ed Fleming, on Flickr1978862_10151912123891302_631259404_n by Ed Fleming, on Flickr
Last edited: