What's new
Van's Air Force

Don't miss anything! Register now for full access to the definitive RV support community.

RV-7A JCarne

Before commencing on the wheel pants (which will probably be a few months from now) I wanted to get to know the aircraft better before completing them. In the video below you can see as I slow down on the roll out the main gear shimmies a bit. (the rest of the video is just me taxiing) Not my best landing but hey, there was a descent cross wind. :D This happens at about 30 knots and quick goes away at about 27 ish knots.

I'm in the process of changing up some tire pressures to see if it does anything but it looks like I am going to have to add stiffeners per the plans to get rid of this shimmy. It's really not bad but I'd rather get rid of if; if anything to protect the wheel pants in the future.

https://youtu.be/5CGRSIN7gYQ

Stay tuned for the resolution on this.

Of course I will also give you all some build motivation as well!

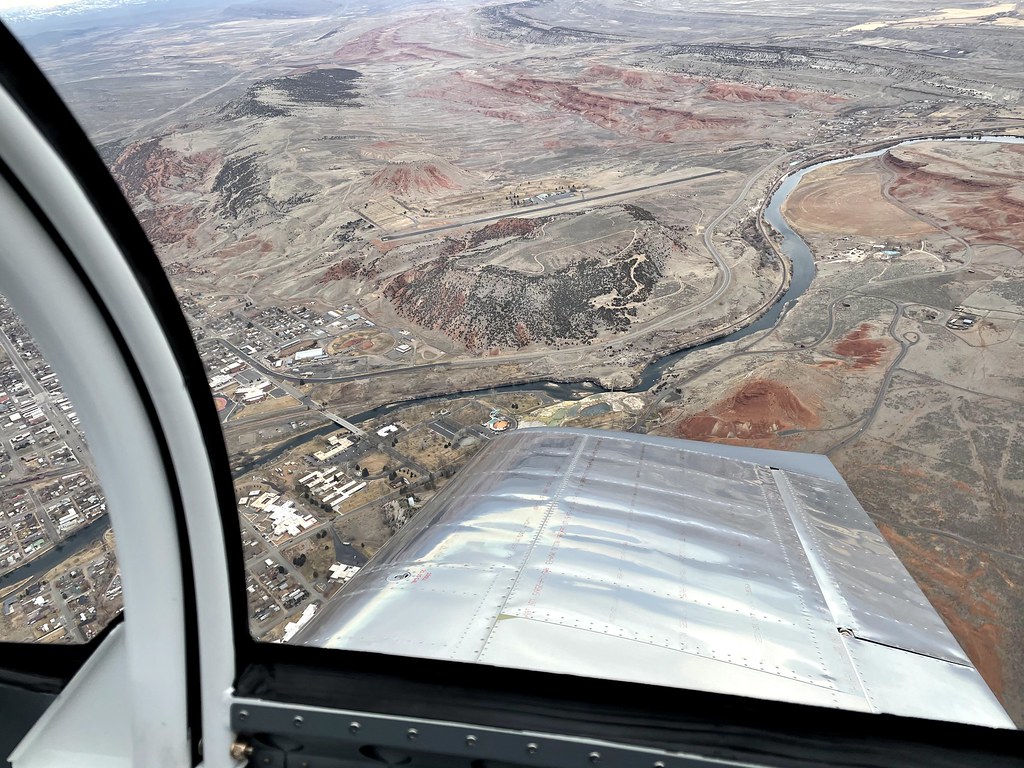
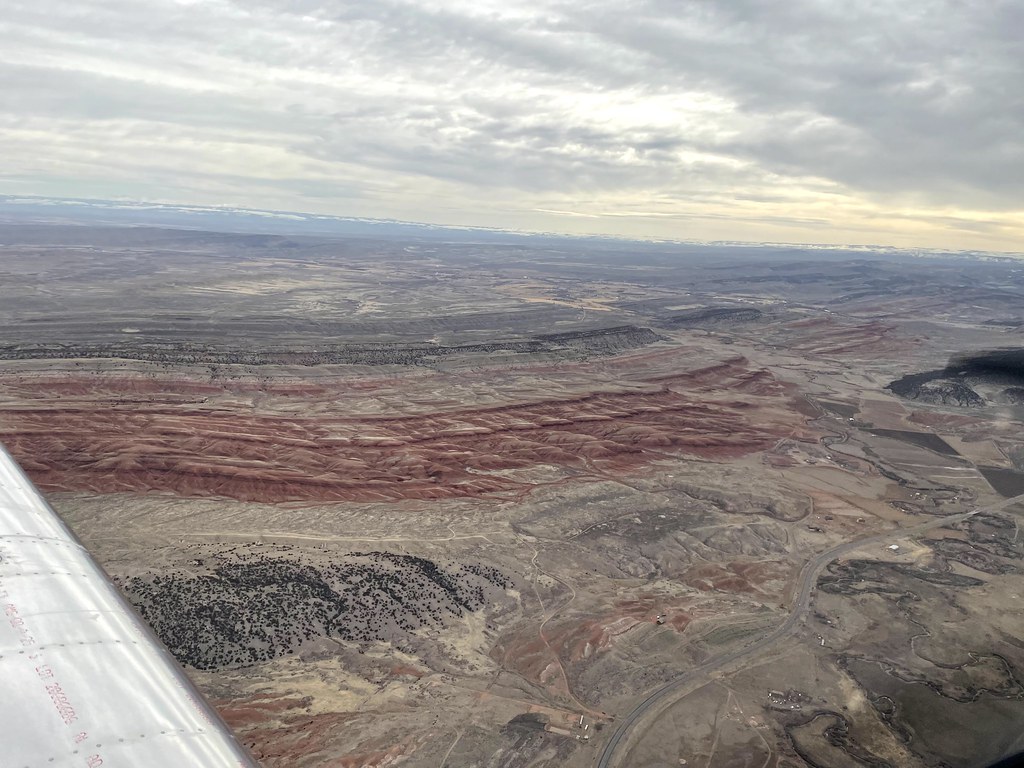
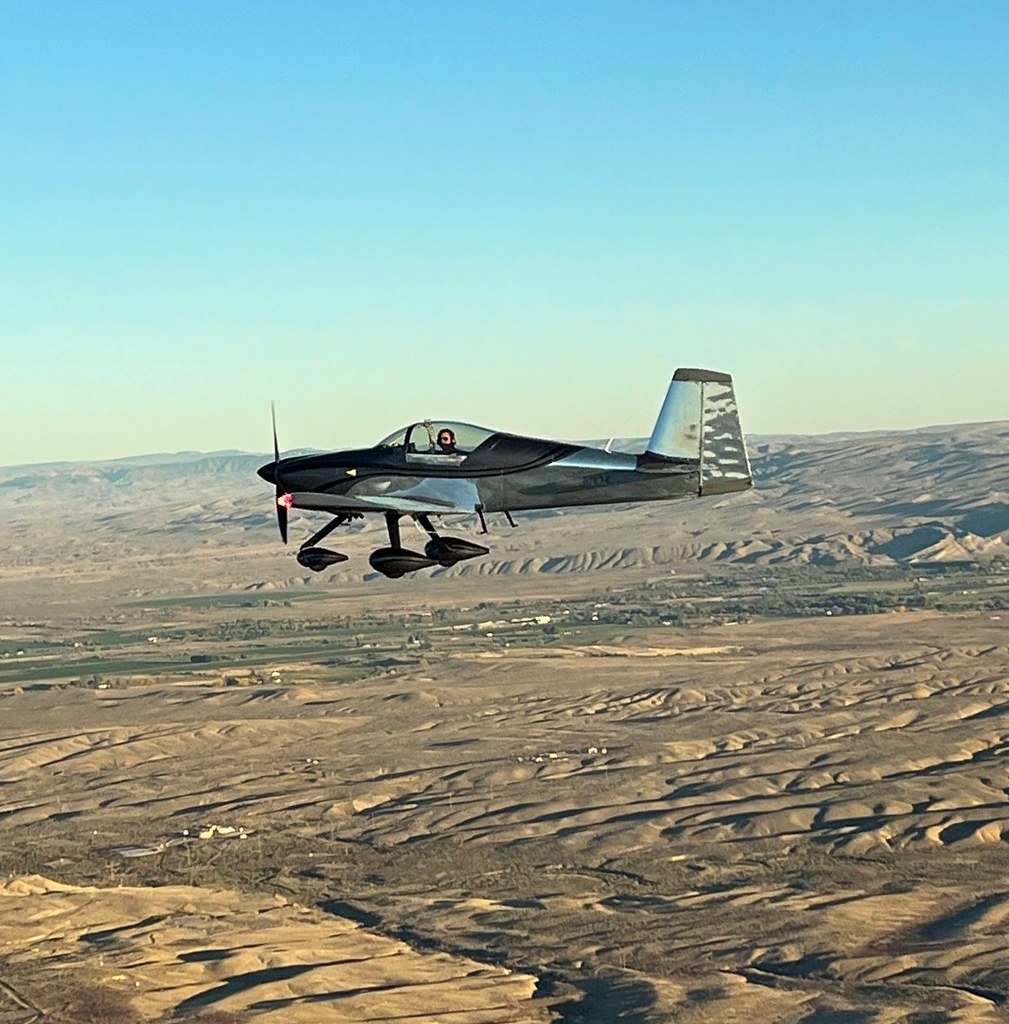
Bonus points if anyone knows what is off my right wingtip in the first pic.

IMG_0600 by Jereme Carne, on Flickr

IMG_0601 by Jereme Carne, on Flickr
 
Well hot diggity dog I forgot I never posted anything about wheel pants on here. I didn't take very many pics as I was in mega work mode; once the plane is flying taking it down for maintenance is brutal! The wheel pants are an absolutely insane amount of work and the ole gal was down for about 1.5 weeks while I worked 8 hours a day installing them.

First, when it comes to the wheelpants I have been asked by other builders "should I wait to install them until after flying?" to which my answer has changed over time. I flew without them for the first 80ish hours (if memory serves) and the advantages are:
1. easy inspection of the brakes/wheels
2. easy to air tires
3. you know if you have any built in trim issues


I also hear others say the perceived advantage of having more drag for break-in. I have heard countless people say this. After having flown with and without the pants installed I can confirm that this is one of the stupidest reasons that ever did cross my ears. :D

After having flown awhile I wish I would have just installed them during the build and flown with them from the start. It would have saved me downtime from flying and to be honest the increased airspeed would have been nice on those hotter days during climb. In fact, flying without them on a hot day while breaking in an engine would definitely put the CHTs above where I would personally want them while climbing. I wasn't worried about it as I was doing my break-in with 30-40 degree OATs.

So, long story short, on my next build (-10) I will be installing them before flight and I will just deal with removing screws to inspect the brakes and tires. Virtually everything else favors having them on for flight.

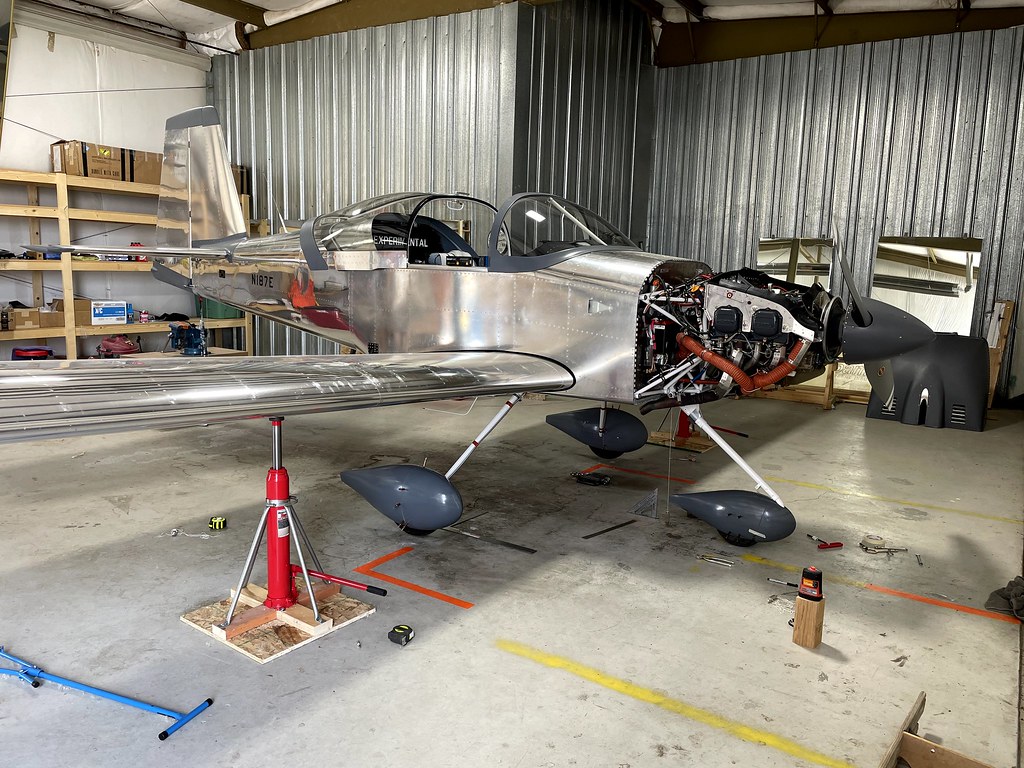
Anyways, back to installation. First I made up some wing jacks that closely match what other builders have done. Only cost in making these was the two bottle jacks as everything else was scrap I had. For the jack points I welded on a bolt onto the top of a gas line cap, this worked beautifully.
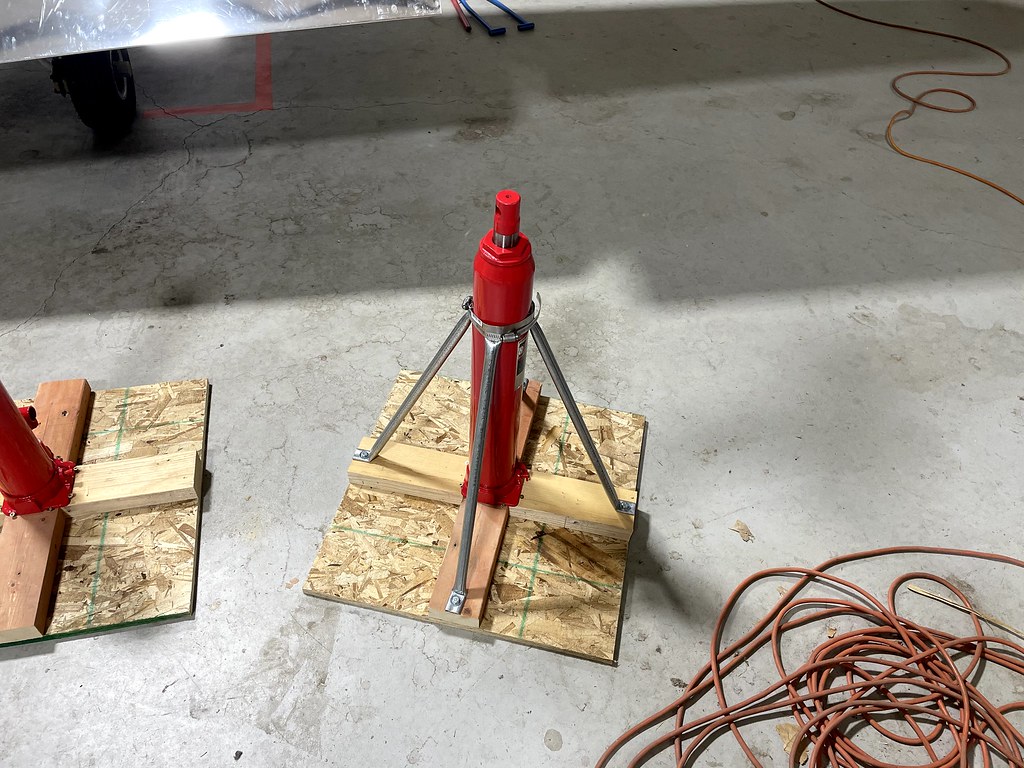
IMG_1238 by Jereme Carne, on Flickr

I also spent many a time making sure the plane was level in both directions. This is important for alignment. I also didn't have the balls to leave the plane on the jacks overnight (even though no one else is in my hangar) so I had to do this process every morning.
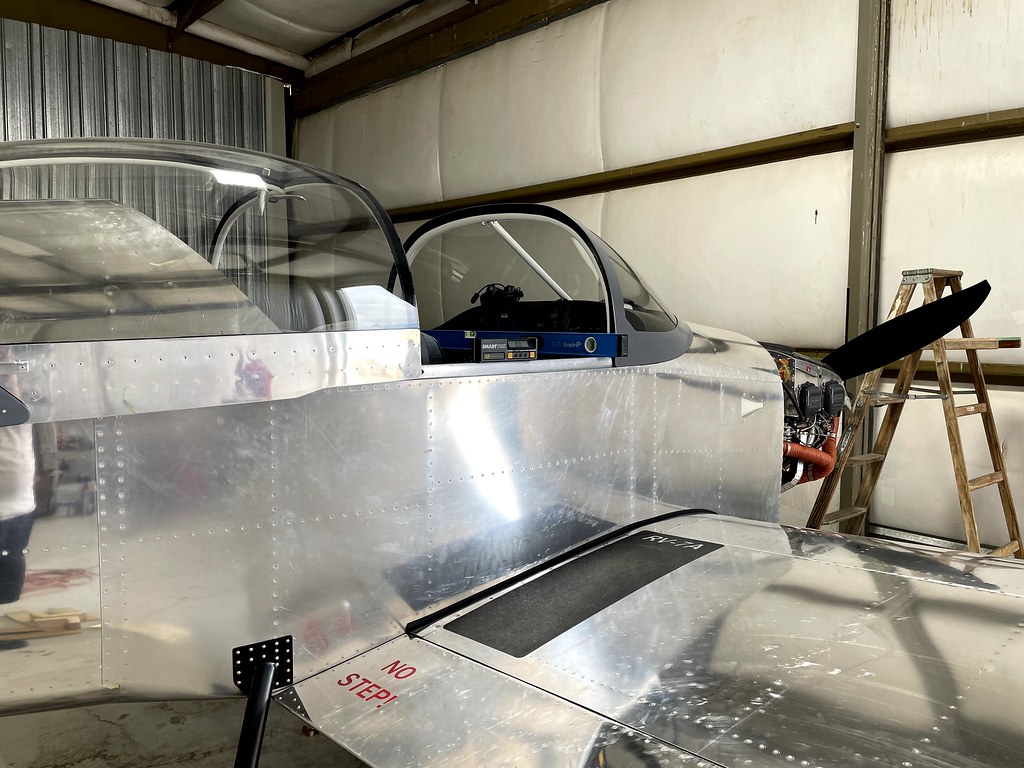
IMG_1240 by Jereme Carne, on Flickr

First up was the brackets and gear leg fairings. These are where most of the speed gains come from (more on that later).
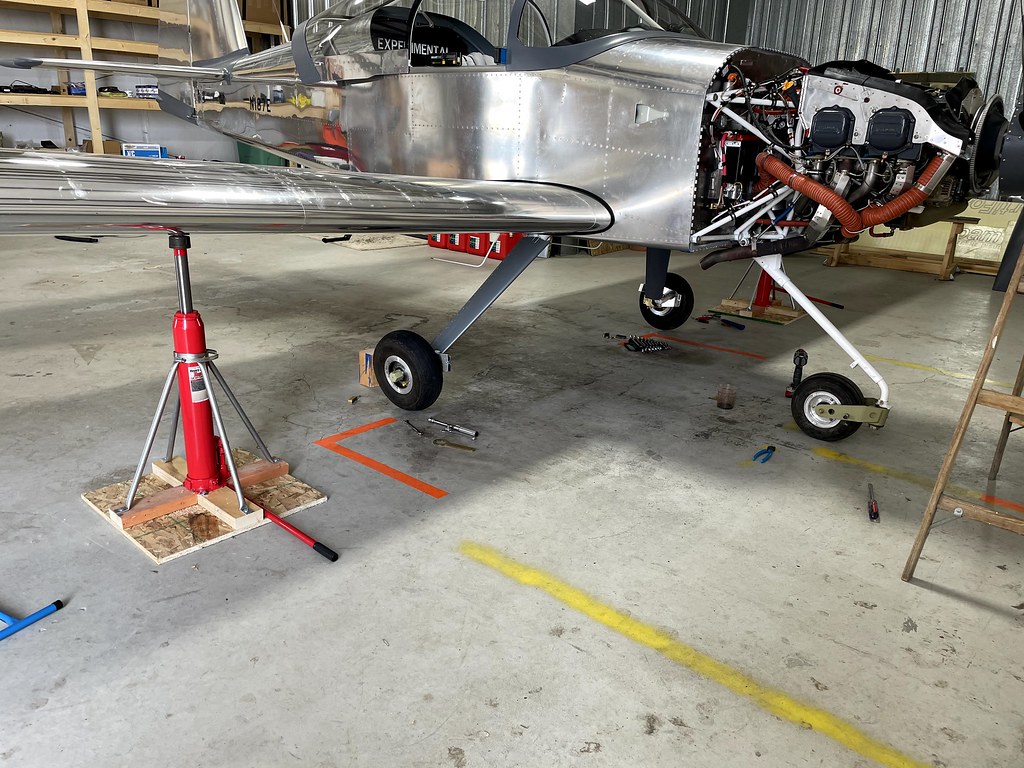
IMG_1241 by Jereme Carne, on Flickr

For the next part you will need to get yourself sufficiently covered in fiberglass dust from mass quantities of tiny trimming amounts. Shortly after you will need to get yourself tangled in a mess of string to make sure things are aligned properly. :) Seriously, these steps are massively time consuming.
IMG_1242 by Jereme Carne, on Flickr

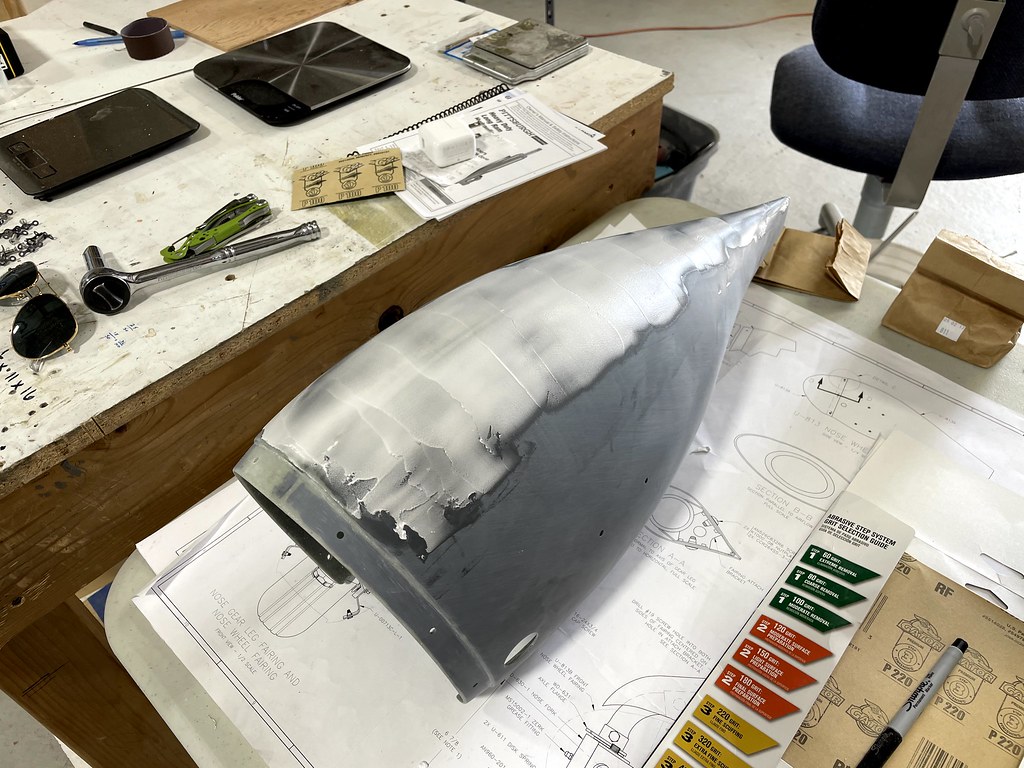
Just when you think you are done go ahead and slap yourself in the face and say "not even freakin close" there is still finishing to do. Time to go back to the glory days, grab your most hated metal can and glass jars and apply some micro, sand sand sand, and well, you know the rest.
IMG_1245 by Jereme Carne, on Flickr

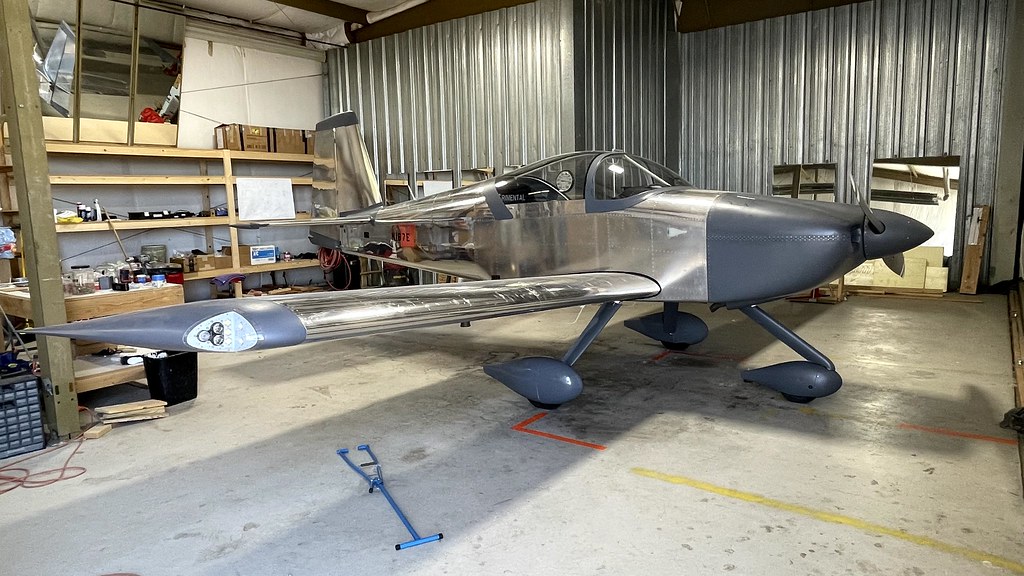
After completely finishing and priming all of the nose gear parts it is time to say "good nuff" and go do some flying.
IMG_1251 by Jereme Carne, on Flickr

I was very pleased when I saw my ball still centered and even more pleased after seeing the speed increase. Those people that say you will pick up around 15 kts of airspeed were not lying. Those numbers are pretty much spot on what I found as well. The plane climbs better/faster and certainly gets you from A to B quicker. The engine stays noticeably cooler in climbs and the plane also looks like an RV, amazing how much the look changes.

Now that you think you are done with wheel pants slap yourself in the face one more time and get to gettin on the intersection fairings. If you want to be like me go out, buy 30 bucks worth of modeling clay, slap it in there and then after 30 minutes of working it around say "F this" and go bust out the credit card. I elected to purchase some fairing from RVbits.com and boy oh boy them bad boys are worth the money! Very nice quality and they fit pretty dang well. It still takes a considerable amount of time to install them though. They won't be a perfection fit but they are pretty dang good. Not to mention when someone at Oshkosh is looking down at your wheel pants to find tiny gaps just remind them "my eyes are up here". :p
 
Last edited:
Thanks Larry! You will really like those fairings.

Once the plane is flying that doesn't mean the building/tweaking stops. Some cables need tidied up. Adhesive backed Velcro sure is some awesome stuff!

IMG_1259 by Jereme Carne, on Flickr

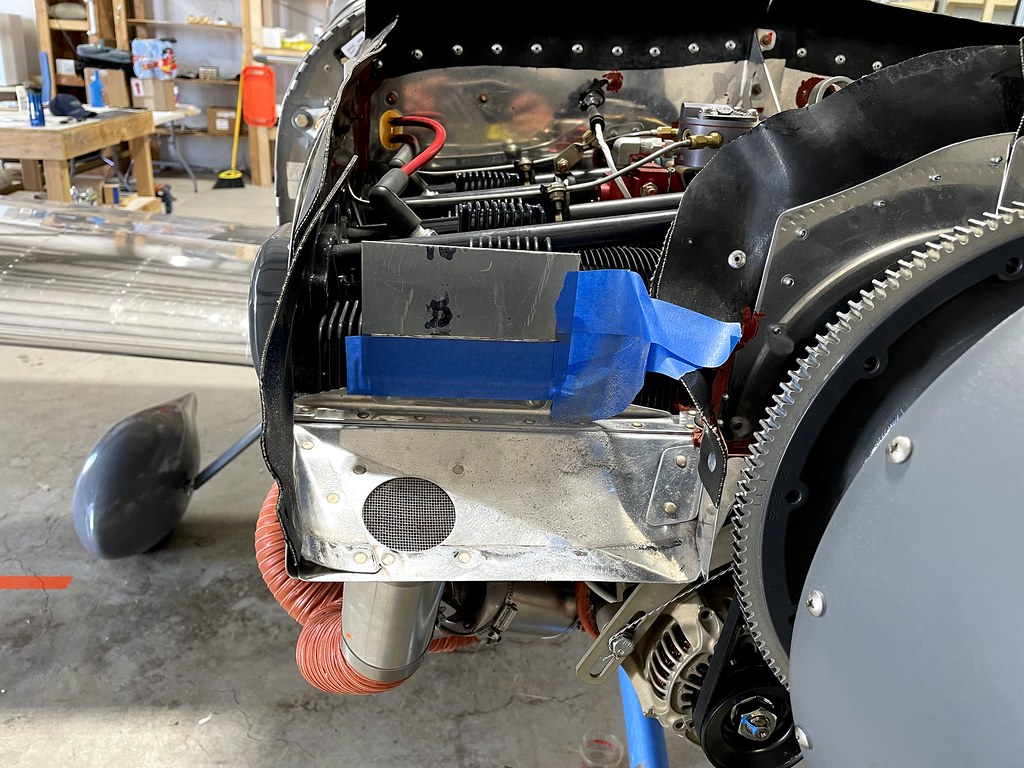
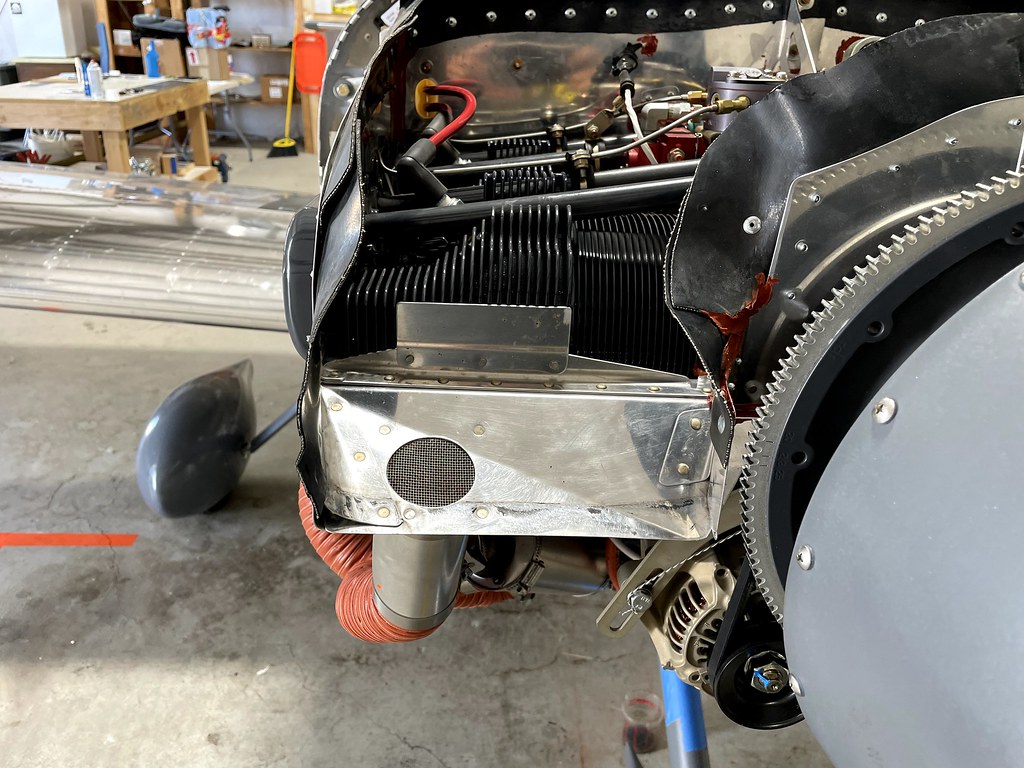
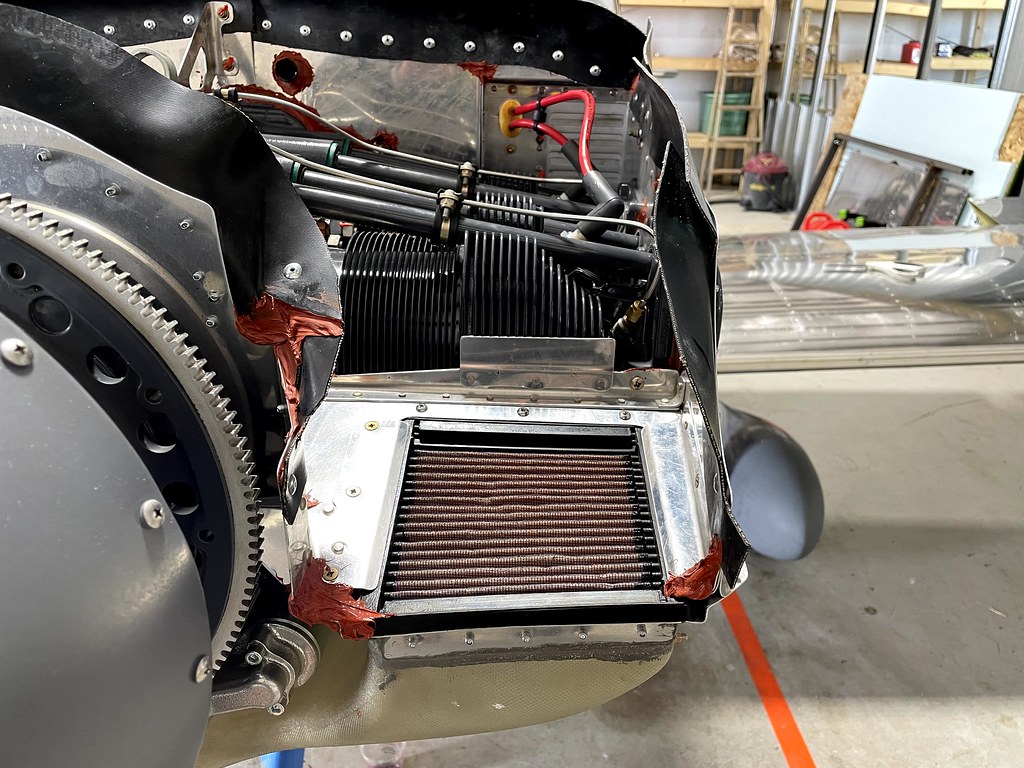
The inlet air deflectors needed trimmed as well. The CHTs on the front two cylinders were a little higher than the back two. After much research many a guys fixed this by removing some of these air dams.

Slip a piece of metal between the dam and the cylinder and mark a cut line. The metal piece will bend forward just enough to debur it as well.

IMG_1263 by Jereme Carne, on Flickr

This is where the right side ended up.

IMG_1264 by Jereme Carne, on Flickr

The left side needed a bit more trimming. Cylinder #2 is still my hottest but not by very much. Honestly if I was building again I would completely leave this air dam off and add material if needed. Sounds like many many others have completely removed this side.

IMG_1265 by Jereme Carne, on Flickr

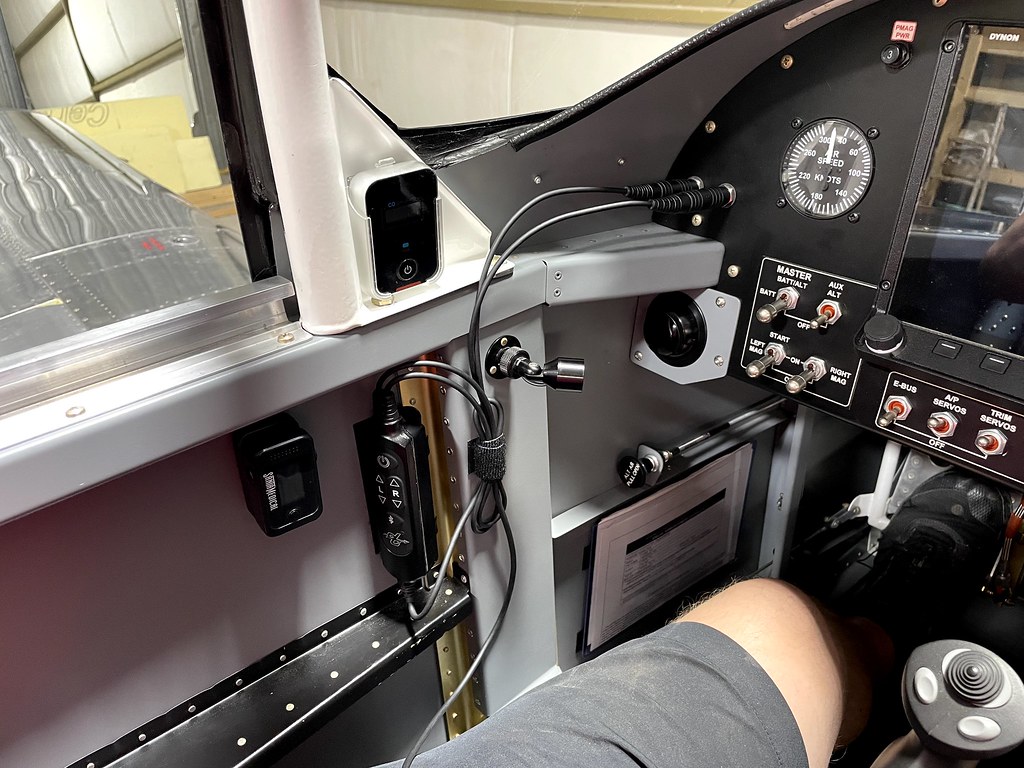
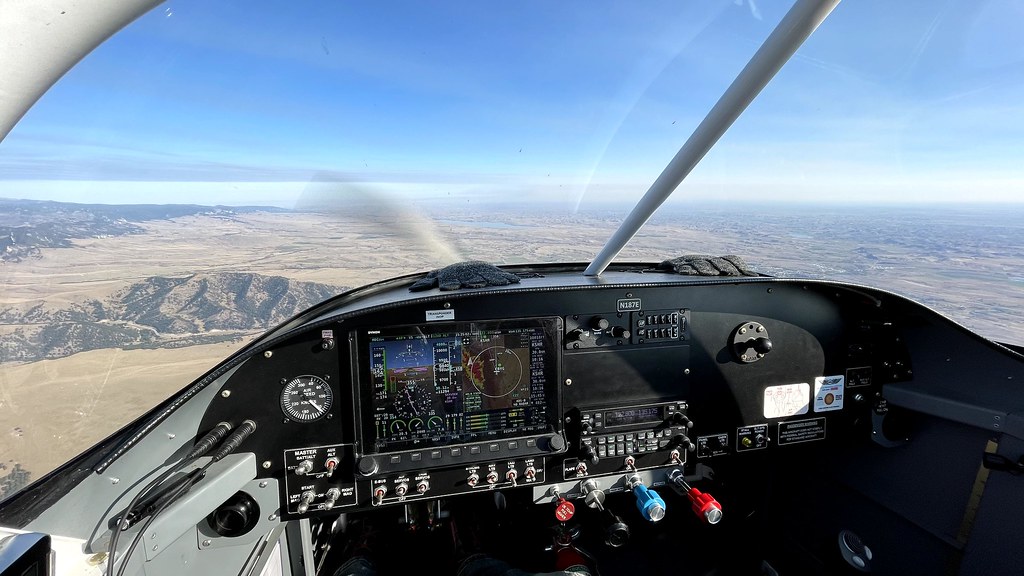
Now get out there and go fly! Oh... I should probably do something to that dash so I don't have to keep those gloves up there. Next time! ;)

IMG_1884 by Jereme Carne, on Flickr
 
Yeah, you have a beautiful plane and I really appreciate the updates from you Jereme! Your picture log is my first go-to when I ask myself "how the h*** do I do that?", which is often. I've been doing that for a little over 4 years now.

But...I'm seeing light down there at the end of this tunnel now...so yep getting to be very exciting!

Ryan
 
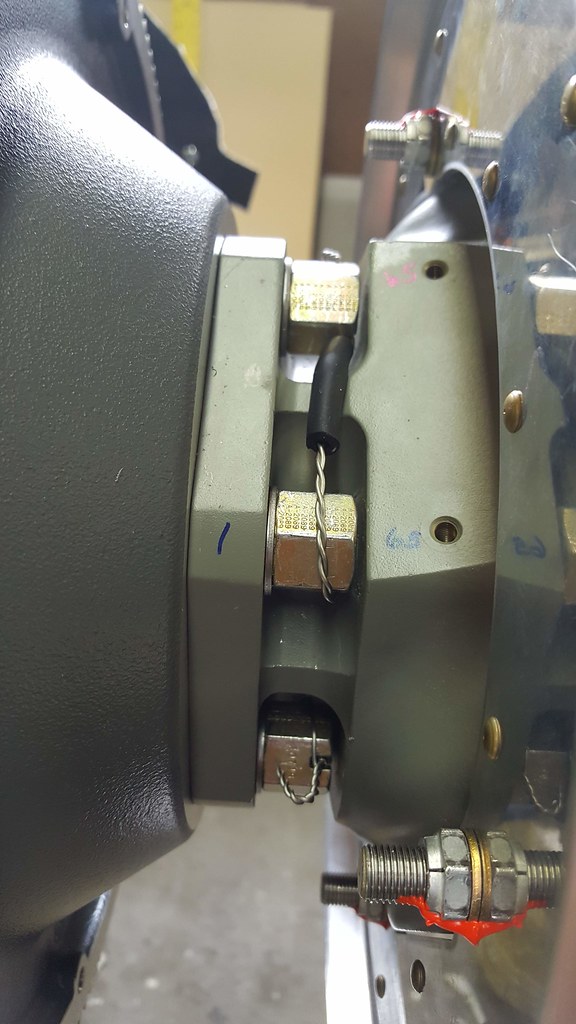
I safety wired the prop and managed to slip and really butchered up my hand. Hartzell actually doesn't require you to safety wire it and they recommend at least 0.032 if you do. I went with 0.041 just to avoid a potential argument with the DAR. Although he seems like a really reasonable guy so far when I have had questions.


Is that just heat shrink or something else around the safety wire, and is the purpose to protect the prop hub from scratches?
 
Is that just heat shrink or something else around the safety wire, and is the purpose to protect the prop hub from scratches?

Yes sir, just to protect the hub. It is vacuum line I bought at Ace Hardware. I think I found it in the automotive section.
 
And you all thought I was done! :D

Just doing some test pieces of 3M 2080 to see how easy it is to conform. Very impressed so far.

IMG_2510 by Jereme Carne, on Flickr

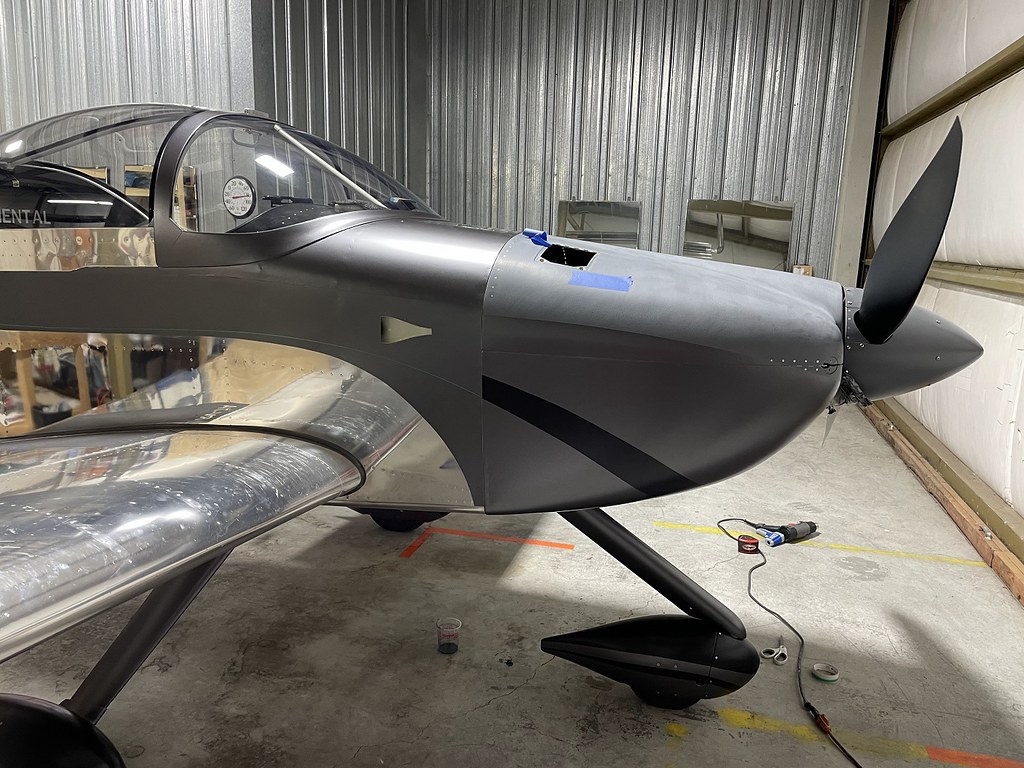
Pretty confident after this attempt that I can get the cowl done in one piece. My design results in different colors on the cowl so no worries here.

IMG_2511 by Jereme Carne, on Flickr
Two different colors, testing out butt joints. I will likely put pinstripe above butt joints to cover them.

IMG_2513 by Jereme Carne, on Flickr
Stay tuned for the design! All I can say is, dark metallic gray, black, accent red or blue and wait for it... polish. Oh boy this is gonna be some work.
 
Interesting!

I will be following this closely. Very interesting. When my 40 hours are up, I may need to fly out and check out your work!!
 
I will be following this closely. Very interesting. When my 40 hours are up, I may need to fly out and check out your work!!

Might even be able to meet you half way!

Jereme,
Looking forward to this thread!

Ya I'm going to try and keep this fairly updated on the process because there really isn't much out there on vinyl wrapping planes or the threads that are there have largely lost the pictures. Might be a month or two before I really get going on it but I'll definitely have it done sometime early June I would guess maybe sooner.
 
Looks encouraging.
I plan on covering the cowling, the forward upper skin, canopy skirt, wing tips, top wing (tank inboard) to prevent sun reflections and complete tail.
Will keep an eye on your findings and results.
 
And you all thought I was done! :D

Just doing some test pieces of 3M 2080 to see how easy it is to conform. Very impressed so far.

IMG_2510 by Jereme Carne, on Flickr
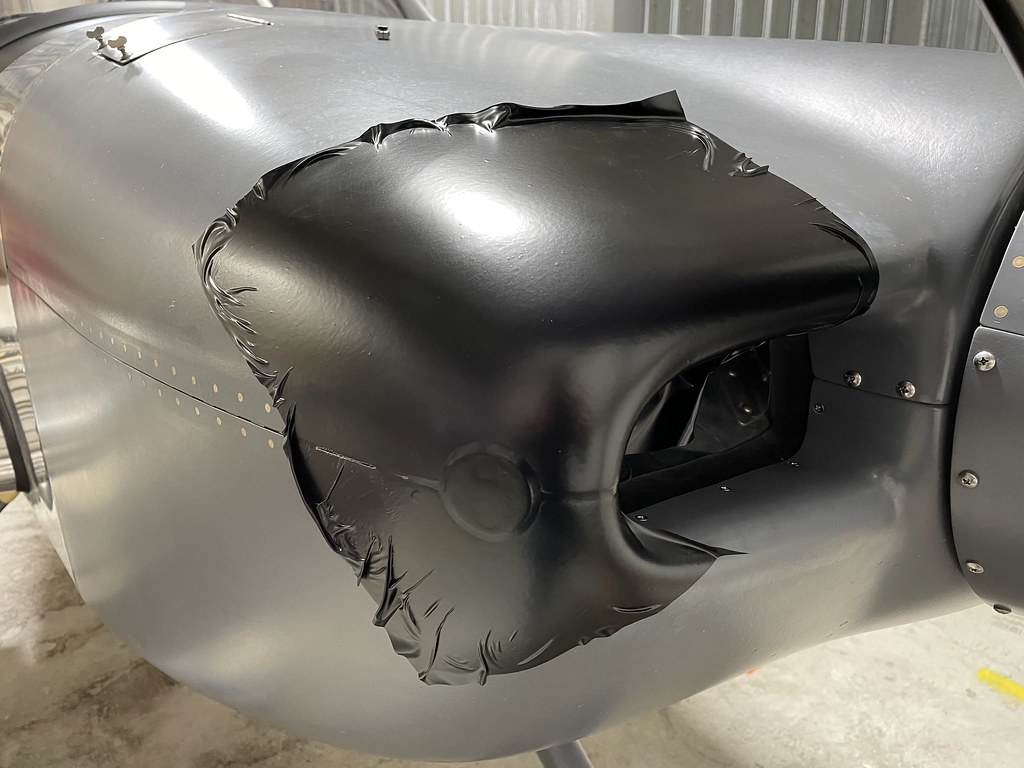
Pretty confident after this attempt that I can get the cowl done in one piece. My design results in different colors on the cowl so no worries here.

IMG_2511 by Jereme Carne, on Flickr
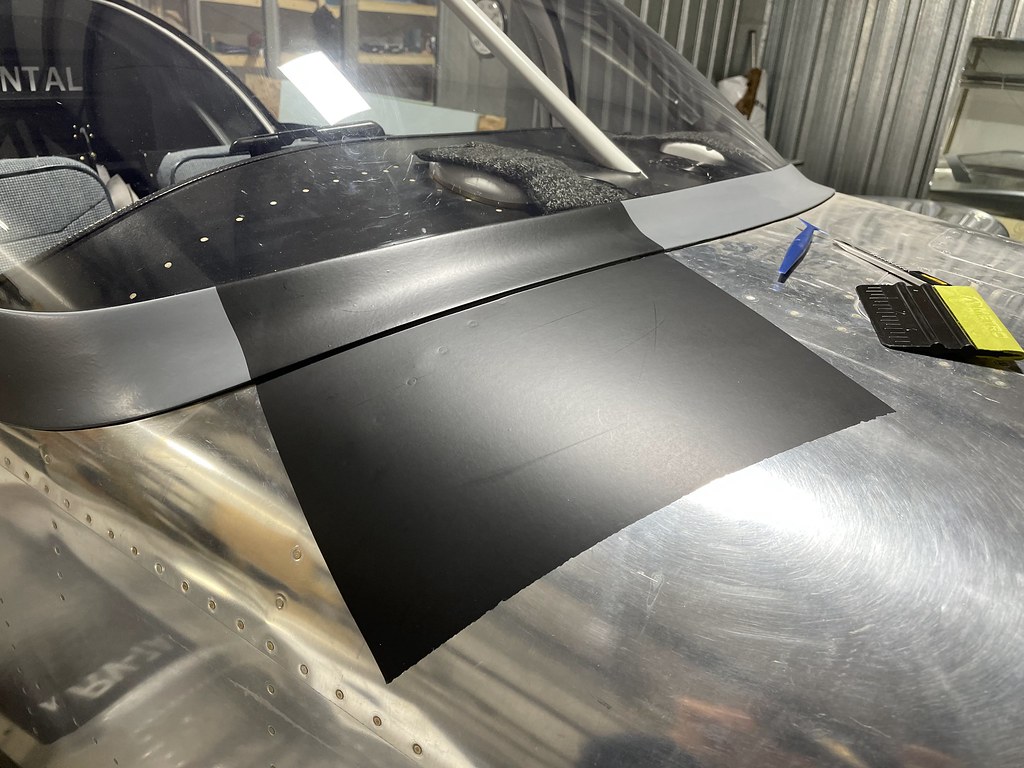
Two different colors, testing out butt joints. I will likely put pinstripe above butt joints to cover them.

IMG_2513 by Jereme Carne, on Flickr
Stay tuned for the design! All I can say is, dark metallic gray, black, accent red or blue and wait for it... polish. Oh boy this is gonna be some work.

Yes Please!
 
I love the 3M products. I have actually use the graphite vinyl to wrap my interior finish. Photo link below
However, I work in the sign industry and use a lot of 3m products and from what I've found on 1080 vehicle wrap is that it does not hold up for more that 3-4 years. (In all fairness our vehicles were outside 24/7 in the Mohave desert) but we've seen a lot of fading and cracking)
AF1QipMhwJoYIuhXnm54I-JU40ZOPDwR5bdPLuVY2p4
 
Last edited:
I love the 3M products. I have actually use the graphite vinyl to wrap my interior finish. Photo link below
However, I work in the sign industry and use a lot of 3m products and from what I've found on 1080 vehicle wrap is that it does not hold up for more that 3-4 years. (In all fairness our vehicles were outside 24/7 in the Mohave desert) but we've seen a lot of fading and cracking)
AF1QipMhwJoYIuhXnm54I-JU40ZOPDwR5bdPLuVY2p4

Very nice!

Ya I have heard just about anything will crack with enough sun exposure. Luckily the ole gal is kept in a hangar so I'm betting I won't have to redo it for many years. If it doesn't last as long as expected then paint may be in store. I just really hate doing that stuff. The prep work is miserable and I don't have the ability to setup a booth. Thanks for the info!
 
I love the 3M products. I have actually use the graphite vinyl to wrap my interior finish. Photo link below
However, I work in the sign industry and use a lot of 3m products and from what I've found on 1080 vehicle wrap is that it does not hold up for more that 3-4 years. (In all fairness our vehicles were outside 24/7 in the Mohave desert) but we've seen a lot of fading and cracking)
AF1QipMhwJoYIuhXnm54I-JU40ZOPDwR5bdPLuVY2p4

There's some truth here. I've been watching along, and also have a long history in the graphics industry. The hanger will do wonders for lifespan, but I wouldn't expect this to last more than 3-4 years. Also, removing the vinyl from bare aluminum will be tedious at best. While the aluminum underneath will be well protected, I'd give yourself a patient week to pull it all off. It'll make the blueing seem like a fun activity at the end of the day!
 
Just a bit of experimentation today. This was my first attempt at polishing and only spent about 45 minutes trying to figure it all out.

I think it came out pretty good for a first attempt. After doing it wrong for a bit it finally clicked and I started getting good results. Still trying to get a good setup for the grade S nuvite since I didn't want to spend the big bucks for the Cyclo polisher.

This was only 2 passes of F7, 1 C, and 1 S. On the plane I will likely do more F7 passes.

Most importantly I actually enjoy it so far. :)

IMG_2534 by Jereme Carne, on Flickr
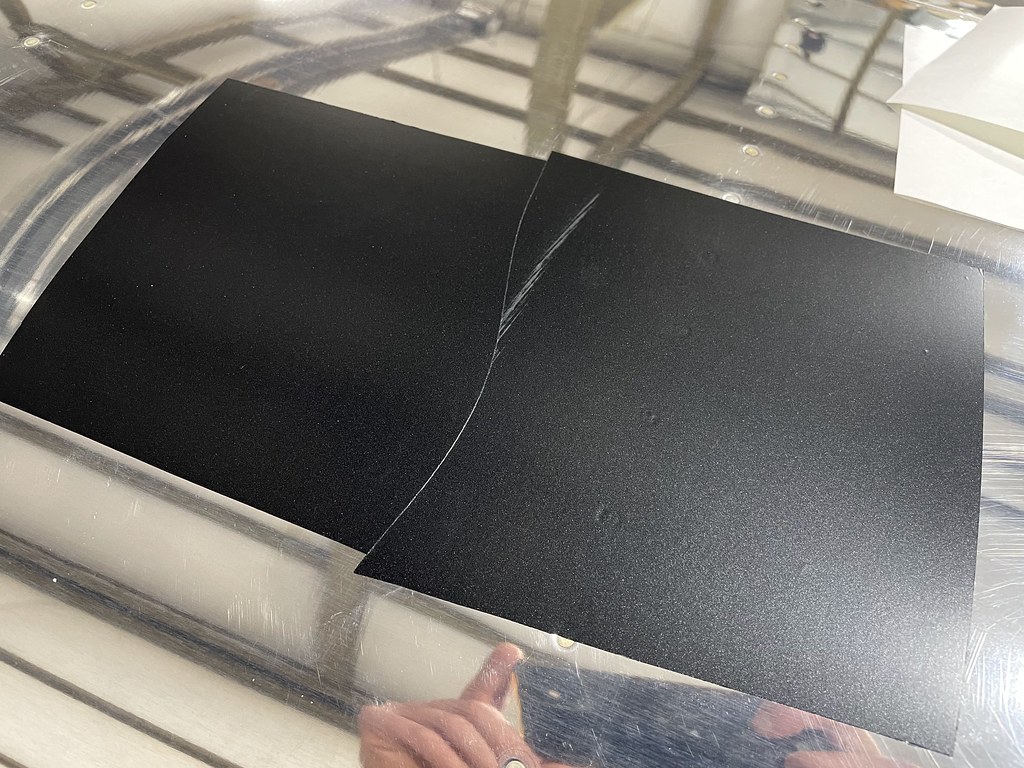
 
Okay, couldn't help myself, more play time!

This is 5 passes F7, 2 C, and 2 S. I don't think the second pass of C or S did anything extra though. I've got a few imperfections in it but I was also doing this on a dirty table where contaminants likely got in. Despite this I would be just tickled with this on the plane. I'm not looking for a 1 foot polish.

P.S. I'm man enough to show you the photos in direct sunlight. Anybody can do a perfect hangar polish! :D

IMG_2539 by Jereme Carne, on Flickr
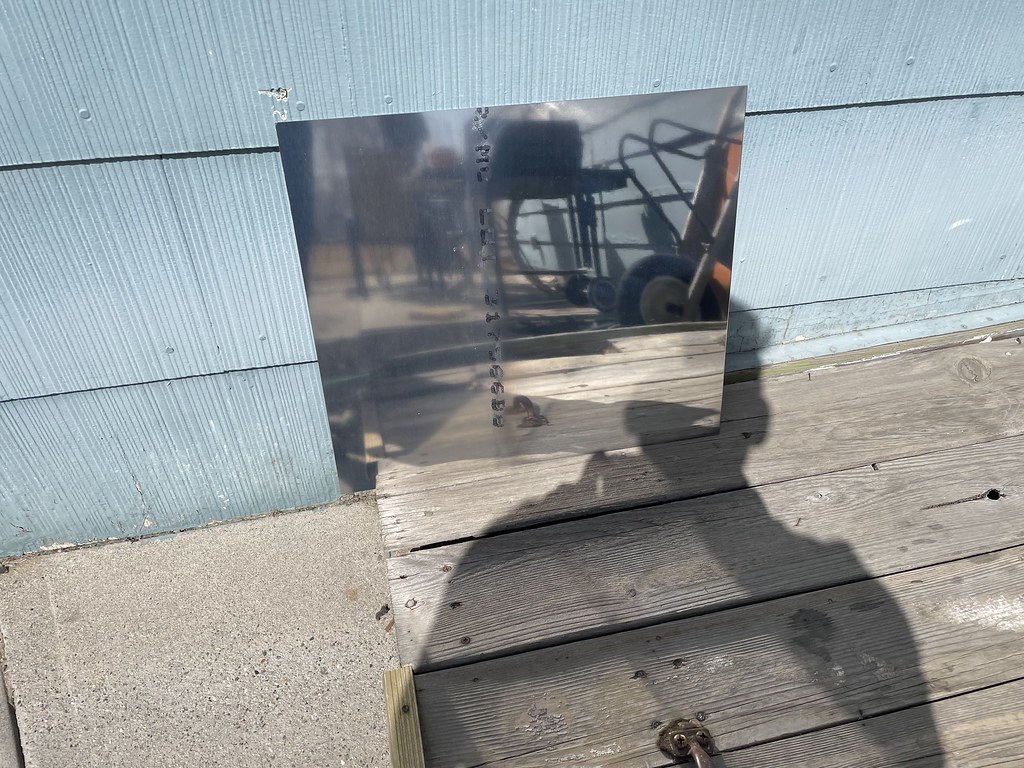
IMG_2540 by Jereme Carne, on Flickr
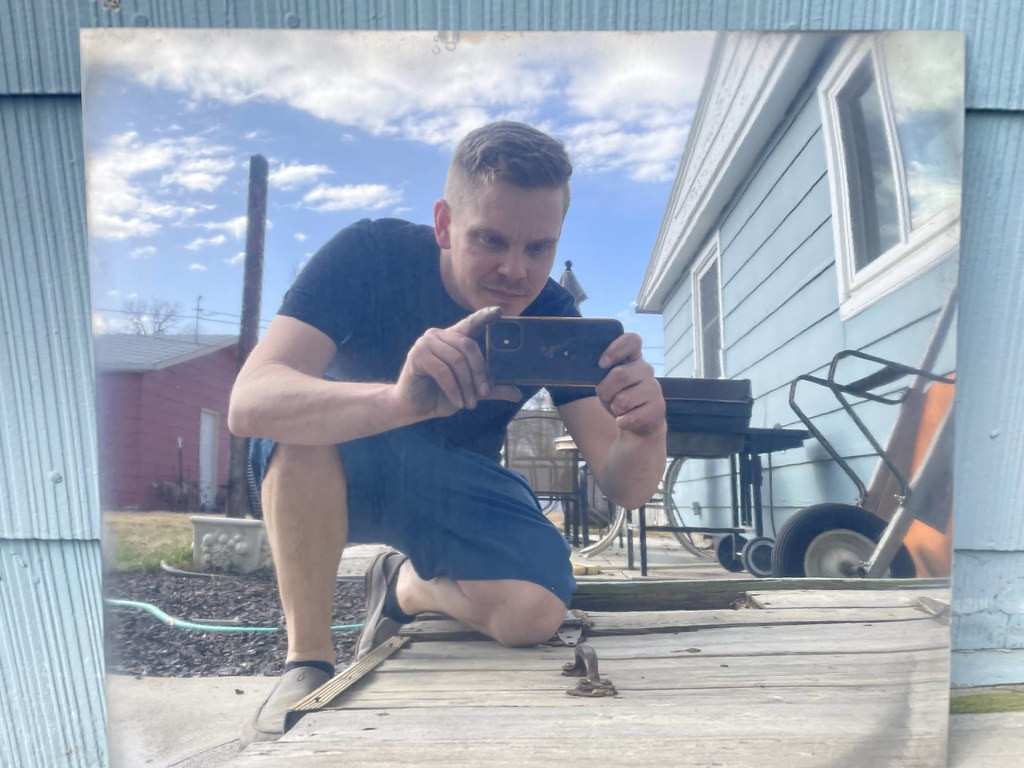
 
This is craziness Carne!

Now you're just rubbing it in how "done" you are...haha

Haha ya after it’s finished I don’t know what I’m going to do with myself. Hahaha oh ya I already told the wife I’m building a -10 next. :D
 
Just realized I never really posted a finished pic after the wrap job and got me thinking I should update this thread with some of the things I have done.

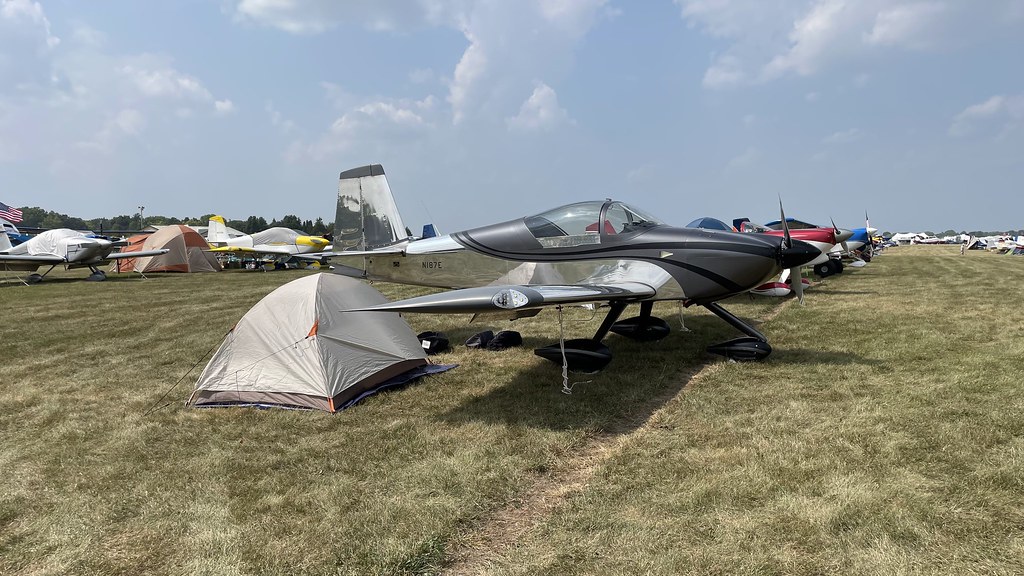
Here is Osh this year with the wrap "finished". I still have to do something with the tips, I just can't find time to stop flying and instructing to do it! :)

IMG_3721 by Jereme Carne, on Flickr
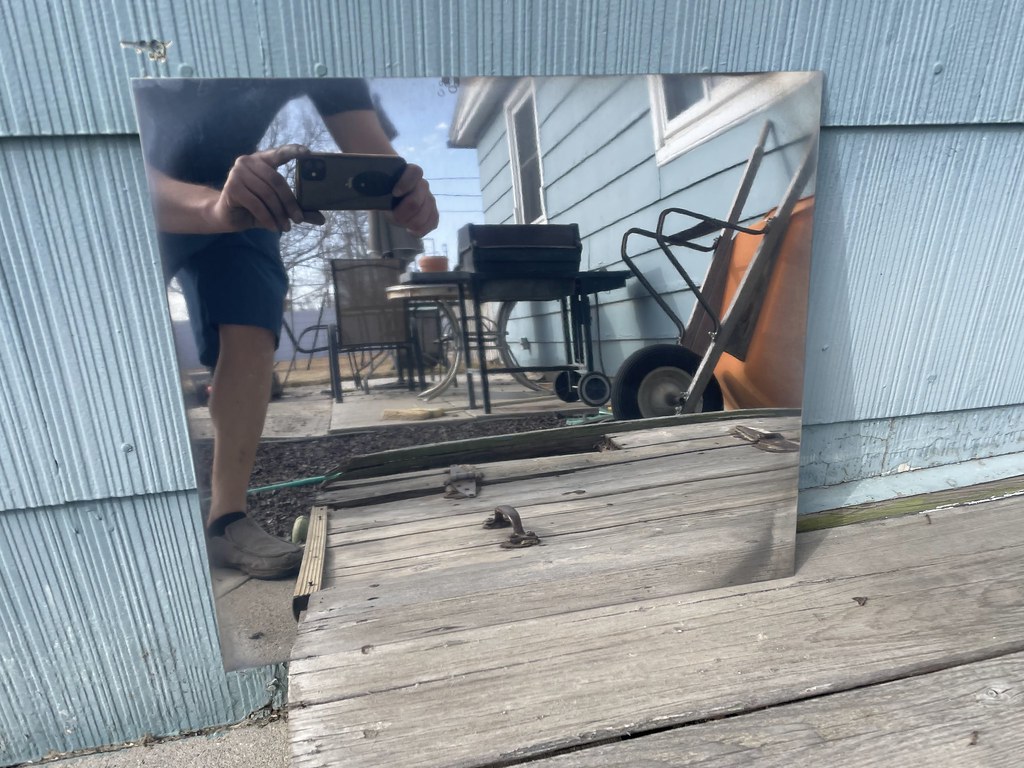
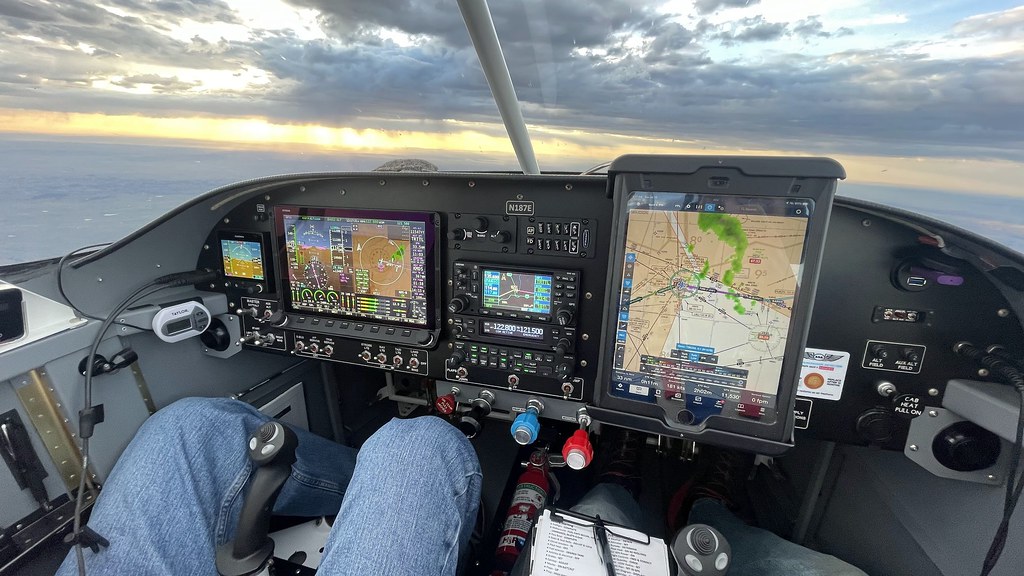
Also, here is the final panel install. I am debating installing a right side HDX since I haven't flown left seat since December. I don't instruct in the RV but I just prefer the right now. haha

IMG_3710 by Jereme Carne, on Flickr
When you are done the building won't stop. I decided to replace the right aileron due to minor hangar rash. Just need to get it finished! It was nice to be back to the good ole days of drilling parts.

IMG_3330 by Jereme Carne, on Flickr
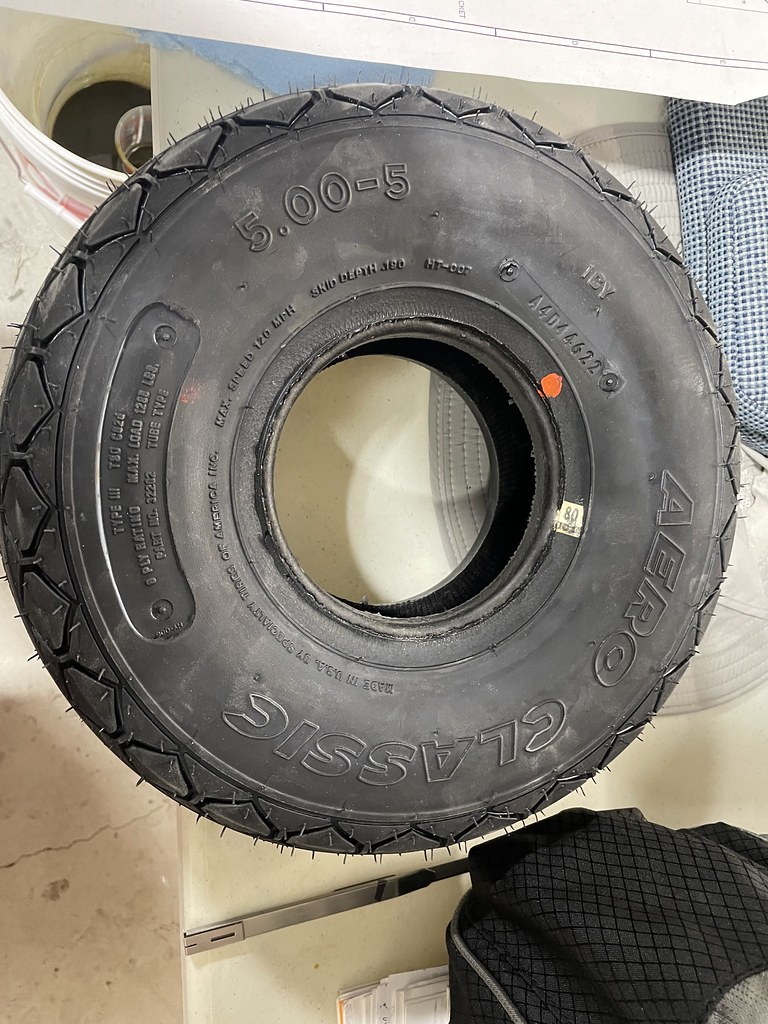
After about 400 hrs it was time to install some new tires. :) I was happy with the life of the stock ones so I kept with them.

IMG_3382 by Jereme Carne, on Flickr
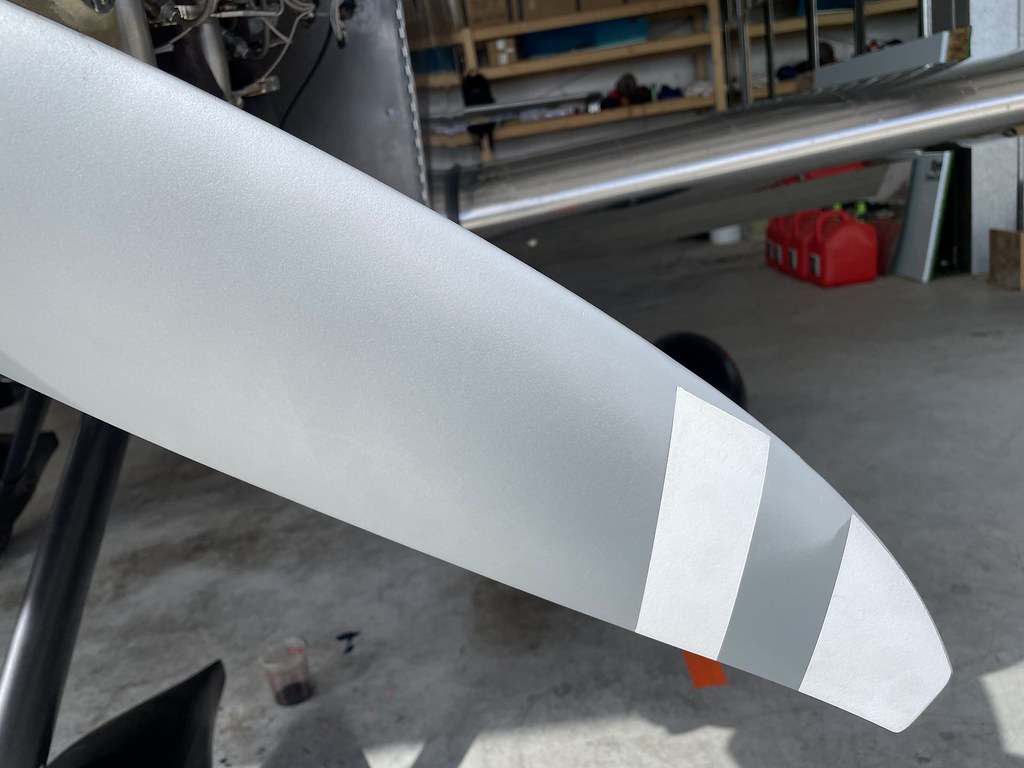
Had to dress out my first prop nick. Pretty sure I picked it up doing short field takeoffs for my commercial checkride. The hartzell touch up paint doesn't perfectly match but oh well.

IMG_3429 by Jereme Carne, on Flickr
Which meant I got to buy a cool new tool!

IMG_3430 by Jereme Carne, on Flickr
The RV-7A has been a great machine and to those of you still building keep on banging out those tasks; it is truly a great plane that you will love. Hope to see many of you at the next fly-in!

IMG_6326 by Jereme Carne, on Flickr
 
Last edited:
Looks fantastic as usual. I will tell you what, sometimes I just get sick of wiring this plane. One step forward two steps back it seems. But I will soldier on with your continued support and encouragement.
 
Looking good Jeremy. I find the same as you - there are things I would like to do - but I just cant get past hopping in the plane and going for a flight rather than work on it!!

Have fun.
 
Been having some EGT readings on #1 that were wacky. I think I found the problem... haha

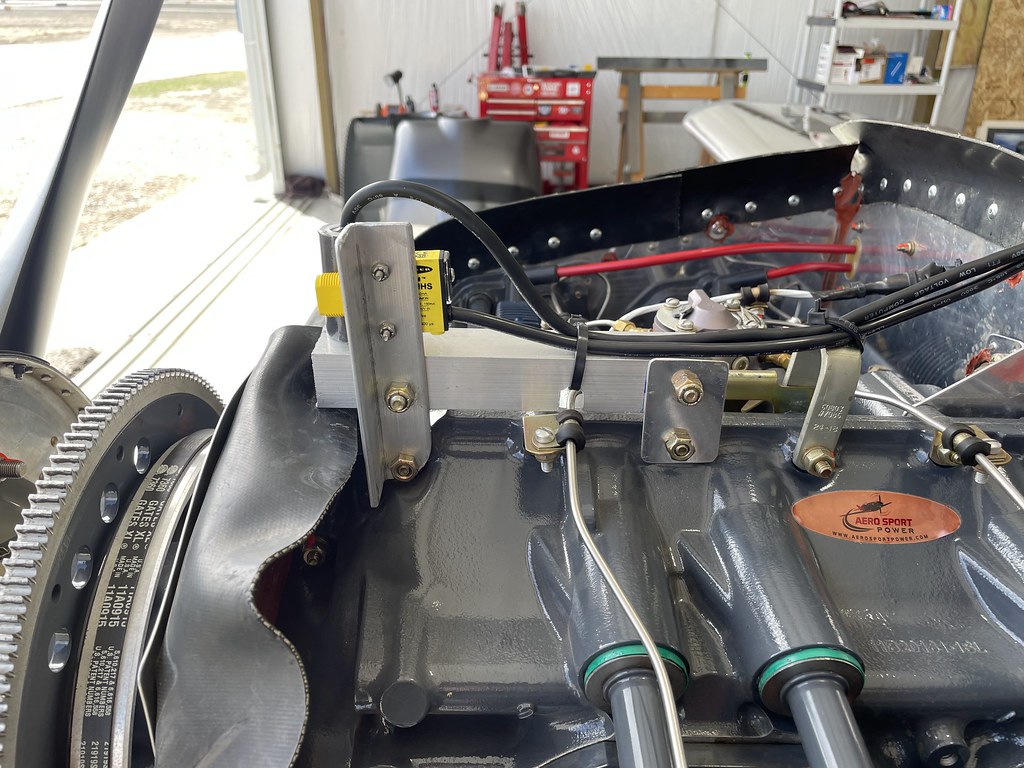
Got it all changed out, next up new fuel flow sensor, it works about 95% of the time now.

The project never stops
 

Attachments

  • IMG_4565.jpg
    IMG_4565.jpg
    1.2 MB · Views: 40
  • IMG_4566.jpg
    IMG_4566.jpg
    1.3 MB · Views: 41
Back
Top