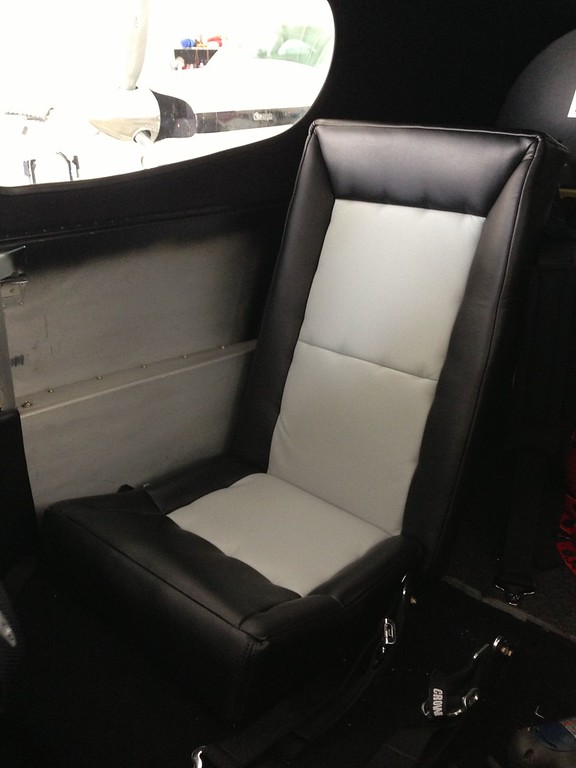
Also planning to use zolatone. What type sprayer did you use and how set up? Also curious about your color choice (the wife pleasing part).
The paint was the most frustrating part of the build to date. Not putting it on, but getting information from Zolatone. I called them and was promised a set of paint chips, after five calls with the same person, no chips. We wanted to use a color that is on their web site, 20-12, Slate Gray. I tried several locations, eventually calling the wholesale distributors in several states, none of which had heard of that color. When I finally got to their customer service person, they said it was a valid color, but they had none in stock, didn't sell much of it but would mix up a batch for me in several weeks with a minimum order of many gallons.
We decided that a mix of their colors shown on the Intermix page would be Ok. It was a 1/1 mix of 20-54 Camille white and 20-59 Lillith Black. The local retail distributor ordered a gallon of each along with catalyst. (I did not use the catalyst after a trial, the stuff is tough as nails and it only adds to the chemical and water resistance. Plus you can't pour it back in the can after use.) After trying the 1/1 mix, I went to a 2 black to 1 white and we like the result. I also got a gallon of gray epoxy primer, the required undercoat of the Zolatone. Zolatone primer is apparently not available anymore.
I picked up a Binks model 7 spray gun and pressure pot at a local garage sale for $15. Real antique, but in very good shape The Zolatone web site has instructions on application and they say that a siphon gun will not work because it breaks up the encapsulated paint particles. I got a needle/cap/tip with a .083 dia from EBay as they recommend. This is a very large hole. I have a HobbyAir system and a paint hood, both a very good idea with this material.
The process is 3 steps. First The cabin top and doors were prepared by filling the large dings and edges, like on the Aerosport overhead console with micro and sanding smooth. The overall area was sanded with 80 paper and the lumps and bumps removed, about 4-5 hours work. The window edge was masked with electrical tape to provide a sharp edge. The rest was masked with masking tape. (The windows were put in with Sikaflex, highly recommended.) The aluminum was scuffed. Everything was painted with the epoxy primer. I let it dry overnight even though it stated it could be over coated in 30 minutes. I would hate to have the Zolatone lift the uncured primer!
The cabin top and doors looked like ****, pinholes all over the place and the glass weave showing thru. Does not matter.
The first coat of Zolatone is put on with 10 psi in the pressure pot, fluid open one turn and 65 psi !! at the gun at 8-12 inches. The high pressure and close application causes the paint to spread and produces a very fine splattered appearance. After no wait at all, a second coat is put on with 10 psi in the pot, fluid open two turns and 25 psi at the gun. You hold the gun 24- 36" away from the surface which produces the splattered appearance.
There are some issues with this application method. At the high pressure you have to move very quickly. I used about a 20% overlap. The second coat produces a very wide spray pattern, about 18" and must be put on evenly. Trying to shoot a edge, like 1/2" wide flange is an issue because the overspray gets on the flat portion and causes a weird pattern. I sprayed the edges and then the flats, seemed to cover the weird stuff.
Most paints have overspray, but it is dry before it hits anything and it does not go very far. At 65 psi the overspray can go many feet and this stuff remains sticky. If you do not have something to block the spray, it is now a part of your shop. I set up my stuff about 8" above the floor over a tarp with paper under it and shot down as much as possible. When having to spray horizontally, I used a sheet hanging down from a long 2X4 to block the spray. Don't wear your good pants.
I pulled the masking tape after about 3 hours when it was dry to the touch but still tender. It came away clean and did not pick up the paint. I missed one small tape and got it off the next day without issue.
Came out great. I am now taping and masking the inside of the fuselage for the application of the areas required there. A real pain and I suspect the spraying will not be easy. I am doing all the painting before the cabin top is installed for the final time. It is relatively easy with the great access. The aircraft is completely wired and tested, all the wires that go to the engine are passed thru the firewall. The cabin top goes on, the front windshield and all the other things like it and I can lock the cabin doors and install the gear legs. Has been great working on everything with the top off and the fuselage set where I can stand on the ground and reach everything.


