Sunday 14 & 15
I have not posted for a while so I will just copy some of what one of our members Peter had to say on a South African Aviation Forum:
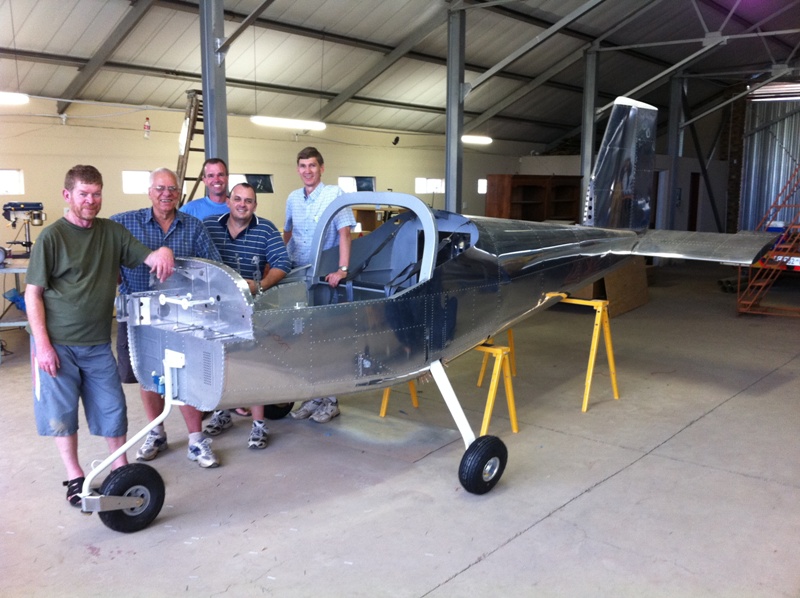
The guys are so excited we did some un-official ad hoc building on our off sunday. 1/2 the team came in.
BIG MILESTONES Reached:
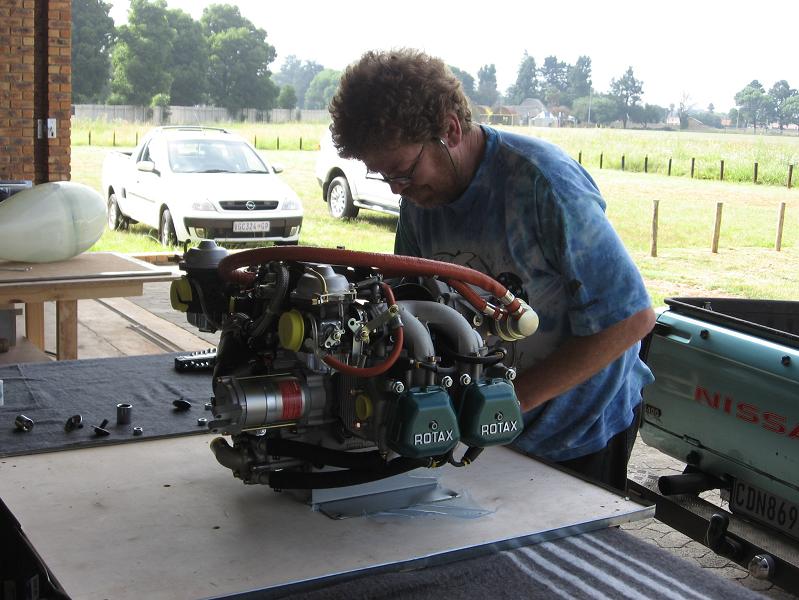
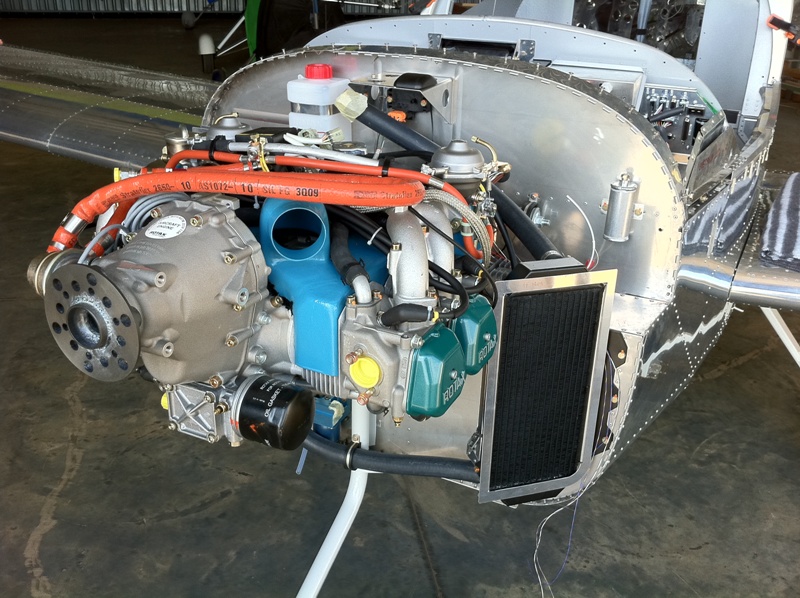
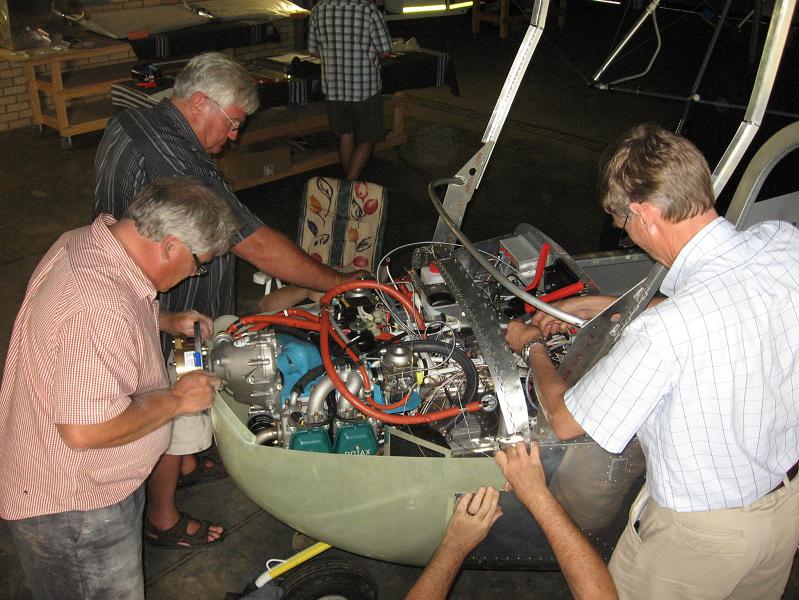
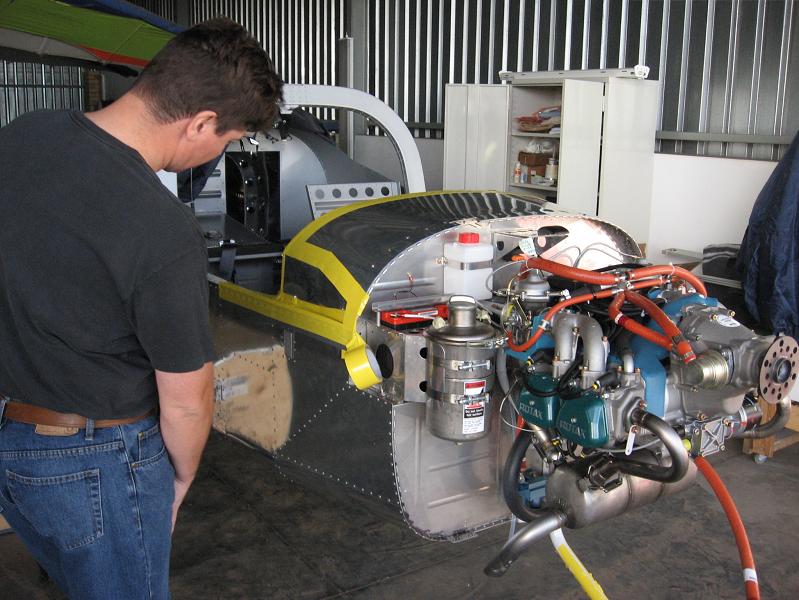
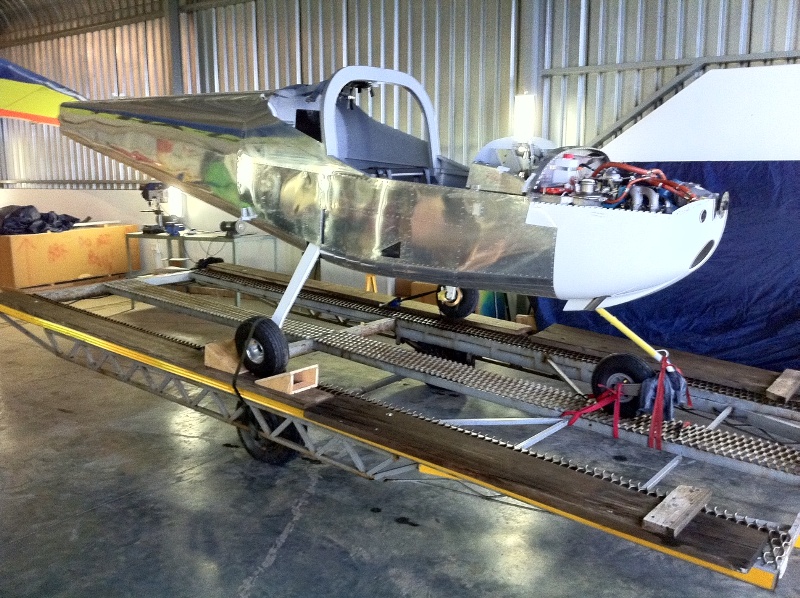
1) The Rotax Engine is hung.
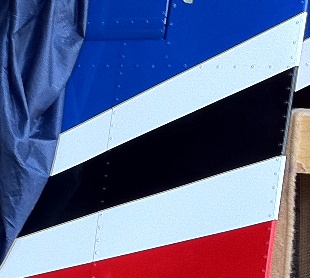
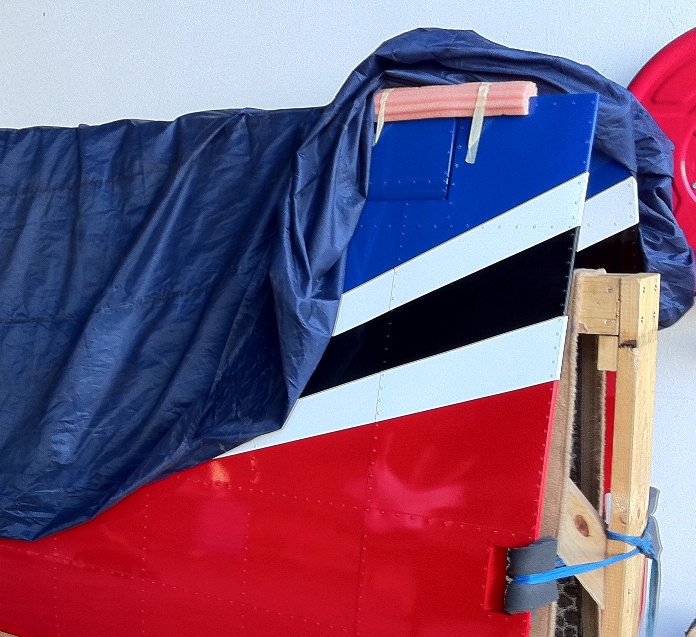
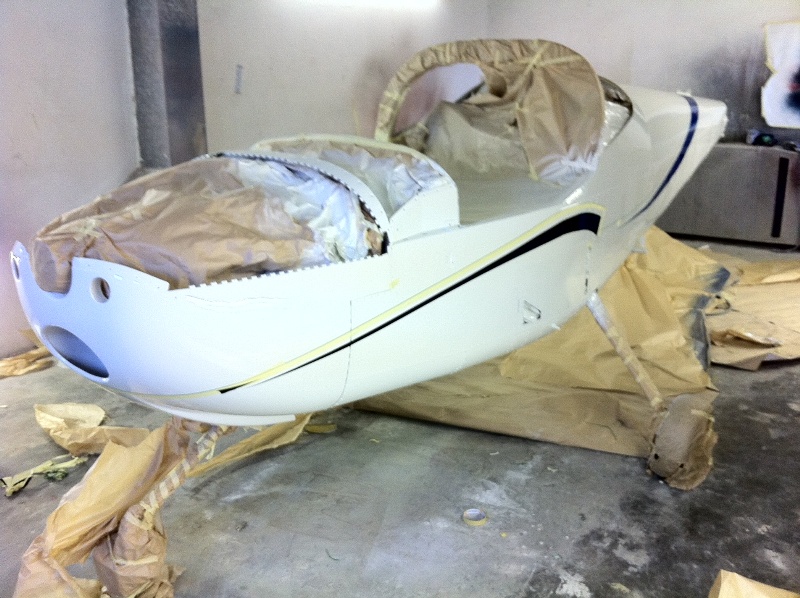
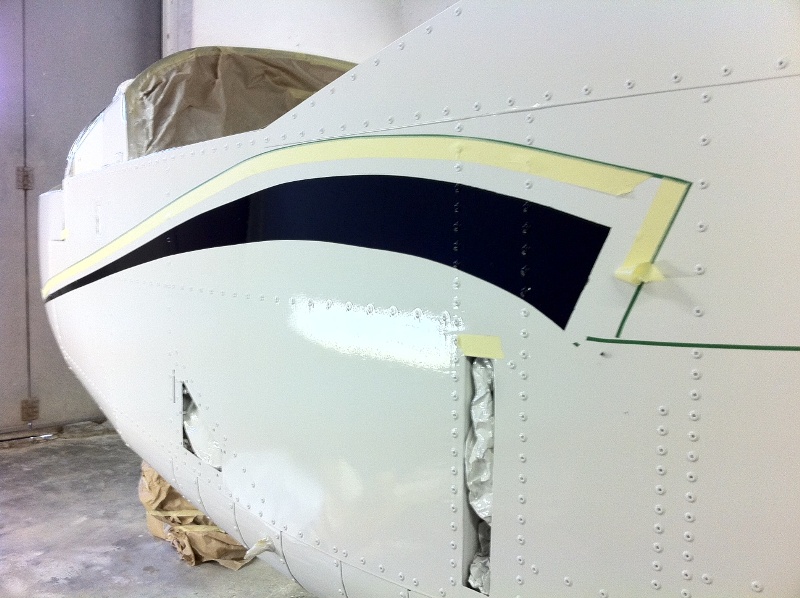
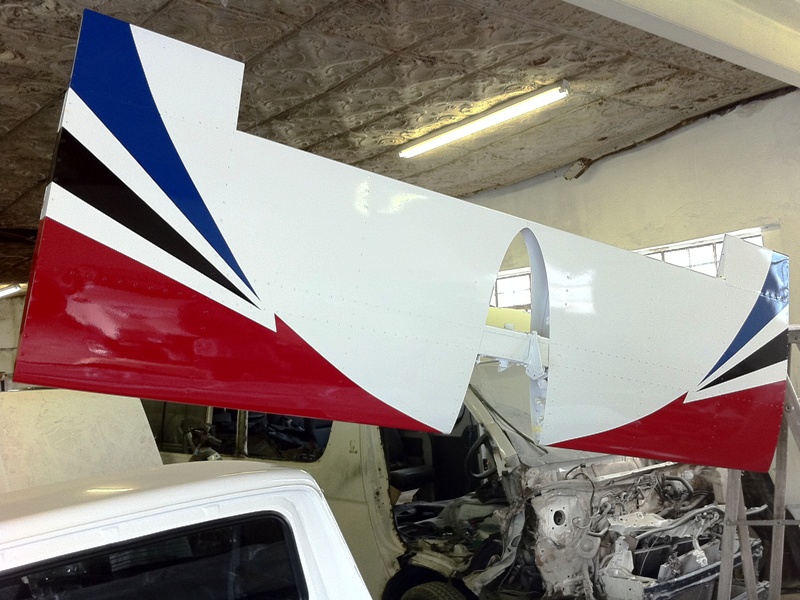
2) The flaperons and Wings has been connected tested and taken appart again for painting
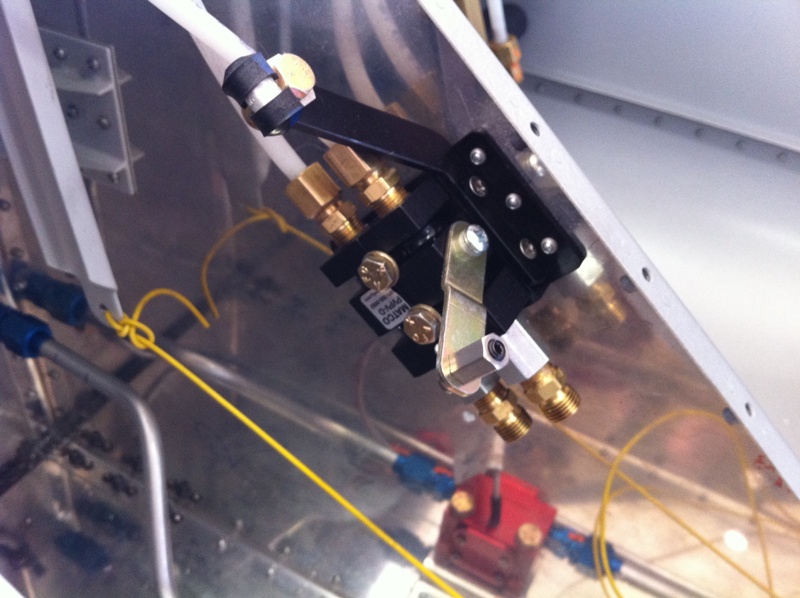
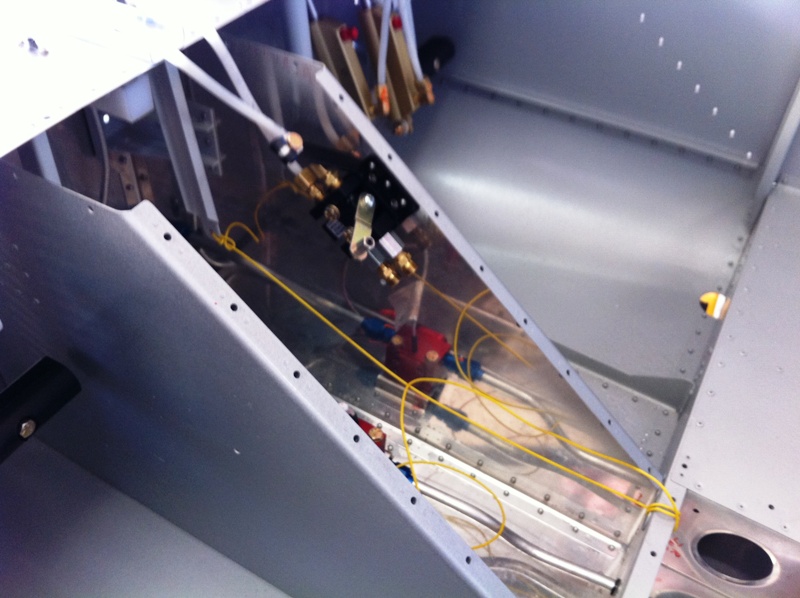
3) The Autopilot Servos and Magnometer has been installed.
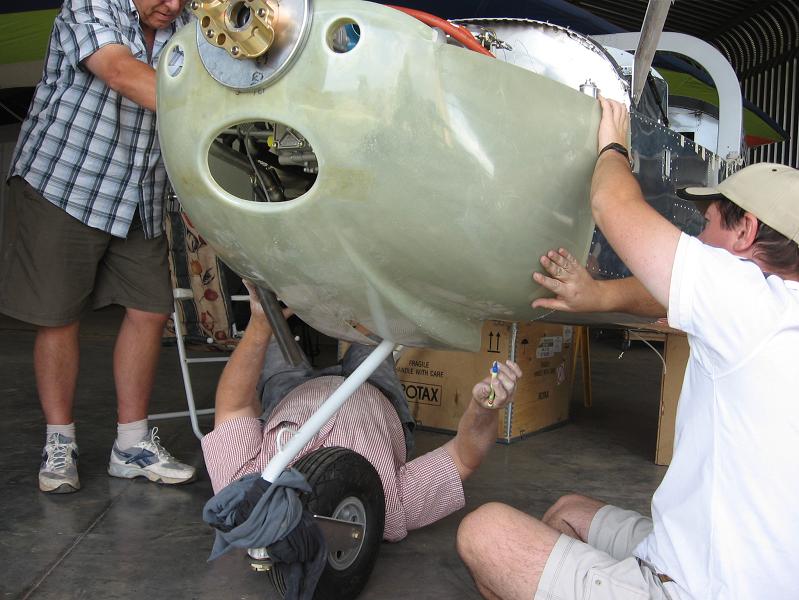
Getting ready to hang the engine
It is on:
Peter:
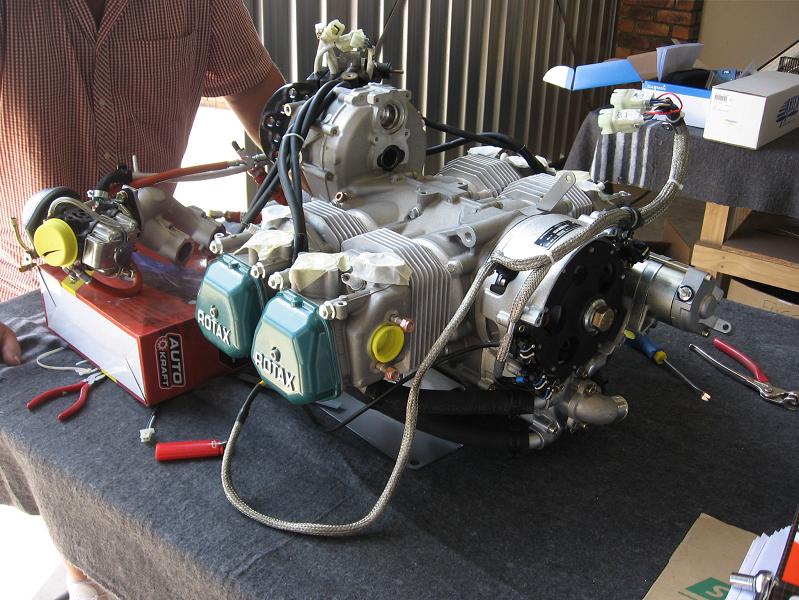
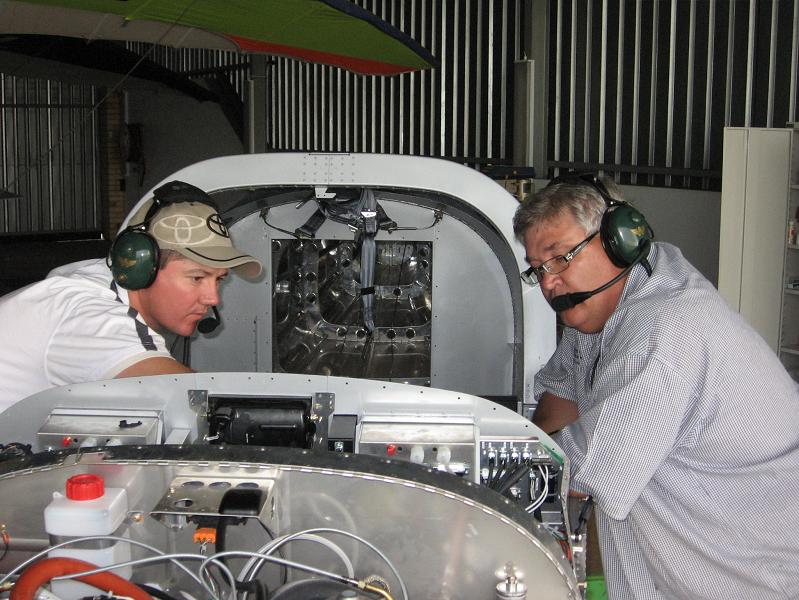
"We had eight members of the group building over the weekend. Alan continued his great work on the engine on Saturday, installing the exhaust system, control cables and a host of sensors.
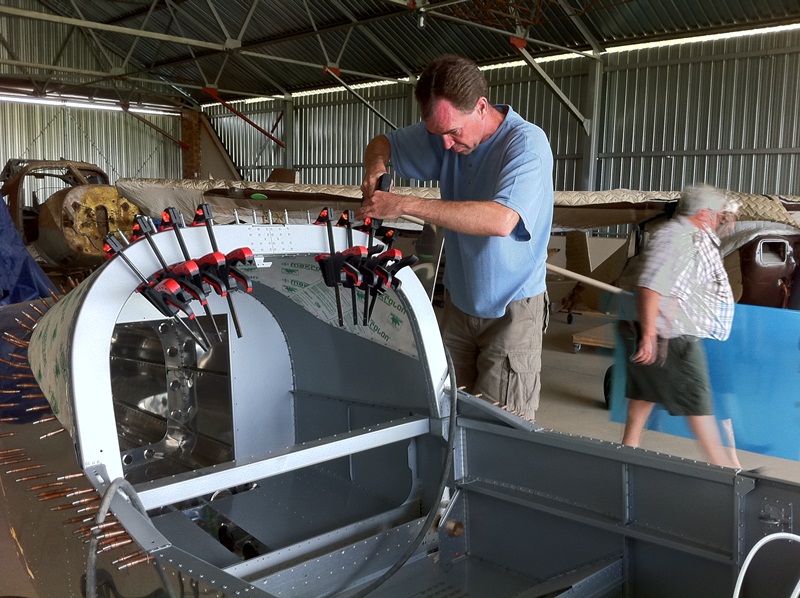
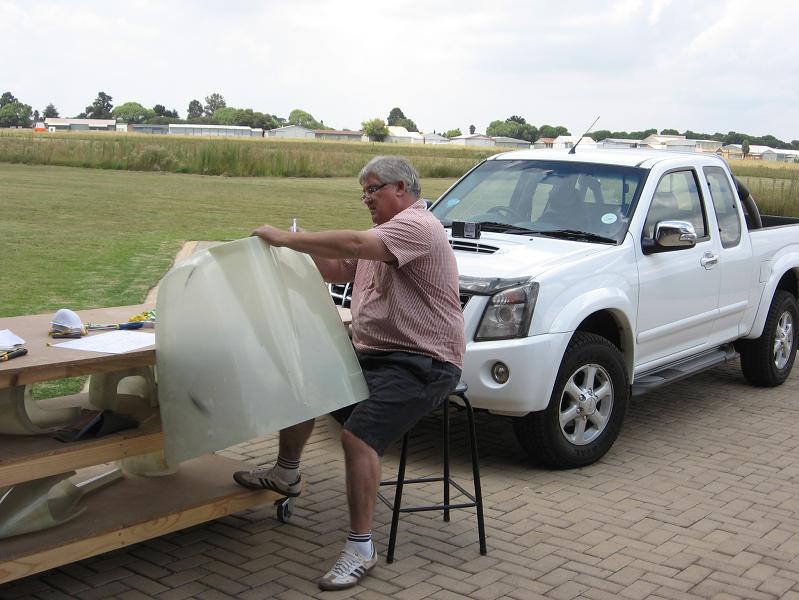
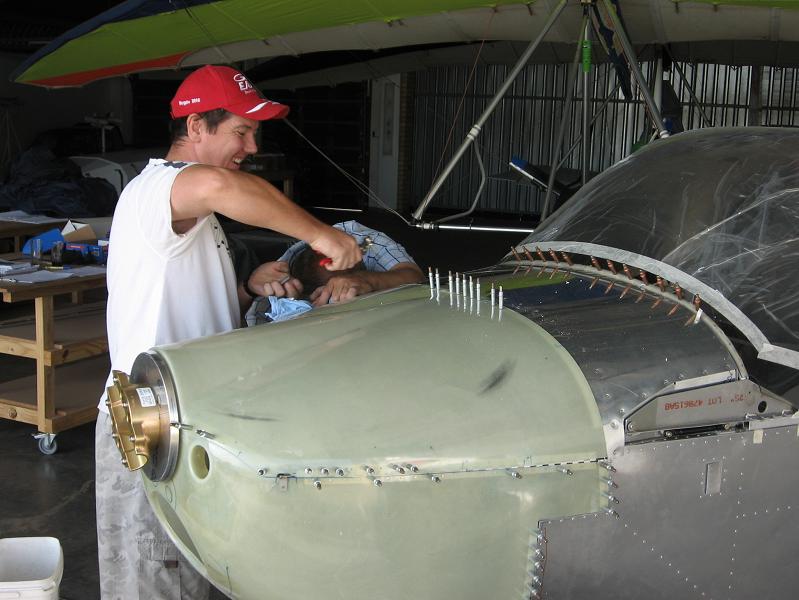
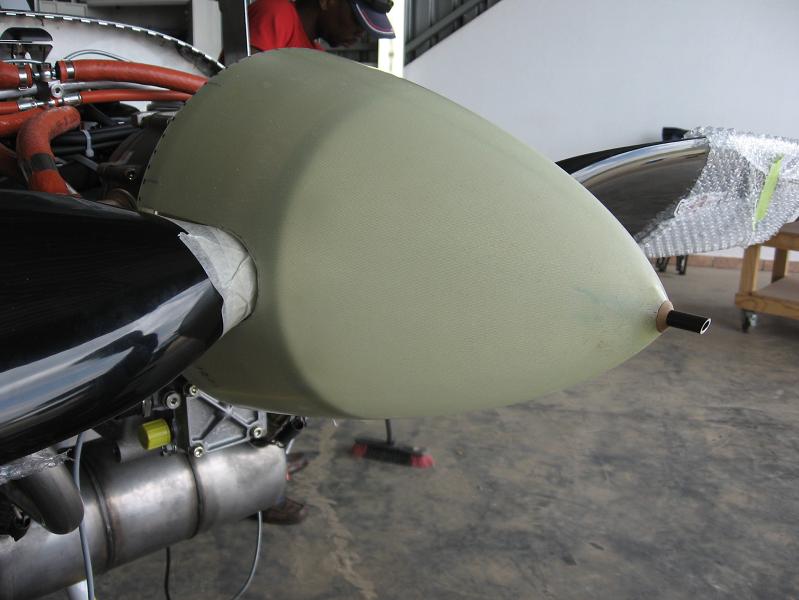
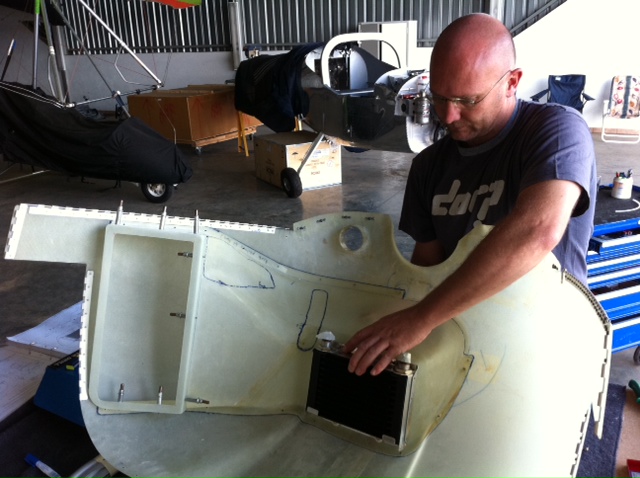
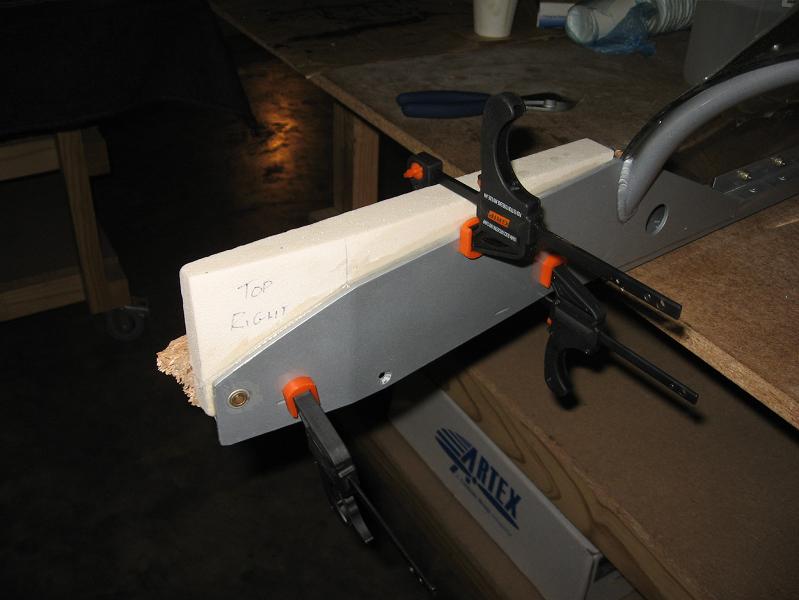
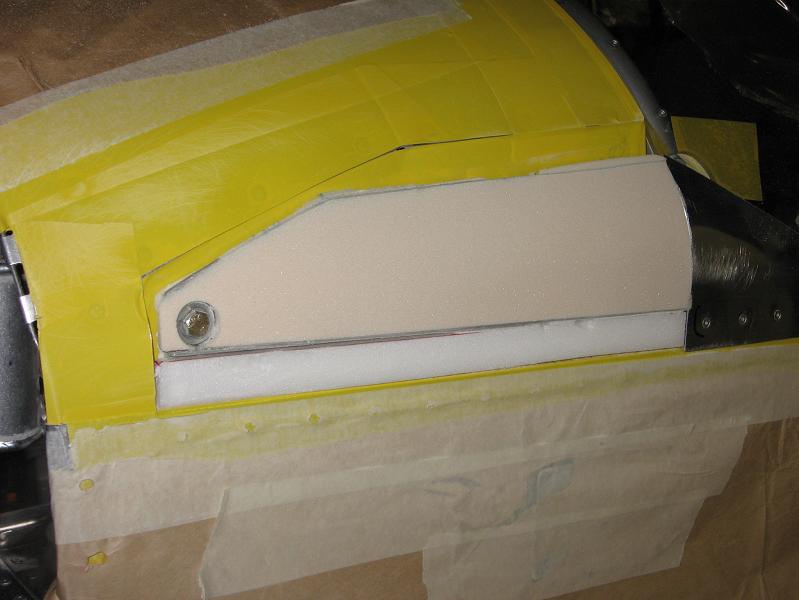
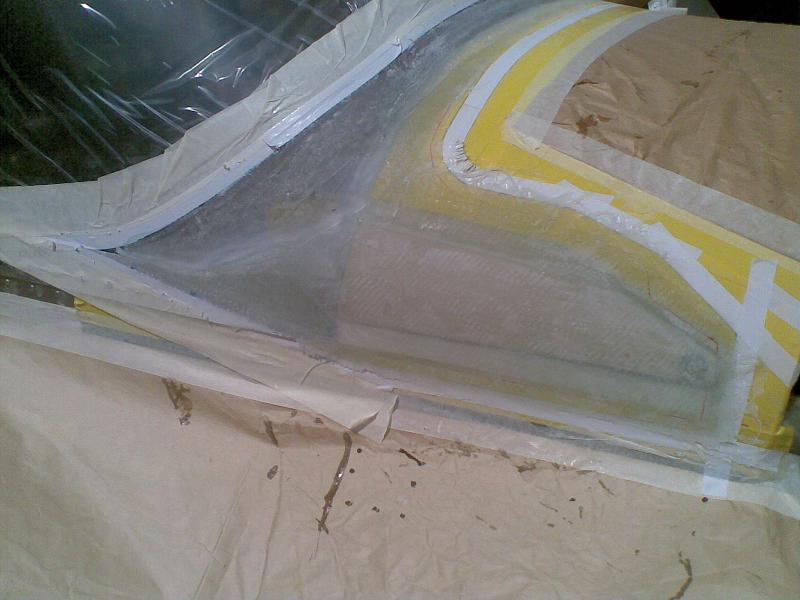
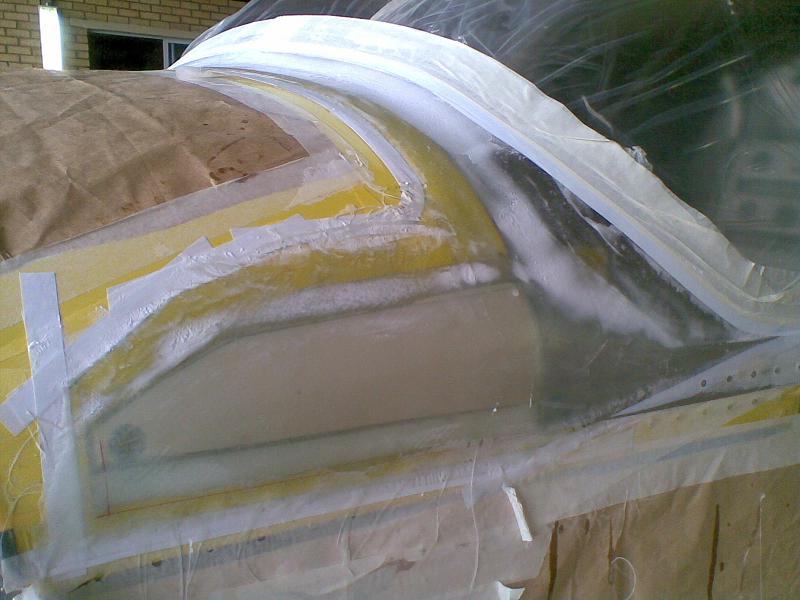
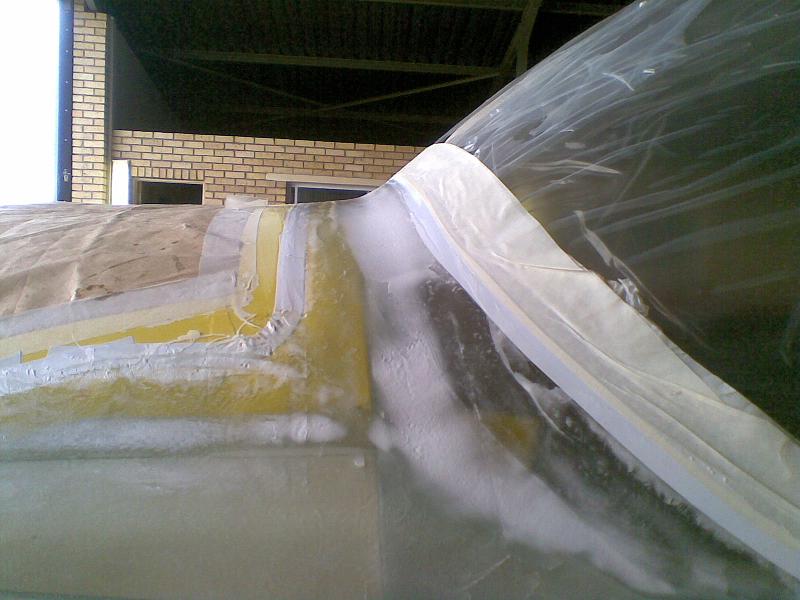
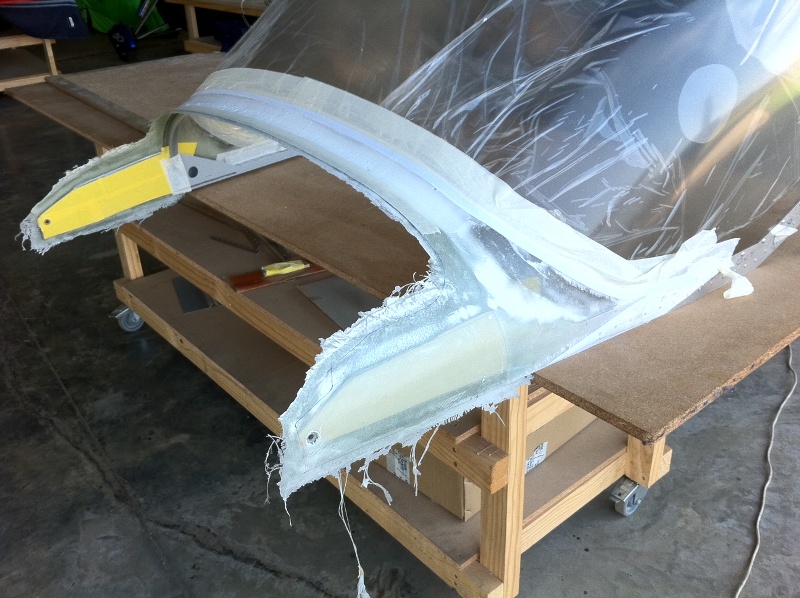
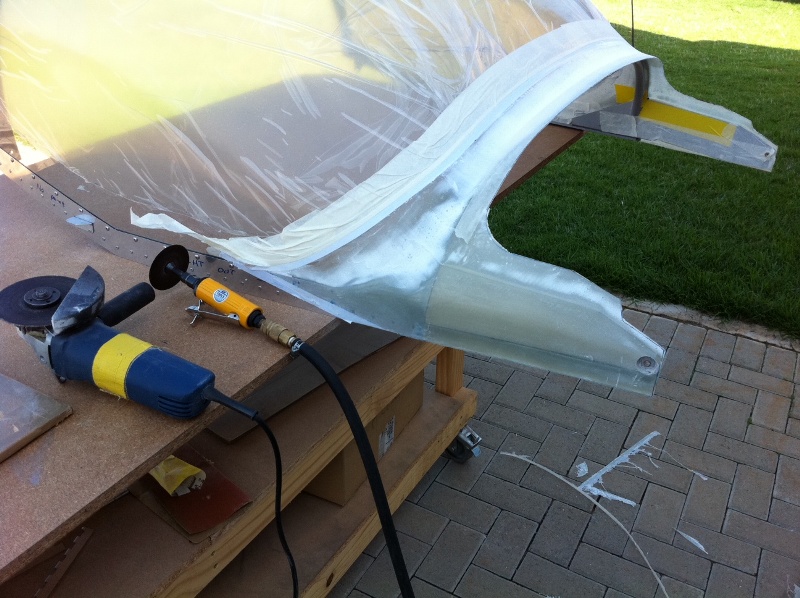
Martin & Rudi worked hard on the fibreglass engine cowls and did the "install, mark, trim, reinstall" dance throughout the day. By the evening the lower cowl was in position and work had progressed on the upper engine cowl.
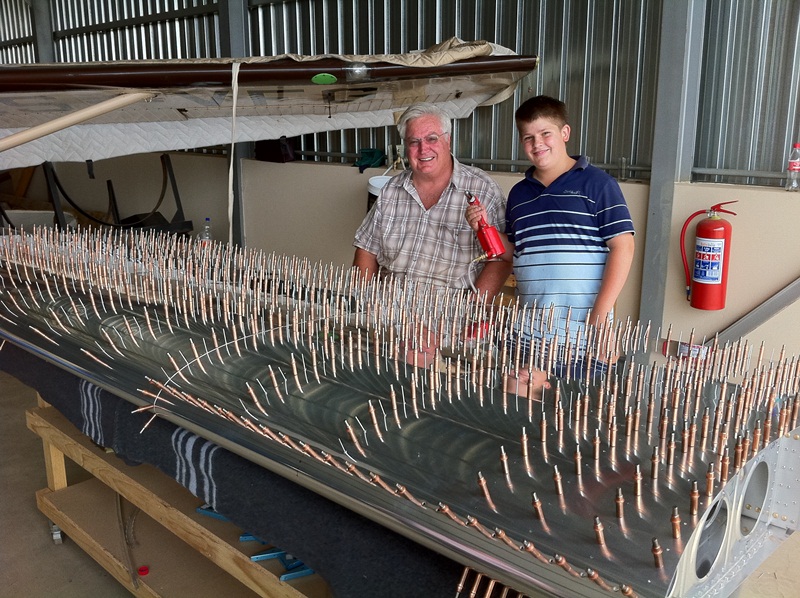
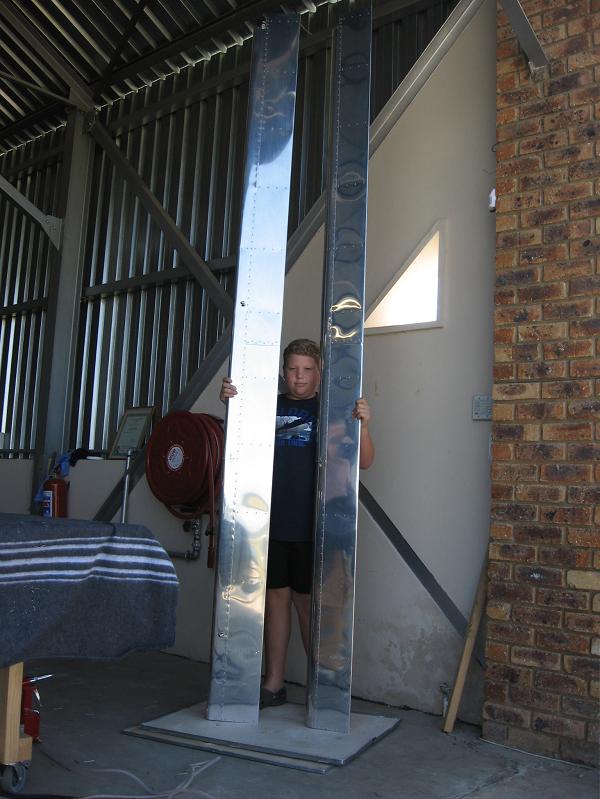
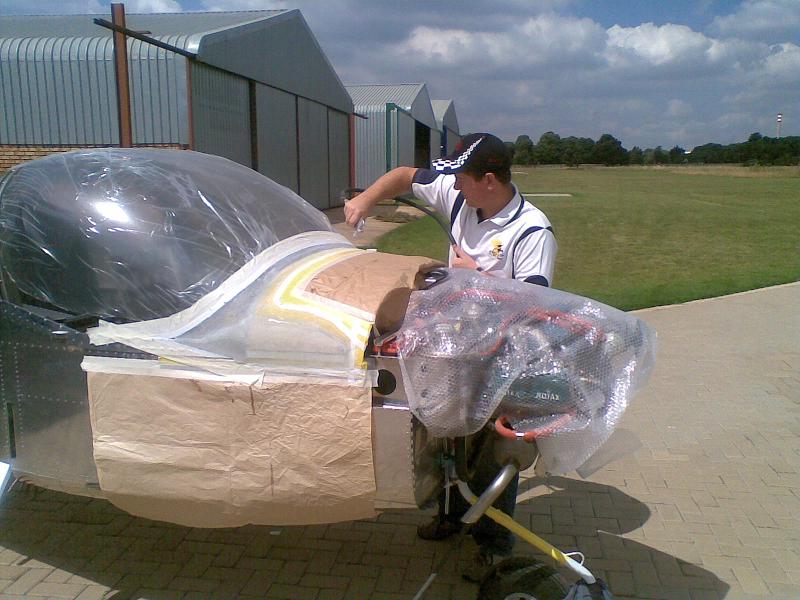
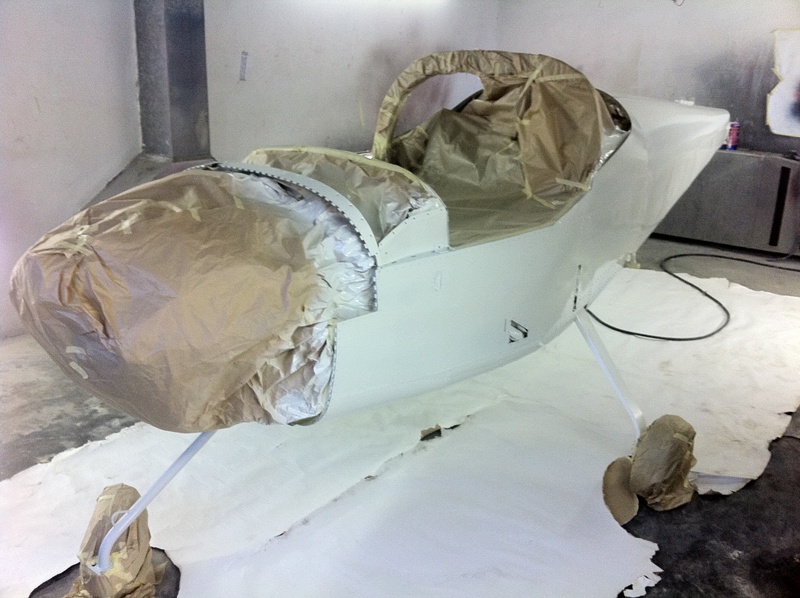
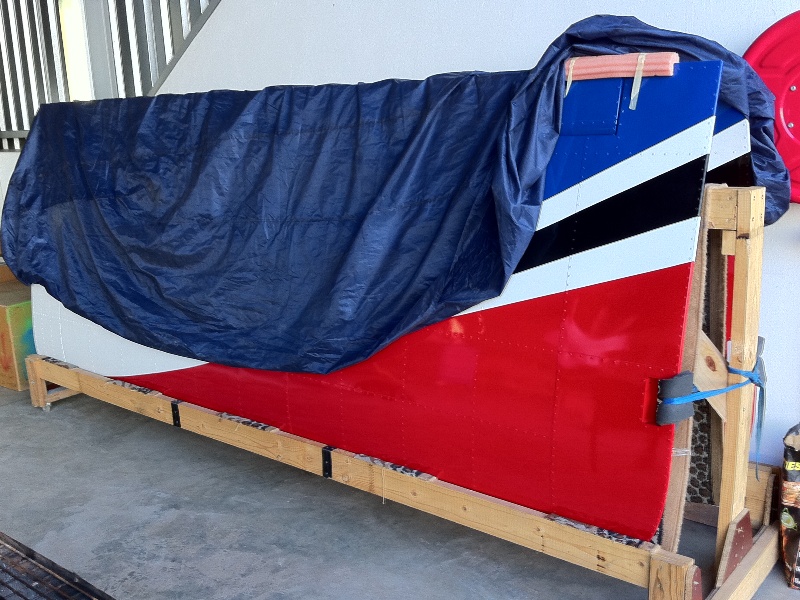
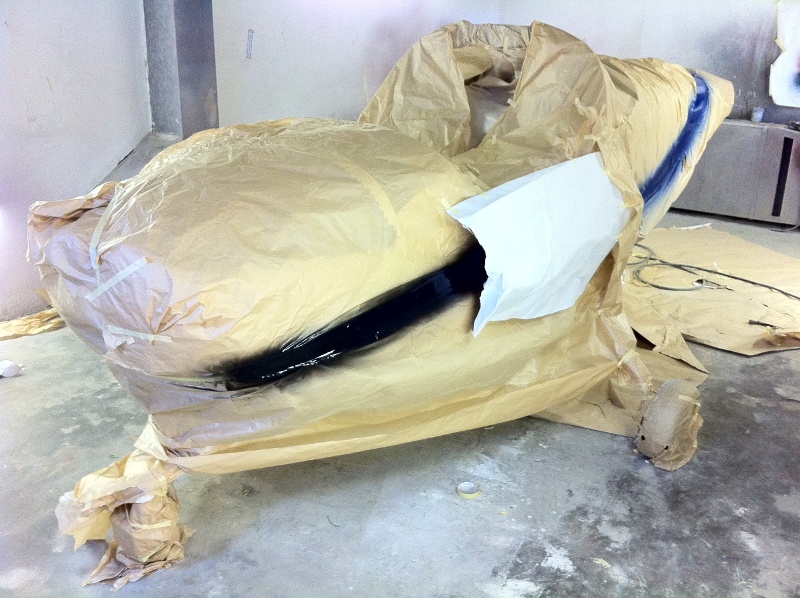
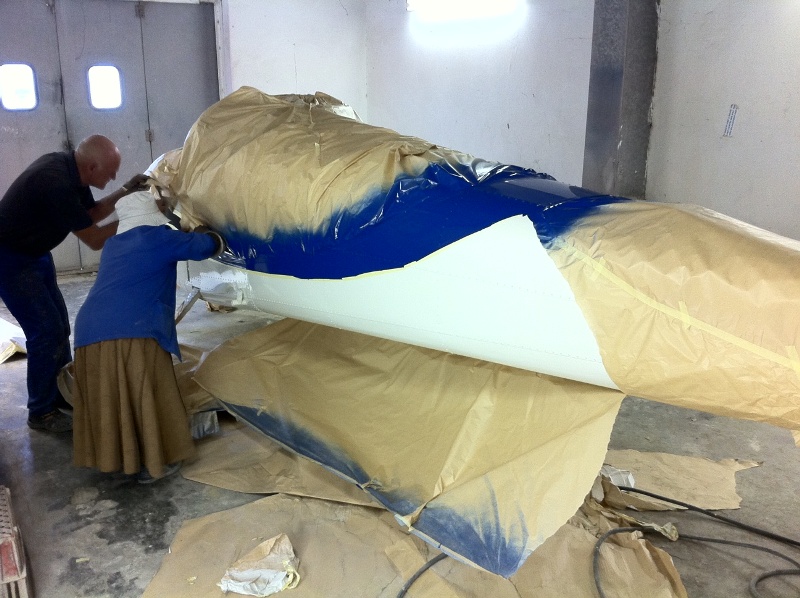
The stabilator, vertical stabiliser, & rudder were removed from the aircraft, bubble-wrapped and packed with the wings to be sent to the paint shop
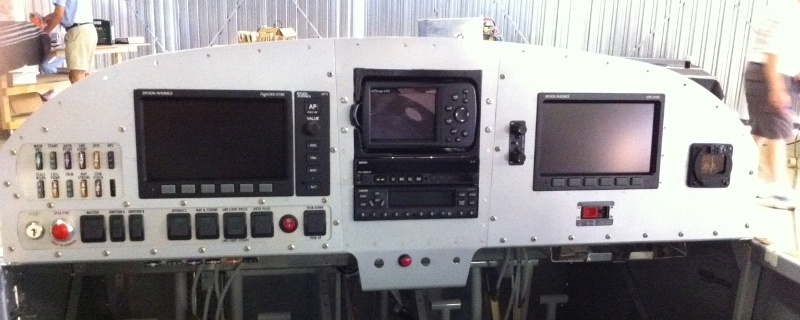
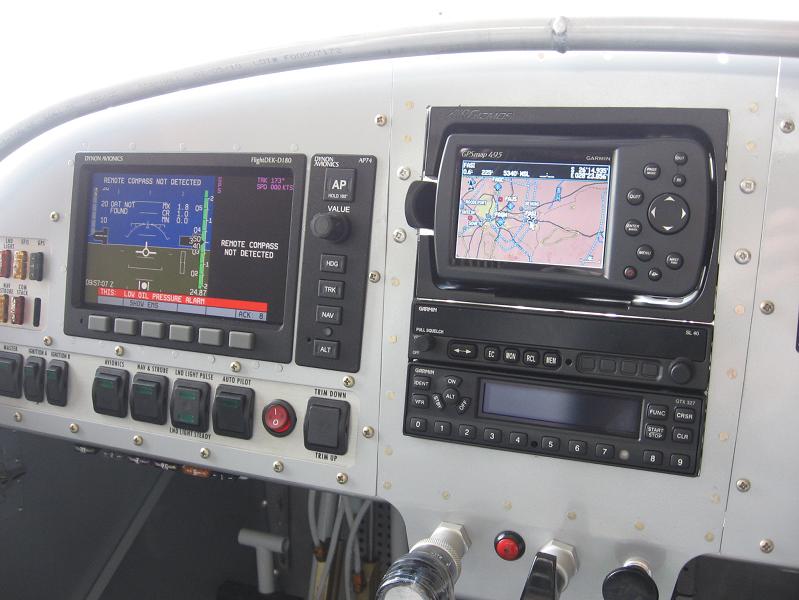
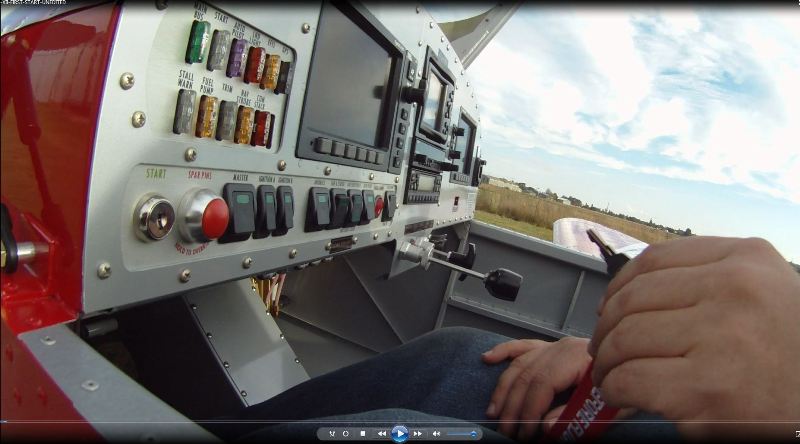
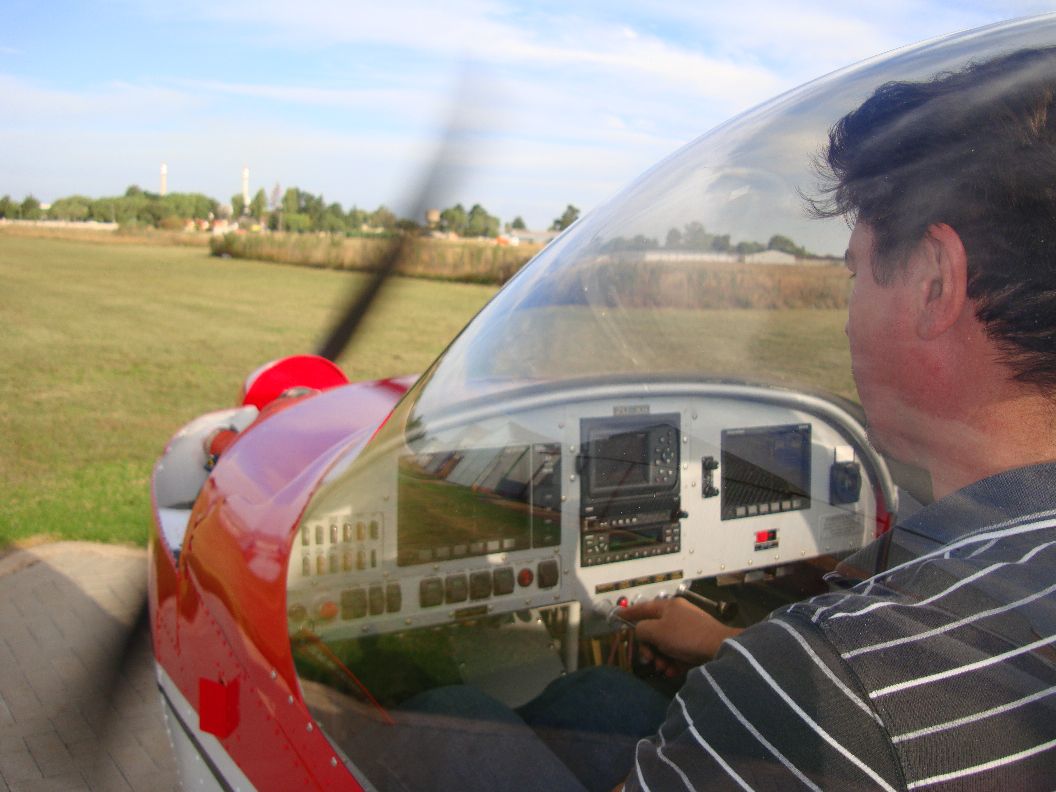
Small, time consuming, jobs were done on the panel. We have a working Garmin GPS now & it has made friends with the Dynon D180.
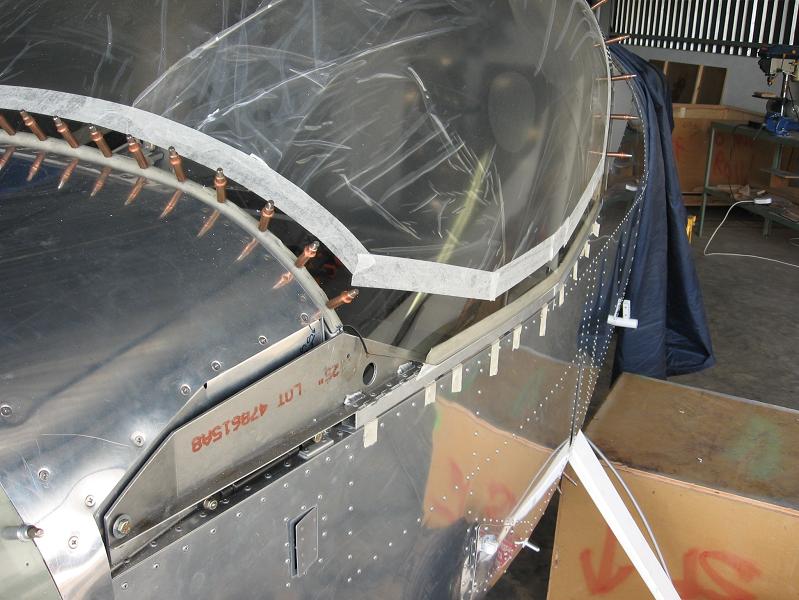
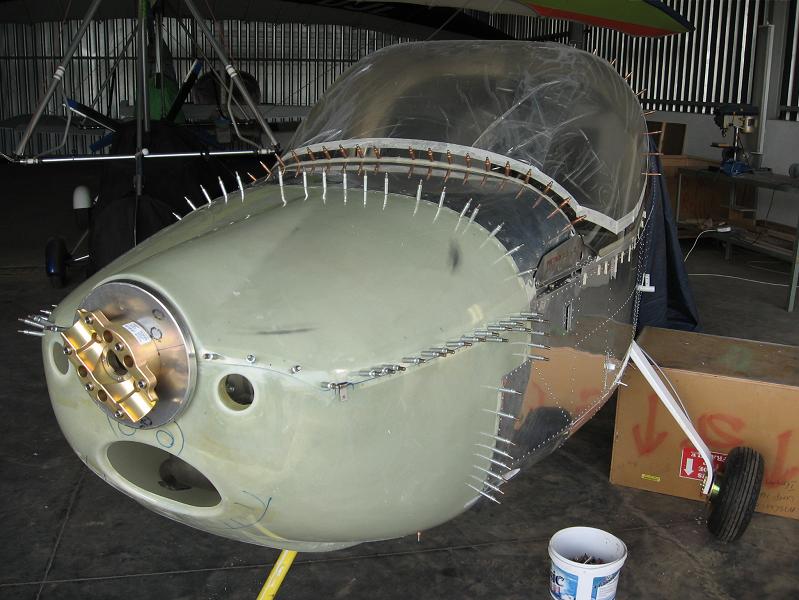
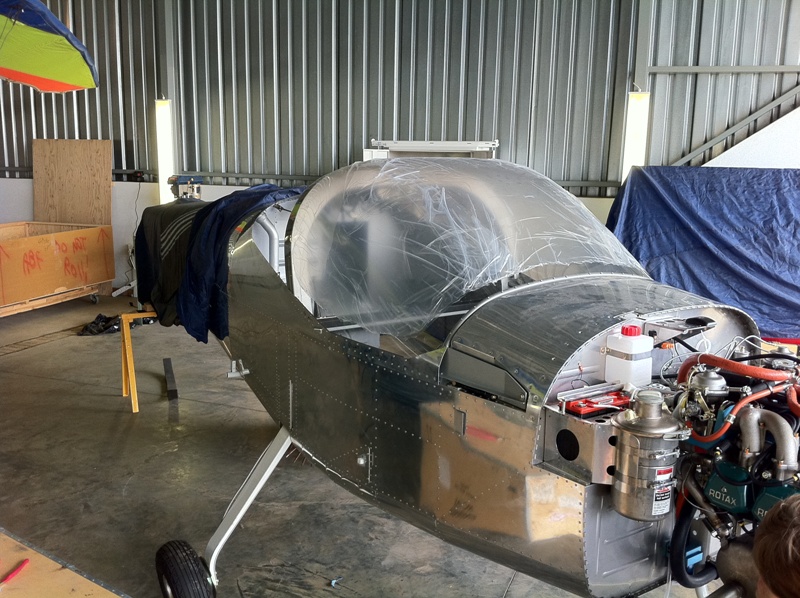
Most of the small jobs in preparation to installing the canopy onto the canopy frame have been completed, so the Plexiglass should be on by the next official build Sunday.
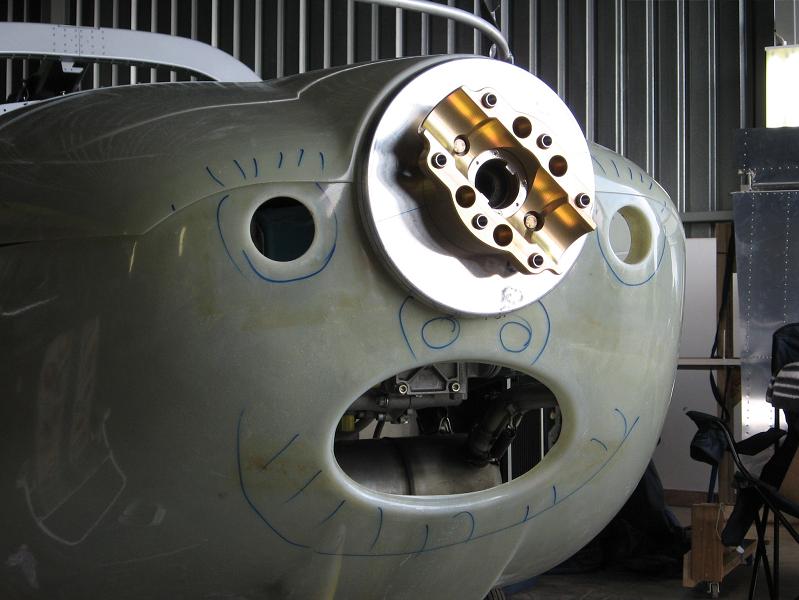
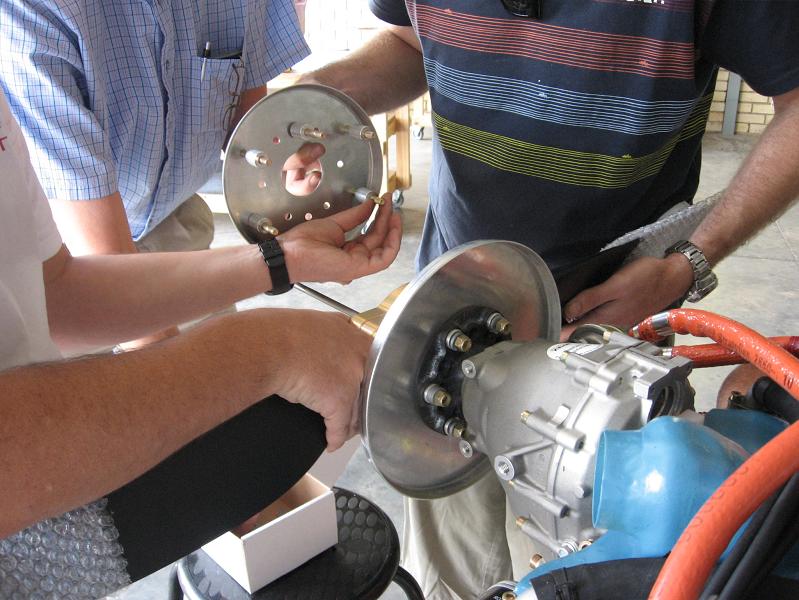
Finally, the pitot tube mounting bracket, spinner back plate & propellor hub were installed.
The next official build day is Sunday 13 March but a number of the team members want to work this coming weekend too ... they see landing lights at the end of the tunnel
Regards
Peter"
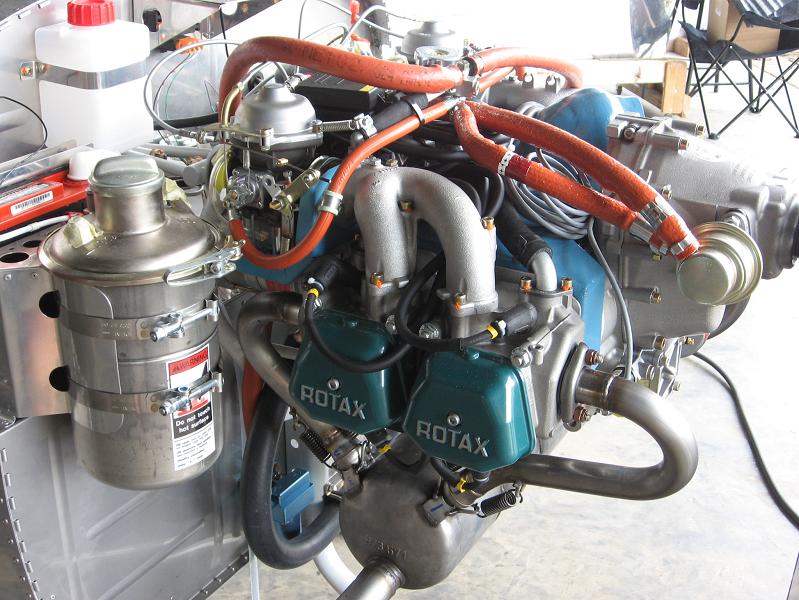
The Exhaust Done
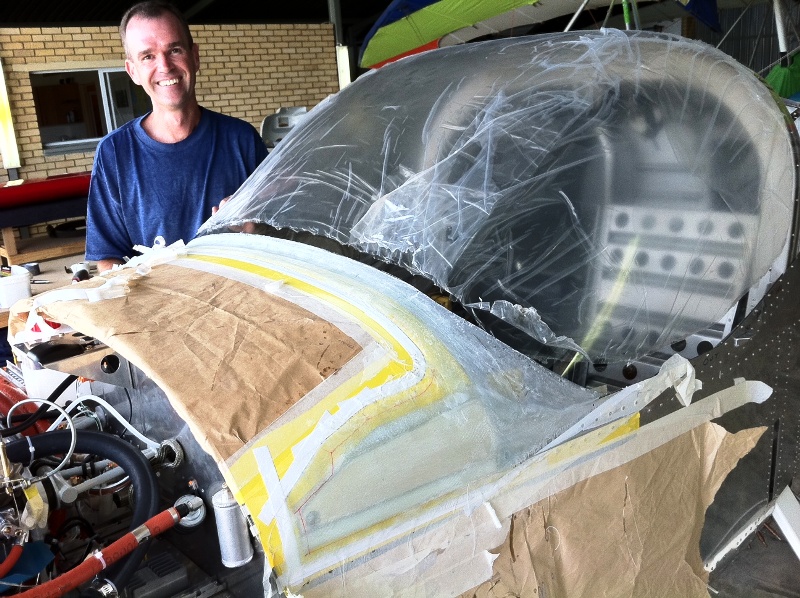
Martin working the bottom Cowl
Dynon and Garmin Talking to each other.