What's new
Van's Air Force

Don't miss anything! Register now for full access to the definitive RV support community.

What to do with the Blue Vinyl

jmcanty3

Active Member
Hello All,

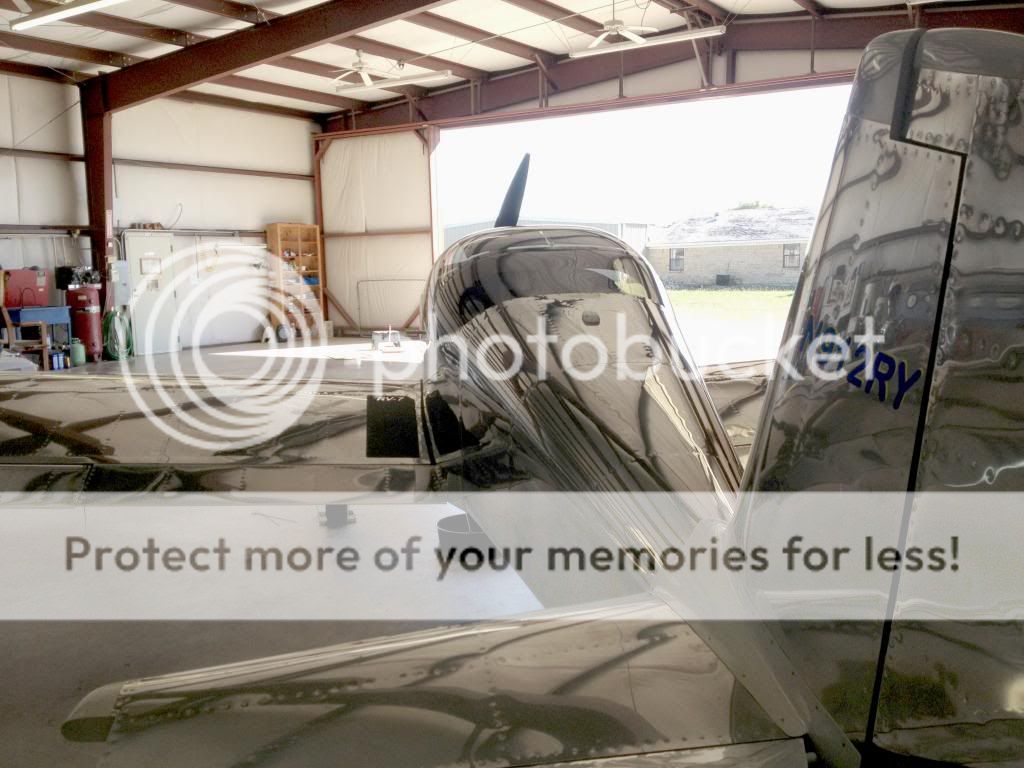
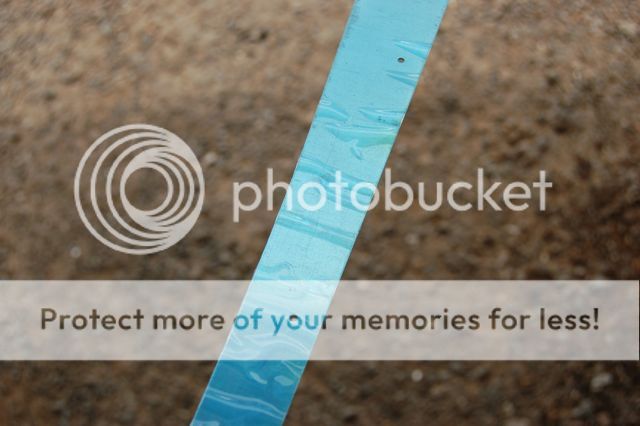
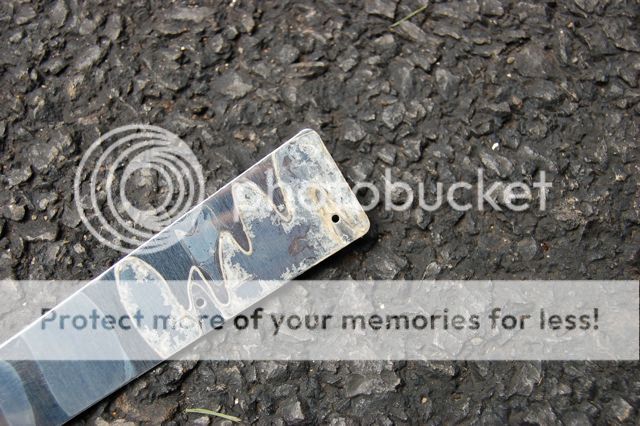
I've got my -7 emp kit inventoried and am starting on the rear spar (lots of work to go!). My question for all of you recent builders - how did you deal with the blue vinyl? I have seen cases where strips are cut and removed to allow most of the coating to remain (for protection during construction). I planned on using this method until I read in the plans that the blue vinyl can cause corrosion!?!?! Van's also suggests that the it can be very difficult to remove if left on for more than a few weeks....

I'd like to keep the metal skins as safe as possibble. Any suggestions? To de-vinyl or not to de-vinyl!?

-JC
 
Unless you plan to forego paint and have a polished plane, there's no real reason to leave the plastic on. The last thing you or others will do before you paint it is scotchbrite every bit of aluminum surface. Keeping it all shiny and perfect up to that point would be a personal (and aesthetic) preference. And the plastic does get much harder to remove after a couple of years.
 
John,

I left the blue covering on through most of my build and I now regret that decision. It caused a little more prep work when I got ready to paint.

The problem is that when you remove strips to allow riveting, you find that some of the edges will start to roll and peel a bit over time. Dust and dirt start to collect along these edges, which in turn will collect moisture.

I had several pieces that I could tell the surface corrision was starting. In my case it wasn't bad, but I've heard about others that had worse. I guess that really depends on your location and where you store you parts.

bob
 
I used the blue vinyl in my build as an indicator of material status. As you build, each part needs to be matchdrilled and deburred, I would leave the vinyl on until I picked up that part and matchdrilled it to something. As soon as it was matchdrilled and disassembled, I pulled off the vinyl and immediately deburred the holes. That way any part that had the vinyl still on it, I knew had not been deburred. Any part that had the vinyl removed had been deburred.

It's easy to see the marks on the vinyl from your drill after you matchdrill it, so that removes the question about whether or not you matchdrilled that part later, and the presence of the vinyl (or not) is an easy flag on whether or not it was deburred.

There is no advantage to leaving the vinyl on longer than needed - its only purpose is to prevent scratches during handling, and if you're going to paint the plane then the entire surface is going to get a good sanding anyway.
 
Last edited:
I just removed it. I think it's a waste of time. The first thing you or your painter is going to do for paint prep is rough it up really well for paint adhesion.
 
I removed the blue sheeting early on. If you go the "use a soldering iron to remove the strips around the rivet lines" route, be super careful that you do not score the thin aluminum with the iron's tip. This could cause a crevice for corrosion to get a foot-hold and/or lead to a stress riser.
 
No Problems

I left mine on for the entire 7.5 year build. The blue vinyl protected the metal from scratches in the metal, especially while working around the fuselage. I found no corrosion. What I did see was the aluminum was duller on the areas where I had removed it for riveting. Once it went to paint it made no difference because it gets scuffed and acid washed anyway. Really is a personal preference. I primed, have a slider and a nose wheel, let the debate begin! :D
 
I've been leaving on the blue vinyl upto this point and using the soldering iron approach to cut strips for the rivet lines. I have begun to question the logic of this method since it takes a lot of time to cut the material off. also as others have mentioned the painter is going to sand the entire plane prior to paint anyway. Removing the vinyl is now part of my process so it's almost automatic for me to do it. On the next large sub-assy I'll have to decide how I'm going to proceed.
 
Thanks

Thank you all for your input. I think I'm going to go ahead and remove it based on many of your suggestions. Plus, the plans actually do call for it!

Thanks again!

John
 
I started out doing the soldering iron thing. Total waste of time! If you do something that is going to make a ding or scratch in the surface, a ding or scratch that is worse than the pre-painting scuffing that you will do (or that the scuffing will not easily take care of), that plastic will not protect from it.
 
It seems to me that if you take off the blue plastic and then wrap the piece in something such as bubble-pack, that will have the same propensity towards corrosion.

Comments?

Dave
 
I have seen photos of corrosion starting under the blue vinyl. I wonder if the vinyl and/or metal wasn't completely dry when applied?

I'm glad I live in a dry climate. I too am using the vinyl as a reminder as to what's been drilled or deburred, and what hasn't. No problem in 15 months with the blue vinyl, and I have some RV-4 parts that have had clear vinyl on them since 1998. My goal is a paint scheme like N912RY. Failing that, I'll just copy Vlad. Time will tell...

romeoyankee_zps766b6481.jpg


Even if I lived in a more damp climate, I wouldn't remove the vinyl carte blanche. I'd just keep an eye on it and remove it if it started being a problem.
 
Last edited:
removing old vinyl

(for future readers)

If vinyl is kept in place (in my case >10 years), it is easily removed after warming with a "heat gun."

It's my understanding a hairdryer will also work well, if very promptly cleaned and discreetly returned.;)

Ron
 
I used pieces of the blue vinyl to cover rivet heads (like rivet tape) and it worked great. Keeps stuff in place while riveting and gives a clean head with no wrinkles or scratches around it.

Greg
 
Watch for scratches

I have been planning to polish much of my plane since I started construction. Hence, I left most of the blue plastic on. I removed strips for the rivet lines. Nearly ten years later, I am polishing prior to final assembly. I learned that I was not careful enough in removing the strips and have some fine scratches that are a royal PITA to polish out.

So, if your plan is to polish, be really careful of scratching the metal when removing strips for riviting.

Michael Wynn
RV 8 Finishing
San Ramon,CA+
 
Like some of the others I am removing plastic to assemble.
Anything that still has blue plastic on it hasn't been touched yet. Once I begin working with a part I remove the plastic. I did the soldering iron thing on the first skin but after that I just pulled it all off. Then again, I have cared for a polished airplane before so I will be painting mine.
 
Take it off unless you intend to polish. As previously mentioned, the painter is going to scuff it up really well anyway. I suffered corrosion on my F821 forward fuselage skin and spent a lot of time buffing it out.:mad: Of course, if you live in the desert this may not be much of a risk, but the really-hard-to-peel-off part will always be there.
 
Back
Top