What's new
Van's Air Force

Don't miss anything! Register now for full access to the definitive RV support community.

White Cowl

az_gila

Well Known Member
For those of you who used the original white gel-coated cowls.

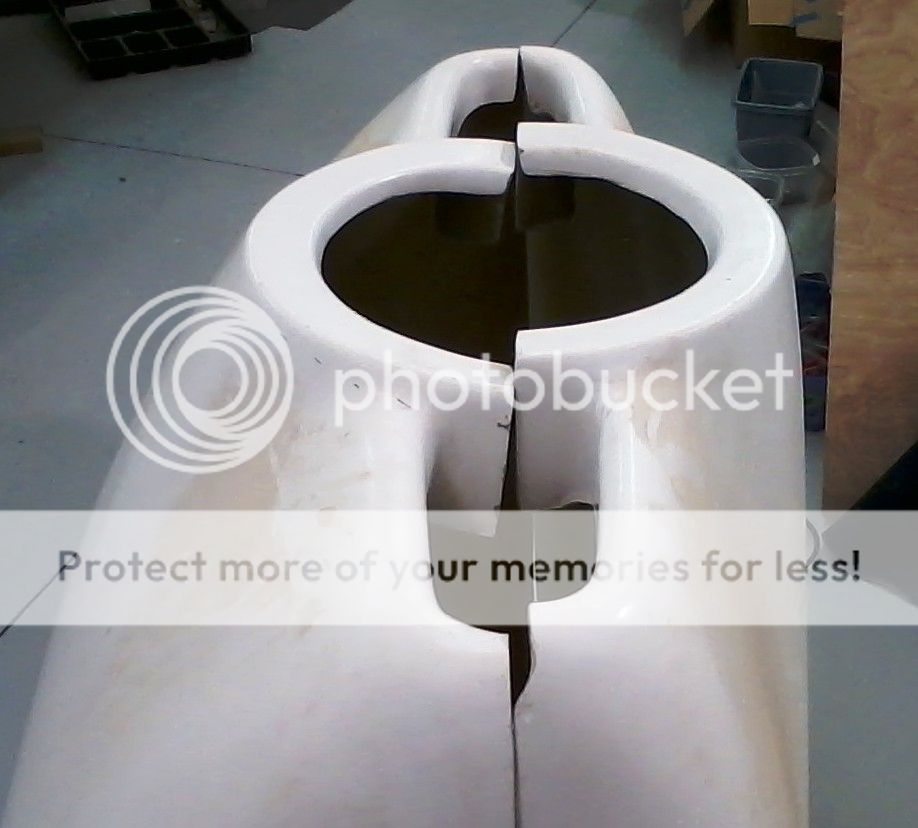
Any hints on what worked well, or didn't work well, for the inner attachment on the short area just behind the spinner?

What size screws? How many?

Fiberglas only, or a metal plate?

I've got mine pretty well pulled into shape and now need to work out attachments.
 
I used 6-32 countersunks. Two each side, but I've seen folks using only 1. No metal backing for the nutplates, but not a bad idea. So far (400 hrs), so good.
 
Screws

I used 6-32 flat head with large area countersunk washers, three per side. Seems solid, easy to insert and remove screws.
 
I used 6-32 countersunks. Two each side, but I've seen folks using only 1. No metal backing for the nutplates, but not a bad idea. So far (400 hrs), so good.

Thanks Roger, but you didn't have the early white polyester cowl did you?
 
I used 6-32 flat head with large area countersunk washers, three per side. Seems solid, easy to insert and remove screws.

Same but I used #8 screws and mounted plate nuts to a metal strip that was riveted and prosealed to the fiberglass cowl. I did have white cowl.
I used short grip screws as the aft one is a bit lined up with the starter ring. Maybe watch that when locating holes.
 
Same but I used #8 screws and mounted plate nuts to a metal strip that was riveted and prosealed to the fiberglass cowl. I did have white cowl.
I used short grip screws as the aft one is a bit lined up with the starter ring. Maybe watch that when locating holes.

Thanks... do you have the short (2.25 inch spacer) or the long (4 inch spacer) cowling?
 
My -6 was a 93' kit with the same white cowl. To start with I followed the plans and fitted the closed loop hing in that position. Well you guessed it,that lasted all of 30hrs and broke into little pieces. Then I tried making some plates from .062 with four #6 screws and nuts on the bottom in the old rivet holes and three # 8 screws and nut plates in the top like this https://picasaweb.google.com/airtractor8/H2ADBaffles?feat=directlink#5403967348101598354. That lasted a little while longer but both sides eventually cracked and broke again (twice :eek:
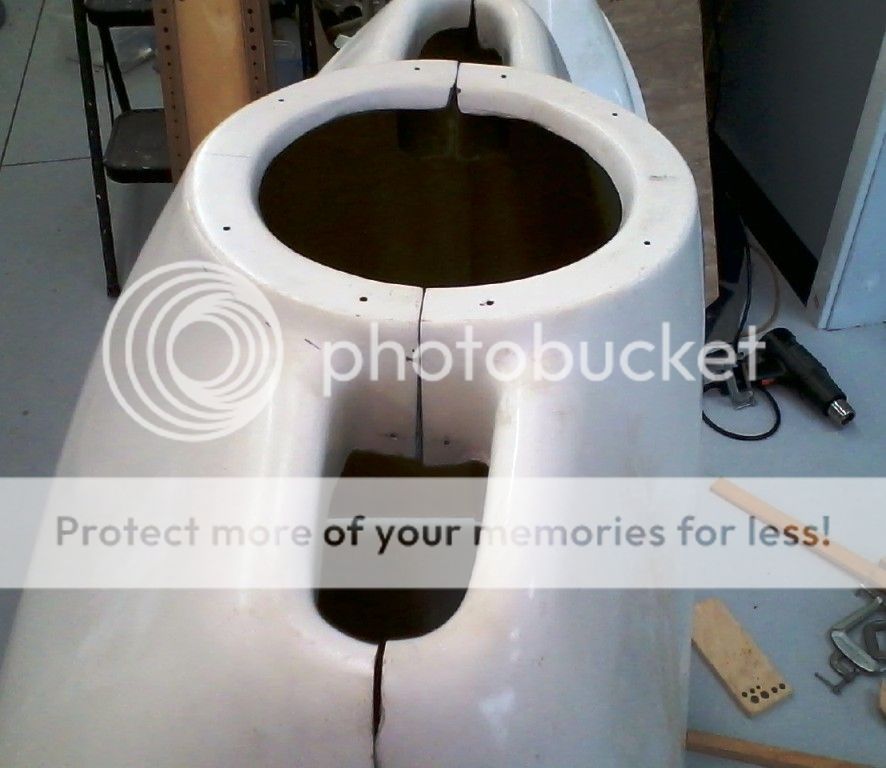
). Then I broke down and resorted to that "other" material (fibreglass)and have had no more problems in 200hrs of flying. I copied the plate idea I had used for the .062 but made them from the left over fibreglass strip I had removed to fit the lower cowl carb scoop like we had to do in those days.
 
HI Gil,

"Mikey" is kit #4 - I don't know what color the cowling is underneath the paint, but I think it is what you're looking for. He's got aluminum plates - .064 - that are riveted to top or bottom (can't remember which) and has 2 #8 screws/nutplates on each side. We've had to replace them once since I've been involved with the airplane. If I were building new, I'd probably go with glass flanges.
 
I had/have the old cowl and recall that in the early days there were lots of problem in this area. Used alum back plate for the nutplates and 3 #8 fasteners with CS washers. Works great and over 1000 hrs.
 
49clipper

I am in annual at this time and was considering two quarter turn fasteners here. My origianl springs are holding up fine, but looking for a neater, quicker approach. any reason for not doing this?
Jim
RV-6 O-320
 
I built an inside flange on the lower cowl in west systems epoxy and glass matt then mounted 3 #8 nutplates on each side riveted directly to the new epoxy flange. (2 1/4" ext) The flange fits the top very closely and to some degree the cowl halves are keyed together. A lot of heat re-forming was necessary beforehand to get a good fit between the halves.

200 hours and still looks as good as new, very happy with this solution.

I was aware of some local builders having the aluminium plates work loose or break so chose a different solution. I can imagine these plates would fail if they were also being used to drag the halves into alignment.

But, save 15lbs and make the job much easier - spring for a new cowl.
 
On the old cowling I had the metal plates crack more than once and also had rivets work loose. I suggest going with a piece of stainless .080 thick and also use epoxy/milled fibers along with soft rivets to attach the plate to the bottom cowl.

Also milled fibers on the top half would be helpful in keeping flex down...in other words tape the plate once its attached then lay up the epoxy and milled fibers on the back side of the top flange so you always have a flat surface against the plate. With the screws and nutplates in place of course.
 
Thanks for all of the info guys.

I think I will combine both approaches - I will make a fiberglass tab and then rivet an aluminum plate with the nutplates onto it, making sure there is a flox layer filling any voids. I like the idea of #8 rather than #6 screws though.

I also discovered the power of a heat gun in shaping the white cowls. I trimmed the inner edges, made a ring clamped to the spinner location and used clamps to hold the cowl halves in position.

Note the before and after pictures - and I thought I was going to have to cut it along the dotted line and slice in a triangle of new glass...:)

cowl-before_zpsce68b75e.jpg


cowl-after_zps85a4200d.jpg
 
Last edited:
Back
Top