What's new
Van's Air Force

Don't miss anything! Register now for full access to the definitive RV support community.

Tip: How I fitted my Pepto Pink Cowl

Brantel

Well Known Member
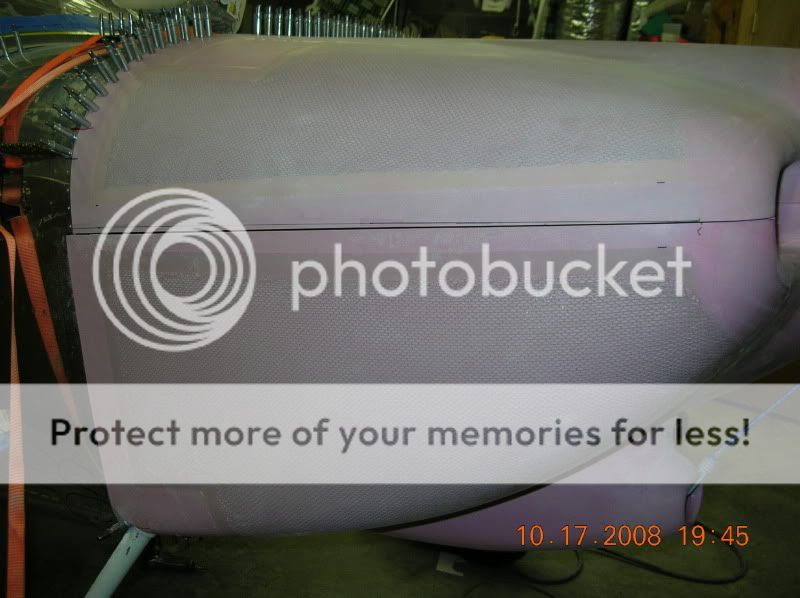
Not much info on here relating to the new Pepto Pink Cowl and its differences with the older ones so I will post pics of how one man is fitting his. I am using the tried and true hinges all around. Cheap and it works!

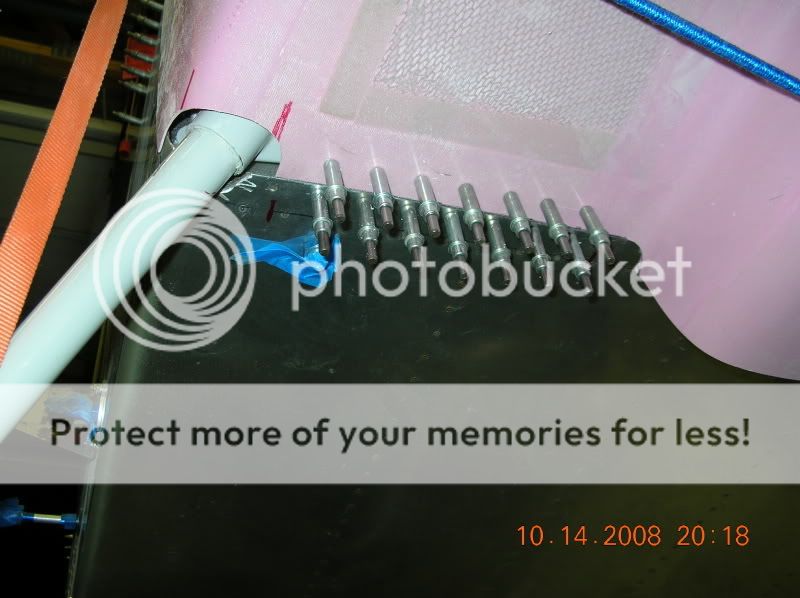
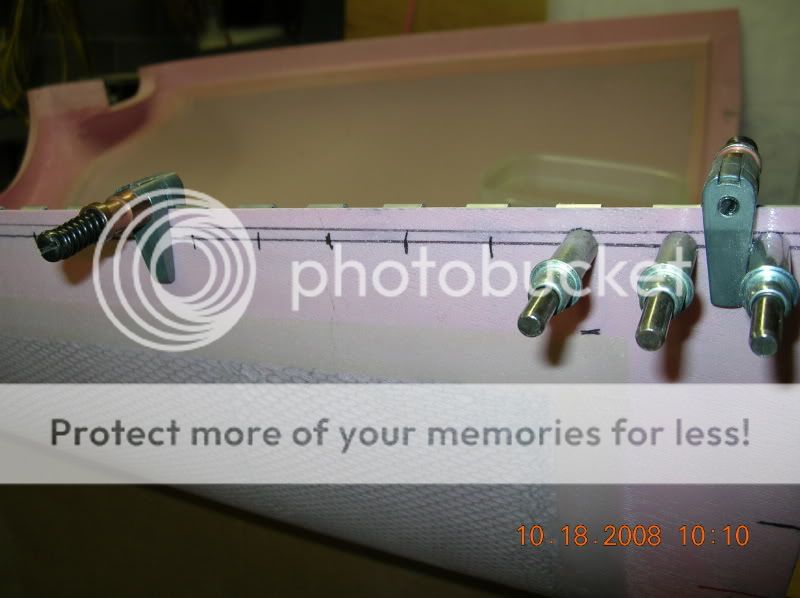
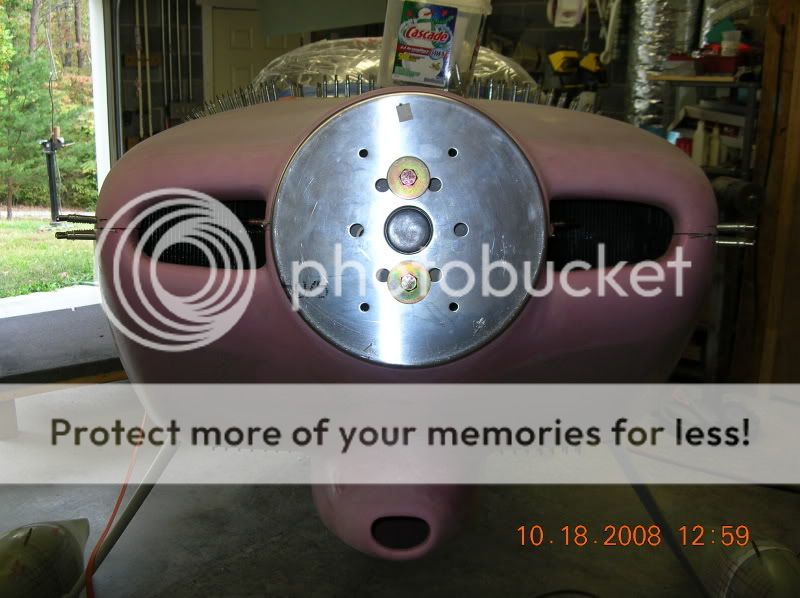
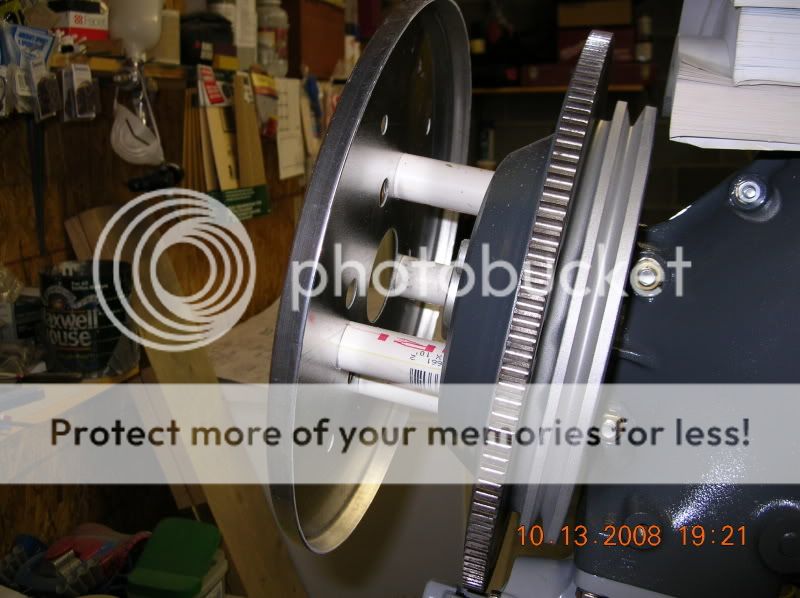
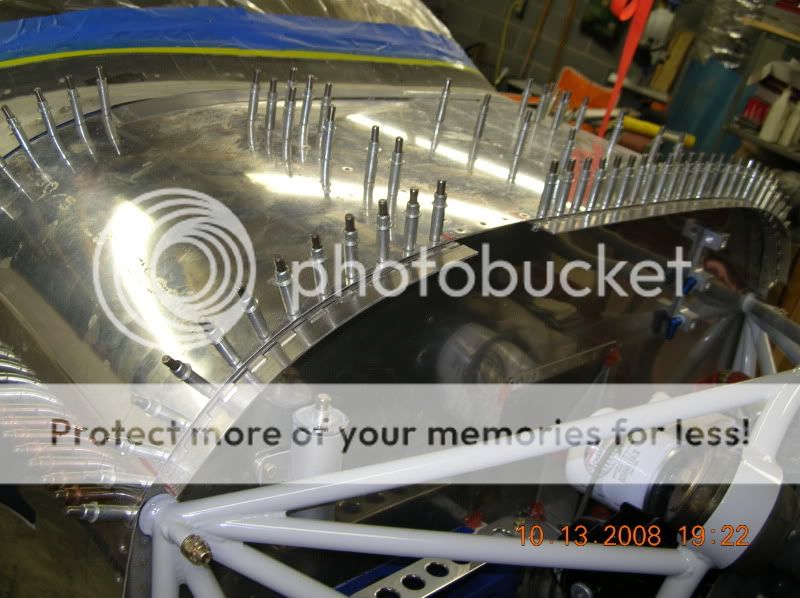
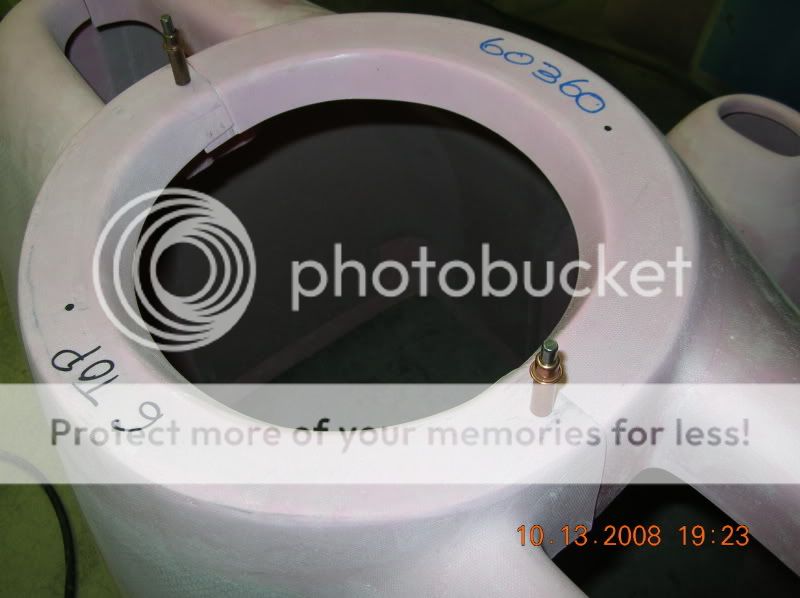
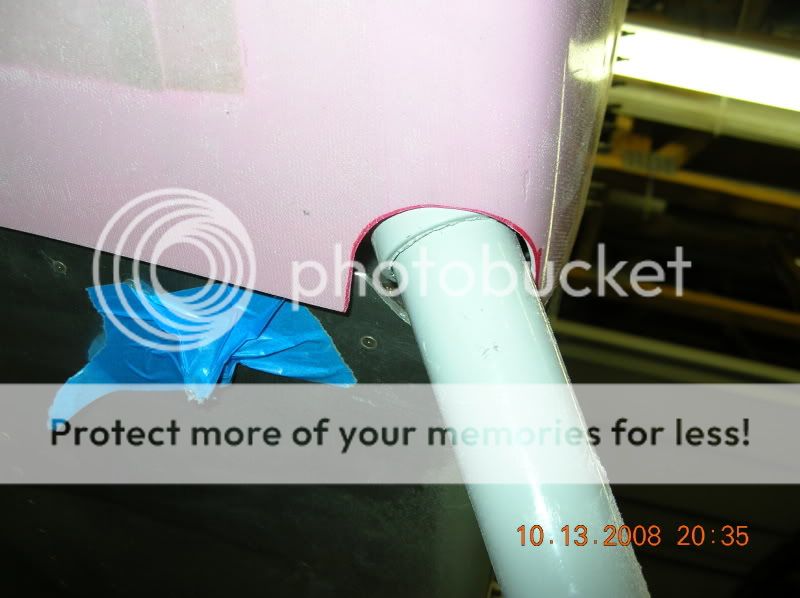
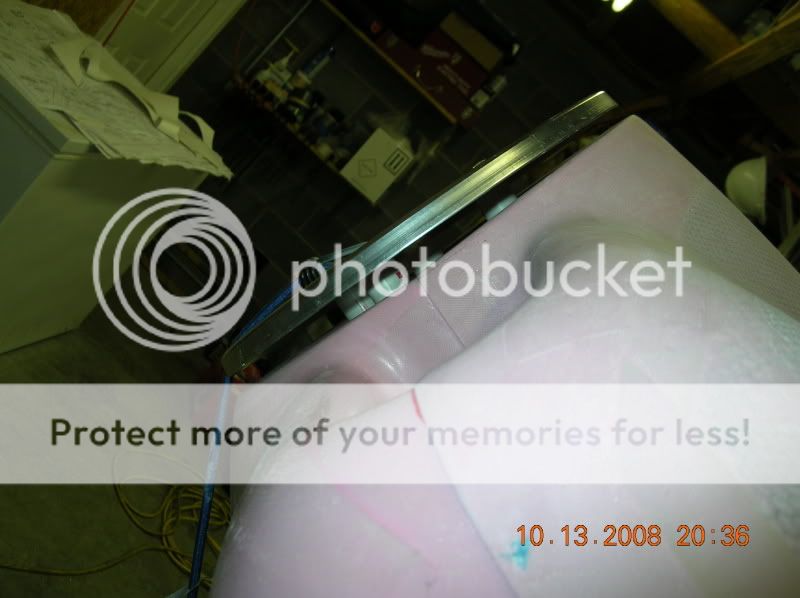
First I had to simulate the prop spacer I do not have yet so I picked up some 3" 1/2-20 fine threaded bolts from the hardware store. Along with the large spinner washers that come in the finish kit, I used these to attach the spinner backplate.

DSCN6897.jpg


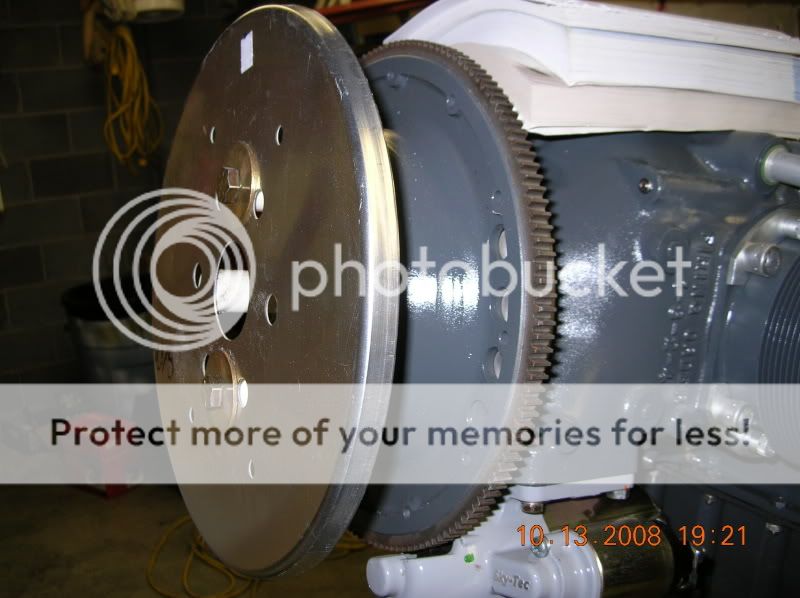
I cut some PVC pipe to make the 2-1/4" spacers. I am going to have a fixed pitch prop. It is my understanding that if your using a CS prop, you need a different length spacer.

DSCN6898.jpg


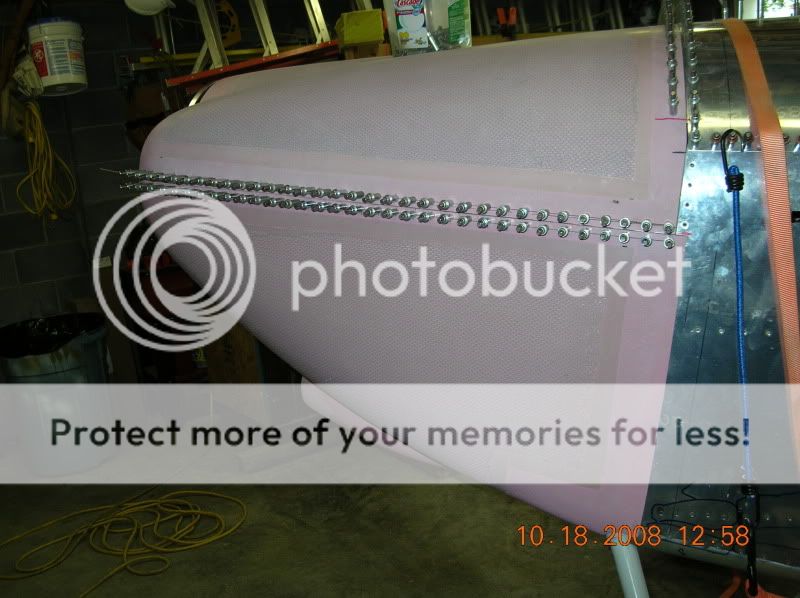
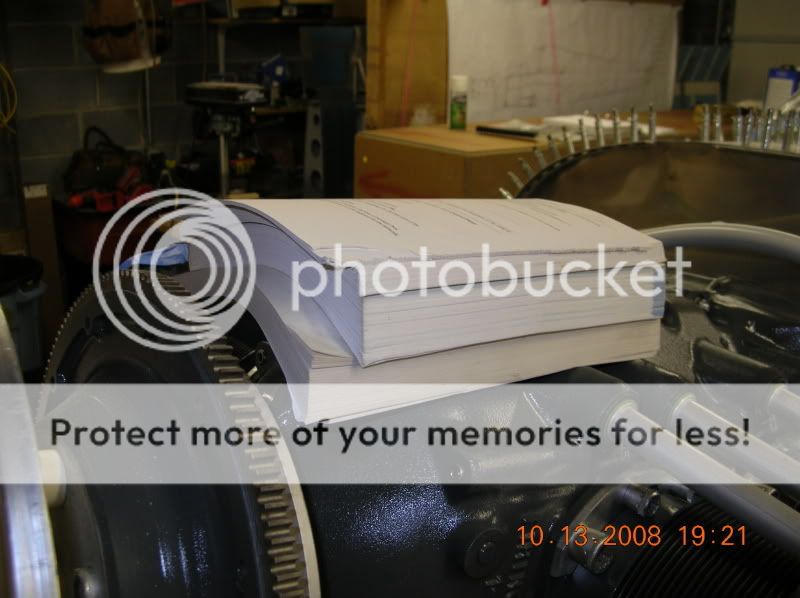
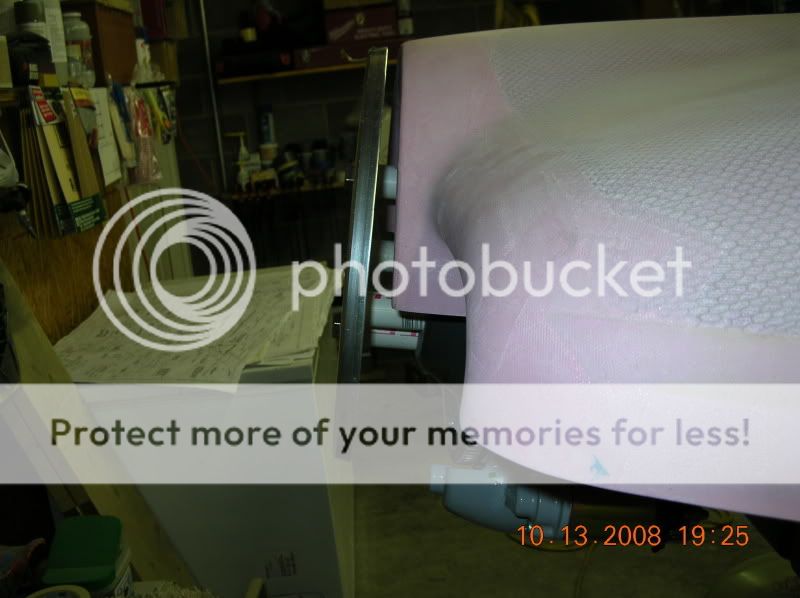
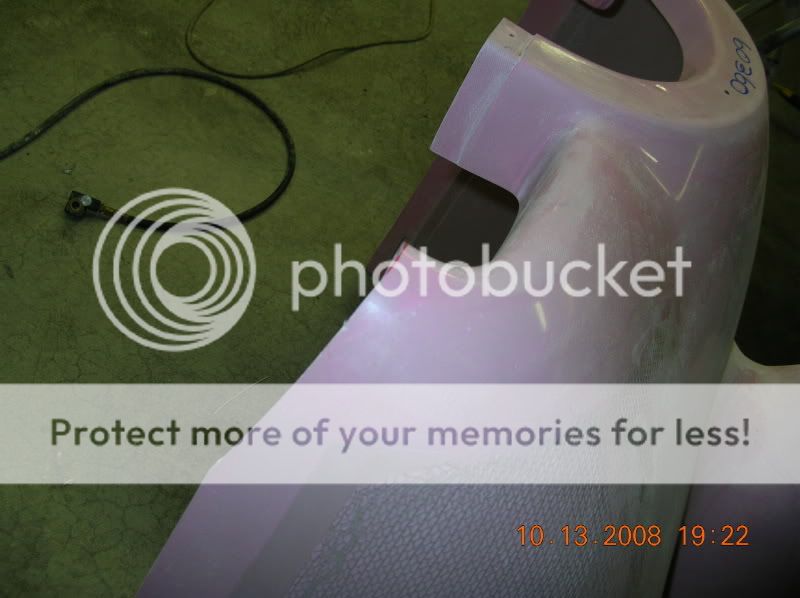
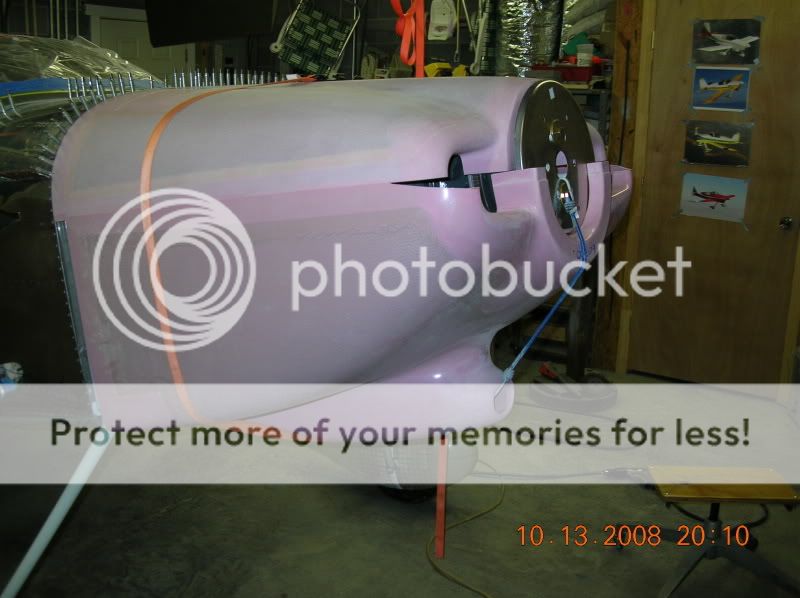
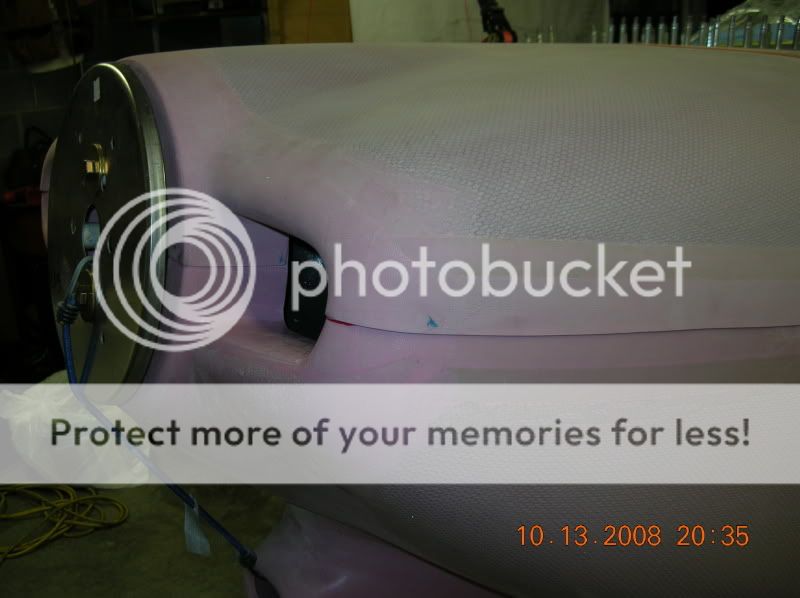
I then used a couple old paper back books as a spacer for getting the top of the cowl aligned with the spinner. I just kept taking pages from the book and fitting the top cowl till the spacing was correct.

DSCN6899.jpg


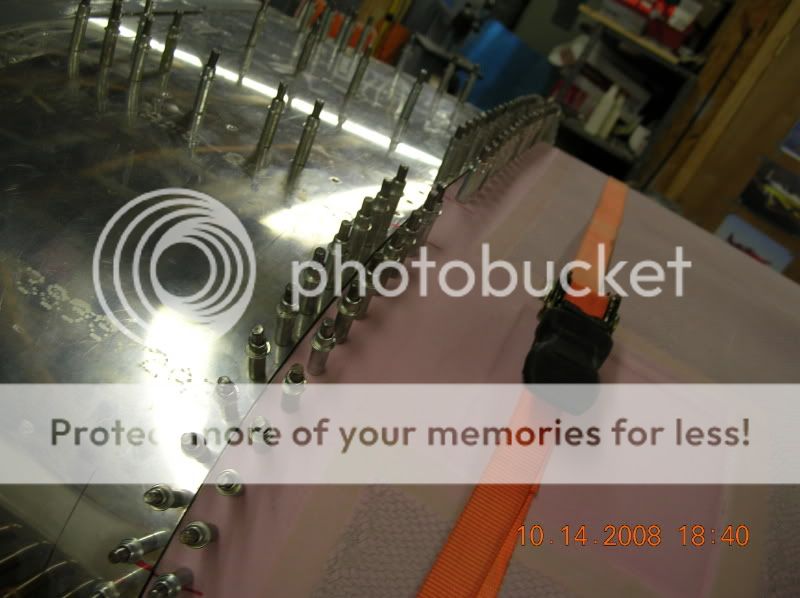
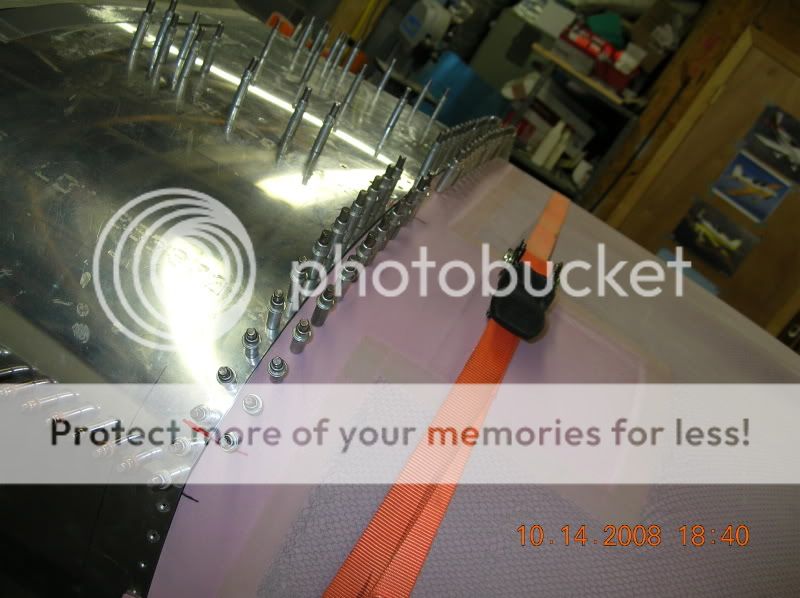
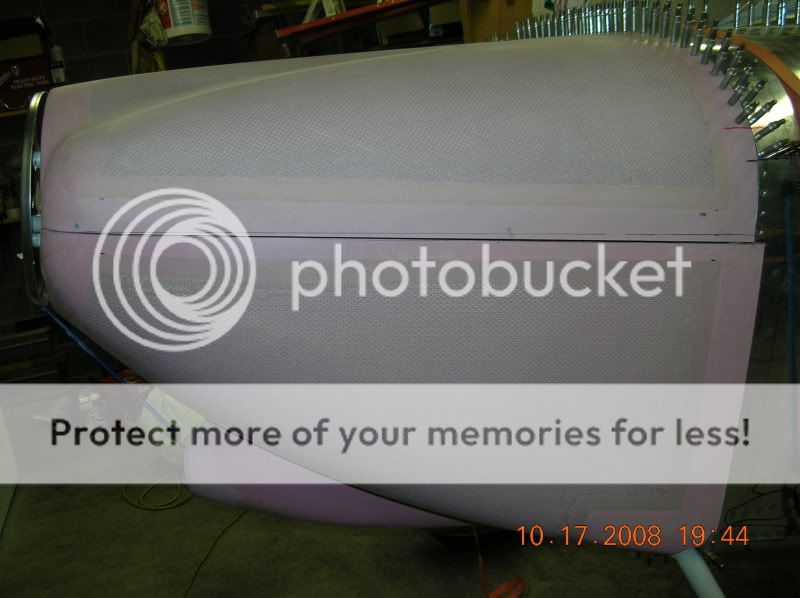
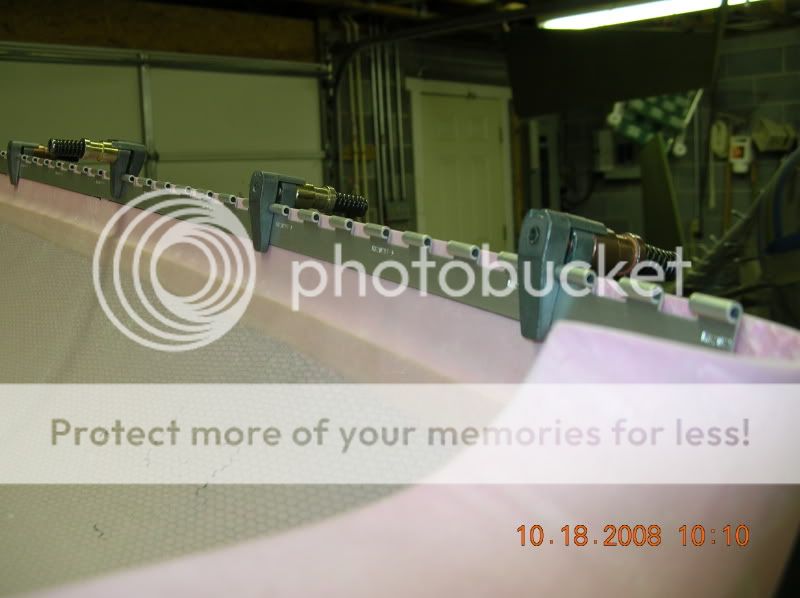
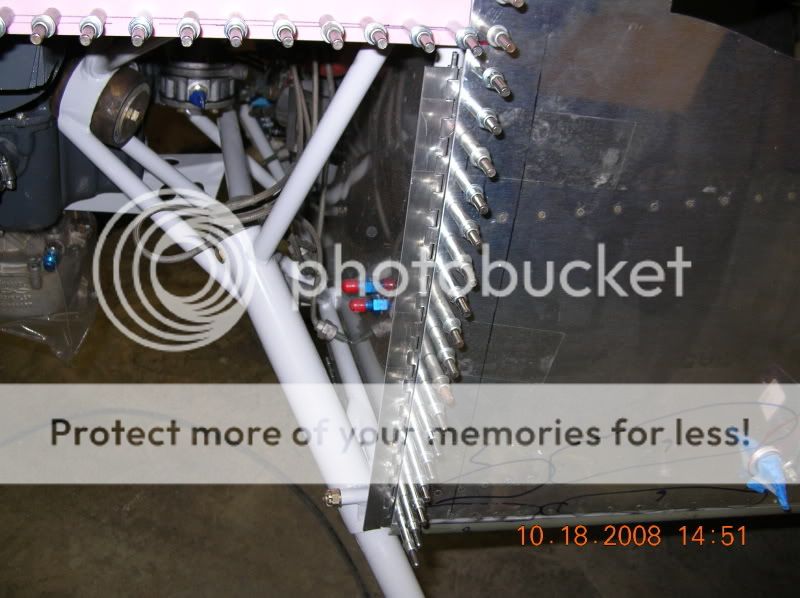
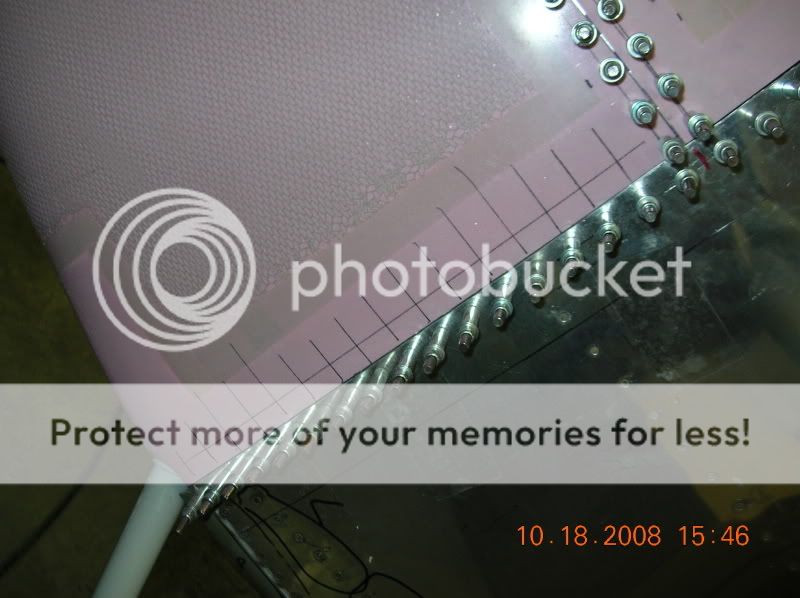
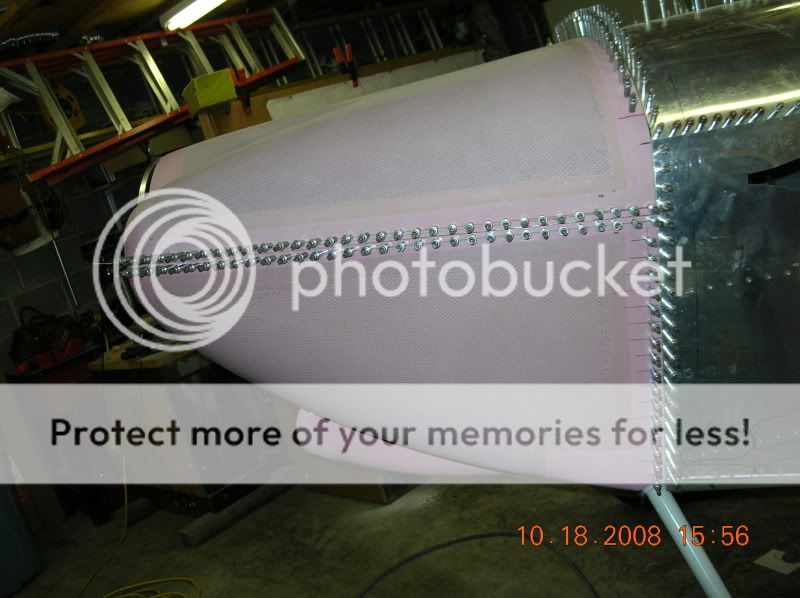
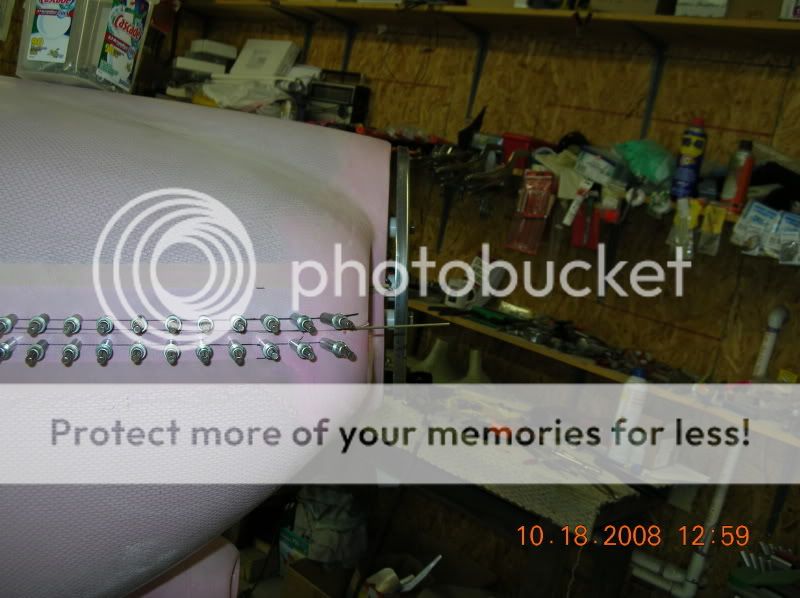
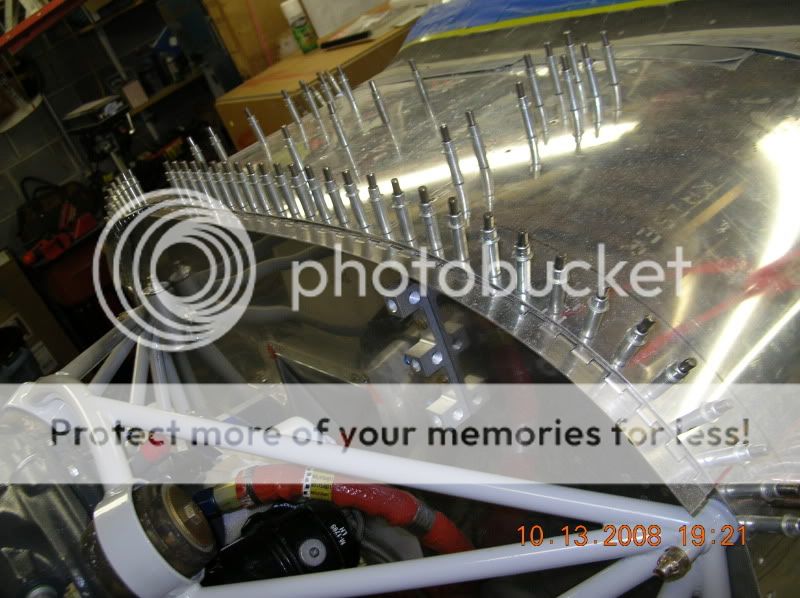
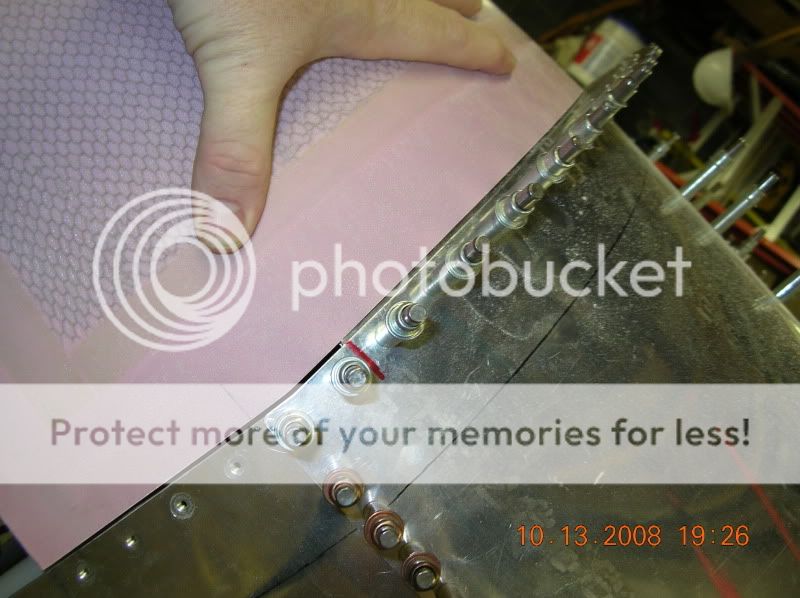
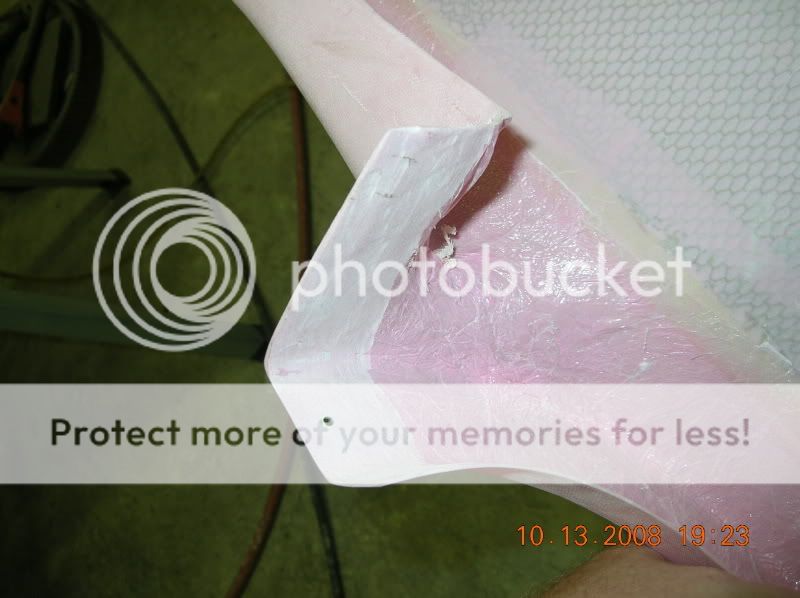
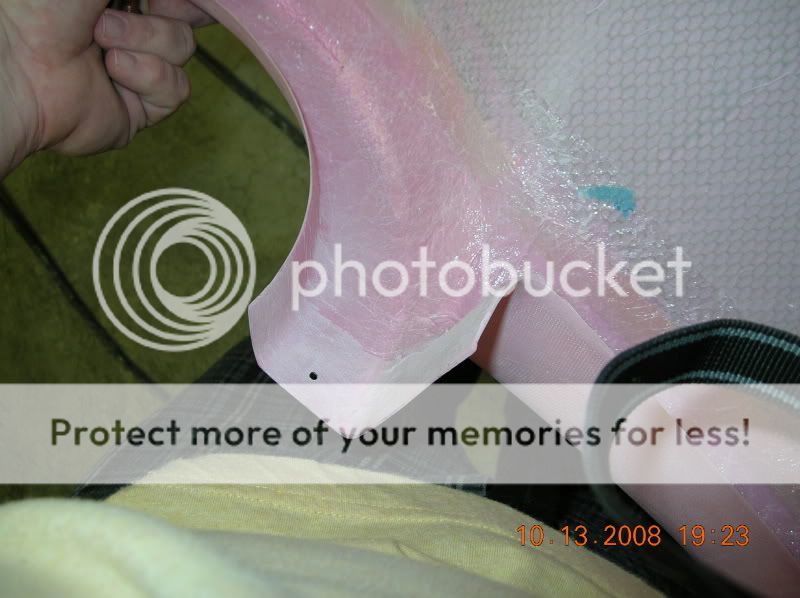
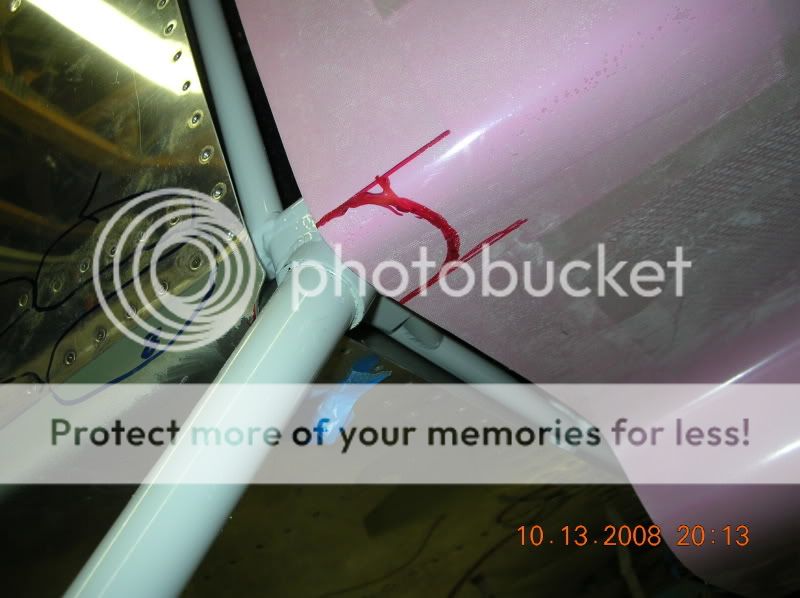
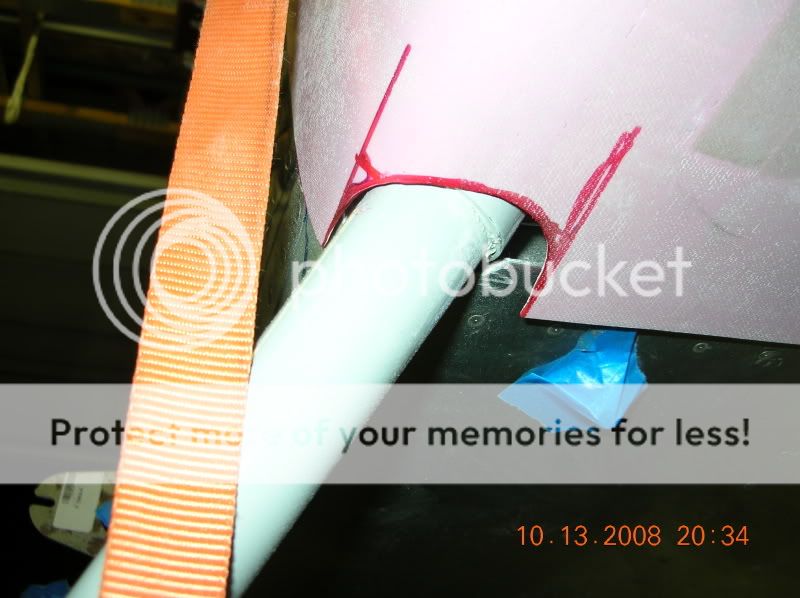
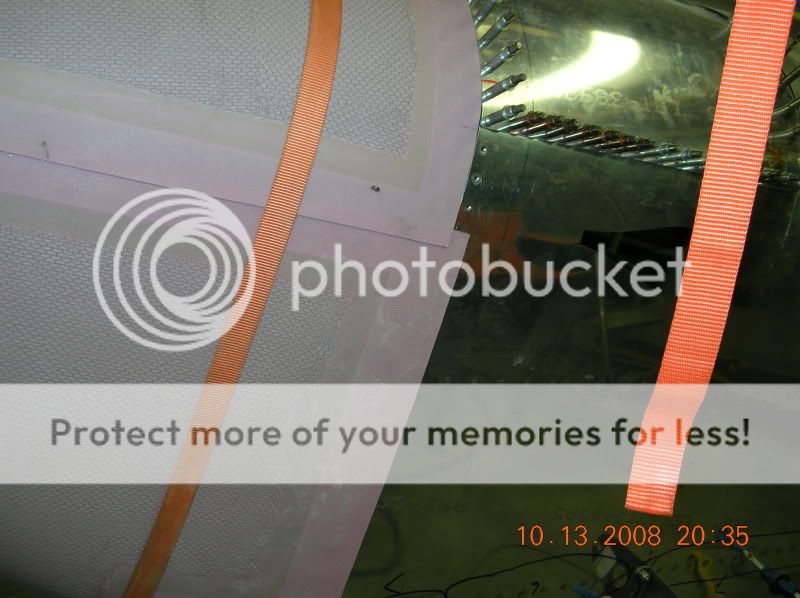
I then cut and drilled the hinges for the top. I spaced them right at the edge of the edge distance requirement for the holes in order to hide as much of the gap as possible between the cowl and the firewall area skins.

DSCN6900.jpg


DSCN6901.jpg


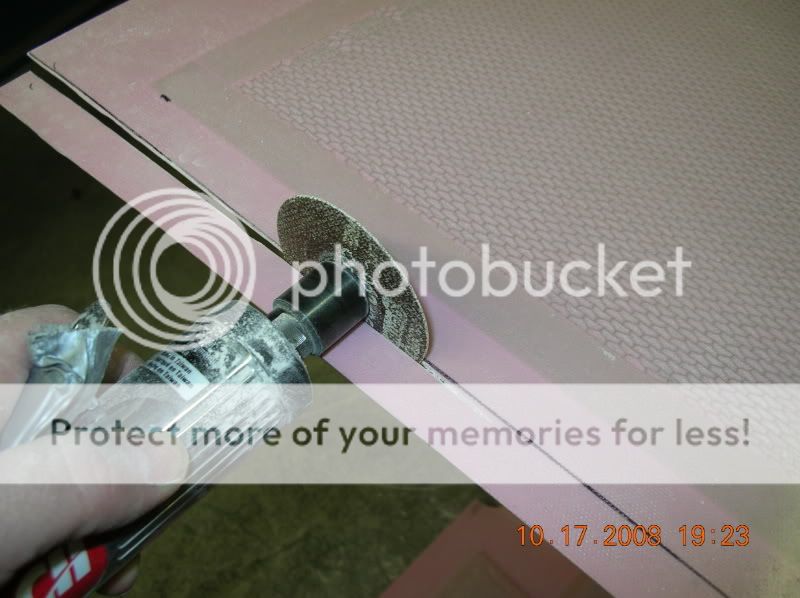
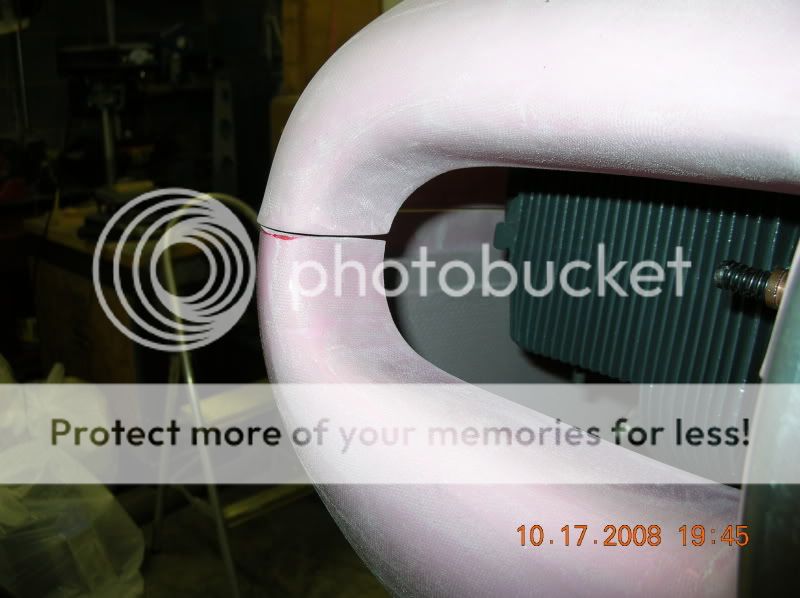
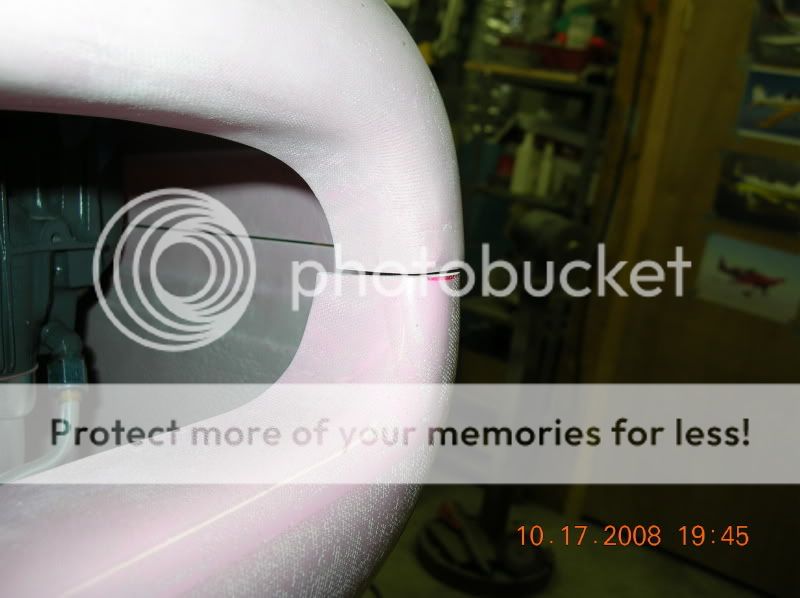
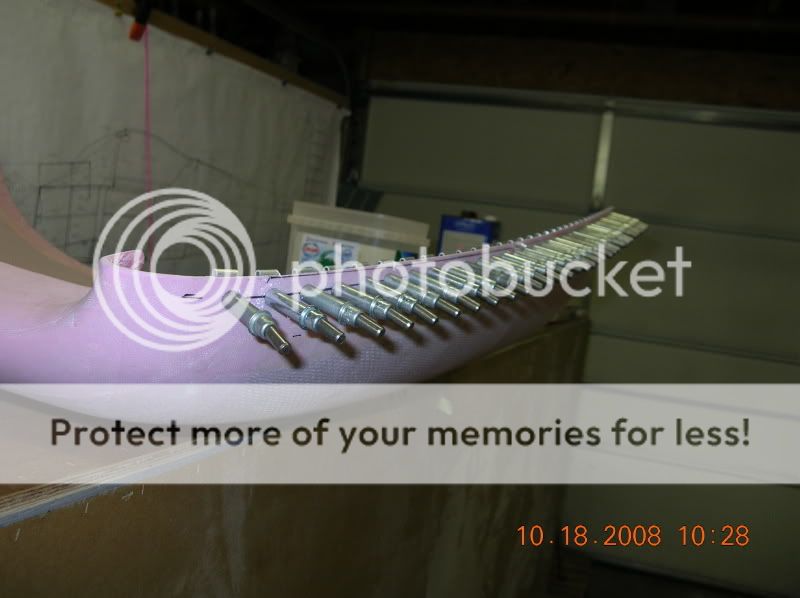
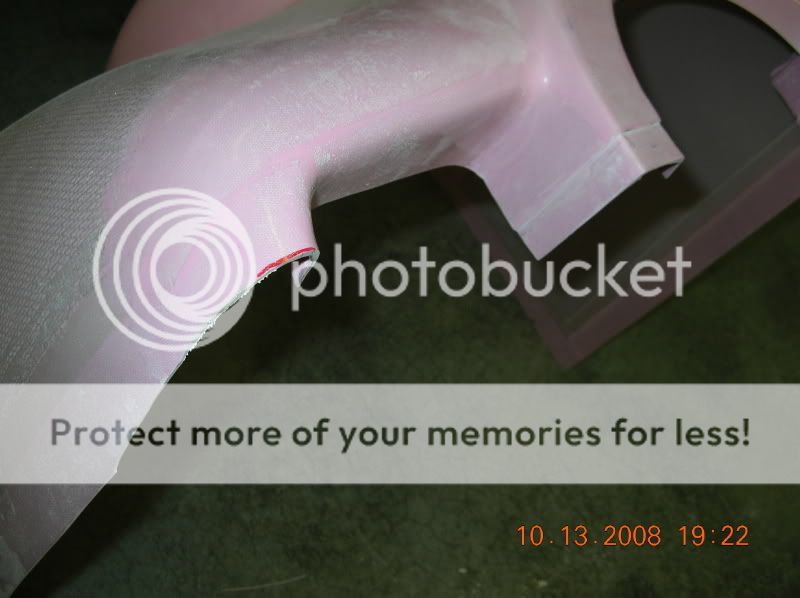
I drew a line 2" back from the front edge of the firewall skins, set my spinner to cowl gap at 1/8" and then marked the line onto the top aft side of the cowl. I then cut the top aft end to this mark.

DSCN6909.jpg


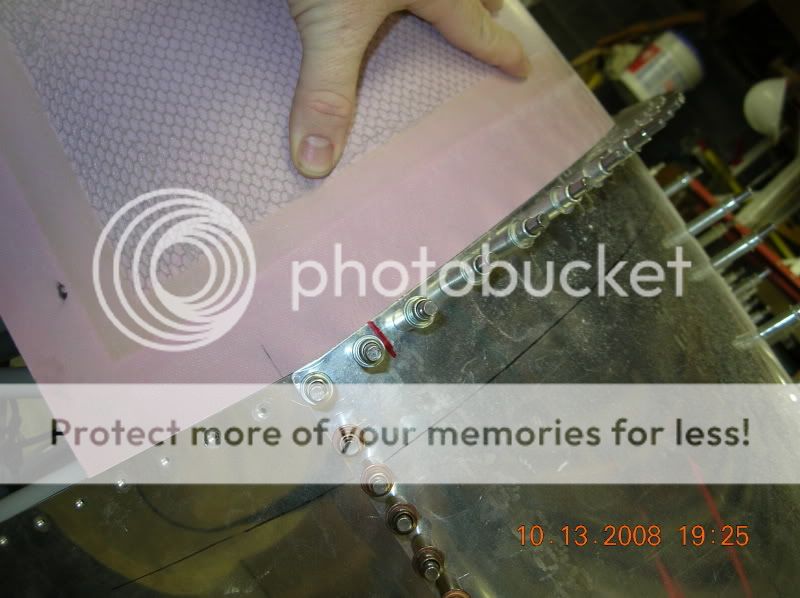
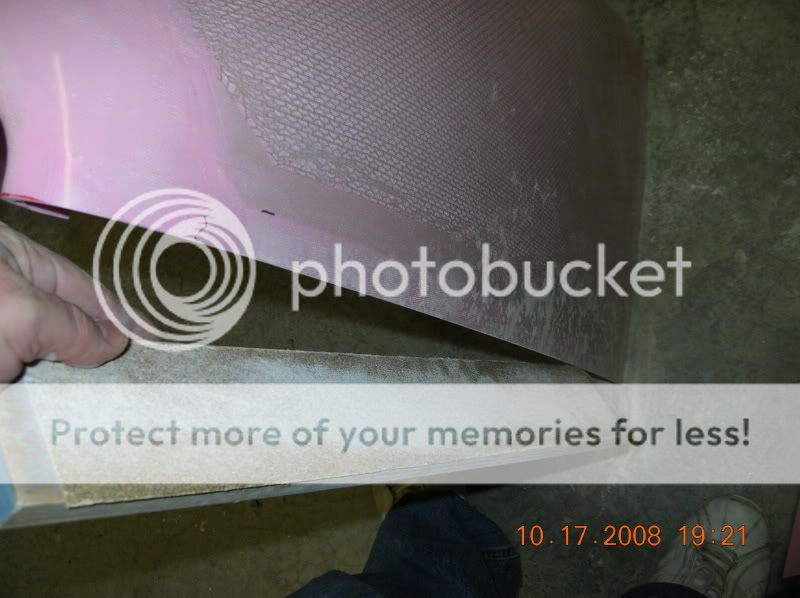
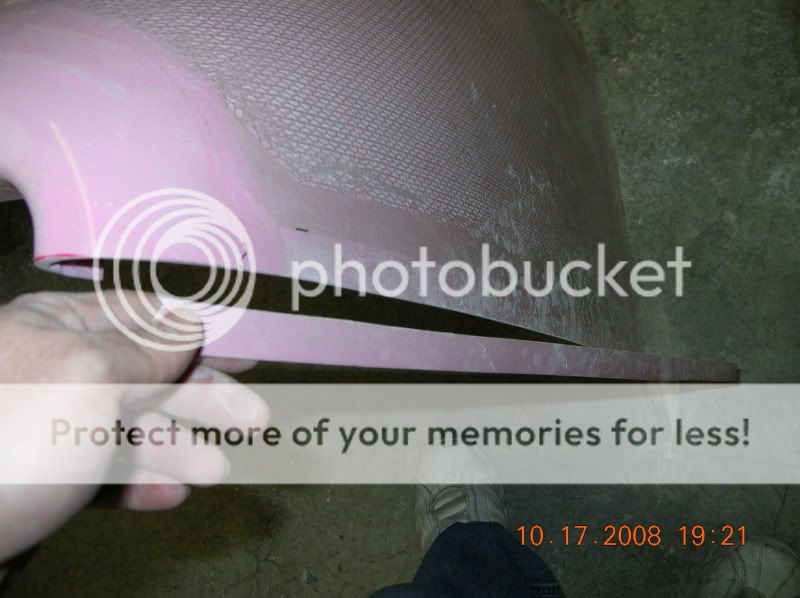
Once this was fitting nice, I set the gap at 1/4" at the front and sanded in a 1/16" gap at the back for paint. I used a 16" long board with 60 grit glued to it for the sanding to ensure a nice straight edge.

DSCN6910.jpg
 
Last edited:
I have the typical problem of fits nice a the top but runs away at the center.....Will require building out later....

DSCN6907.jpg


The spinner is fitting pretty concentric to the cowl at this point.

DSCN6911.jpg


Next I moved on to getting the nose to fit together and round.

I took a Dremel and sanding drum and cleaned up the inside of the top at the overlap areas.

DSCN6905.jpg


DSCN6906.jpg


I also took a file and cleaned up the molded in flanges at the center of the bottom at the overlap areas.

In order for the two to go together, I had to mark a line so I would know how to cut the outsides of the inlets on the bottom cowl. I put a straight edge on the molded in flanges of the center of the bottom half and extended this line out to the outside of the inlets. I cut this off at that point but just to outside of the curve because I did not want to cut any off the sides at this point.

DSCN6902.jpg


DSCN6903.jpg
 
Last edited:
I was then able to get the two halves together pretty nice at the front. It will require some tweaking to get the seams perfect but so far so good. I did not want to drill any side holes yet so I just joined them with a temporary hole at the front. This holds them together and pulls them into each other. Problem with this is that the clecos will hit either the spinner backplate or the starter gear/flywheel.

DSCN6904.jpg


Once this was done, I hoisted the bottom up into place the best I could using a strap and a bungee cord or two. The goal was to get it close enough to know where to cut for the gear legs.

DSCN6914.jpg


I then marked a cuttout on both sides of the bottom for the gear leg clearances...

DSCN6915.jpg


And cut them out..They will need opened up more for brake lines etc. later.

DSCN6916.jpg


DSCN6917.jpg
 
Last edited:
With that done, I was able to pull the bottom up into place to meet the top.

I just let the sides overlap the firewall and the top cowl all around. The front was able to be pulled into position. I used a strap and a bungee to hold it in place.

The fit at the outsides of the inlets at the seam don't look too bad at this point. Should get even better once the sides are not overlapping each other....

DSCN6918.jpg


DSCN6919.jpg


This will take some fill work to build it out even. At this point once I set the 1/16" paint gap at the back, it has about a 5/16" gap at the top. I do not want it any closer because that makes the top hard to get on and off later. As you can see the front is not molded properly.

DSCN6920.jpg
 
Last edited:
Brian, I like your work...well done.

Just a couple of comments: from your pictures, the "gap" area between the prop spinner backing plate -to- fiberglass nose circle... I have seen some fiberglass spinners extend beyond the backing plate. This has the effect of closing up the gap. Just something else to watch for.

The other comment is the edges of the upper and lower cowling halves, where they come together behind the prop spinner plate. You had commented that you will address that area later. This area is completely hidden by the prop spinner and backing plate. You really do not need to do anything here. If you do trim for a uniform edge, only you will know and be able to smile in the fact that you left no detail undone.
 
I would like to add that the tools I used to fix up or make fit that center section were the cutting wheels like used on the canopy, I use the 3/32 wheels from 3M. Next I used a carbide bur, round nose tree, I think 3/8, in fact I use this thing so much for opening holes in aluminum, I use this on my air drill. Make sure and do this part with the cowl standing on end on the floor. When you get to putting the hinges on, do that on the floor with the front facing up, sitting on the floor, way eisier than fighting the on plane thing. The one thing that didn't come out right on my cowl and I noticed it on another is the line where the top meets the bottom in the center where the 3 screws go, kind of going up with an opening twards the aft edge. Good luck and have fun.
 
Oh, one more tip. On the front of the cowl where the two meet around the air inlets. Make sure and bring the bottom cowl forward enough to allow the lower cowl to take up the space. Meaning you will have a lower lip under hang. You see the lower cowl has extra meat there and if you wait until later after you have the hinges in and all put securely into place, take the carbide bur on an air drill and smooth out and match the top cowl, you don't have to do any lay up to match things up. Takes about 20 seconds with the carbide bur to make things looks real nice.

Another tip is to make a straight line down the side before sanding. Take some tape, masking or like, and run it down the side overlaping the area that you want to sand for a straight line, than take a piece of aluminum that is thin and long with a nice straight cut. Put in over the tape where you want the sand and secure it in place, either hold it with a friend helping or tape that also. Now take a straight edge razor blade and cut down the edge into the tape. Now remove the excess tape and you now have a straight line to sand to.
 
Neat trick...

...using the book as a variable thickness spacer.

Finally, a use for all of those Yellow Page directories that keep getting dumped at our mailbox....:)
 
I thought those were his old Gleim instrument books and study guide,.......

Did not need any of those, I had a super instrument instructor that taught me all that stuff, I can get you his phone number if you like. You have to watch out though, he is one of them crazy homemade airplane builders and has a thing for old round motors! :D
 
Last edited:
Today I worked on getting the top drilled to the hinges and worked on the fit of the bottom.

I ensured that I had the top exactly where I wanted it and proceeded to drill the top hinges. I left ~1/16 gap for paint. I started in the middle and worked down the sides.

I think when I rivet the hinges on, I will put some flat strip stock in to hide the gaps where there is no hinge material. I think this will loook better and camouflage those areas once it is painted.

DSCN6921.jpg


DSCN6922.jpg


I then lifted the bottom up into place and ensured a nice fit to the top and then marked for the bottom trim line and the bottom hinges.

I cut the bottom from the sides just up to the radius of the exhaust outlet area. I will leave that part long till later.

DSCN6924.jpg


I then drilled and clecoed the bottom hinges. Put the bottom back on and drilled and clecoed the hinge to the bottom cowl.

Like all the other hinges I have drilled, I am going to the limit on edge distance on the holes in an effort to hide the eylets of the hinge behind the glass. This little stickout seems to do that quite well.

DSCN6927.jpg


DSCN6929.jpg


Next session I will work on the horizontal fit between the two halves. I will not cut the overlap off of the bottom sides where they overlap the fuse till I have the horizontal hinge installed.

To be continued....
 
Top Cowl Spacer

I used a tip I got from Bill Repucci... Use two rolls of paper towels, one on each side sitting on the cylinders. Bounty worked great!
 
Thanks Brian

I am just about to start on my cowl, what a help your updates will be, thanks for the great writeup.

Randy

Finishing, wiring, 8A
 
Ditto

Brian,
Receiving my replacement Pepto cowl from Van's today. Your step-by-step photo essay could not have been more perfectly timed. Man, have you lowered my stress level on fitting the cowling. You are the Man, keep up the good work, and again THANKS for your postings. VAF ROCKS!
Mike H 9A/8A:D
 
One more THANK YOU Brian

I will start my cowling in three weeks and your sequence of operations and tips on spacing look optimal.
 
I will pick up my finish kit in the morning so a canopy is in my near future. Like many others I would like to thank you for you efforts to help. Great job!
 
Brian, great illustration...I have done 6 installs on RV's and still am learning. Especially like the book spacer idea.
A thought on the split line between the upper and lower.
You are at the point where you are going to cut the horizontal line between the upper and lower cowl. Consider creating a water line between the front lip and the rear of the plane.(level the plane) This provides a great place on the cowl for paint line considerations. I used this on my RV8 and XB-51-8 to visually hide the split between the upper and lower cowls. See my web
www.ramairforhomebuilts.com
Getting ready to help a friend do his RV6 and will have him follow your lead. Rod XB-51-8
 
Yesturday I got started trimming the lower cowl to fit the upper one. Out of the box, the upper cowl's outer lower edge seems to be where they intended the split line to be.

I sanded the upper cowl's edge straight using a very long sanding block.

DSCN6936.jpg


Then I put it all back on the plane and marked the cut line on the bottom cowl that was underlapped by the top.

DSCN6935.jpg


DSCN6937.jpg


Put it all back together to check the fit. I sanded the bottoms edge straight with the long block.

DSCN6938.jpg


DSCN6941.jpg


Now you can finally see how the areas around the outsides of the inlets are going to fit. These are pretty good. Just a small amount of filler will make them nice.

DSCN6939.jpg


DSCN6940.jpg
 
Today I got started with the hinges...

Followed the plans to a T here. Let it ride up at the back. Watch the edge distance on your hinge!

DSCN6942.jpg


DSCN6943.jpg


DSCN6944.jpg


DSCN6946.jpg


Next I marked and drilled the three screw holes for the center/inlet area.

DSCN6949.jpg
 
Then I marked, cut, and sanded the aft sides of the bottom to the firewall. Used packing tape to hold the hinge straight for drilling.

DSCN6950.jpg


Once the side was cut and I had a paint line relief sanded in, I marked and drilled the aft side hinges on the bottom.

DSCN6951.jpg


And thats about it! I call the fitting complete on this cowl!
Just a little more cosmetic work to do and after riveting on the hinges, I get to do several hours of pinhole filling!

I started on this a couple hours Monday night and worked on it a couple hours each Tuesday and Friday evening and about 5 hours today to get to this point.

DSCN6952.jpg


DSCN6947.jpg


DSCN6948.jpg


If your following this, good luck with yours and your results may vary :rolleyes:
 
Pinky

Hey Brian,
Just started fitting my cowl yesterday when I came across your writeup. Whoa, this is exactly what I need. Thanks.:D Also plan on using the tips others have added.

How's your job search? I'm retired so that threat is over, however, my candle keeps getting shorter and shorter. You on the other hand...

Good luck and thanks again.
 
Thanks Brian, great writeup and great timing. I used your writeup as a reference and just today finished trimming and drilling the hinges on mine.
 
Looks great Phil!

If you used Van's rubber mounts, you will be glad you have that planned into your spinner alignment!
 
Here Here to Brian

Thanks for sharing for all of us about to tackle this portion of the build.

This web site is way great!!!!
 
Cowling detail

Brian,
I'm just getting started on the cowling for my RV-9A. Just like on the canopy I was hesitant to make the first cut. However, your write up and pictures have given me the confidence to get started. Thanks for providing the detailed threads.
Frank Bush
 
This is an old thread but I found it extremely useful as guide to help with my RV8 cowl installation.

Thanks for posting all of the details.
 
Back
Top