digidocs
Well Known Member
Welcome to the mechanical fuel pump guts show---low pressure edition.
Here's a link to the previous high pressure pump disassembly.
Todays victim, a LW-15472 was kindly donated by Mitch Garner and his airpark neighbor who removed it from his airplane. (You'll see why in a minute.)

A Lycoming low pressure fuel pump for use in a carburated appliation.
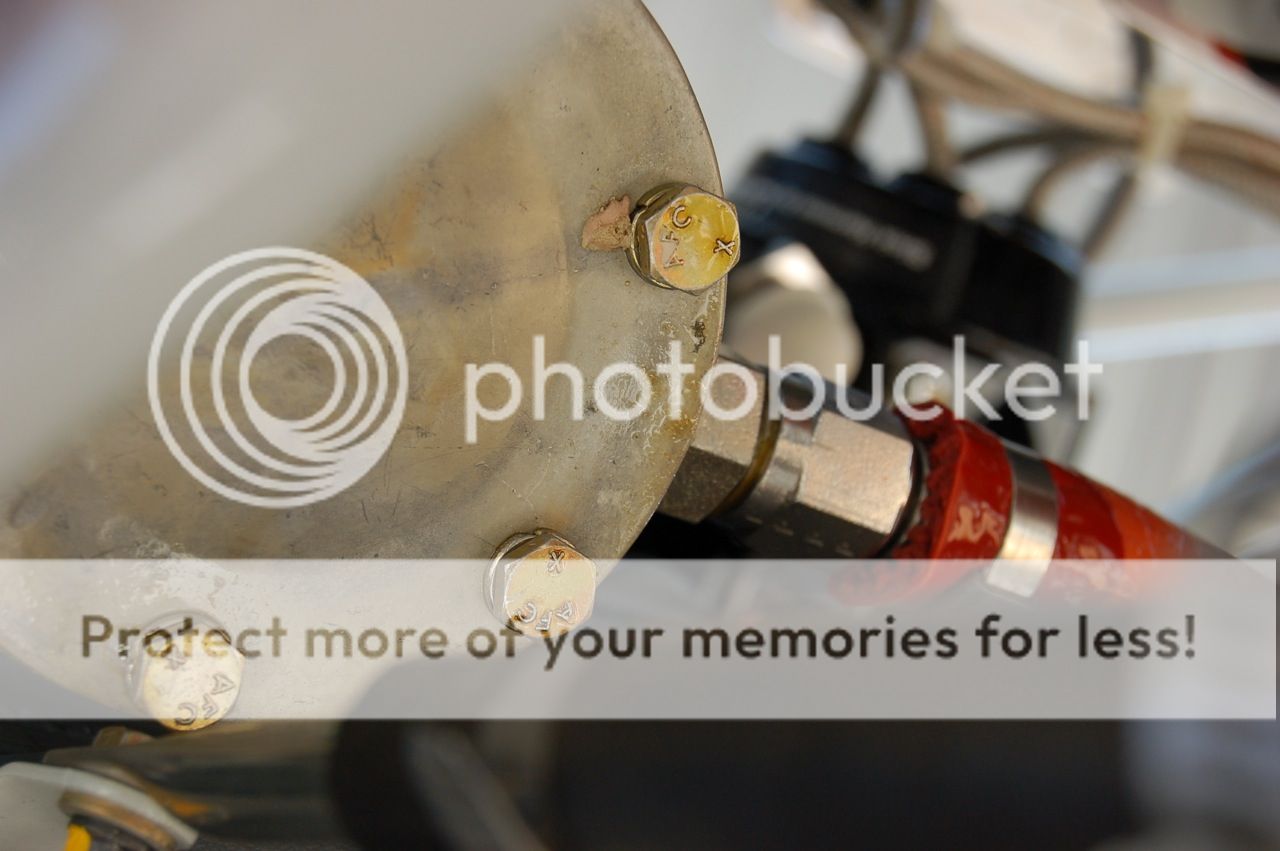
Note here that this pump uses individual lockwashers under each bolt. The previous pump I disassembled, had one large "wavy plate" with holes for each fastener.
I recently came across Lycoming SB 525 which suggests the proper torque for these bolts is 30 in-lbs.

The model number and manufacturing codes. Maybe Dec. 2002?

The lower cover comes off. Things look pretty similar to the first pump so far.

The two flow check valves.

Here's the top of the check valve block and a view of the diaphragms. Everything here looks identical to the high pressure version.

This is the piece of the housing the separates the upper (oil) and lower (fuel) diaphragms. I didn't document it very thoroughly in the previous post, so I thought I'd give it a bit more attention this time. Note the vent outlet at 1 o'clock. It has a brass plug with a hole in it here.

Ordinarily the (vented) space between the diaphragms is just filled with air. However in the event that one diaphragm ruptures, this space will be filled with oil or fuel. The pump will keep working in the near term, but obviously some corrective action is due.
To let you know there is a problem, this inner space is vented hopefully to somewhere where leaking fuel won't cause a major issue and also where you'll notice a leak.
The vent passage out of this space is also fitted with a restrictor to limit the size of the fuel or oil leak. You can see it in this picture pretty clearly. Apparently, in the olden days there wasn't a restrictor in the pump itself and an external one had to be plumbed in. Clearly that is no longer the case.

A view of the two diaphragms. They also appear identical to the ones used in the high pressure pump. The thickness varies somewhat, but according to my calipers, the left (fuel) diaphragm is about .045" and the oil diaphragm is about .055".

Lastly, as promised---a big fuel leak! According to Mitch, initially the pump was installed with an incorrect fitting, which of course leaked. To fix the leak, the fitting was "super torqued" and then the casting cracked.

So far the only difference that I can find between the low pressure pump and the high pressure pump is the size of the big spring. The high pressure pump spring (shown) is much stiffer than the one installed in the low pressure pump. I cannot depress the high pressure pump lever by hand, but I can do so on the low pressure version.
The way the output pressure in these pumps is regulated is kind of neat. The engine compresses the big spring shown via the pump lever. This pulls the diaphragm up and fuel into the pumping chamber. Then the spring itself supplies all of the force to push the diaphragm back down and the fuel out. Since the spring is responsible for generating all of the "output force", the fuel pressure is in effect limited by the spring strength. If the output were to become blocked, the spring would be unable to force the diaphragm down, and a constant pressure would be produced. Simple and reliable!
Thanks again to Mitch and his neighbor for supplying the pump. Since it appears to be very similar to the previous pump, I decided not to tear the upper section apart (thus ruining it). Instead, I'll reassemble it and perhaps it can be used for ethanol soak/endurance testing on some sort of test rig. Please let me know if you'd like to lead/participate in this part of the experiment.
Here's a link to the previous high pressure pump disassembly.
Todays victim, a LW-15472 was kindly donated by Mitch Garner and his airpark neighbor who removed it from his airplane. (You'll see why in a minute.)
A Lycoming low pressure fuel pump for use in a carburated appliation.
Note here that this pump uses individual lockwashers under each bolt. The previous pump I disassembled, had one large "wavy plate" with holes for each fastener.
I recently came across Lycoming SB 525 which suggests the proper torque for these bolts is 30 in-lbs.
The model number and manufacturing codes. Maybe Dec. 2002?
The lower cover comes off. Things look pretty similar to the first pump so far.
The two flow check valves.
Here's the top of the check valve block and a view of the diaphragms. Everything here looks identical to the high pressure version.
This is the piece of the housing the separates the upper (oil) and lower (fuel) diaphragms. I didn't document it very thoroughly in the previous post, so I thought I'd give it a bit more attention this time. Note the vent outlet at 1 o'clock. It has a brass plug with a hole in it here.
Ordinarily the (vented) space between the diaphragms is just filled with air. However in the event that one diaphragm ruptures, this space will be filled with oil or fuel. The pump will keep working in the near term, but obviously some corrective action is due.
To let you know there is a problem, this inner space is vented hopefully to somewhere where leaking fuel won't cause a major issue and also where you'll notice a leak.
The vent passage out of this space is also fitted with a restrictor to limit the size of the fuel or oil leak. You can see it in this picture pretty clearly. Apparently, in the olden days there wasn't a restrictor in the pump itself and an external one had to be plumbed in. Clearly that is no longer the case.
A view of the two diaphragms. They also appear identical to the ones used in the high pressure pump. The thickness varies somewhat, but according to my calipers, the left (fuel) diaphragm is about .045" and the oil diaphragm is about .055".
Lastly, as promised---a big fuel leak! According to Mitch, initially the pump was installed with an incorrect fitting, which of course leaked. To fix the leak, the fitting was "super torqued" and then the casting cracked.
So far the only difference that I can find between the low pressure pump and the high pressure pump is the size of the big spring. The high pressure pump spring (shown) is much stiffer than the one installed in the low pressure pump. I cannot depress the high pressure pump lever by hand, but I can do so on the low pressure version.
The way the output pressure in these pumps is regulated is kind of neat. The engine compresses the big spring shown via the pump lever. This pulls the diaphragm up and fuel into the pumping chamber. Then the spring itself supplies all of the force to push the diaphragm back down and the fuel out. Since the spring is responsible for generating all of the "output force", the fuel pressure is in effect limited by the spring strength. If the output were to become blocked, the spring would be unable to force the diaphragm down, and a constant pressure would be produced. Simple and reliable!
Thanks again to Mitch and his neighbor for supplying the pump. Since it appears to be very similar to the previous pump, I decided not to tear the upper section apart (thus ruining it). Instead, I'll reassemble it and perhaps it can be used for ethanol soak/endurance testing on some sort of test rig. Please let me know if you'd like to lead/participate in this part of the experiment.
 . Factory torque seal was missing and it took a turn and half to retorque them to 30.