Drilled Tail Spring
So I was able to successfully drill the tail spring holder with surprising results.
First step was to order the appropriate bits, a letter D size bit which is just under 1/4".
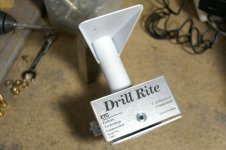
I was going to with Bob Noff's suggestion about drilling undersized holes and gradually expanding them on both sides. But I wasn't confident in my ability to exactly line up the holes. I also couldn't get a drill guide to fit onto the piece and I couldn't obtain a Drill-Rite guide. Turns out this was fortunate.
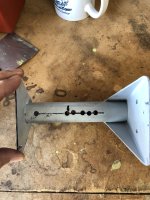
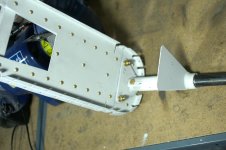
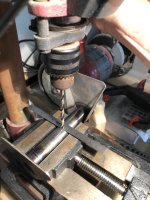
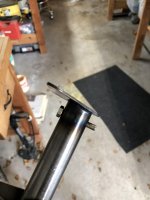
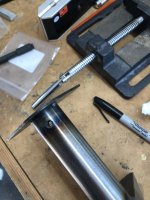
So I started by measuring the hole location. Leveled the piece in a press vice using an electronic level. Located the center of the piece using an old machinist trick - use the drill press to hold a thin ruler against the part and tap the vice with a tiny hammer until the ruler is level. Then you have the center. Another trick to drawing straight lines on the tube is to use a piece of angle. Held against the tube it allows you to draw straight lines along the length. Finally I used a piece of paper cut to exact length to determine the point 180 degrees from the marked hole.
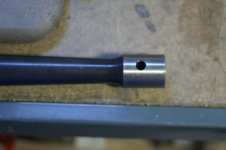
I started drilling with a #30 bit, then removed everything an remeasured to make sure it was centered. Then a #20, then a #12, and finally the D bit. I now had a hole exactly centered in the top of the tube.
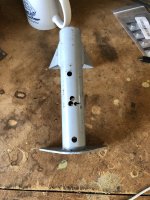
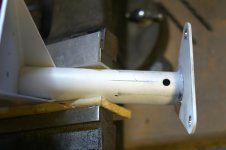
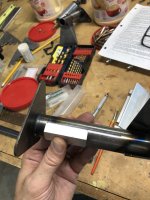
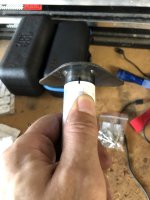
Next, I took the actual tail spring, oiled it, and inserted it into the holder. I lined up the holes in the mount and the spring to use as a drill guide. Here's the first interesting thing. When drilling on the old part to practice, I had to drill to 0.25 to get the AN4 bolt to fit. On this part, it fit smoothly with the D bit (0.246"). So I used the actual spring as a drill guide to go through the tube. Drilled it out, cleaned it and fit the bolt neatly through. Perfect.
Now the interesting part. I took everything apart and cleaned up. My wife wanted to see so I put the spring back in the mount, threaded the bolt in and it didn't fit. Huh? I took it apart, rotated the spring 180 degrees, reinserted it and voila it fit.
As far as I can tell, the spring hole is not perfectly centered. It's a good thing I didn't use a drill guide to get exactly offset holes as the hole would have ended up 1/64" off.
I thought it might be the hole in the spring being enlarged by the drilling but I carefully measured it and inserted a new AN-4 bolt. The hole was snug enough to basically strip the conversion coating off the bolt so it hasn't been oversized. The only thing I can figure is that they were drilled as a set at Van's and are ever so slightly off center.
Wierd result I didn't expect. But alls well that ends well.
Attached are pictures of the process.