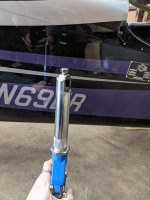
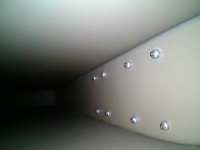
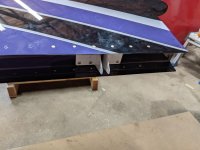
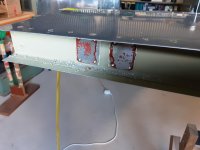
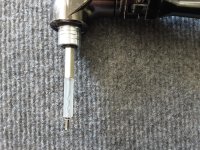
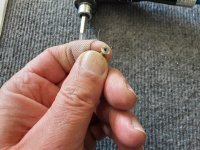
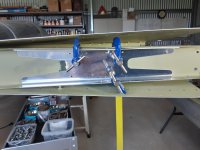
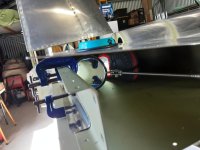
My first attempt at this didn't go well. 5 out of the 8 cherrymax rivets came out bad. Luckily the stems weren't retained and they were easily knocked out so I could drill out the cherrymax and try again. Both my hand puller and the pneumatic puller had too wide of a tip and were side loading the rivets. I bought an extended nose hand puller, modified it to fit without hitting the brackets or skin, and with lubed up rivets was able to successfully pull the 5 bad ones that were on the right side, and all 8 on the left side without issue.
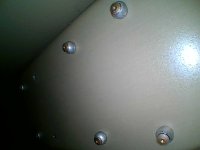
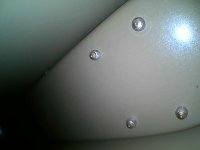
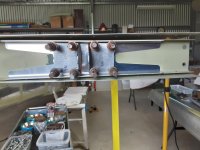
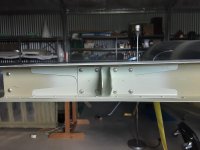
I ended up with a single oops rivet on the right lower skin due to a mis-squeeze. Now I just have to do some touch up paint work.
I ended up with a single oops rivet on the right lower skin due to a mis-squeeze. Now I just have to do some touch up paint work.