Greg Dillon
Active Member
Access door
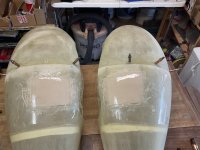
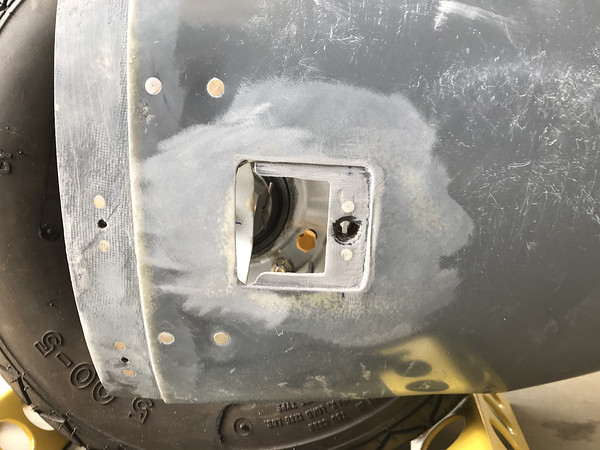
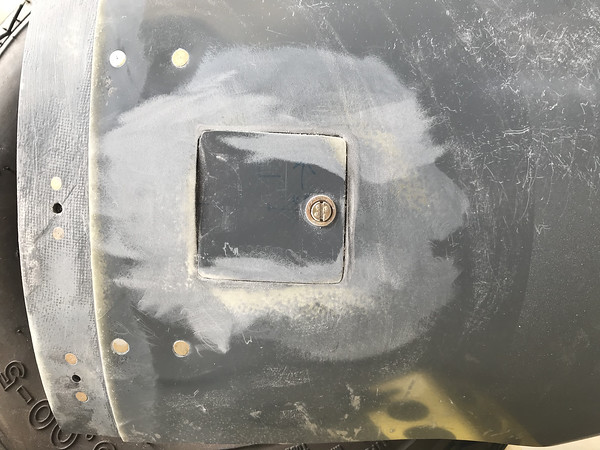
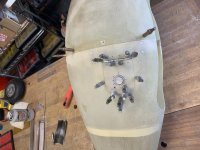
I don't have pics, so I'll have to describe what I made. At an aircraft surplus shop I found 2 Hartwell latches attached to a pair of panels. I cut square holes approx 3"x3" in the main gear wheel pants. I then trimmed the latch equipped panels to size and used some piano hinge to attach the access doors to the pants. I made aluminum striker plates for the Hartwell latches to contact to avoid damage to the fiberglas. I can now add air to the tires with no special tools and with plenty of 'hand room' to remove the tire caps due to the size of the doors. I stole this idea from a Cessna 172.
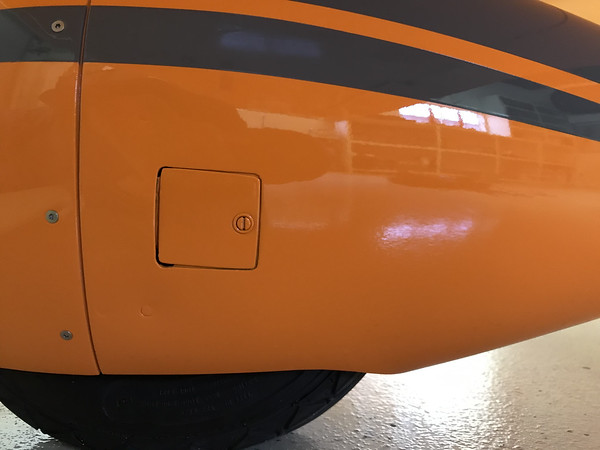
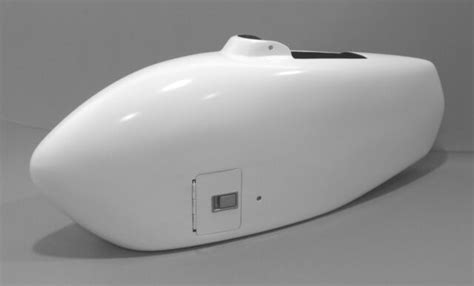 On the nose gear I made a smaller door with a leftover 'butterfly' quarter turn fastener originally made for the oil door in the cowl. This door also uses piano hinge material. No tools required for access either.
I don't have pics, so I'll have to describe what I made. At an aircraft surplus shop I found 2 Hartwell latches attached to a pair of panels. I cut square holes approx 3"x3" in the main gear wheel pants. I then trimmed the latch equipped panels to size and used some piano hinge to attach the access doors to the pants. I made aluminum striker plates for the Hartwell latches to contact to avoid damage to the fiberglas. I can now add air to the tires with no special tools and with plenty of 'hand room' to remove the tire caps due to the size of the doors. I stole this idea from a Cessna 172.
Last edited: