-POSTING RULES

-Advertise in here!
-
Today's Posts
|
Insert Pics
Keep VAF
Going
Donate methods

Point your
camera app here
to donate fast.
|

02-18-2017, 03:41 AM
|
 |
|
|
Join Date: Jul 2013
Location: Clarkston, MI
Posts: 926
|
|
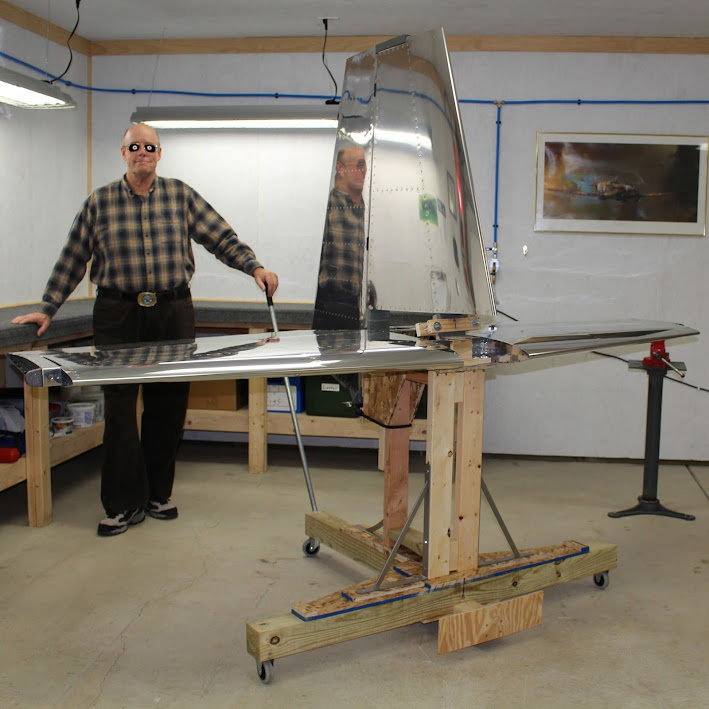
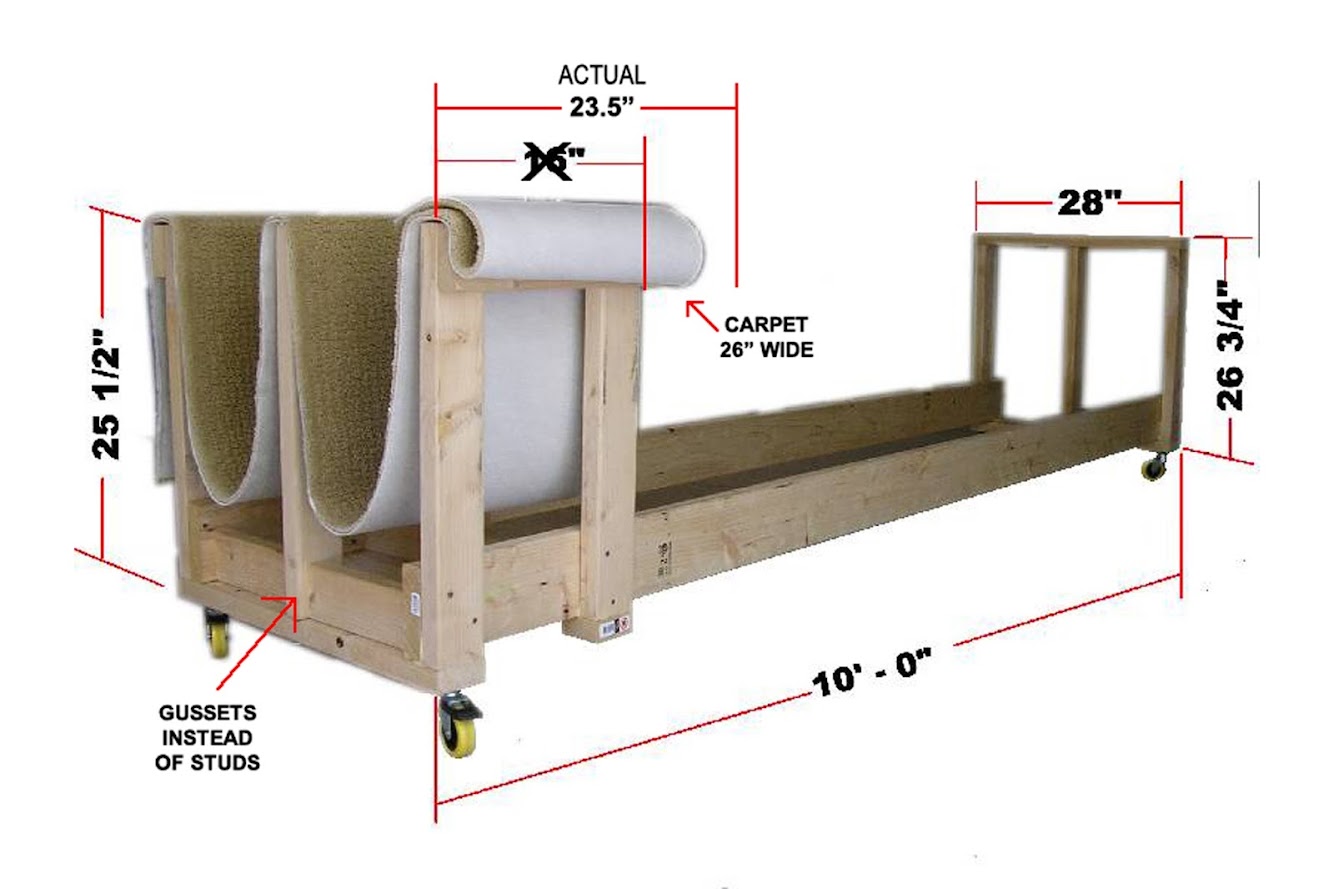
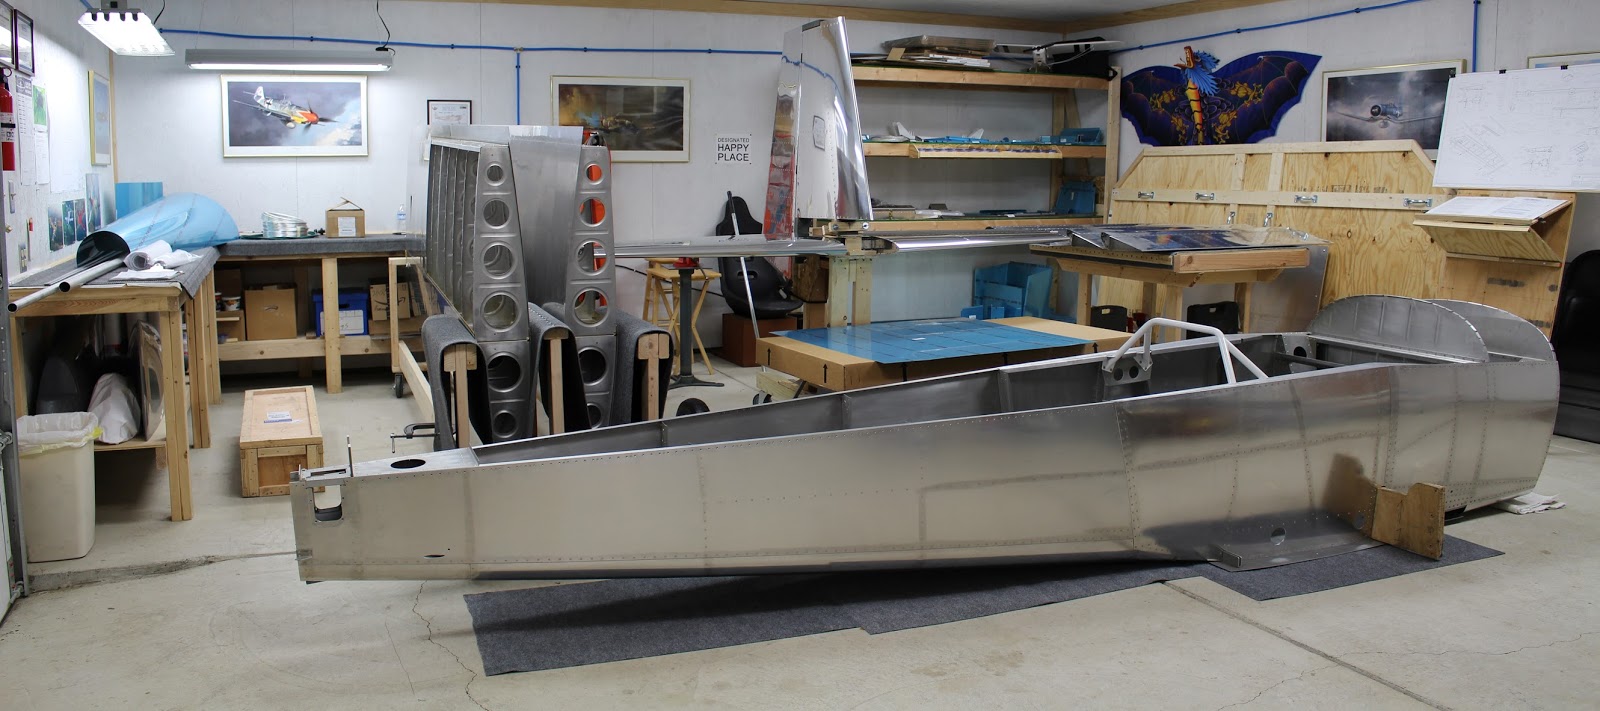
Another blogspot blog done (see link in signature). The wing stand has been modified, the fuselage stand has been built, and I'm ready to get back to work on the wings. It was a beautiful day for rearranging components, so I couldn't resist taking this group photo outside.

|

02-18-2017, 05:11 AM
|
 |
|
|
Join Date: Apr 2012
Location: Collierville, TN (KFYE)
Posts: 1,475
|
|
I really like the fixtures you made for holding all the components. I didn't have the patience to do that! Nice job! 
__________________
RV-8 #81077 Super Slow Build
Dynon Skyview HDX, Titan IOX-370, Dual P-Mags, AFP FM200A FI, Whirlwind 200RV CS Prop
First Flight 11/20/2016
https://www.marksrv8.com
|

02-18-2017, 12:25 PM
|
 |
|
|
Join Date: Jul 2013
Location: Clarkston, MI
Posts: 926
|
|
Quote:
Originally Posted by Mark Dickens
I really like the fixtures you made for holding all the components. I didn't have the patience to do that! Nice job! 
|
Thank you, Mark! When I feel like I might be getting burned out working on the aircraft parts, making something that's eyeball-engineered out of wood can be a beneficial change of pace for me. I have a few others... a low jig for the vertical stabilizer, a horizontal jig for the rudder, etc. Nothing pretty... but fairly functional.
|

03-29-2017, 11:01 PM
|
 |
|
|
Join Date: Jul 2013
Location: Clarkston, MI
Posts: 926
|
|
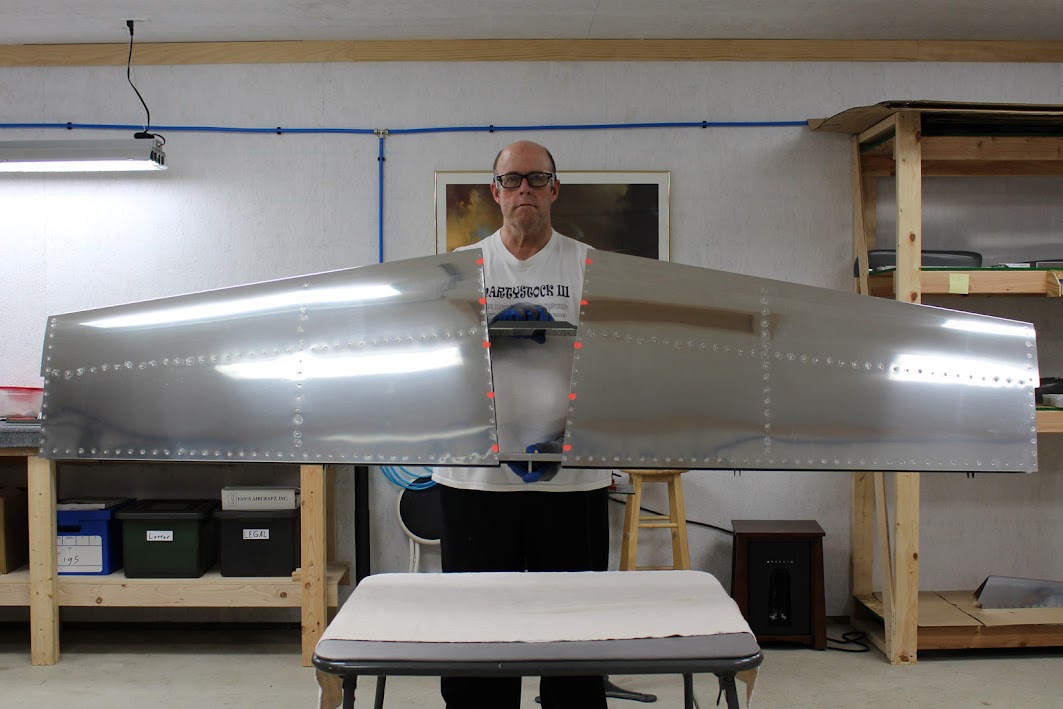
This month's blogspot blog entry is finally complete. It's a long one... very long, actually. I guess I got a lot done on the wings. I get the feeling they're all going to be very long entries from now on, he said with a heavy sigh. But like the plane, I started this thing... I must see it through. Click on the blogspot link in my signature to see it. Here's a teaser photo... 
|

11-11-2017, 04:03 AM
|
 |
|
|
Join Date: Jul 2013
Location: Clarkston, MI
Posts: 926
|
|
I haven't posted in this thread for quite a while. I've made 5 more blogspot blog entries since the last post and a LOT of KitLog entries, documenting a lot more progress. The most recent blog entry was last week; as always, see the links in my signature. Most recent event was the arrival of my finish kit. I'm a big step closer to have everything I need in my inventory. Everything had been purchased, and I only have to take delivery of my engine and prop... and I'll have them both by January. 
|

11-12-2017, 11:40 PM
|
 |
|
|
Join Date: Mar 2014
Location: San Marcos, CA
Posts: 415
|
|
Canopy Skirt
What happened to the rear of your canopy skirt? That doesn't look normal to me at all.
I'm jealous of all the space you have. I'm building out of single car garage.
__________________
~Chuck
DG-800S Sailplane
QB RV-8 -- Working on final wiring and the engine
84CX Reserved
|

11-13-2017, 02:03 AM
|
|
|
Join Date: Mar 2017
Location: Oklahoma
Posts: 113
|
|
Quote:
Originally Posted by goatflieg
Another blogspot blog done (see link in signature). The wing stand has been modified, the fuselage stand has been built, and I'm ready to get back to work on the wings. It was a beautiful day for rearranging components, so I couldn't resist taking this group photo outside.

|
What's the NACA vent on the underside of the wing? I thought the cabin air was in the nose. Is it just the heat in the nose, with fresh air in the wing?
|

11-13-2017, 04:14 AM
|
 |
|
|
Join Date: Jul 2013
Location: Clarkston, MI
Posts: 926
|
|
The NACA vent in the fuselage is for the front seat; the underwing vent is for the back seat... at least that's the plans callout.
|

11-13-2017, 04:24 AM
|
 |
|
|
Join Date: Jul 2013
Location: Clarkston, MI
Posts: 926
|
|
Quote:
Originally Posted by cdeerinck
What happened to the rear of your canopy skirt? That doesn't look normal to me at all.
I'm jealous of all the space you have. I'm building out of single car garage.
|
The skirt is now apparently a two-piece item. It looks like it will take a LOT of fabrication and fiddling. I'll keep you posted.
You can never have enough space. The photo of the finish kit inventory is in the garage section of the building;the main shop is 25x25, but the two spaces are only connected with two narrow interior doors. Big pieces have to transfer outside via the garage doors. Before I started building, I did some matching scale drawings of both the shop and the airplane and played with cutouts to make sure I would be able to fit the aircraft with the wings inserted for setting the incidence. Done some double-checking, and it is possible... but it's going to be really tight in all directions. Same with the painting in my collapsible interior booth; the fuselage is gonna be a bear.
|

05-21-2018, 11:07 AM
|
 |
|
|
Join Date: Jul 2013
Location: Clarkston, MI
Posts: 926
|
|
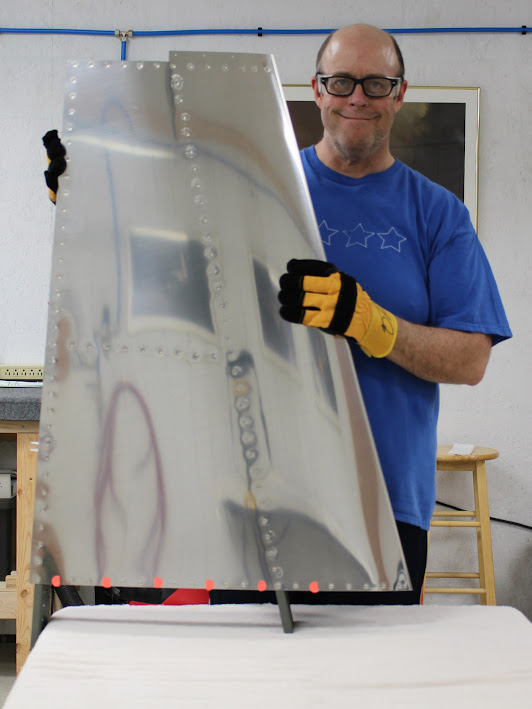
New blogspot entry posted; Little Steps and Big Steps; see link in my signature below. Get comfortable because it's a long read, but there's some good stuff in there. Here are two teaser photos:

|
Thread Tools |
Search this Thread |
|
|
Display Modes |
Linear Mode
|
Posting Rules
|
You may not post new threads
You may not post replies
You may not post attachments
You may not edit your posts
HTML code is Off
|
|
|
All times are GMT -6. The time now is 07:11 AM.
|