mountainride
Well Known Member
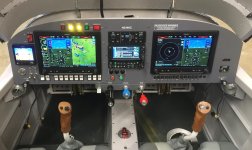
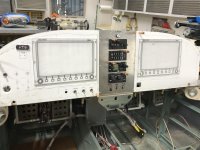
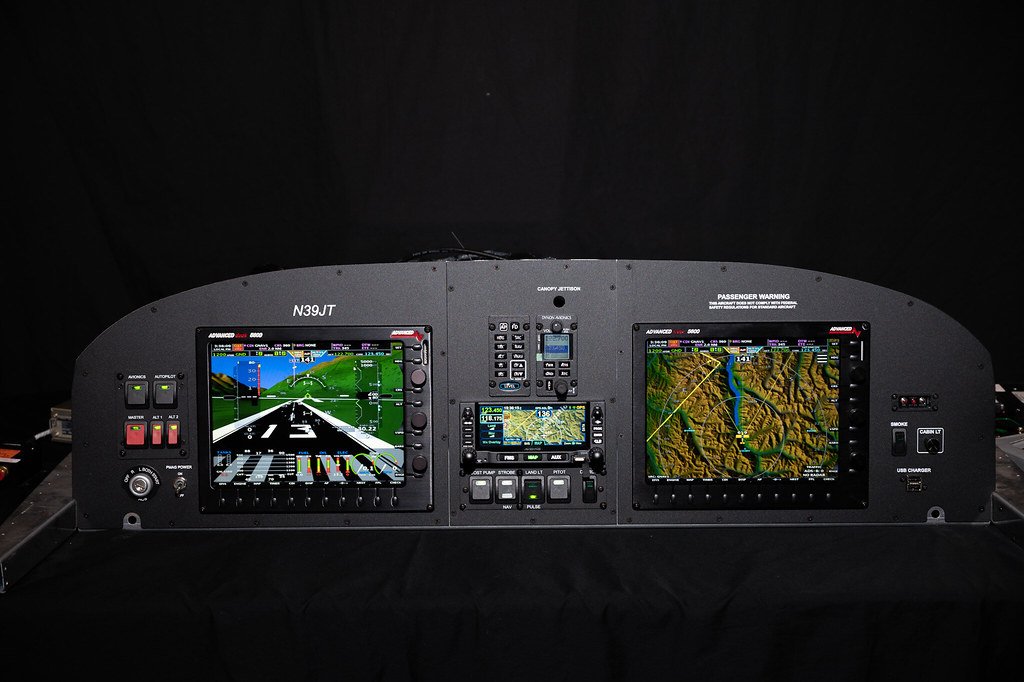
Panel Preview. The right side gets an Ipad. Very Simple IFR panel.
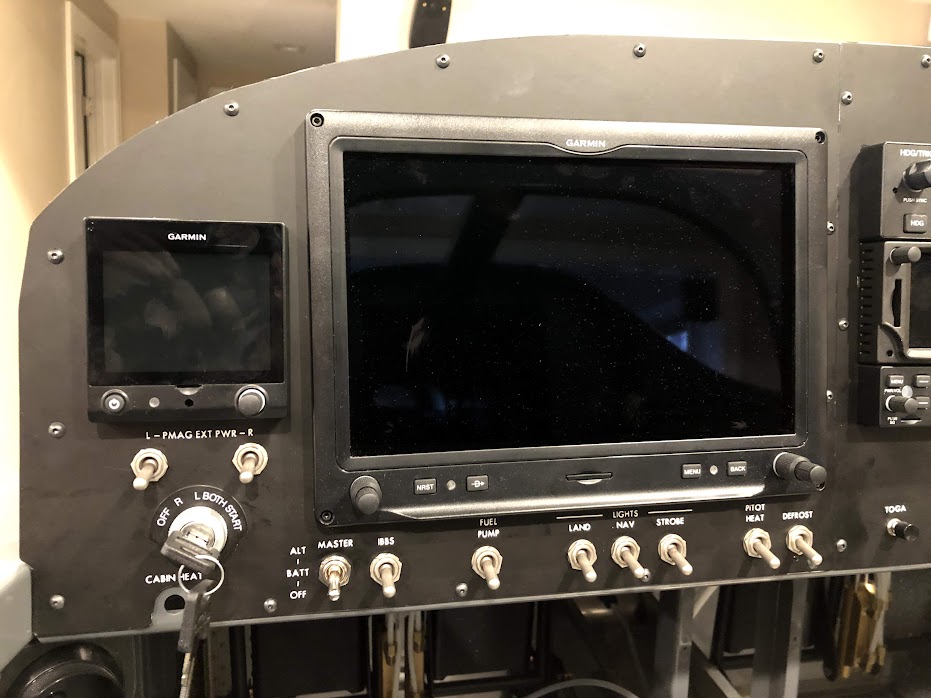
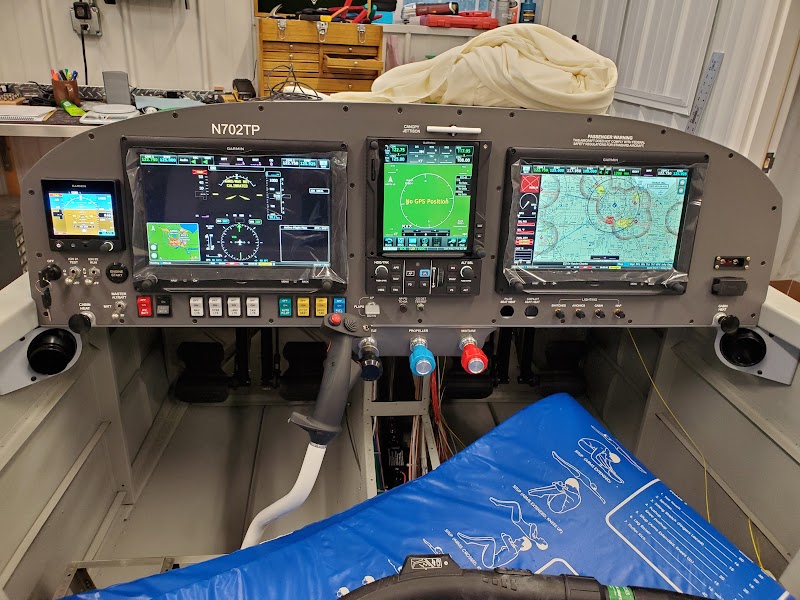
G3X, G5, GMC507, GNX375.
G3X, G5, GMC507, GNX375.
Last edited:


 )
)

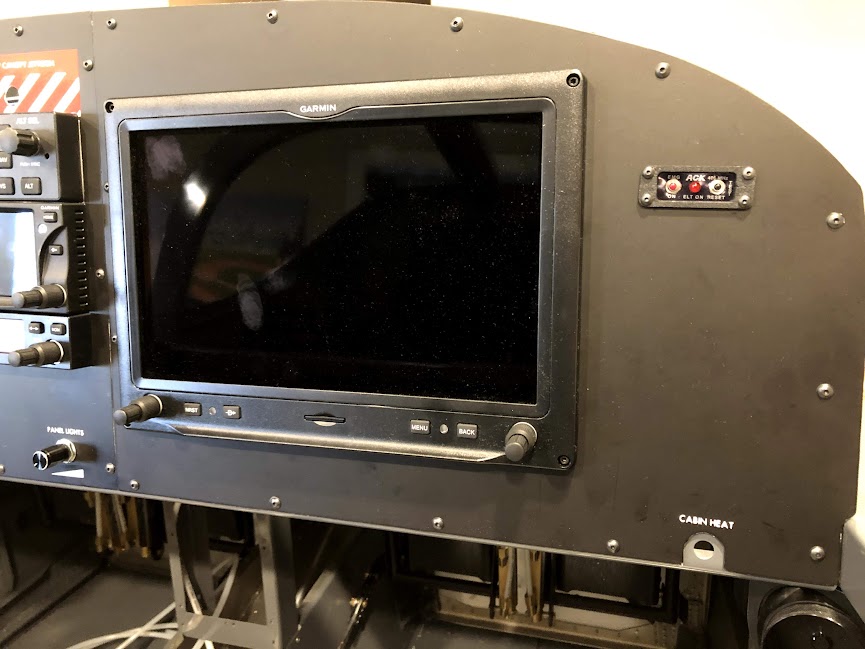
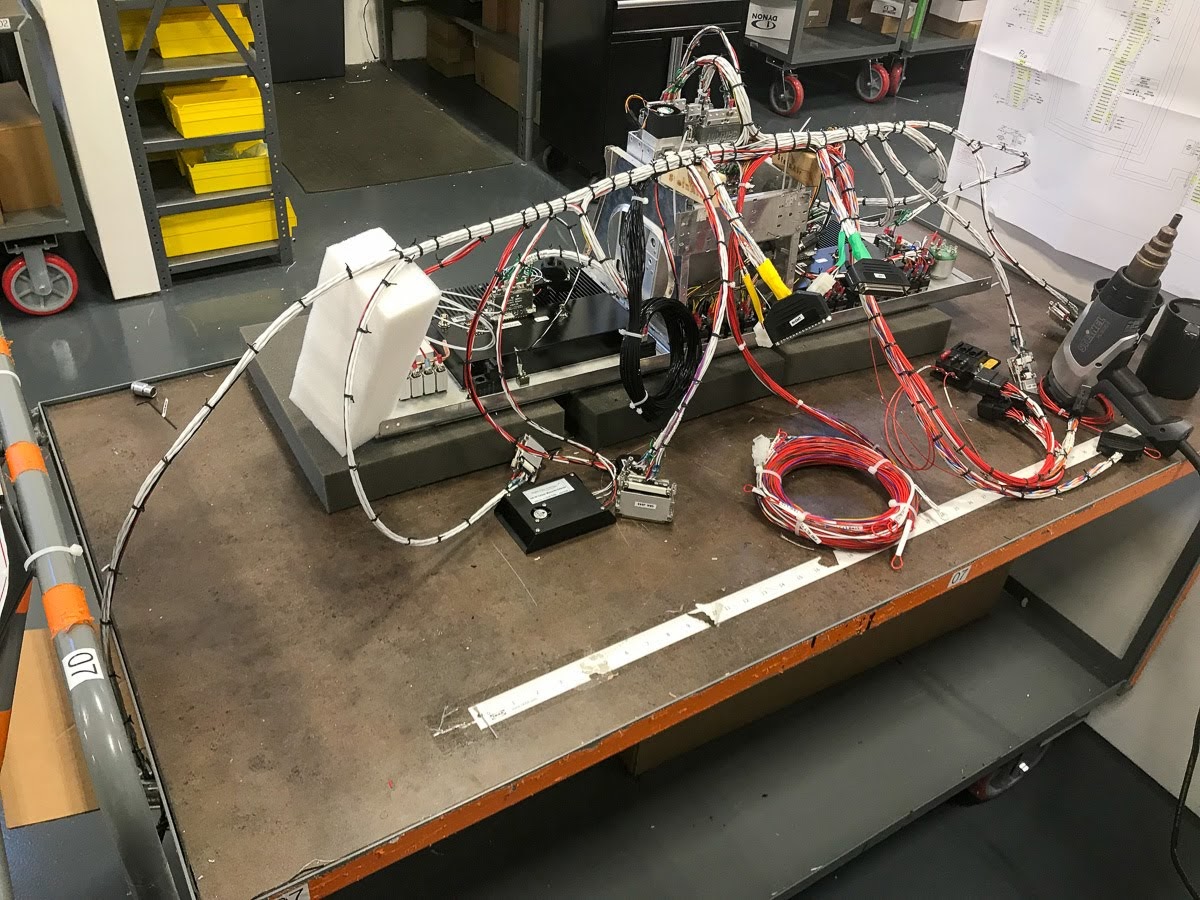
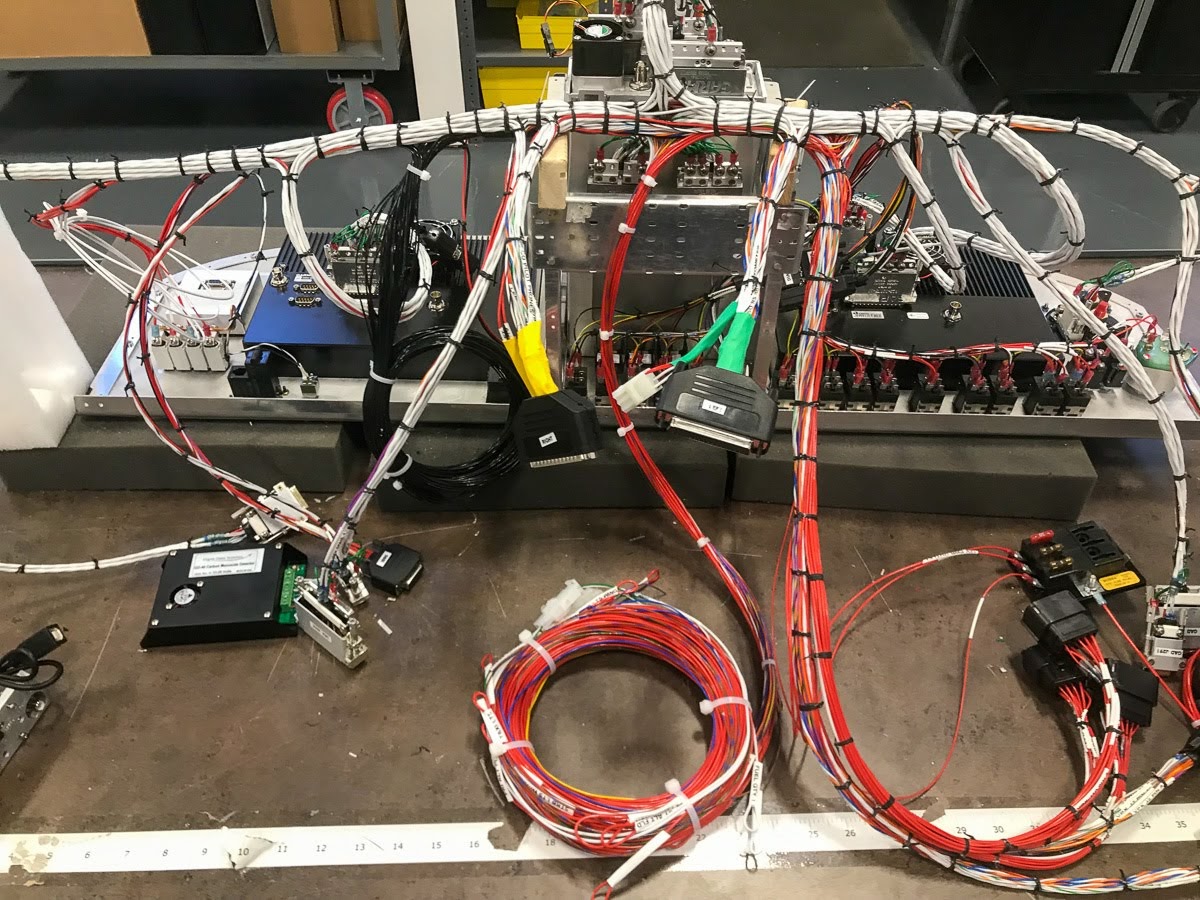
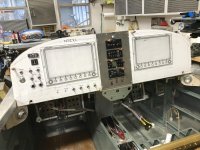
All Dynon panel with wiring help from Stein. Fortunately I have some great friends at KDVT that give me advice to get it right. The autopilot is an amazing tool that fly's the plane much better than I ever could
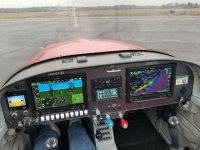
Very nice, but I'm curious about the 23 kt difference in groundspeed between the Dynon and ForeFlight. Calibration error?
ASI is MPH, ForeFlight is knots.
I see several panels without a magnetic compass. Is an unpowered magnetic compass no longer required?
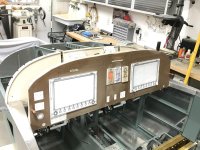
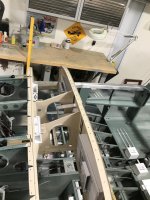
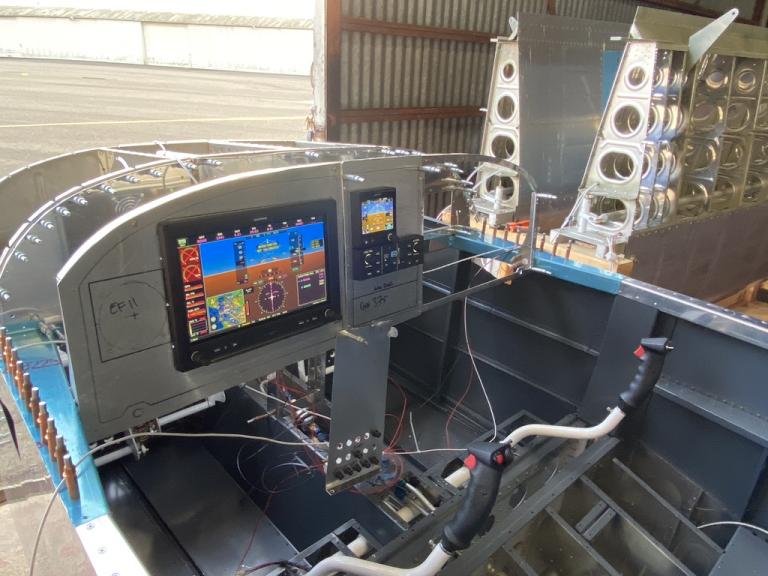
...First mock up of panel with model avionics. I hope everything fits between the panel and the sub panel...
Nice models. Foamboard?
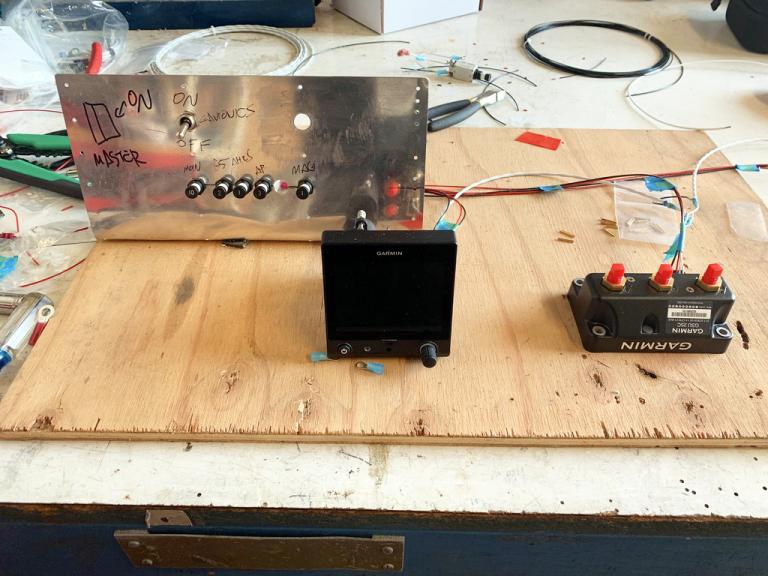
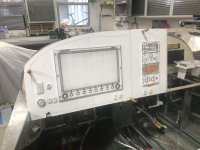
I mounted the avionics in the center panel yesterday after one glitch that cost me a day. The Dynon template for the Intercom Panel is too large so the unit was closer to the Com Panel than the other avionics. Oh well, the second try only took 4 hrs.
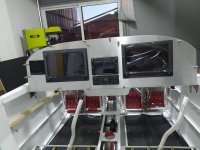
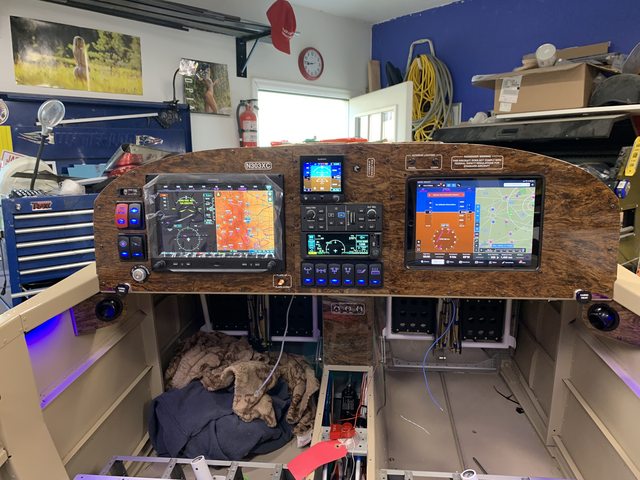
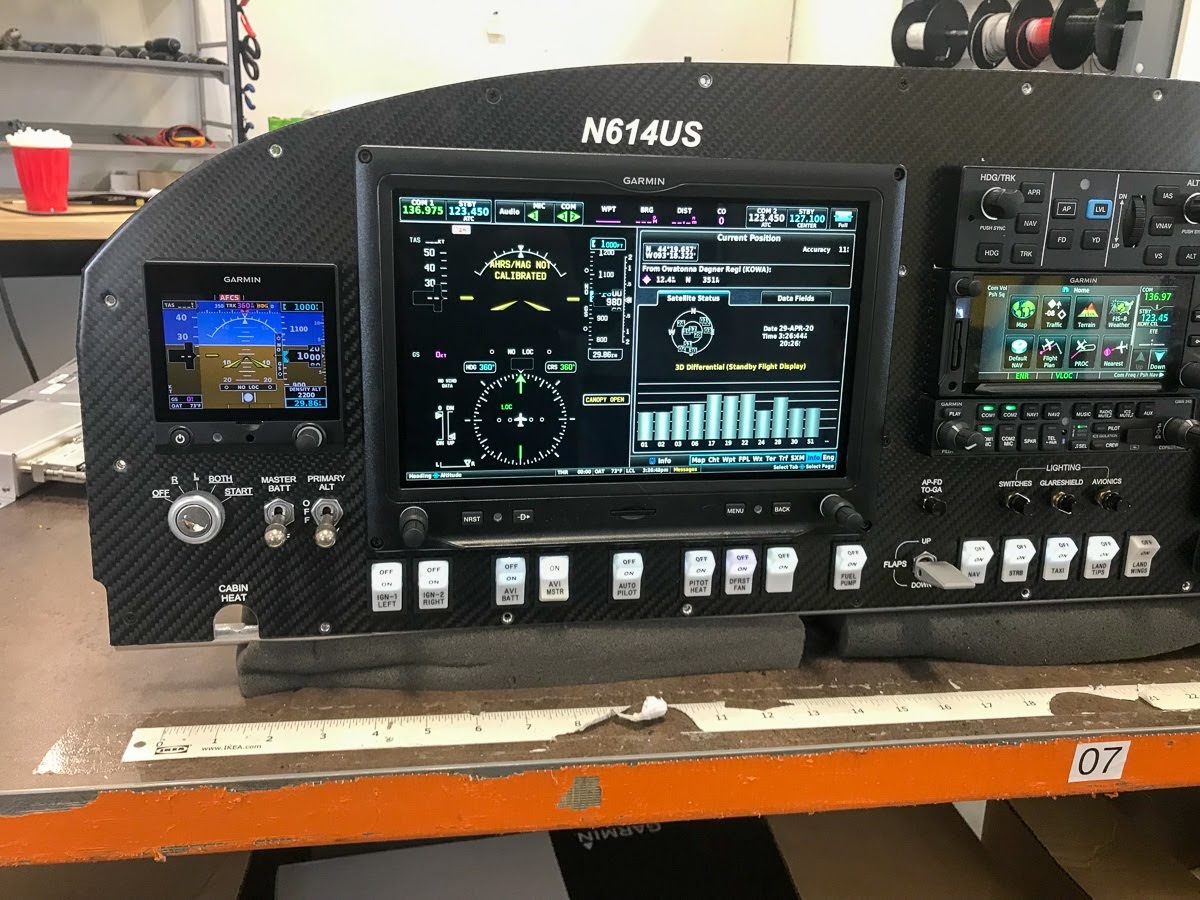
Fabricated my own canopy jettison handle because I wanted it centered on the panel instead of off to the starboard side. Also, made it smaller to take up less room and make it harder to pull in error by a curious passenger. It's also labeled 'Passenger Ejection Seat' to discourage accidental deployment.
Moved USB slots to pilot side and still need a switch for panel lights.
Question, though:
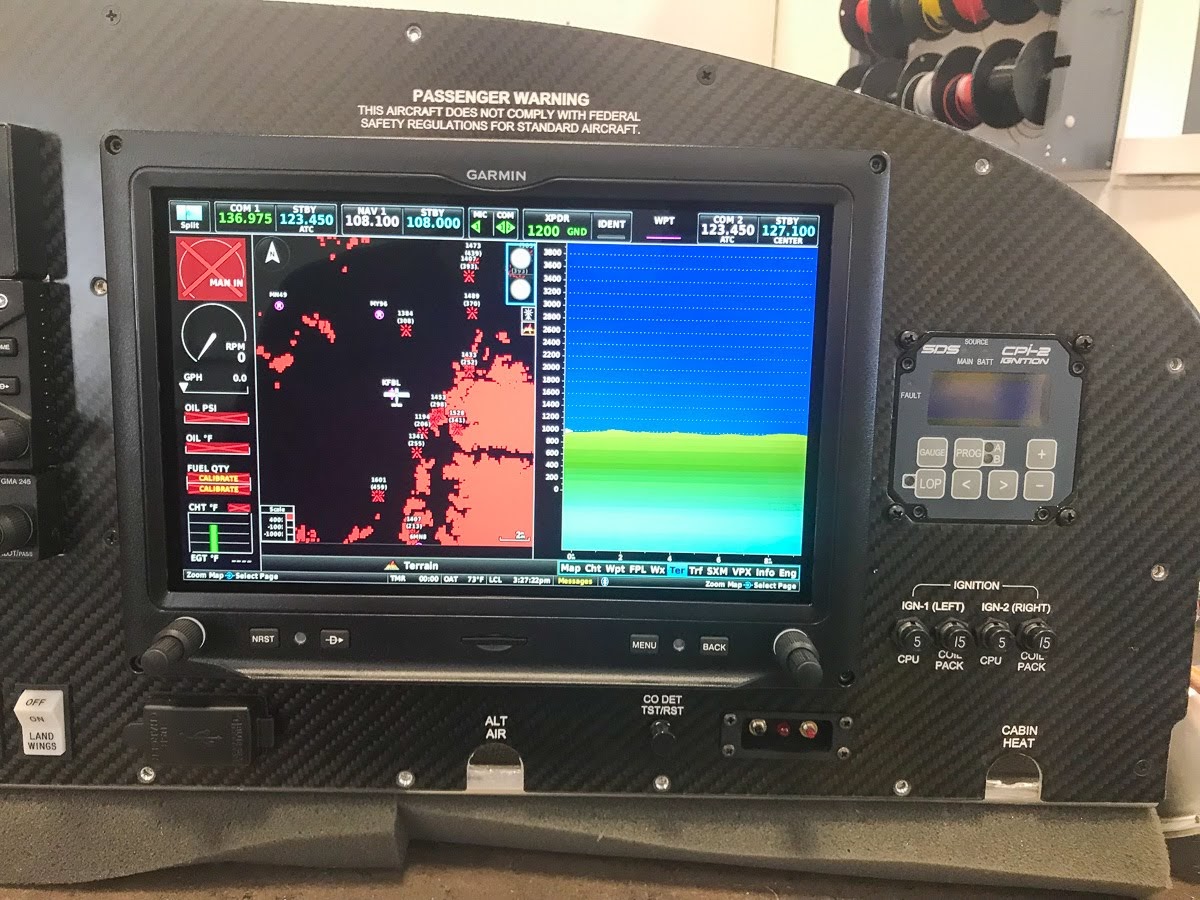
What are folks putting in the two holes below the throttle, prop and mixture? Alt air comes to mind. What about the other one?
One is for Alternate Air and I believe the other is for the cowl exit flap.
working with the panel
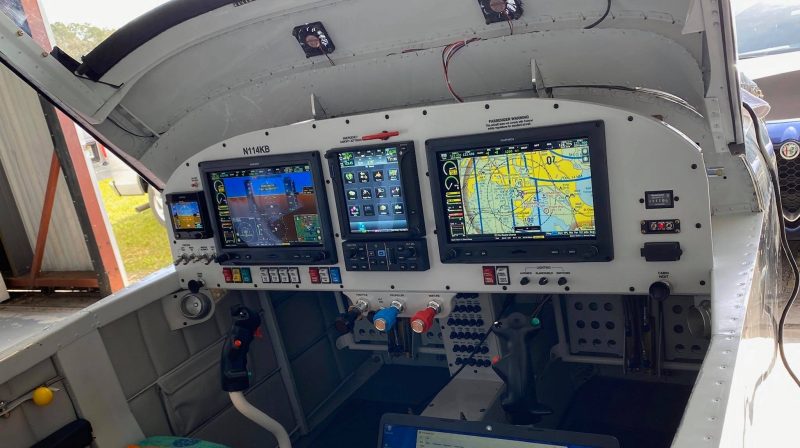
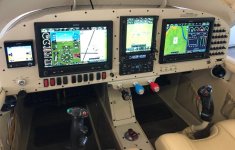
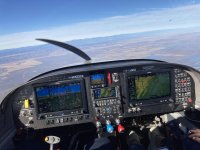
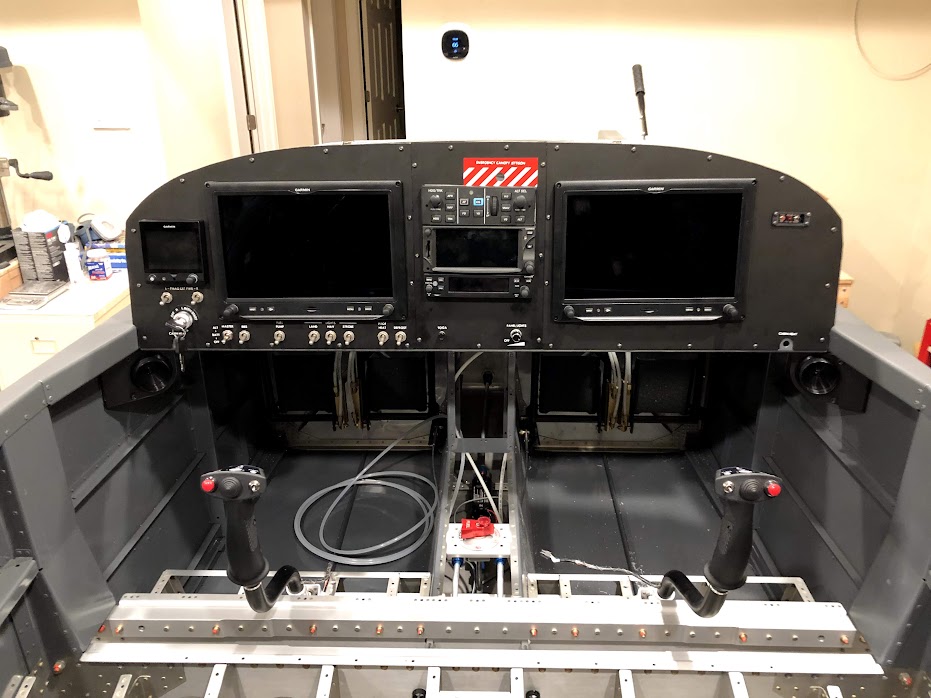
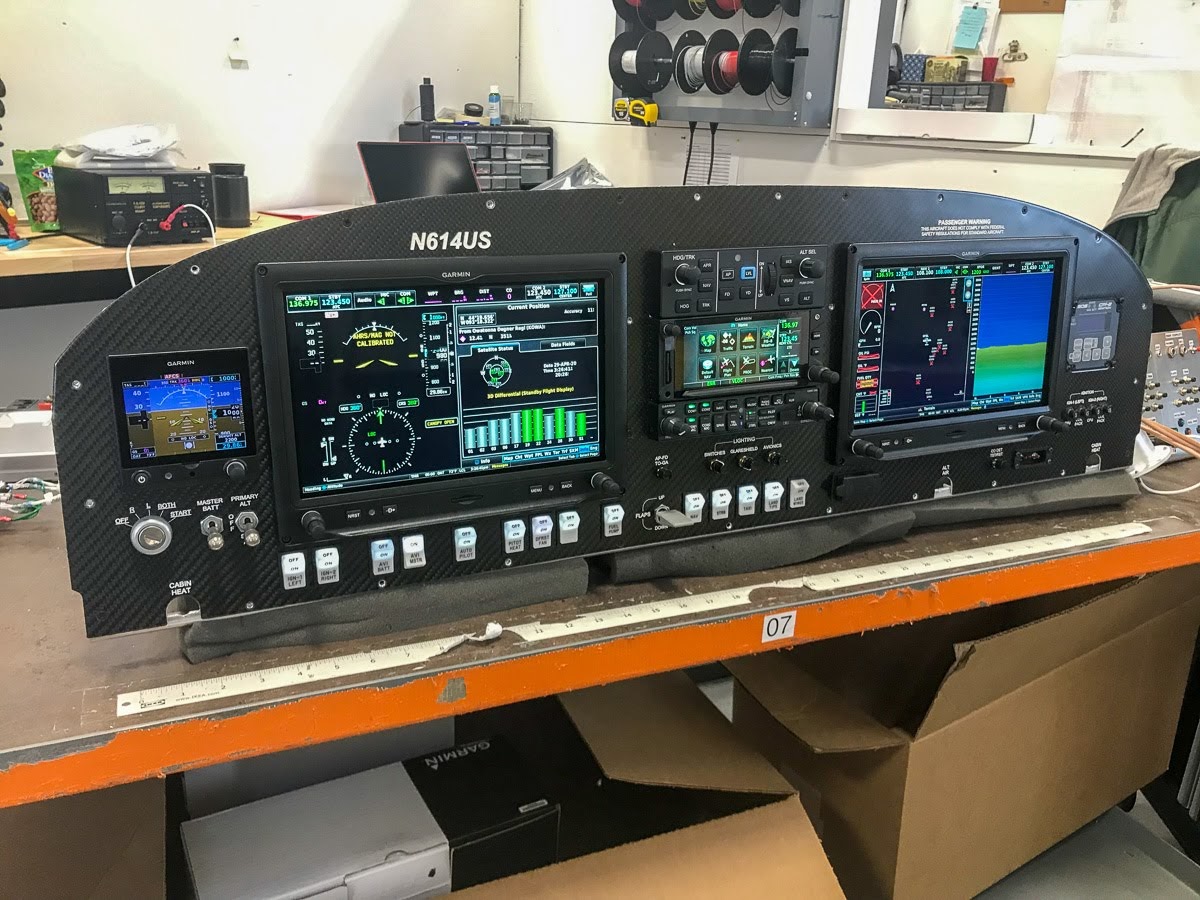
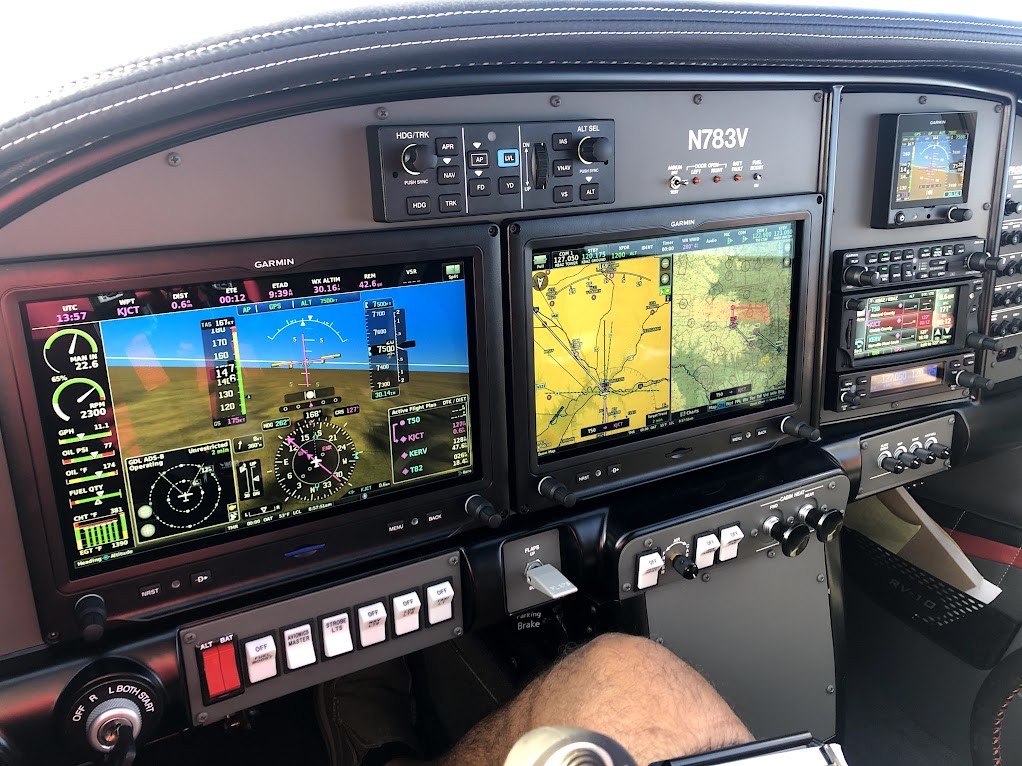
Probably most RV-14 panels have a 10" display on the left and another one on the right side. In the center some radios, GPS, audio etc.
I am wondering, are you really using the right hand side 10" display as an MFD or is it placed too far to the right?
From looking at the pictures I can imagine that the pilot does not really use anything that's right of the central radio stack.
In a G1000 setup the second screen (MFD) is much nearer to the PFD and can be reached more easily.
Edit:
Is this configuration possible with the RV-14? I remember there are struts around the center stack in behind the panel, right?

Malte

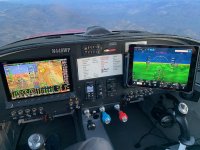
Good move to break the trend and move the clunky Garmin autopilot box down low... (referring to the GTN650) need to fat finger in the latest controller revised routing, having it up high makes it easier to see.
Probably most RV-14 panels have a 10" display on the left and another one on the right side. In the center some radios, GPS, audio etc.
I am wondering, are you really using the right hand side 10" display as an MFD or is it placed too far to the right?
From looking at the pictures I can imagine that the pilot does not really use anything that's right of the central radio stack.
In a G1000 setup the second screen (MFD) is much nearer to the PFD and can be reached more easily.
Edit:
Is this configuration possible with the RV-14? I remember there are struts around the center stack in behind the panel, right?
Malte
To be honest ... I've never used the second screen...
To be honest .. I've never used the second screen, everything on the Garmin is so well organized on the PFD. The MFD is to give passengers something to play with/look at.