
Van's Air Force
You are using an out of date browser. It may not display this or other websites correctly.
You should upgrade or use an alternative browser.
You should upgrade or use an alternative browser.
Show us the status of your 14/14A project
- Thread starter Mike S
- Start date

StressedOut
Well Known Member
Scott,
You and I started at about the same time (kit 432 and 433!), but I'm only at the horizontal stabilizer. I get to rebuild my rudder again too.
I wish I could progress as fast. Priming really does add a good number of hours to the build.
You and I started at about the same time (kit 432 and 433!), but I'm only at the horizontal stabilizer. I get to rebuild my rudder again too.
I wish I could progress as fast. Priming really does add a good number of hours to the build.
Hey art! its fun to run into folks that ordered around the same time that I did!! I will have to watch your build blog closely!
I am one of those that is on the fence when it comes to priming. I know that there are folks that use the two part primers and then there are those that don't prime at all (everyone knows that timeless discussion of "to prime, or not to prime"!!) So, after speaking with my grandfather-in-law, who built an RV-4 in Washington state 20 years ago or so and didn't use any primer, I decided to meet in the middle. I use primer but only on the actual joint locations themselves and with the self etching spray can style primer (the nicer spray can stuff, but still spray can stuff!). So, where the ribs meet the skins or anywhere that two metals meet with rivet points that break through the metal pieces, those points I will prime, but I don't coat the entire inside of the skins. I think that the cladding is sufficient and I think that the extra weight, as little or as much as that may or may not be, is not necessary, for my own personal taste.
Even with the relatively little amount that I do prime, it takes a bit of time. And as I said, I use the self etching spray can style primer, I can only imagine the time you go through with the stuff you use!
It looks like you are doing pretty well with it (and believe me, I have had my fair share of re-ordered parts!!!) and I will definitely have to keep an eye on your build progress! Its a lot of fun!

Wing kit arrives tomorrow.... had to make room in the garage!
I'm guessing you're a bachelor?
daddyman
Well Known Member
ahhh a well decorated home
One does have to admire his tastes in decor, so coordinated, yet simply stated colors.
Daddyman
Hope it stays this good when the hinges are in place
One does have to admire his tastes in decor, so coordinated, yet simply stated colors.
Daddyman
kbalch
Well Known Member
My wife is well-accustomed to having various project components throughout the house. Over the years, it's been airplane parts, motorcycle parts, gun parts, car parts, and now it'll be airplane parts again. What goes around, comes around.
She's a keeper, that's for sure!
She's a keeper, that's for sure!
I'm guessing you're a bachelor?
Nope, Happily married for 16 years! hahaha!!! It was her idea!!! Our front room has always been empty, so we decided to install some conversation pieces!
Nope, Happily married for 16 years! hahaha!!! It was her idea!!! Our front room has always been empty, so we decided to install some conversation pieces!
My wife is ALMOST this tolerant - I've got all the same stuff in our upstairs media/game room - don't use it that much anyway.
My first component - VS
Felt appropriate to share this here: 23.5 hours later, my first -14A completed component - the Vertical Stabilizer. Not perfect, but safe and a lot of lessons learned. Looking forward to keep going!

Lighting effect makes it look indented on the front spar when really isn't.
Though I have do have some dents on the VS-707 rib where I thought I was bucking a rivet but the bar was on a cleco not the shop end
But I think it's still ok but will have a Tech counselor take a look for sure.

Build log here: http://www.rkulesa.com
Subscribe to follow along and post comments on suggestions and feedback!
Felt appropriate to share this here: 23.5 hours later, my first -14A completed component - the Vertical Stabilizer. Not perfect, but safe and a lot of lessons learned. Looking forward to keep going!
Lighting effect makes it look indented on the front spar when really isn't.
Though I have do have some dents on the VS-707 rib where I thought I was bucking a rivet but the bar was on a cleco not the shop end
But I think it's still ok but will have a Tech counselor take a look for sure.
Build log here: http://www.rkulesa.com
Subscribe to follow along and post comments on suggestions and feedback!
I had to much pressure on my rivet gun in the beginning and even tough the light in your pictures probably exaggerate the effect, it looks like you are also having the same "problem".
Have a restrictor at the gun and screw it in so far that the gun almost does not work and try riveting on scrap, opening it up just a little bit at the time until you can set a rivet. Look on EAA.org for videos that show how long it should take to set a rivet.
You have an amazing place to build!
Thanks, I'll definitely look into that!
Btw, I've enjoyed reading your build log also
Last edited:
I had to much pressure on my rivet gun in the beginning and even tough the light in your pictures probably exaggerate the effect, it looks like you are also having the same "problem".
Have a restrictor at the gun and screw it in so far that the gun almost does not work and try riveting on scrap, opening it up just a little bit at the time until you can set a rivet. Look on EAA.org for videos that show how long it should take to set a rivet.
You have an amazing place to build!
I got a separate regulator for hoses that go to my rivet gun (https://www.amazon.com/gp/product/B002GK9Y1S/ref=oh_aui_search_detailpage?ie=UTF8&psc=1). This allows me to dial up the pressure I want based on rivet size and length. I use RapidAir system and put the regulator in line to a manifold with outlets for rivet gun - means I can even have two guns on same pressure while leaving the other outlets at "normal" (90PSI) pressure for drill/squeezer etc.

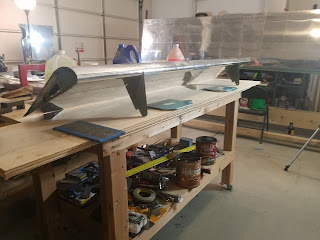
Busting right along with the wing kit. I got the kit sometime in June and am now just about complete with the right wing (I decided to start on the right wing for some reason!). I have the leading edge, flap, aileron, and wing with top skins all assembled and wiring completed. I just have to close out the fuel tank after replacing for leaking rivets from the water test and then on to the bottom skins and linkages!
bk1bennett
Well Known Member
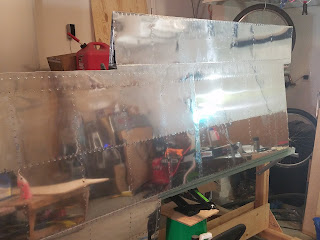
Finished the sheet metal work on th RV-14A elevator today. On to the tail cone.
kbalch
Well Known Member
I've been moving along nicely on my wing kit. At this point, the left wing is done (less the wingtip), as are the right tank, leading edge, flap, and aileron (finished yesterday; photo below). The left aileron will be completed today, leaving only the main structure of the right wing to do before my fuselage kit shows up in 2-3 weeks. Plenty of time!
For anyone interested in following along with my progress, here's the link to the Facebook photo album: Ken's RV-14A Project Photos
For anyone interested in following along with my progress, here's the link to the Facebook photo album: Ken's RV-14A Project Photos
kbalch
Well Known Member
Project looking good Ken.
That red car would look good with a light coat of primer green. Probably attract less attention from the po po too
Ha! Red car now for sale - gotta make room in the shop.

jeffw@sc47
Well Known Member
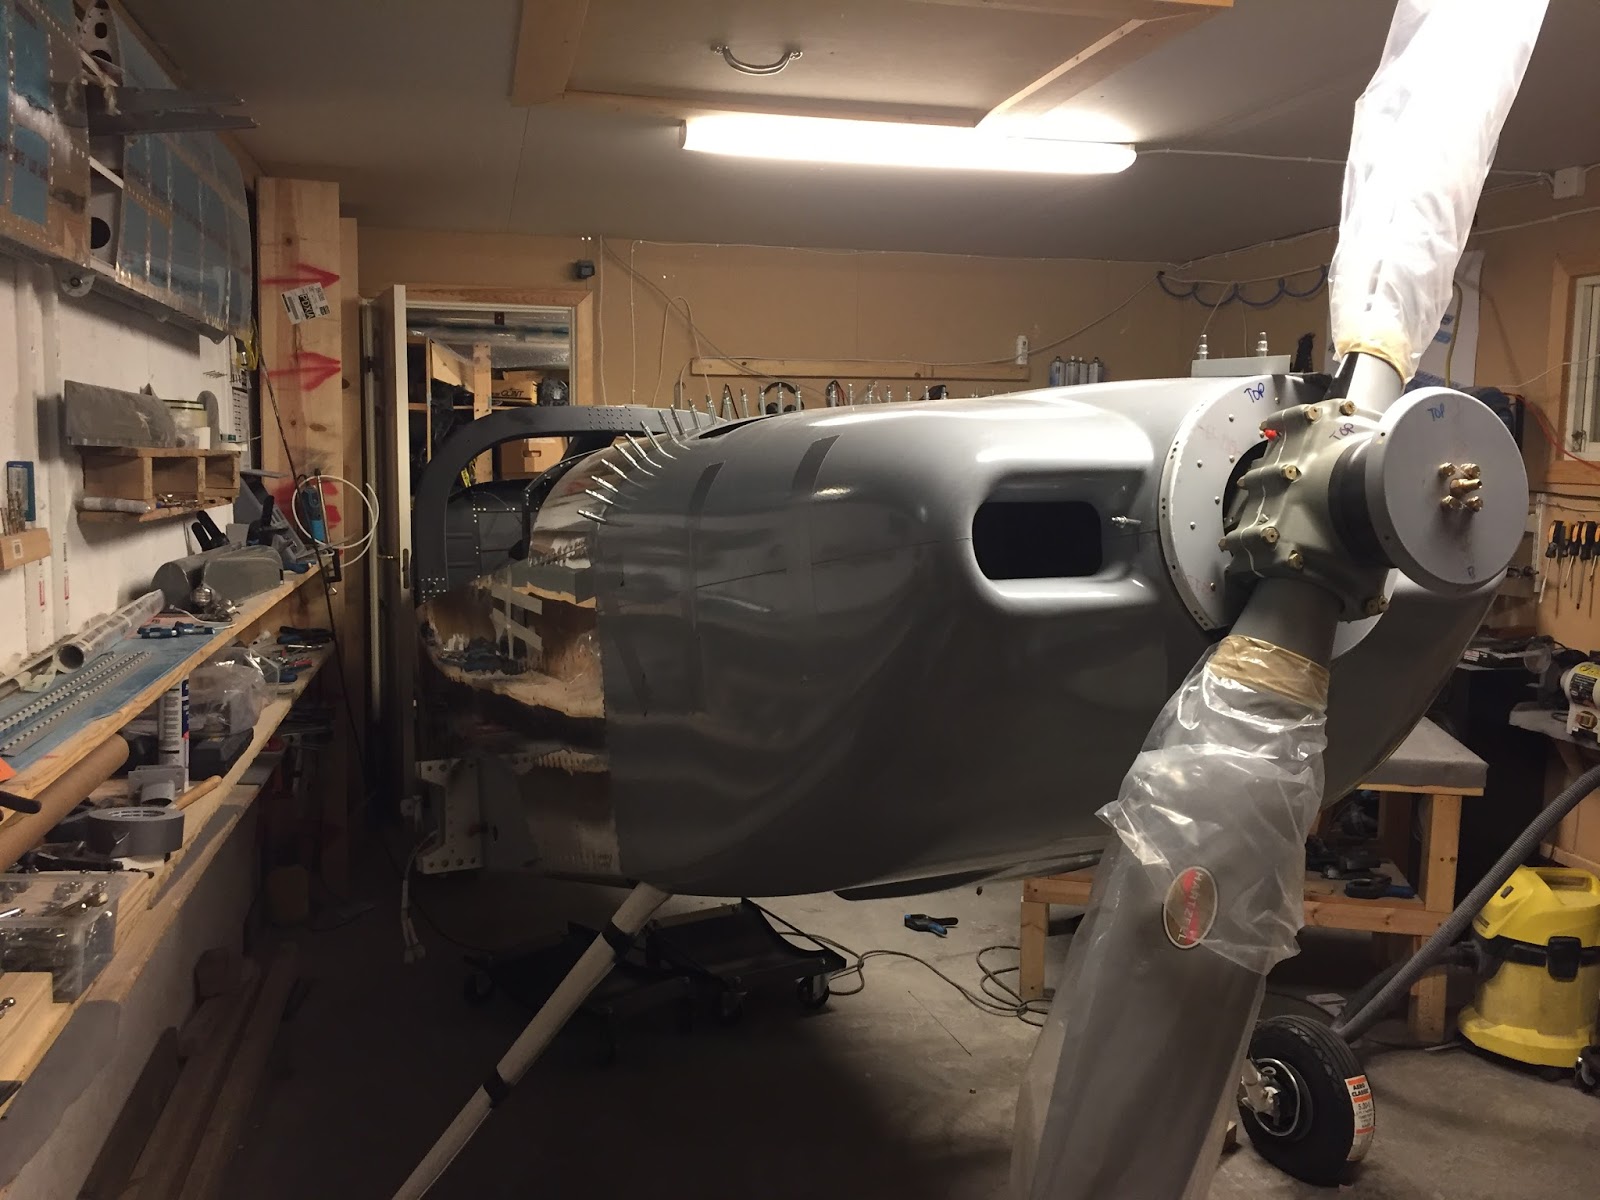
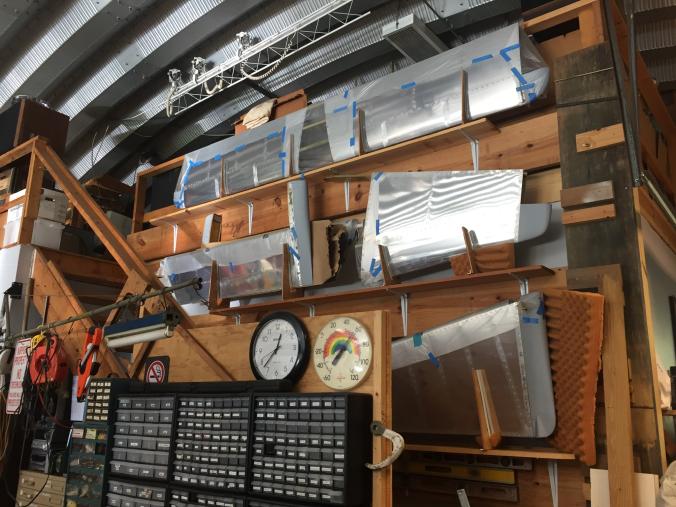
N14ZT on the downhill run
It feels like I'm on the downhill run now; one day, almost unexpectantly, a finished airplane will jump out in front of me.
Engine and firewall forward stuff mostly finished. Cowling finished too.
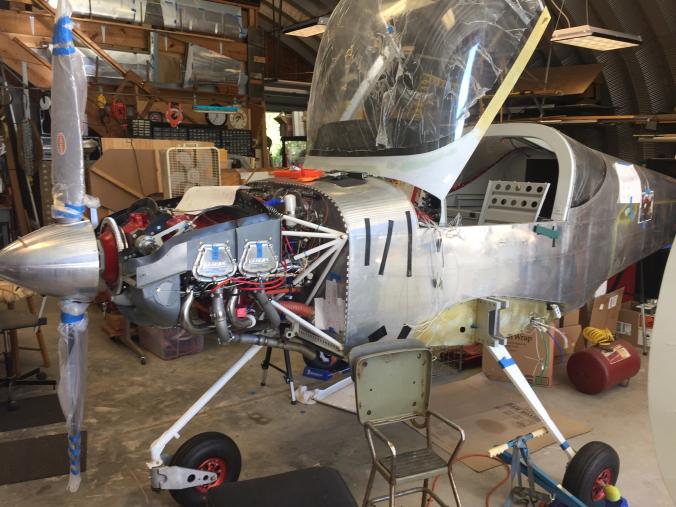
Wings in cradle. Wing tips attached with hinge strips.
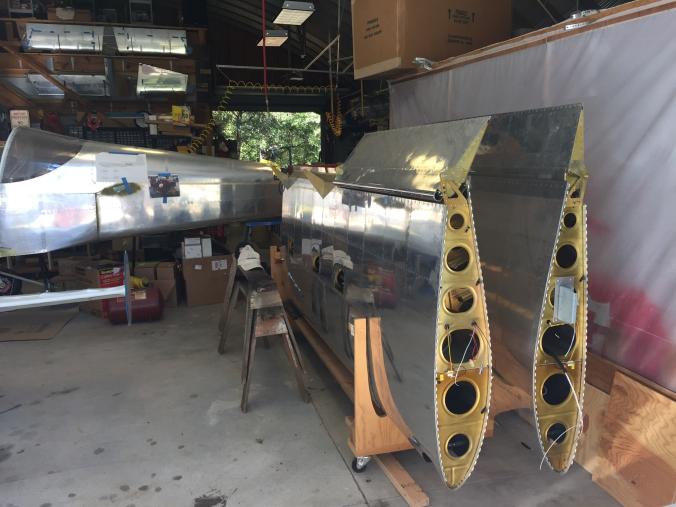
Tail feathers on the wall.
Panel and wiring - 82.5% finished.
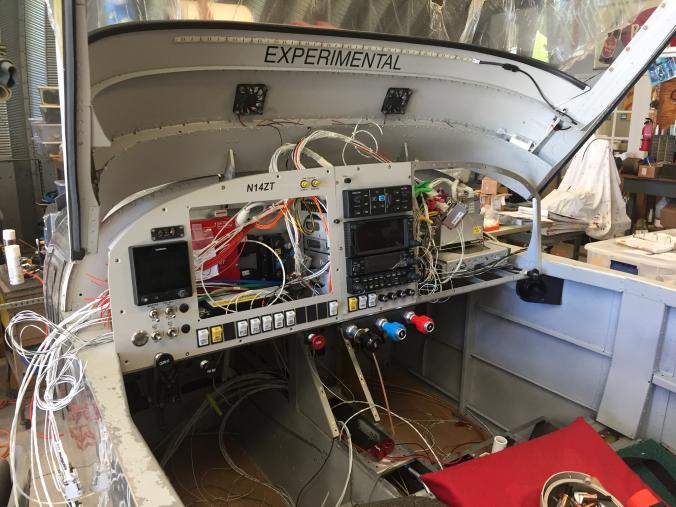
Panel and wiring - 82.5% finished.

Havn't updated the mykitlog site in a while, focused on working on the plane.
It feels like I'm on the downhill run now; one day, almost unexpectantly, a finished airplane will jump out in front of me.
Engine and firewall forward stuff mostly finished. Cowling finished too.
Wings in cradle. Wing tips attached with hinge strips.
Tail feathers on the wall.
Panel and wiring - 82.5% finished.
Panel and wiring - 82.5% finished.
Havn't updated the mykitlog site in a while, focused on working on the plane.
It feels like I'm on the downhill run now; one day, almost unexpectantly, a finished airplane will jump out in front of me.
That's exactly how it happens! Your build looks awesome, strong work!
mjanduda
Well Known Member
Yes great looking shop, but the compressor seems a little undersized
You think so? It's 100 litres. What's that? 26 gal?
State of my project:
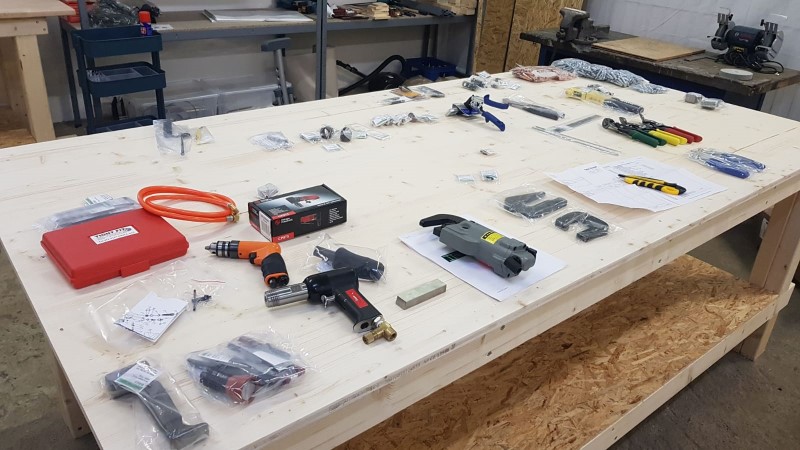
Workshop prepared - still waiting for the tools to come out of customs
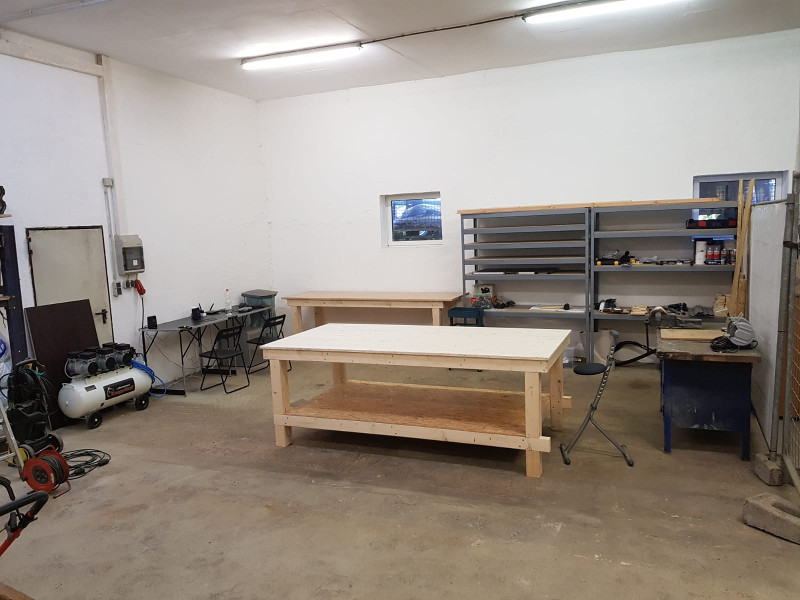
You have a great looking shop, plenty of space. If you don't already have a band saw or belt sander, these items will help tremendously. Enjoy to journey.
Major-Tom
Active Member
Originally Posted by Major-Tom View Post
Yes great looking shop, but the compressor seems a little undersized
You think so? It's 100 litres. What's that? 26 gal?
Reply With Quote Multi-Quote This Message Quick reply to this message
#96 Report Post
Unread Yesterday, 06:18 PM
control control is offline
Join Date: Feb 2006
Location: Stockholm, Sweden
Posts: 533
Default
Hes joking,
Of course, this was supposed to be a joke. How can a 100Liter compressor with 3 engines on top be undersized? Seems Germans have no humor....except me..
mjanduda
Well Known Member
Of course, this was supposed to be a joke. How can a 100Liter compressor with 3 engines on top be undersized? Seems Germans have no humor....except me..
I'm currently fighting with Fedex and the German customs to get my empennage kit. So no time for humor
Regarding the compressor: I tried to get one a little bit more silent than the majority. It produces 69 dB and what was it? 420 litres/minute?
Pressure is 6 to 8 bar. So about 90 to 120 psi.
I have got my tools yesterday after lots of running through the cargo area of Munich airport. Now everything is in the shop. Next step will be to build the assisting tables for the DRDT-2
Appointment with my examiner is already set up. So the building will start soon!
Malte
Last edited:
Major-Tom
Active Member
I'm currently fighting with Fedex and the German customs to get my empennage kit. So no time for humor
I recieved my RV-12 empennage kit since 2 weeks now. Fedex did a very good job. The hole delivery took one week. But the customs skrewed up. I was charged some extra percentage and are currently trying to get my money back. Good luck.... and try to take it with humor, it helps!
kbalch
Well Known Member
One thing you could do while waiting is to put a piece of sandpaper on a flat surface and grind down the rubber on the Swivel Mushroom Set so that it barley sticks out infront of the metal.
Without this "modification" you need to push the rivet gun very hard into the assembly, else the rivet will back out of the hole. I bet this is why some like me love the swivel set while others are unhappy with it.
I've always appreciated that rubber rim, as it minimizes the set's tendency to "walk" during one-handed operation. Remove it at your peril...
Do not remove all of it!
But on mine, the rubber stuck out more than 2mm, just about the width of a #40 drill. Now it sticks out less than 0.5mm and I can now get the metall to contact the rivet head even using one hand at an akward angel
I did the same thing to mine, it works much better, only good off about 1mm....
Nedimbek
Active Member
This just happened today
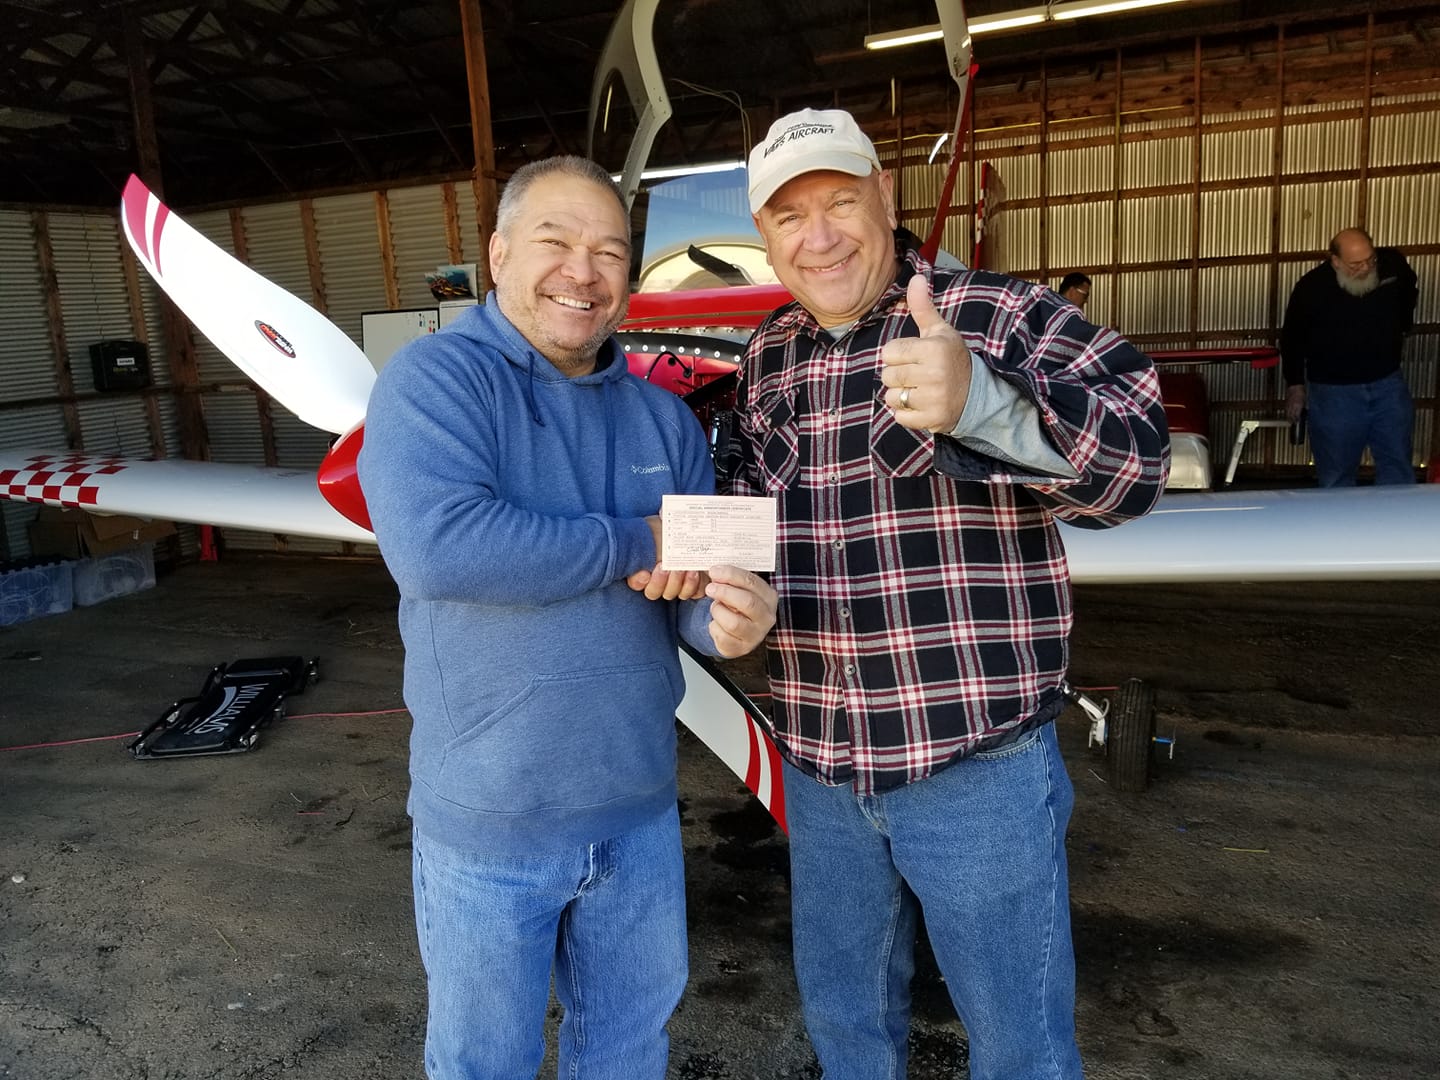
Great news Chris. Congratulations. Awaiting your report after the first flight.
Bernard Hartnell
Active Member
Tools while waiting
I would purchase A 3M sanding/polishing wheel for your electric grinder. It costs about $75.00 but I used it for all edge cleaning and edge smoothing. It will last about one airplane build. That is unless you use it alternately with your sander.
I would purchase A 3M sanding/polishing wheel for your electric grinder. It costs about $75.00 but I used it for all edge cleaning and edge smoothing. It will last about one airplane build. That is unless you use it alternately with your sander.
First two flights completed, perfect weather and successful flights with only a couple small issues to clear up. Love this plane!
Woohoo! Totally awesome. Love the read! Congrats!
Nedimbek
Active Member
First two flights completed, perfect weather and successful flights with only a couple small issues to clear up. Love this plane!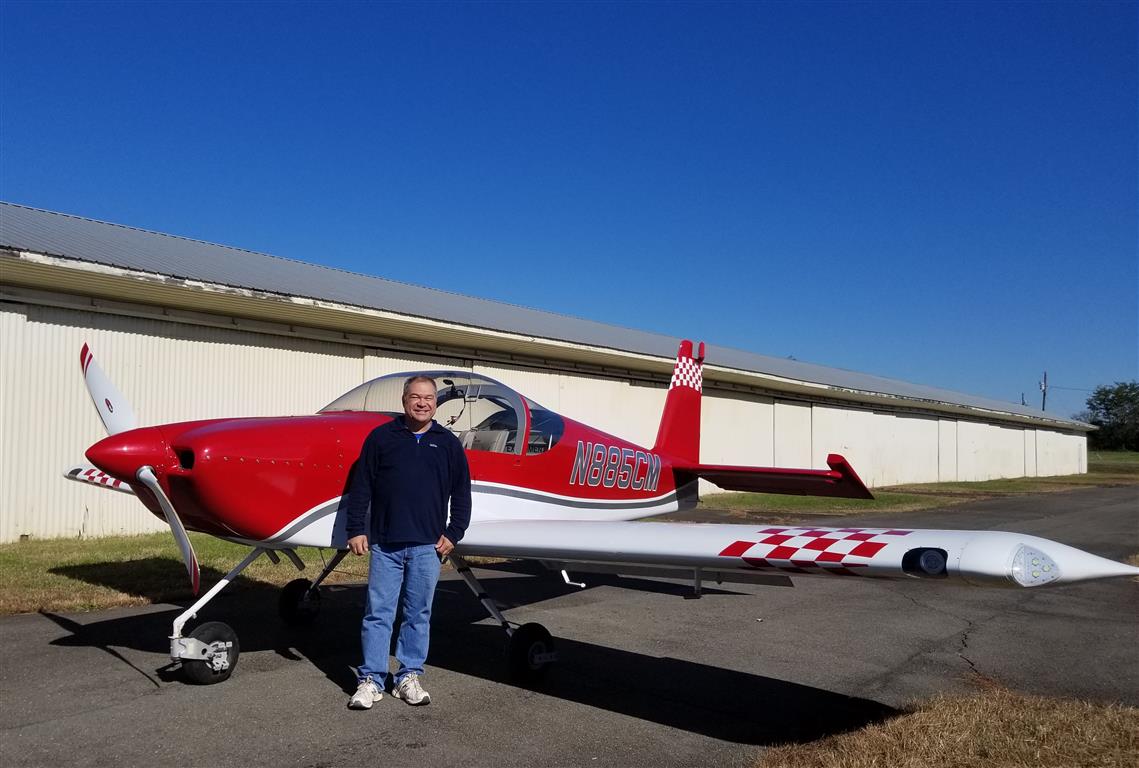
Big congratulations to you, Chris. I see the huge RV grin. Looking good. One day I may come over to have a flight in your lovely RV-14.


