Bob,
Thanks for the picture and your honest opinion
")
The installation looks great from here, good job!!
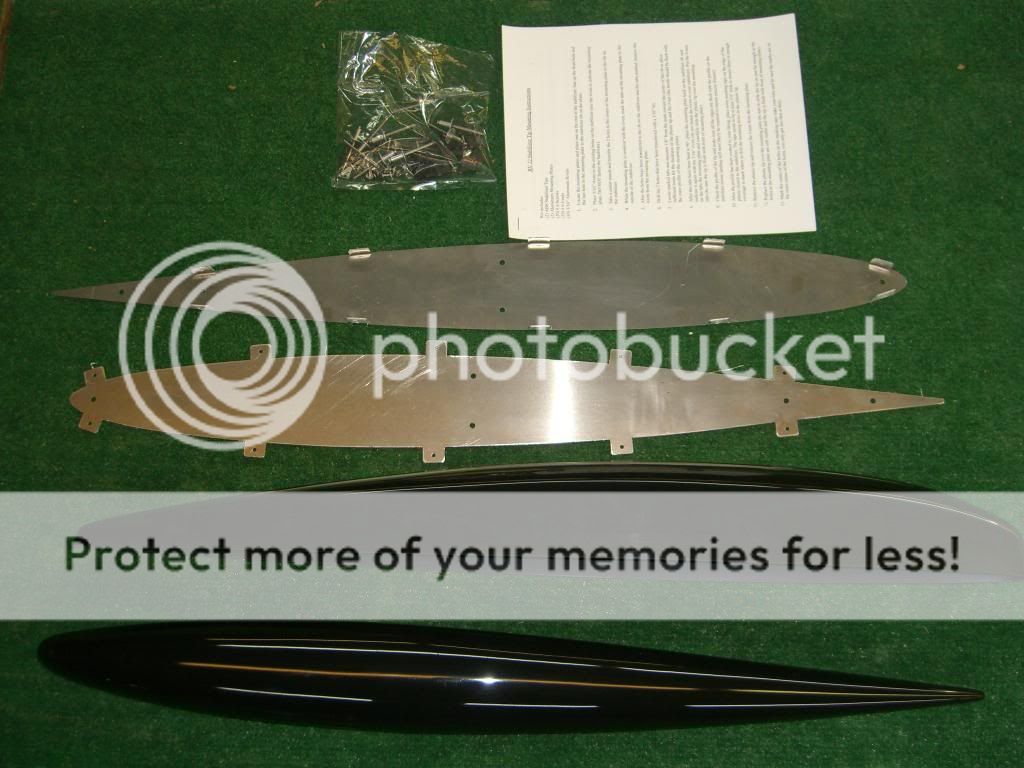
I designed the mounting plate tabs with a little flexibility because the stabilizer is not exactly the same on all builds, Also, Some people want to use rivets, others use the screws provided in the kit. Depending on which method the buyer decides to go with directly affects where the mounting tabs need to be bent. I used a light aluminum mounting plate designed so that the user could install the tips without drilling several holes in the stabilizer rib. I figured if the buyer wanted more rivets they could put more my inclination was to use all the existing holes and I only put 2 more on the center section where there is no existing holes to mount the plate.
Yes, The thickness of the plastic varies slightly because the tip is tapered, the plastic at the leading edge stretches more than the trailing edge.
I have the mold going to a point. I can not make them any different without the plastic webbing out (folding onto itself) at the end of the point. I have tried several different methods but with it going to such a sharp point it really limits my options.
Sanding does not take long if you bent the tabs in the correct place.
"TIP: Start with a lower grit paper and finish off with a higher grit."
I realize I built the tips but I can easily install and sand them to a finish ready for paint in 20 to 30 minutes. Yes, it will take much longer if I completed all the fitment with 180 or 220 grit paper. Start with 50 or 80 grit and get it real close then step up to 180 or 220.
This will help installation time tremendously!


 [/IMG]
 [/IMG]
 [/IMG]