

Louise Hose
Well Known Member
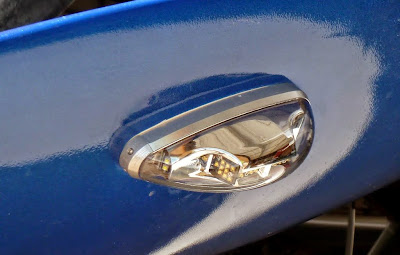
I notice something different with Mikey, my RV-6 yesterday morning as he and Paul climbed out from College Station, Texas, on their way to Nevada. The wingtip strobe was extraordinarily bright in the direct morning sun. It was my first chance to see the new Whelan Orion 600 Series Nav\Strobe LED in flight. Impressively bright!
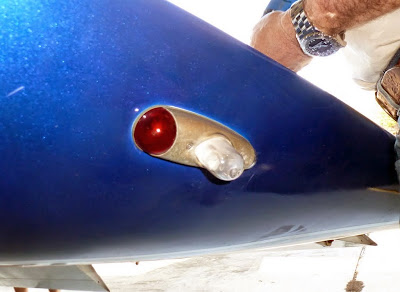
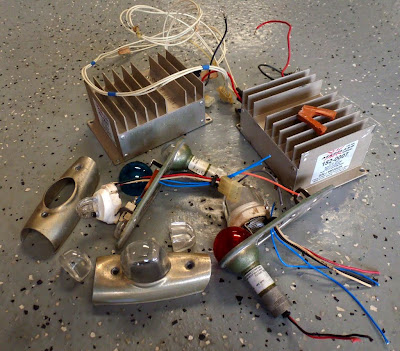
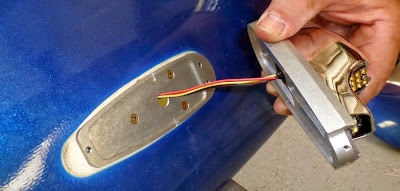
My original, and over 20-year old, Whelan nav/strobe units were long in the tooth and the starboard one frequently failed. We had pondered replacing the lights, and of course only LEDs make sense these days, but the replacement cost kept pushing the project down on our To Do list. However, when Mike Stewart announced Team Aerodynamix’s Beta testing opportunity for the new Whelan LED lights here at VAF, I jumped on the opportunity.
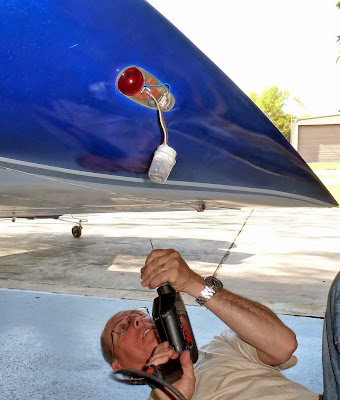
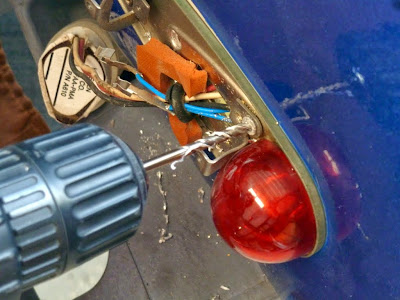
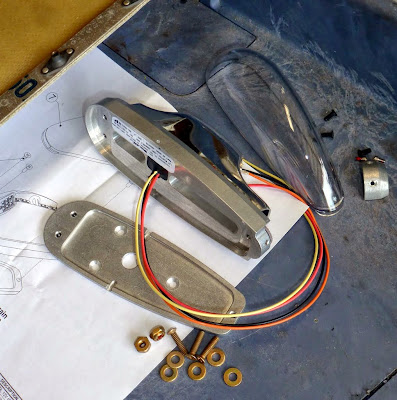
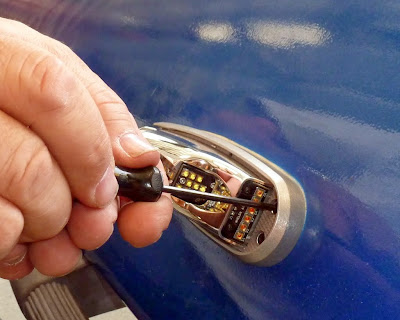
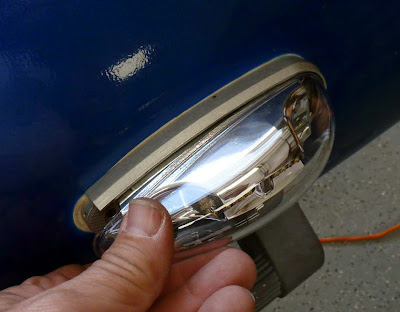
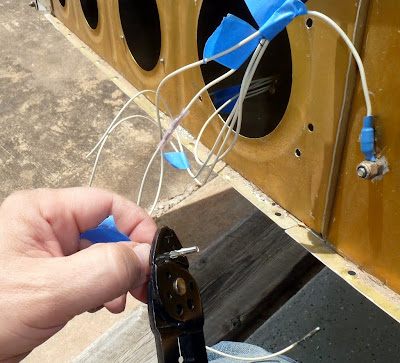
Installation proved easy and quick, with the biggest hassles caused by removing the old units. My overall impressions? A great replacement for the old Whelan lights!
Positive observations:
• Very easy installation
• Good price
• Considerably less weight
• Very bright
• Miniscule power use
• Great looking, appears very solidly made, and streamline
Negative observation:
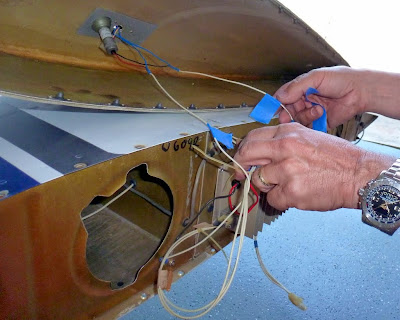
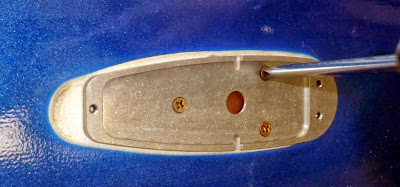
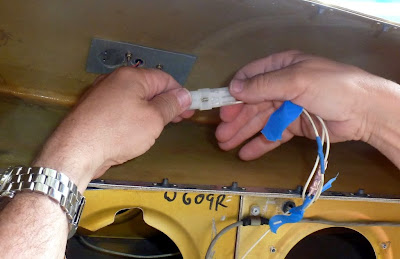
Only one, and it seems to be the “industry standard.” While the installed unit could be easily detached from the wing and the wiring has a quick-release connector, the hole in the base plate is too small to allow the connector to go through the base plate. A slot in the base plate would have been nicer.
My original, and over 20-year old, Whelan nav/strobe units were long in the tooth and the starboard one frequently failed. We had pondered replacing the lights, and of course only LEDs make sense these days, but the replacement cost kept pushing the project down on our To Do list. However, when Mike Stewart announced Team Aerodynamix’s Beta testing opportunity for the new Whelan LED lights here at VAF, I jumped on the opportunity.
Installation proved easy and quick, with the biggest hassles caused by removing the old units. My overall impressions? A great replacement for the old Whelan lights!
Positive observations:
• Very easy installation
• Good price
• Considerably less weight
• Very bright
• Miniscule power use
• Great looking, appears very solidly made, and streamline
Negative observation:
Only one, and it seems to be the “industry standard.” While the installed unit could be easily detached from the wing and the wiring has a quick-release connector, the hole in the base plate is too small to allow the connector to go through the base plate. A slot in the base plate would have been nicer.
Last edited:
")

