bret
Well Known Member
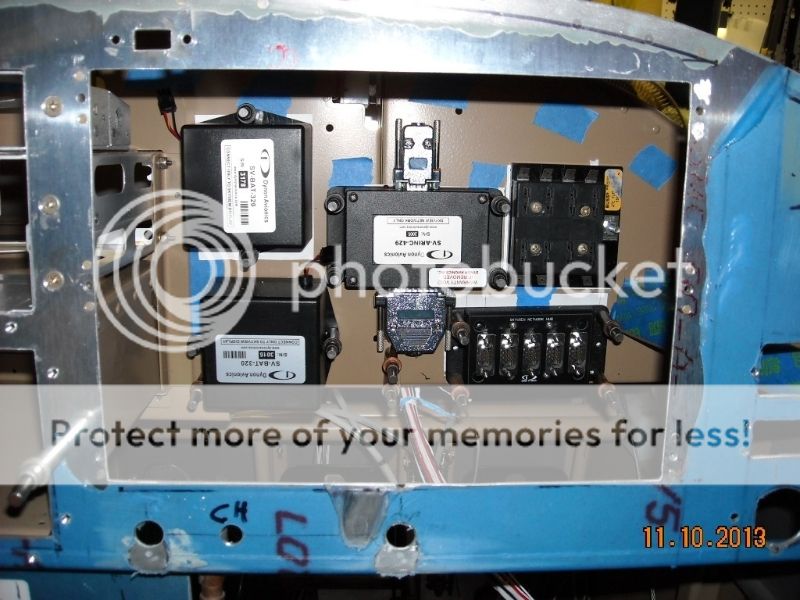
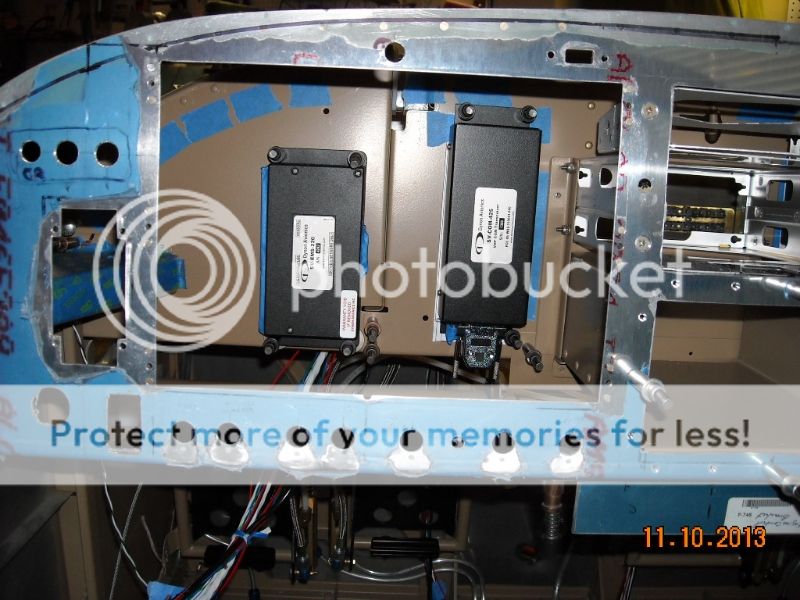
Show me your SUB panel, just a slight take off of the sticky, I'm in the panel planning stage and I would like to put everything, space allowing, on the panel behind the panel, ground forest, fuse blocks, D9 panel, ect, then fabricate a 14X7 swing out picture frame to mount the Dynon 10" com, intercom, AP, and Baro knob panel onto. My main concern is being able to change out a fuse in flight, and not having to go contortionist under the panel....EVER....well, almost not as often as almost never ever..........


 our policy is leave it out and check it out.