What's new
Van's Air Force

Don't miss anything! Register now for full access to the definitive RV support community.

SB kit came in today.

bret

Well Known Member
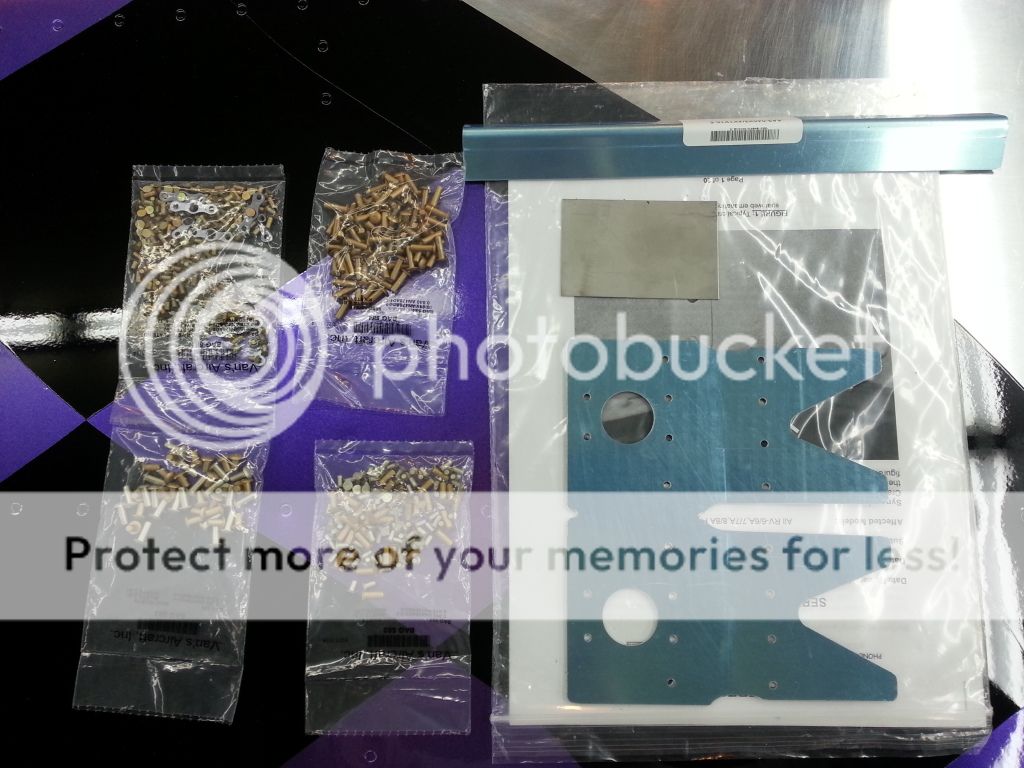
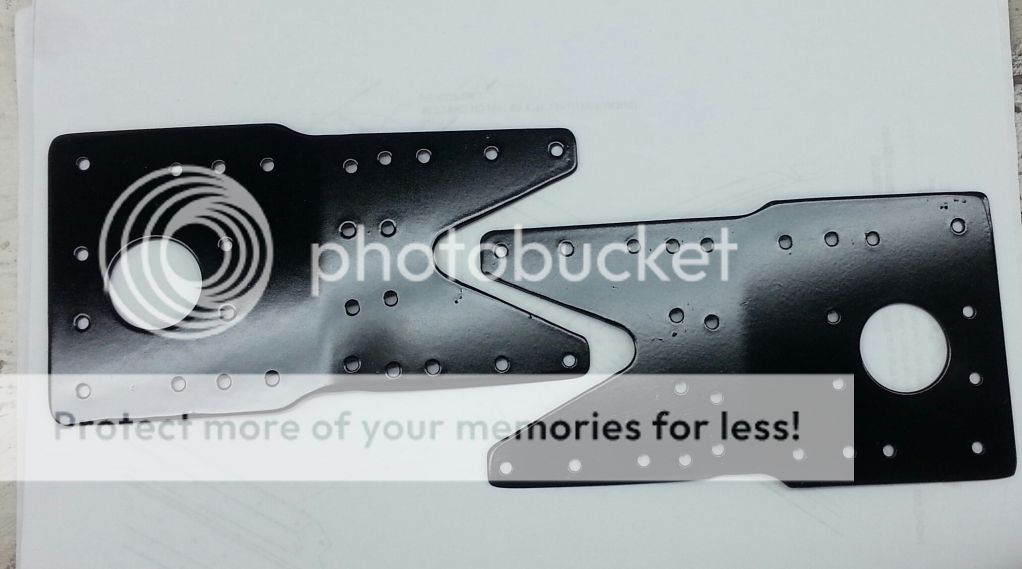
Looking at the kit, there is 5.00 in plate nuts alone and a ton of rivets, and they even through in a SS plate to protect your skin while trimming, I don't think they are making any $ on this kit. Just a BIG thanks to Vans Aircraft for taking proactive and honest actions in addressing this issue!

20140218_175127_zpsbd8d9329.jpg
 
Yes, the disassembly is on my build site, going to install the kit this weekend. Yes, I am going to prime the plates :D
 
A few minor comments on the SB

I'm working on the SB on my yet-to-fly RV-7 (nice, because the tail feathers are not mounted!).

I found that Figure 6 for the RV-6/7 has the 3/8 and 1/2 marked in reverse from what the actual part is - just remove the hatched area between the notches as usual and you'll get the 1/2" there and the other edge is already 3/8". Also, I found that there is 3/8" between the doubler plates and the vertical spar attach plate - (so no issue as with the RV-8). And probably the biggest help so far is that I decided in Step 15 to additionally draw a vertical line through the center of the innermost holes which will line up with the holes already in the HS spar and mark 1/4" from the end of each "leg" and that will show in the last hole already in the HS spar as well. This really helped me fit the doubler properly. That's as far as I am so far. I hope this can be of some help to others.

Please let me know if I am wrong on any of this - I admit I have made a few mistakes along the way...:rolleyes:
 
Changed guidance?

I'm working on the SB on my yet-to-fly RV-7 (nice, because the tail feathers are not mounted!).

Assume we're talking about SB 14-01-31?

From Van's site, SB 14-01-31 P.3: "If no cracks are detected, no immediate action is necessary. Repeat this inspection at each subsequent annual condition inspection until such time that this service bulletin has been complied with in its entirety."

Has anyone spoken with the guys at Van's about the merits of performing the SB preventatively? Or is conventional wisdom that more reinforcement is better?

I'm still a rookie, so thanks for your shared wisdom...
 
Has anyone spoken with the guys at Van's about the merits of performing the SB preventatively? Or is conventional wisdom that more reinforcement is better?

I'm still a rookie, so thanks for your shared wisdom...
It would be my assumption that any proposed alteration would be suitable for use with or without indication of cracks. Also, (leaning on the dusty old BSME sheepskin) I believe this alteration is very worthwhile to this critical area of the structure.

2 cents of free Internet advice.
 
Assume we're talking about SB 14-01-31?

From Van's site, SB 14-01-31 P.3: "If no cracks are detected, no immediate action is necessary. Repeat this inspection at each subsequent annual condition inspection until such time that this service bulletin has been complied with in its entirety."

Has anyone spoken with the guys at Van's about the merits of performing the SB preventatively? Or is conventional wisdom that more reinforcement is better?

I'm still a rookie, so thanks for your shared wisdom...

I would check with Vans, I heard they are NOW including the SB kit in the new emp kits? I was on the finish kit, I stoped and went back to install this to make it more robust. something like 36 more rivets with the new plates.
 
Called Vans

Per the tech support rep, they recommend adding the doublers if emp is unfinished. Provision for inspection-only is for proejcts with completed emps as it's apparently a hassle.

Might as well have them ship it with the wings, I suppose...

Thanks!
 
Van Tech Support

Has anyone spoken with the guys at Van's about the merits of performing the SB preventatively? Or is conventional wisdom that more reinforcement is better?.

I have. The told me it is a good idea to go ahead and install the SB kit to your emp for aircraft still under construction-slash-not yet flying.

Now, regarding the elevator SB, the recommend NOT proactively installing that SB because they see far fewer cracks on the elevators.
 
But this is the kit for the HS, right? I know it's not recommended to do anything if you have no cracks on the elevator, but what's the latest word on the HS if you have no cracks?
 
Easier now

Yes, we are talking about the Horizontal Stabilizer SB, not the elevator SB. Since I'm still building, my empennage is not on the fuselage yet and not painted, so it is much easier now than to wait and inspect every year until a crack may form and then have to remove the tail feathers and possibly mess up the paint.

Also, just got confirmation from Van's support that the Figure 6 for RV-6/7 has the 3/8 and 1/2 reversed from the actual part in the kit.
 
But this is the kit for the HS, right? I know it's not recommended to do anything if you have no cracks on the elevator, but what's the latest word on the HS if you have no cracks?

The recommendation (and S.B.) hasn't changed Bob...
Inspect. If you have no cracks, fly, and then inspect again in a year, or until you choose to install the SB parts (because of cracks or proactively).

The discussion here is regarding installing the parts when starting new builds or projects under construction.

The recommendation is yes for horizontal stabs not yet built or currently under construction. For ones that have been completed, that is the builders call.
 
Thanks, Scott

Many thanks to you, RVbuilder2002, for your rivet removal post. Those long handled cutters make removing the shop head of the rivets really easy using your method!
 
Bret,
Im in the process also, got all the rivets out today, and got the pieces separated and edges polished, cut the angles and bent them to 86.9 degrees...
Still wounder why some of the rivet spacing could not have been the same on the angles.
But regardless, did all the measurements drilled the holes and tomorrow if all goes well will prime all the new pieces and Saturday put it together.

I am glad to say I got all the rivets out without drilling through any of the metal.
The spring loaded center punch as mentioned before worked like a champ and a backing bucking bar did the trick.


Jack
 
My feeling is you have more chance of weakening your horizontal stabiliser in the rivet removal process than adding crack resistance with the parts supplied. I'm going down the road of inspections every 100hrs/ annuals. If I discover a crack, I will rather build a new stabiliser with the parts - it will make me sleep better at night
 
I have. The told me it is a good idea to go ahead and install the SB kit to your emp for aircraft still under construction-slash-not yet flying.

Now, regarding the elevator SB, the recommend NOT proactively installing that SB because they see far fewer cracks on the elevators.

Just to clarify my own conversation with Vans several days ago. They told me to go ahead and PROACTIVELY install the elevator doublers since I was just at the point of riveting the elevator skeleton together.
 
Bret,
Im in the process also, got all the rivets out today, and got the pieces separated and edges polished, cut the angles and bent them to 86.9 degrees...
Still wounder why some of the rivet spacing could not have been the same on the angles.
But regardless, did all the measurements drilled the holes and tomorrow if all goes well will prime all the new pieces and Saturday put it together.

I am glad to say I got all the rivets out without drilling through any of the metal.
The spring loaded center punch as mentioned before worked like a champ and a backing bucking bar did the trick.


Jack

Here is how my spacing came out.

20140221_174718-1_zps3be51071.jpg
 
Back
Top