What's new
Van's Air Force

Don't miss anything! Register now for full access to the definitive RV support community.

Bottom Wing Skins

mike newall

Well Known Member
Sponsor
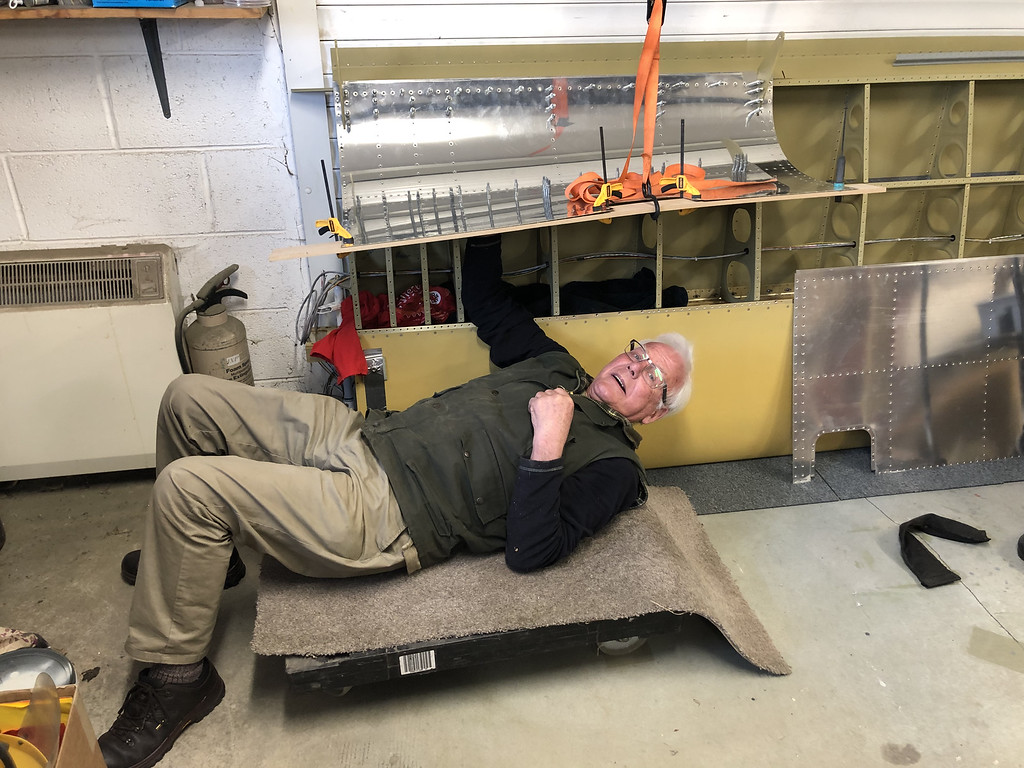
Started today with my bro on the bar. He is working blind at full arm stretch, so not many set before we abandoned for the day.

The Inners seem to be the nightmare, i am thinking of hanging the outer on the flap hinge and peeling sideways rather than upward.

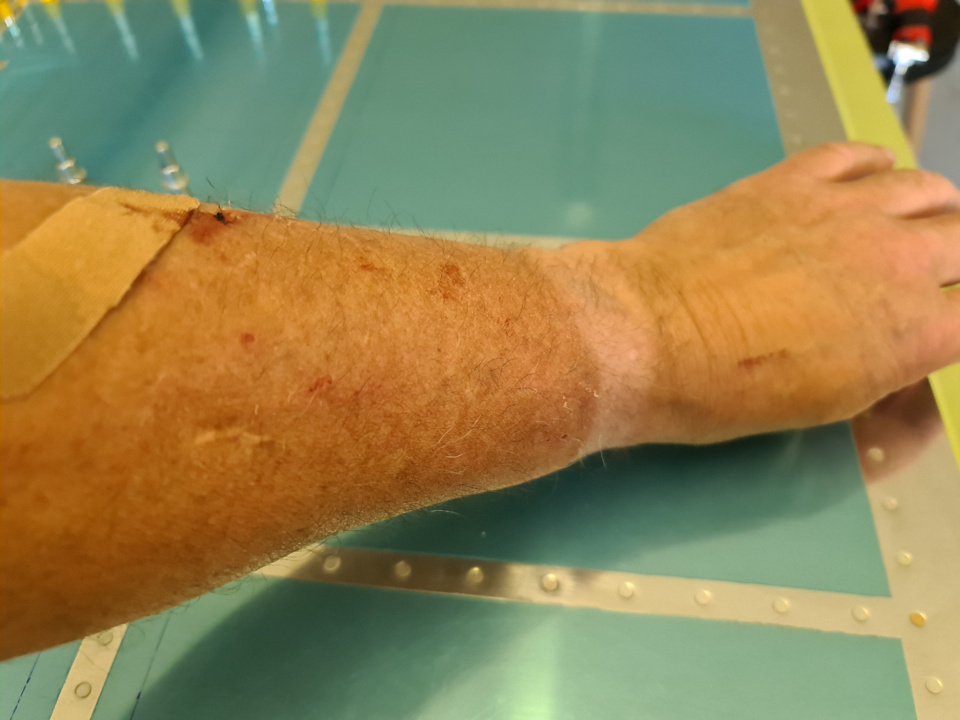
Anyone got photos of fixtures or top tips to stop my Bro looking like he self harms .........:D
 
2022032216234726--7482117190502155447-IMG_6210-XL.jpg
 
Be thankful you have access to a buddy! I had to do 98% of them solo. I am lucky that I have long arms.;) That said, I had QB wings so didn't have to do the inners.

Larry
 
Last edited:
Mike, this may not be exactly the same as your plane, but the -7 skins are installed the same way.

Your comment about pealing back from the end of the panel vice fore/aft sparked my memory. Choosing which direction works best and getting the wing up off ground level should improve your pain. Some I did on the table for better access.

You owe your brother a big beer! Keep it up
 

Attachments

  • wingskin1.jpg
    wingskin1.jpg
    417.9 KB · Views: 104
  • wingskin2.jpg
    wingskin2.jpg
    331.8 KB · Views: 69
You'll definitely look like a cutter when you're done, just part of it.

They make gloves that protect your forearm but they were so thick I ended up taking them off.

It helps to have someone with tiny arms around :D
 
I just finished the bottom skins. Had someone help with the first inner then solo for the other inner and both outer bottoms. I'm 6'4" with an 6'8" arm length and I still needed my wife to help with 5 rivets in the outer bottoms that I couldn't reach when they were completely closed. Any setup up that will pull the skins away from the wing will help minimize the bruising on your arms and help with the reach.
 

Attachments

  • IMG-0528.jpg
    IMG-0528.jpg
    313.1 KB · Views: 72
No pain, no gain

Well quoted. Think of it as a "right of passage".

One tip - inspect as you go, using mirror(s), a borescope etc. There will be some drill-out's, and it's better to deal with them as you go. Also, I found it more comfortable doing this with the wing lying on a (pair of) benches, rather than vertical. Personal choice.

aaa_wing_skins.jpg
 
I used a old holy sweat sock that I had in my rag bag a slid it on to protect my forearm. Worked great in conjunction with a tungsten bucking bar.
 
Sock

I used a old holy sweat sock that I had in my rag bag a slid it on to protect my forearm. Worked great in conjunction with a tungsten bucking bar.

What he ^ said. Cut the toe out of a sock and slide it on your arm. Use a tungsten bar. Make shim jigs from chunks of wood then tape the shim to the bar so it can be positioned blind with confidence the face is perfectly oriented. Finally, tape a lanyard to the bar. It keeps the bar from falling and making a dent. Body will heal. Aluminum has to be fixed.:D
Sweetie ran the gun on ours. No problem.
 
Bend the other way

If memory serves I bent the skins out of the way the other direction from what the picture shows in post 2; one bay at a time. If I remember correctly Van's says work in an L pattern, not from the rear spar down.

The step area was the hardest but I did it solo and honestly thought it was a pretty easy job considering. No arm marks to show for it. The stall warning installation on the other hand...
 
Give your brother some more elevation to work from. We found the person bucking has an easier go of things if they are laying at main spar level, so there is less of a reach to the top and so the bays can be closed out by reaching through the lightning hole in the rib from the next bay.
We used this: https://www.lowes.com/pd/Werner-Aluminum-Work-Platform-250-Lb/5000905497 (admittedly used to be a lot cheaper but it has been a very useful tool in the hangar arsenal). As others have mentioned, having something to cushion a dropped bar is critical. Ask me how I know :rolleyes:

This can be a very fatiguing step, so don't feel bad if it takes more than a few sessions. Speed is the enemy of accuracy here.
 
Last edited:
If memory serves I bent the skins out of the way the other direction from what the picture shows in post 2; one bay at a time. If I remember correctly Van's says work in an L pattern, not from the rear spar down.

L-pattern, yes, but if you work from the main spar back to the rear, it is very difficult to close out the bay and rivet the skin to the rear spar, versus you can reach through the larger forward rib holes to catch the spar to skin. Mike is doing it right, IMO.
 
L-pattern, yes, but if you work from the main spar back to the rear, it is very difficult to close out the bay and rivet the skin to the rear spar, versus you can reach through the larger forward rib holes to catch the spar to skin. Mike is doing it right, IMO.

Sorry I wasn't clear, yes L pattern, yes start at rear spar first. I am just saying bend the skin the other way (pic 2 post 4) and reach through lightning holes/ above the exposed rib to get to the rear spear instead of reaching up from the bottom while laying down. Either approach works but I remember this being a pretty simple task with little to no arm scars. In the end she will be fun to fly! :)
 
All great suggestions - love that mini tungsten, will search one out.

Our 7 was a QB so only 2 skins - that left him cut enough.

A few at a time and we will get there.

I use iPhone camera for inspections - works well.
 
We did look at putting the wing either flat or upright on the bench. The reach required is the problem either way, but we are working at it.


Boy am I glad I picked the gun up when we chose sides for riveting.....:D
 
Great progress today - got the inner panel completed and all the rear of the outer panel.

Still mounted upright against the door and a handy sized Vans crate provided just enough lift for my other rivet buddy to reach up.

Slow and steady.

Strange - doesn't hurt me a bit on the gun - just seems to be the other guys....;)
 
Lotion

I've found that liberal use of Vaseline Intensive Care lotion on the forearms will reduce irritation. Not a cure for cuts. And, be sure to clean it off of your hands before riveting, or you WILL be dropping the bucking bar....
 
Back
Top