
What's new
Van's Air Force

Don't miss anything! Register now for full access to the definitive RV support community.

Tyler Voss's RV-8

Yazaman

Well Known Member


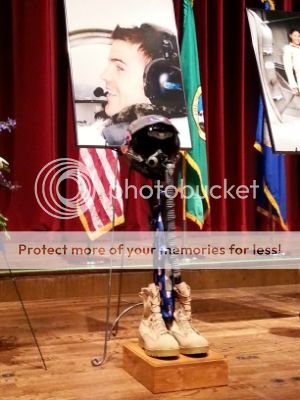
Capt. Tyler Voss went down May 3 2013 in a KC-135. Before he deployed he and I got together to re-vamp his tired RV.

I teach Electrical & Environmental systems on the tanker, he came through a class of mine when he approached me with the offer. He wanted all the wiring done and was not comfortable with doing it himself. That is where I came in. his plan was to strip it all down and repaint many parts and add new systems.

We flew it a few times before we parked it for the overhaul (I think he did it to get me sold on the idea if you ask me) haha, but he did not need to, i was already bitten by the RV bug!

When Tyler went down with the rest of his crew, I felt I had to finish the project no matter how long it took.

I wanted to document all that I have done.

Just to let you guys know.. I am not an A&P, just been an Aircraft electrician with the AF for about 7 years and a commercial Electrician for the past 12 years before enlisting.

I have been reading many articles on how things are done, different techniques and such to finish it up.

I have had an abundance of help from chapter EAA 79 Spokane where the plane is currently located.

Please feel free to comment and make suggestions as I am new at the aircraft fabrication field.
 
Last edited:
Matt - welcome to the VAF family and I'm looking forward to the story as it unfolds. What a great tribute.
 
Thank you, I am working on uploading all of the pictures I have now.
 
Last edited:
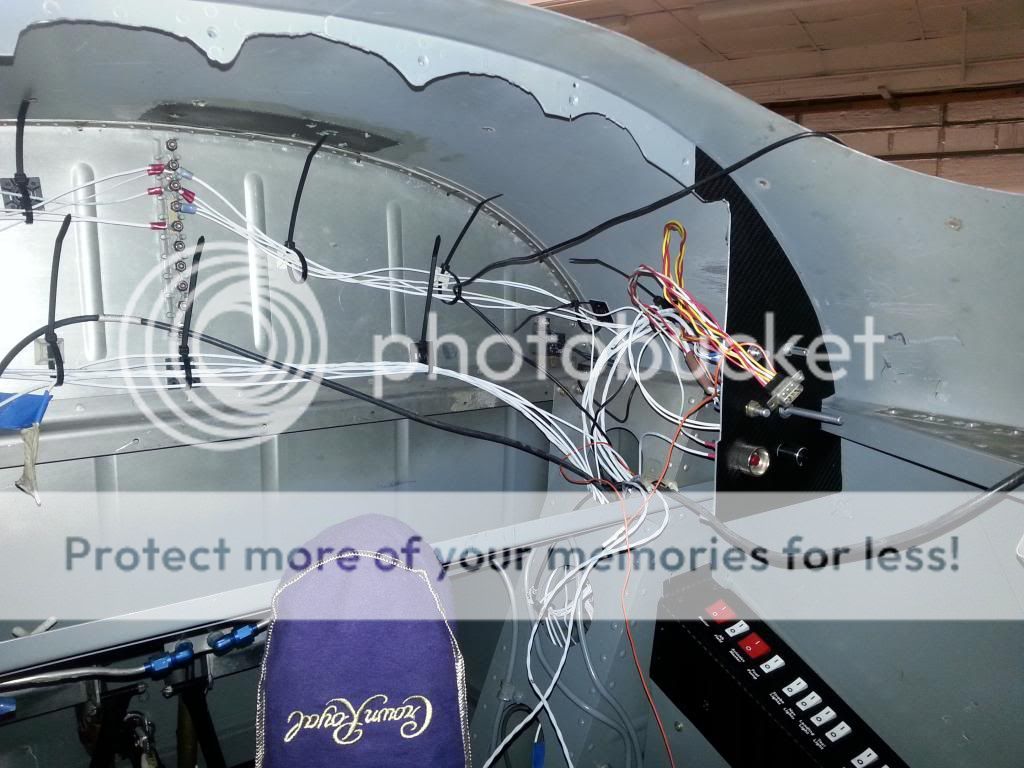

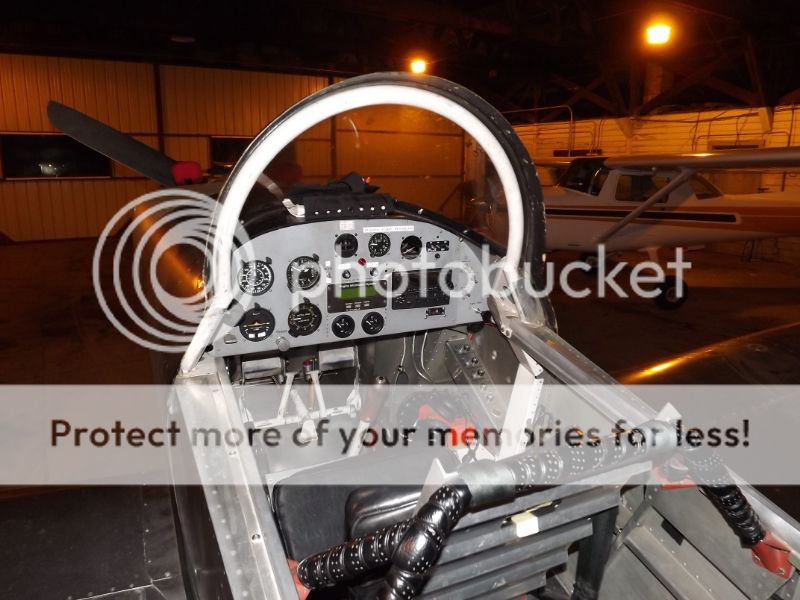
Here is the interior when I first saw the Ole' Girl


My Daughter Olivia that has spent many Weekends with me at the hanger while "Daddy fixes the plane" she says.


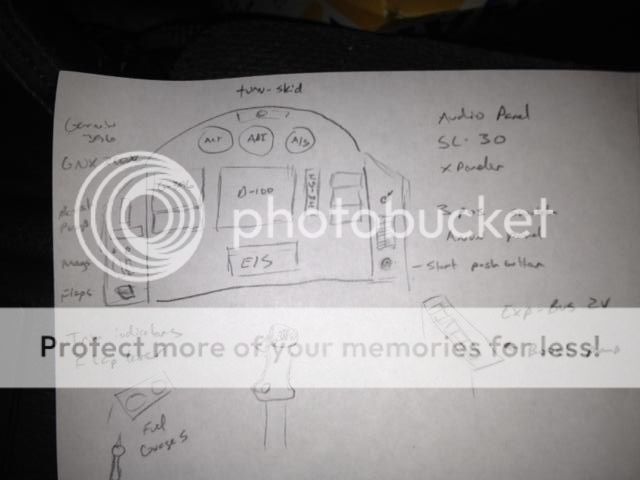
He shows up to my house and starts to spread this out on the table...
"You don think this will take too long to you?" he asks

At that point, I started to feel a bit overwhelmed, but not discouraged.
 
Well Done Matt

Matt - I vividly remember the sadness I felt the day Tyler's KC-135 went down earlier this year. I commend you for carrying the torch for your fallen brother - what a beautiful human gesture. I thank you for doing that for him, and the rest of us - and even though I don't know you, and didn't know Tyler - we are brother's of sorts - tied together by this airplane family :)
 
Jim

Thank you for your kind words.

Keep an eye on this forum, I have tons of pictures to load!

Matt
 
Welcome to VAF!

Matt, welcome aboard the good ship VAF.

You are doing a good thing, congratulations on your effort.
 
Tyler Voss Missing Man

Tyler grew up in LaGrange TX. Falcon Flight flew a Missing Man with his parents in attendance on 2 Nov 13 at the LaGrange Airport where they dedicated a plaque in his memory at the base of the F-100 on a pedestal. Many other people were in attendance including a CAP Honor Guard, his pastor, school principal, flying training commander, and Dick Peck who mentored him at the airport and helped him through the USAFA application and acceptance. My #3 wingman, who did the Missing Man pull with smoke on, carried Tyler's dog tags on request of his parents.
 
Last edited:
Just a suggestion, why don't you post here a list of items you need. I, for one, have a bunch of stuff I don't need and would gladly donate it to a worthy project. Can't think of a better one than Tyler's.
 
I appreciate the offer, If i can think of anything, I will definitely let you know.

As of right now.. everything I need to finish the plane is there, it is just the finish work on wiring and fiberglass around the new canopy.

I have been busy with the baffling for the air dam. it was a mess so I started to rebuild it and put new baffle material in place. I realized I could have just ordered a new set from Vans for about 200 bucks. I got disgusted with how much time spent on something I could have just purchased. Beginners Luck I guess


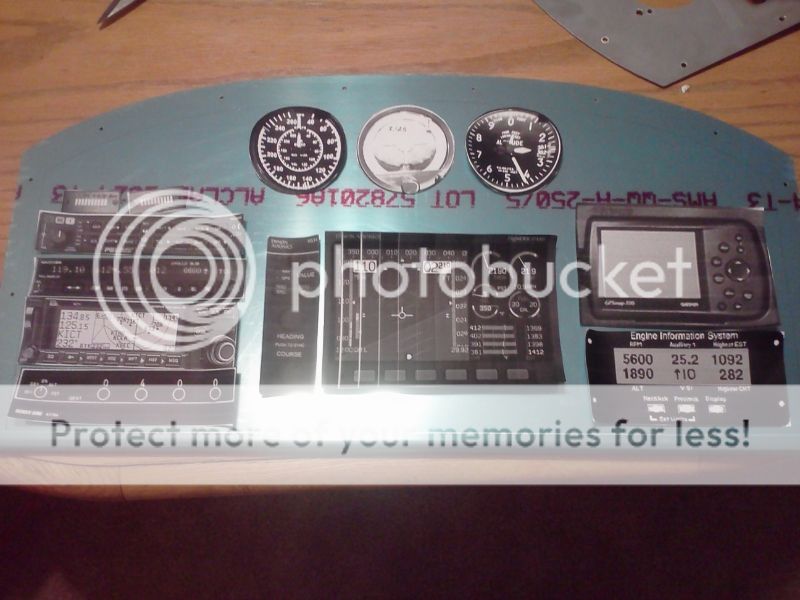
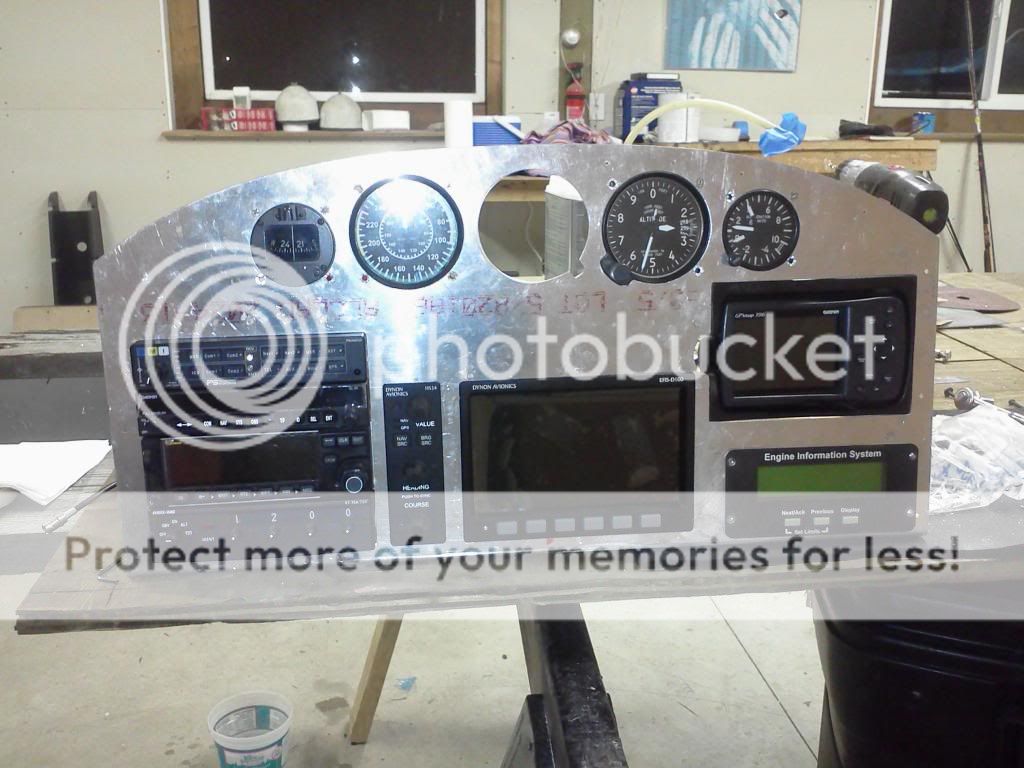
Printed to Scale... Pretty much

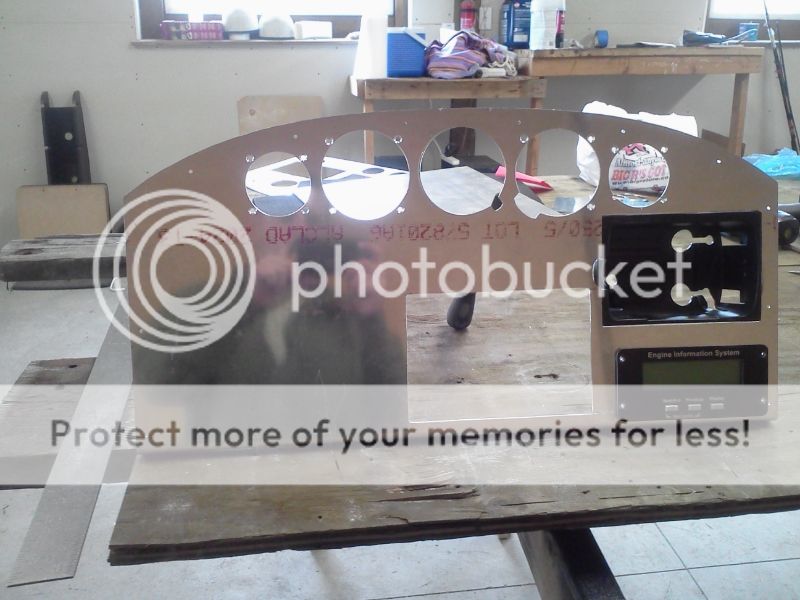
Got it pretty close to the final product.. Be patient, its coming!


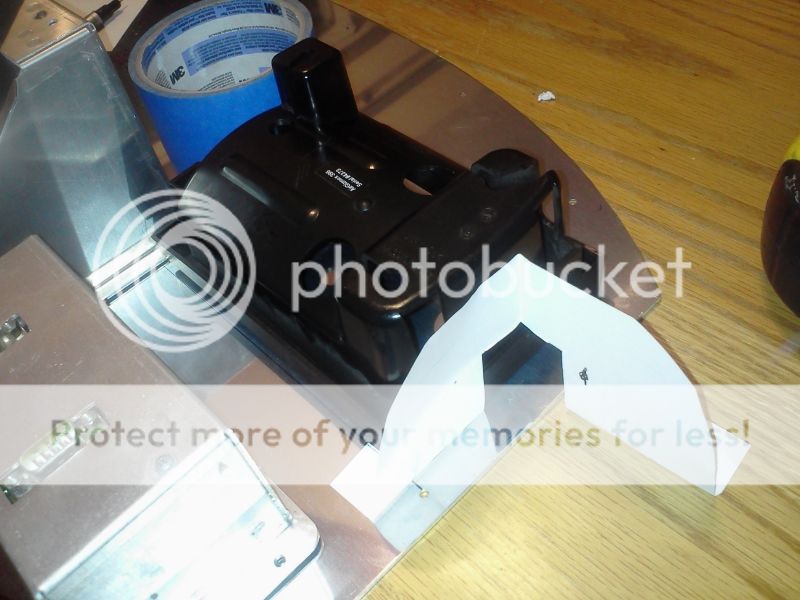
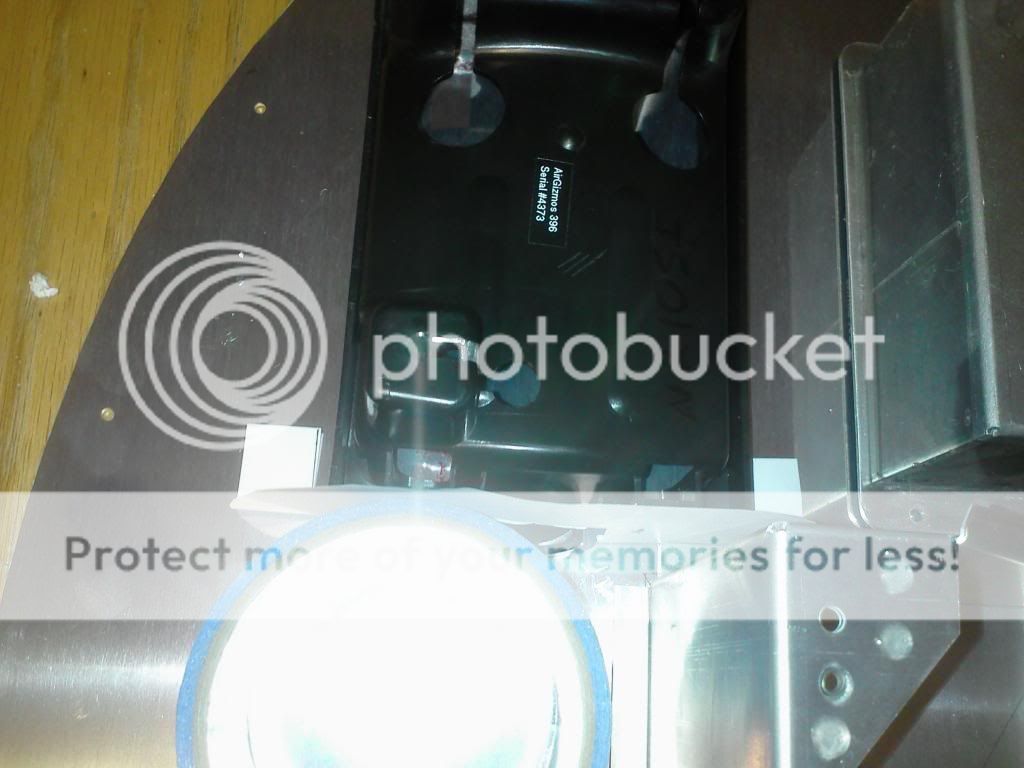
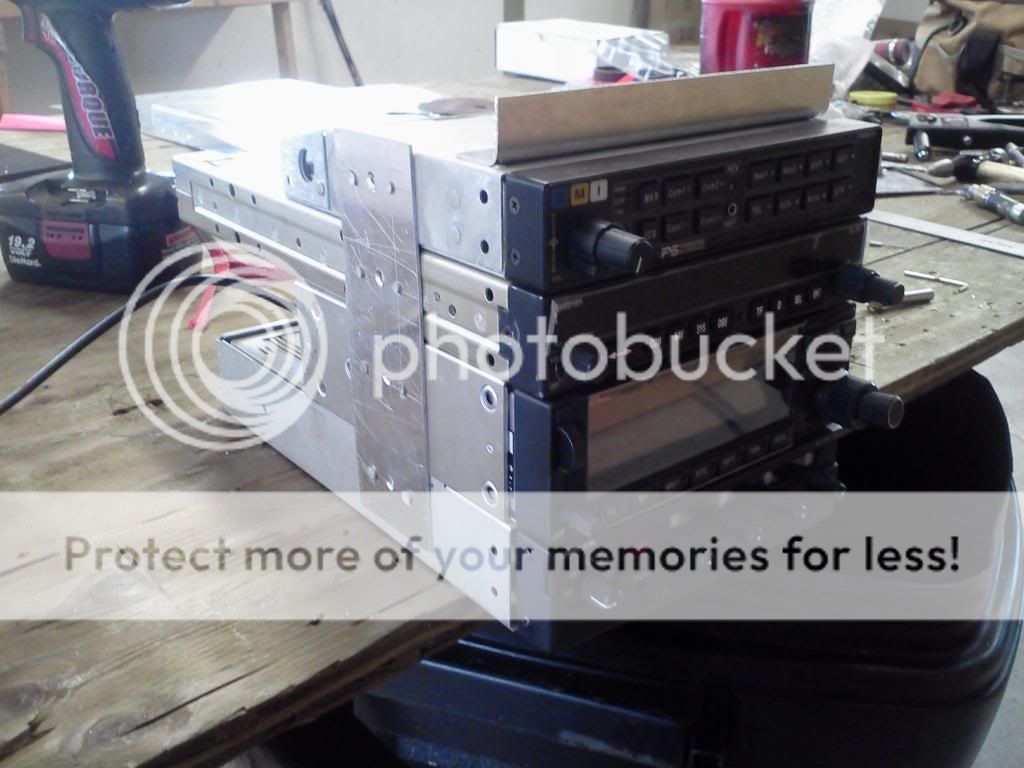
Had to make brackets to mount the Garmin mount.. yup, I wanted a Flush Install. More work but nice Finish


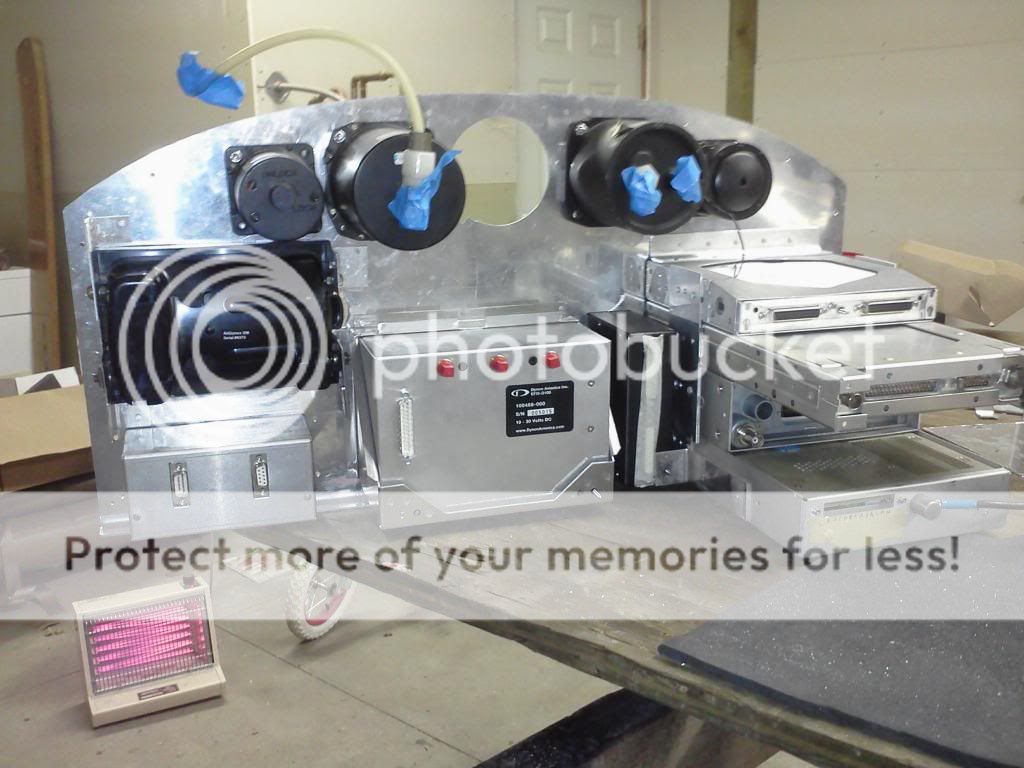
Making the Stack.. Yup. I remembered the "Z" Brace!

however.. I did not pay attention to the SL-30 mount.. when i installed it on the panel, the cage was too far back and the unit would not power up because it did not make the connection in the back.
Lesson Learned, moving on..
 
Last edited:

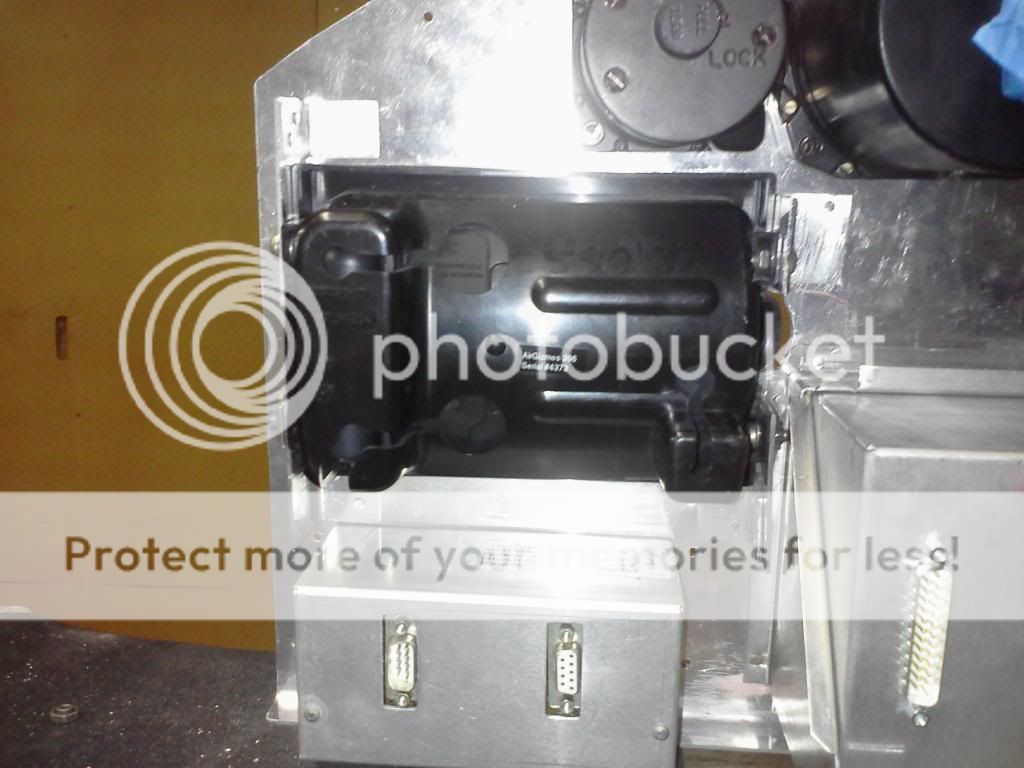
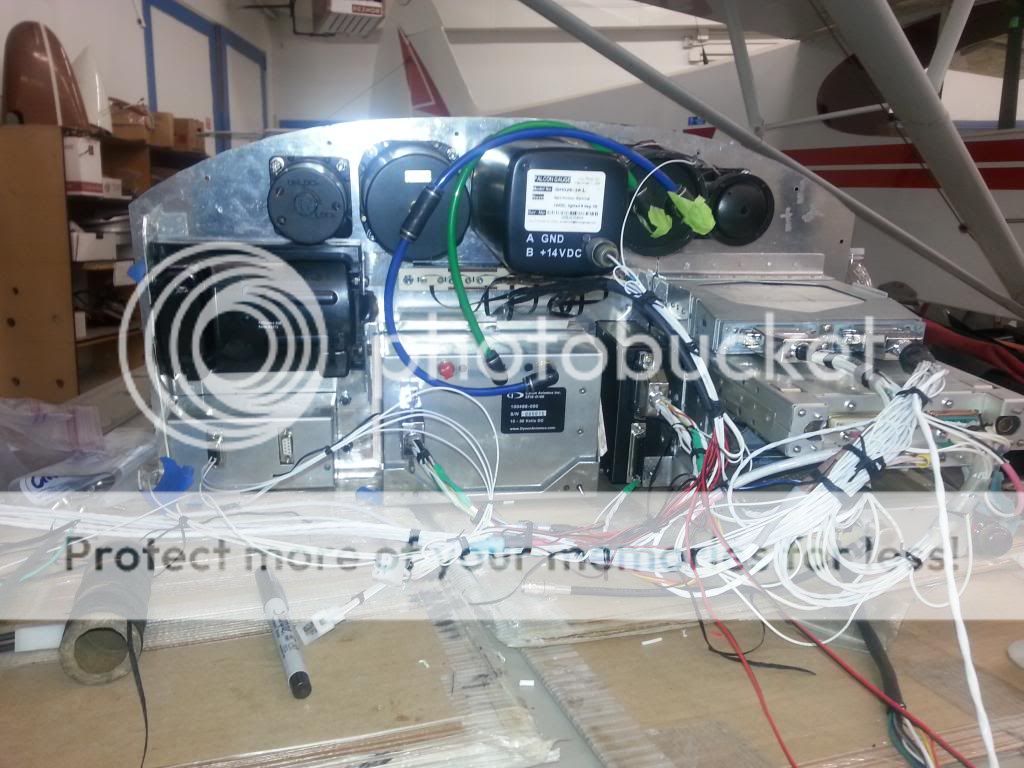
Back of the hand held.. you can see my really bad brackets that do the job in holding it in there snug.


HS34 has a new bracket mounted off of the Stack.. the One I made for it did not fit.

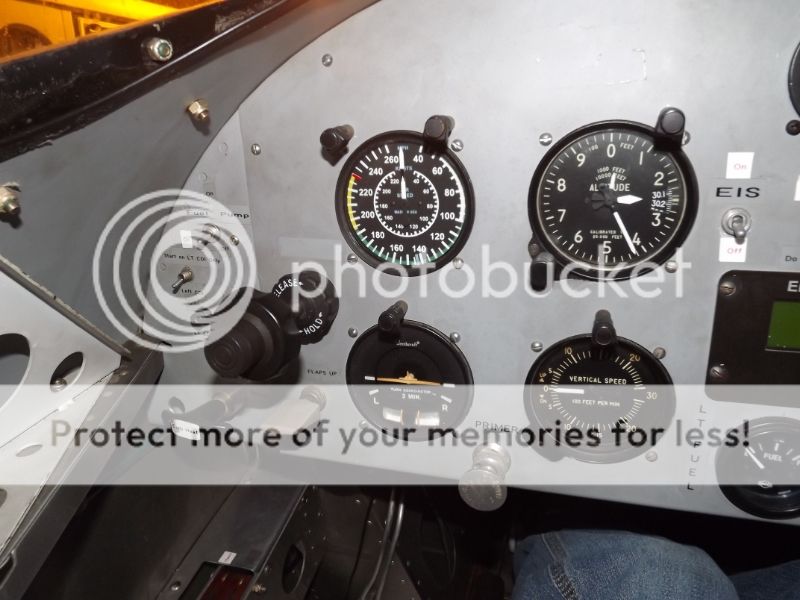
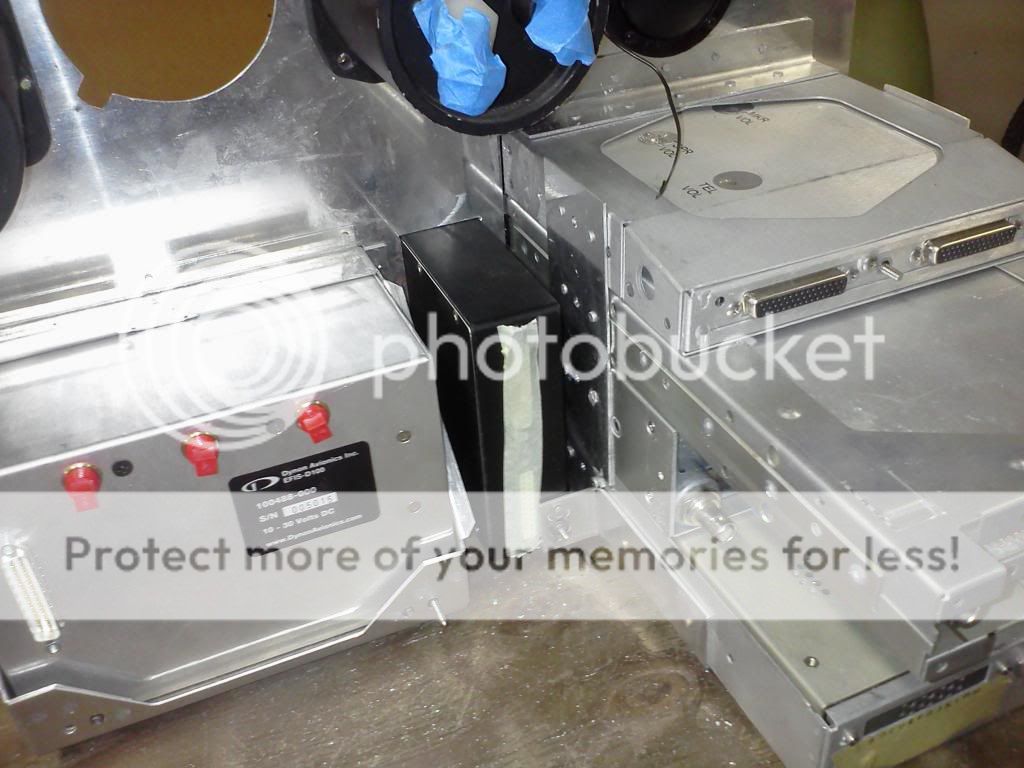
"most of the Items on the panel were "Tyler's Ebay Specials" so many of them did not come with all the hardware and plugs. some were used, some new but missing hardware. I had to get creative.


Yeah, I cut it a bit close on the hand held to the edge.. needs a bit of "Help"going in between the mounts
 
As an aircraft maintainer.... the use of quick disconnects are a godsend! use them... embrace them.. and you will be happy!


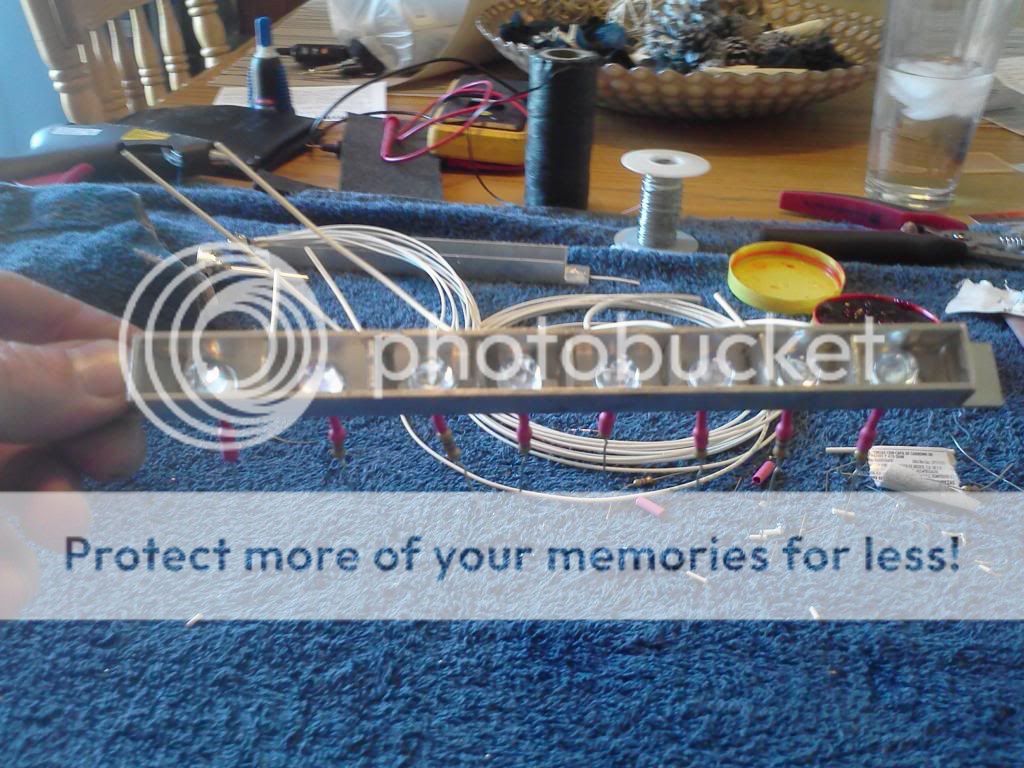
a trial run on the annunciations... just some aluminum channel and LEDs from Radio Shack and some resistors, what a failure! it worked but... the LED's kept breaking at the base so with that kind of UN-reliability.. I scrapped them and went with a different design. 3 replaced LEDs and the Plane has not even flown yet... that's a NOGO.

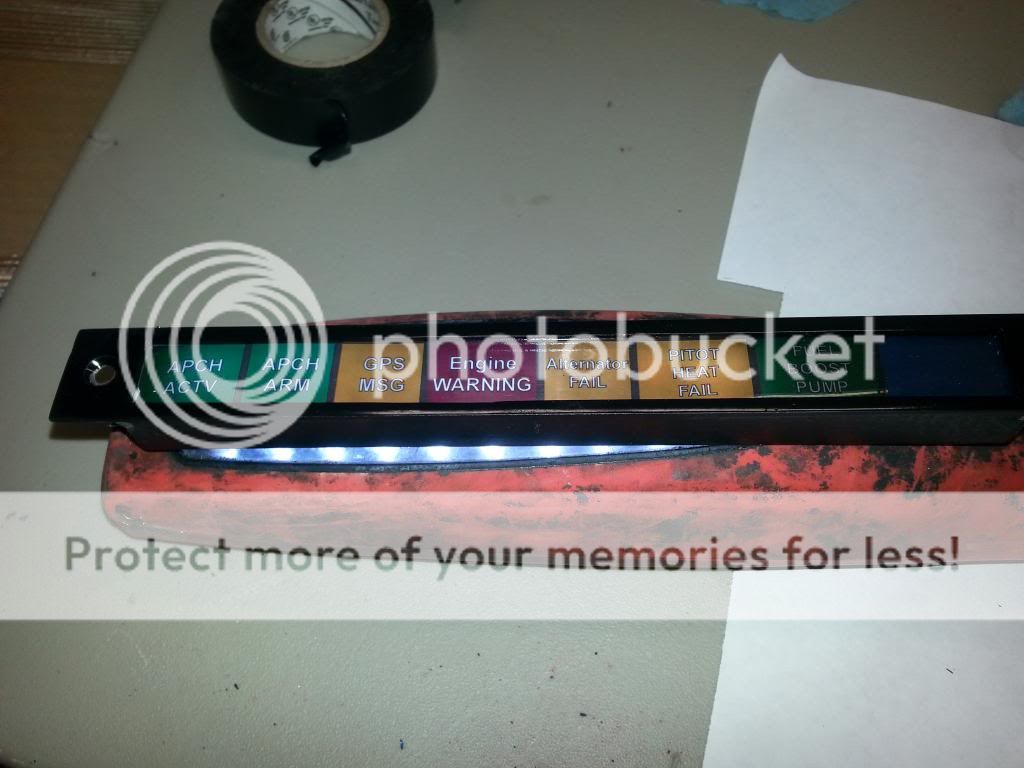
My friend Chris R. built an auto CAD file over a weekend and make this with Superbright LEDS.


here is the front section that has labels make in Illustrator and printed on transparencies from staples then laminated.


Now I start the side panels.

here you see the electric trim indicators, flaps, Mags and ELT.

(Zip ties are used for routing wires, they will not be used in the final install. They can cut into insulation over time if they are too tight. I will be replacing them with wax string tie)


here is the right side.

Rheostats for Com, and lighting.

2 others are the switching for the EIS. An EIS installed is for a 2cyl so I had to take the inputs from 4 and put it into a switch to change the inputs. EGT's and CHT's

Red button... Starter


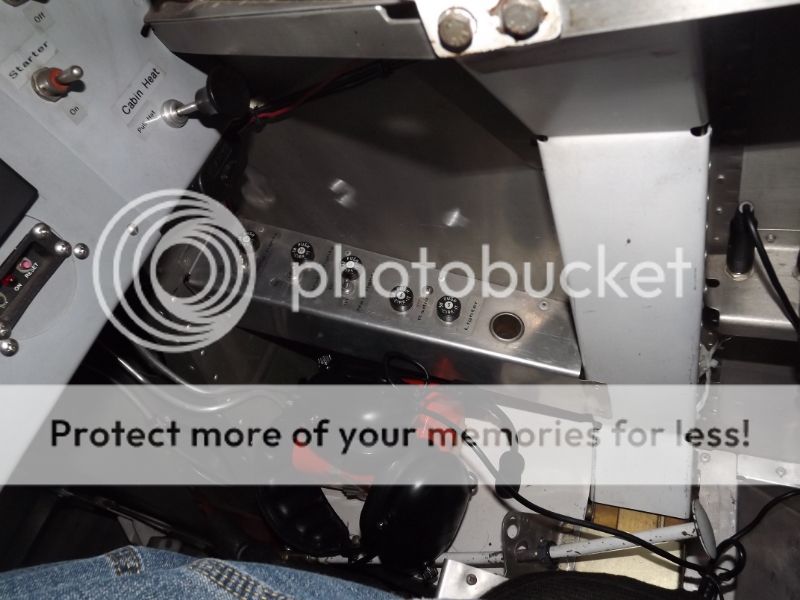
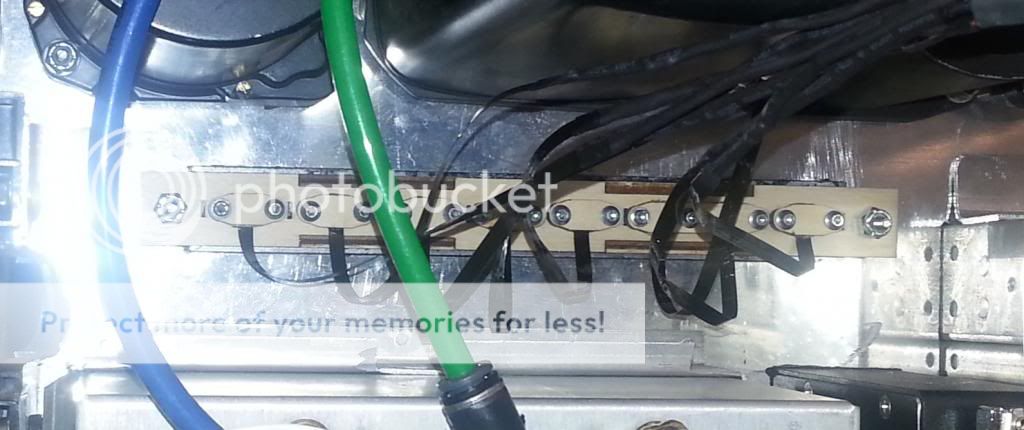
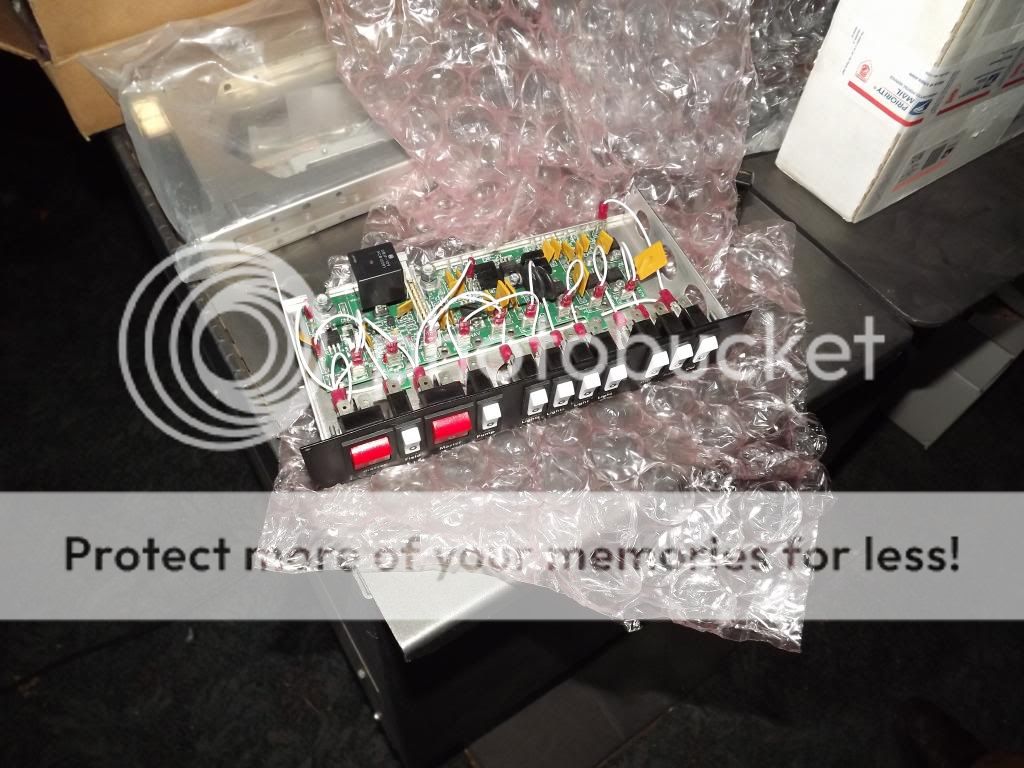
here is the power before.. not bad but the solder was falling off on the back of the fuses and some of the switches.. time to upgrade.


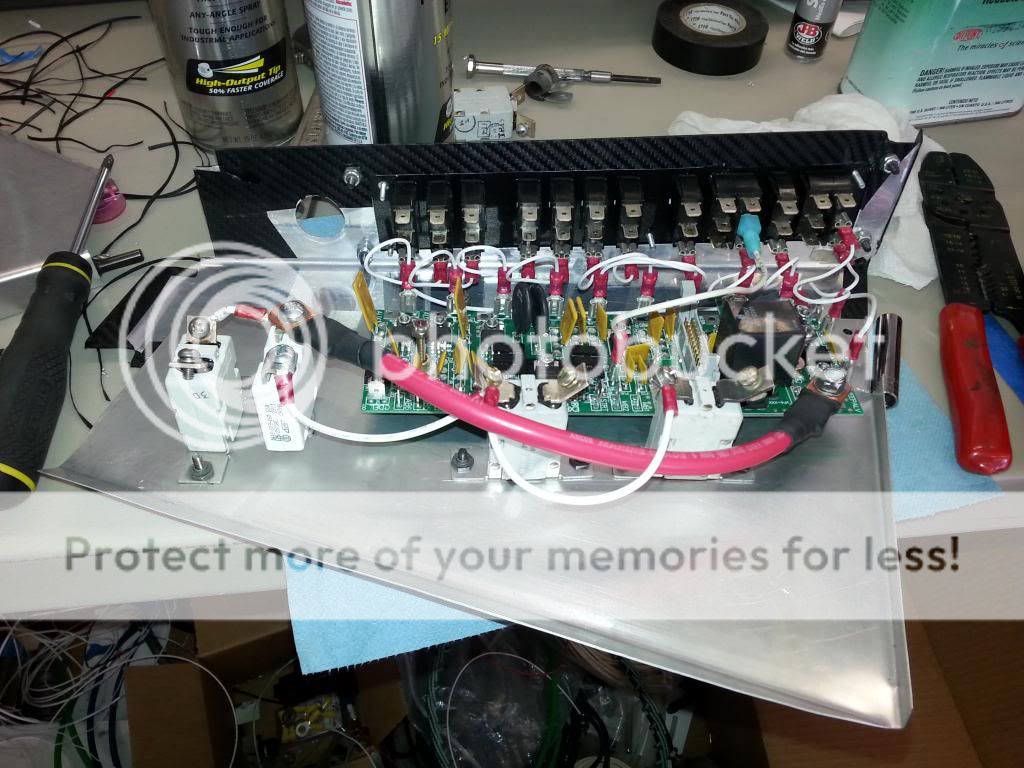
This wont fit into the panel the old one went to so I did some modifications to it. I also wanted to install some other CB's on the front for easy access and simplicity.

the 2 breakers you see installed (40amp for the Alternator Feed and an 8 amp for the Generator Feed)

I may change the way the gen feeds the system in the event of an Alternator fail. but that is still floating in the back of my head for now.


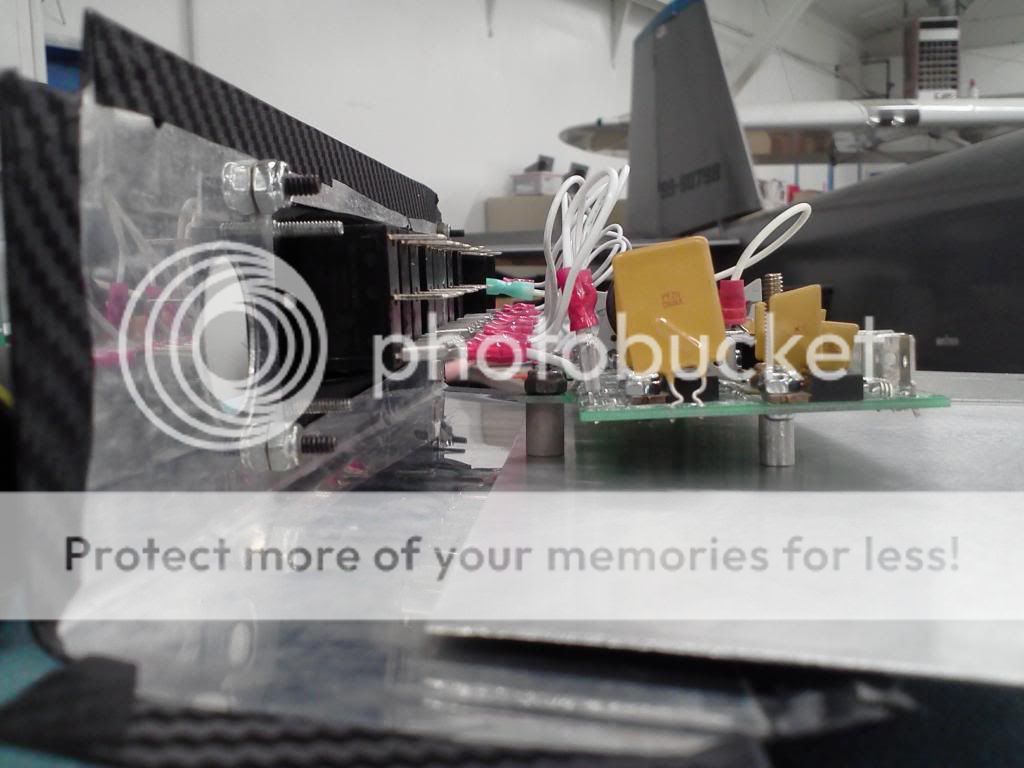
so I took it apart and made an extension to the existing and mounted the board above the metal on stands. also had to offset the board from the panel to make it fit the angles of the Gear tower.


the product as it is now.. I think I will have at least 2 more CB's to install for 12 power source and lighting.


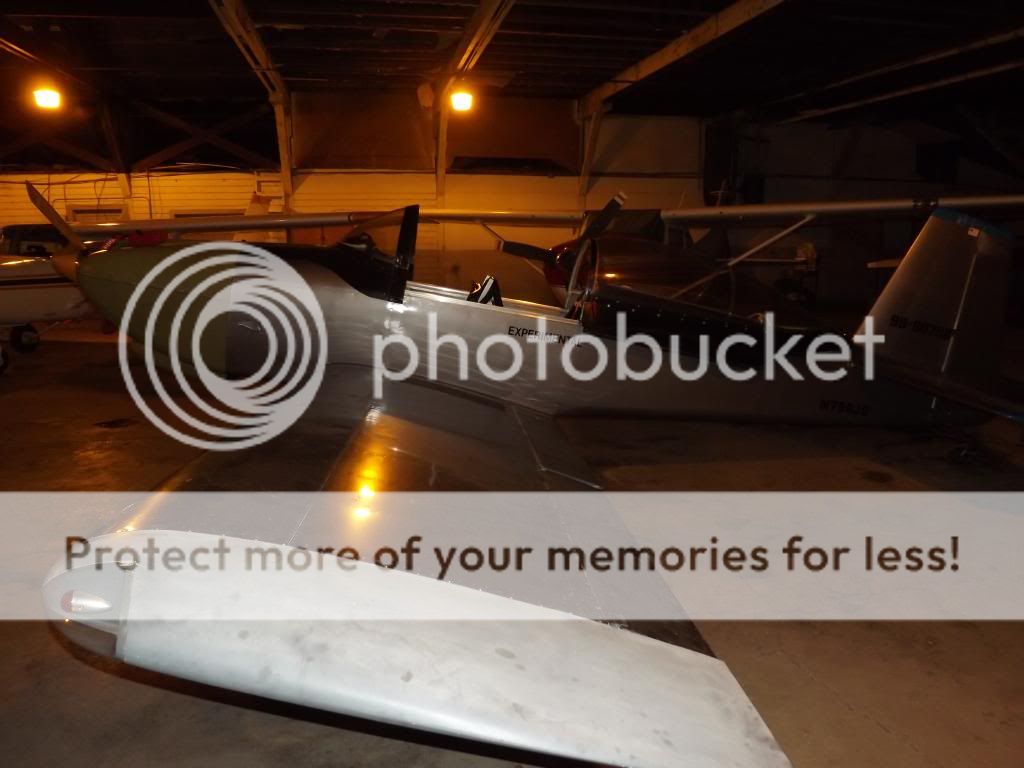
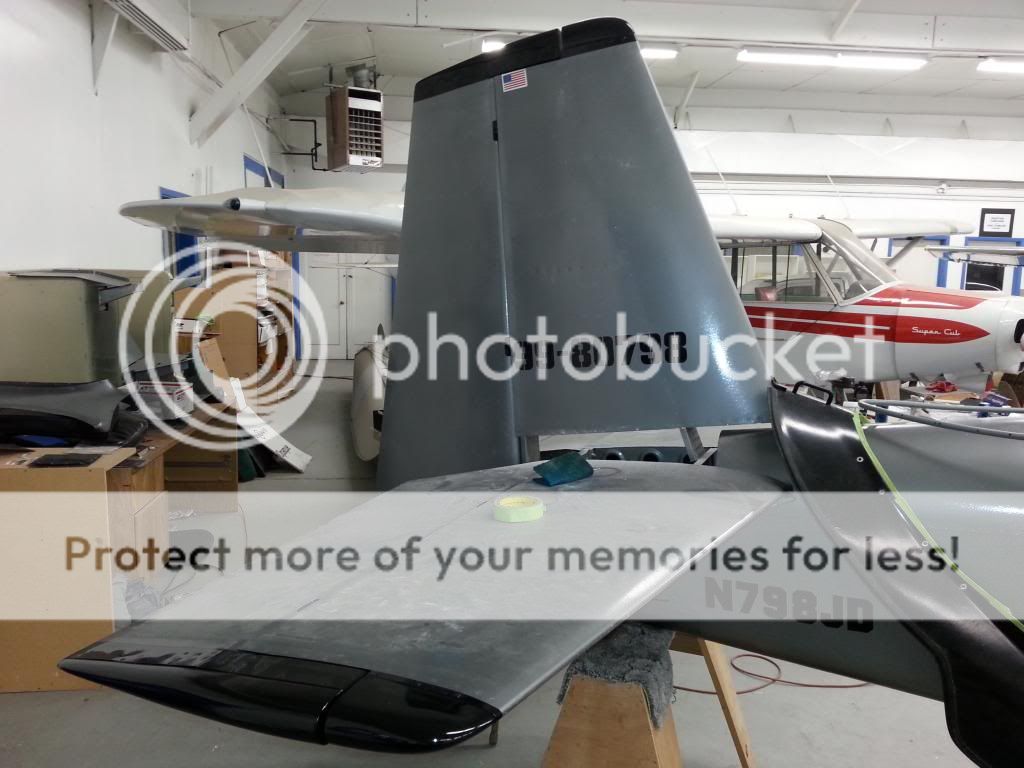
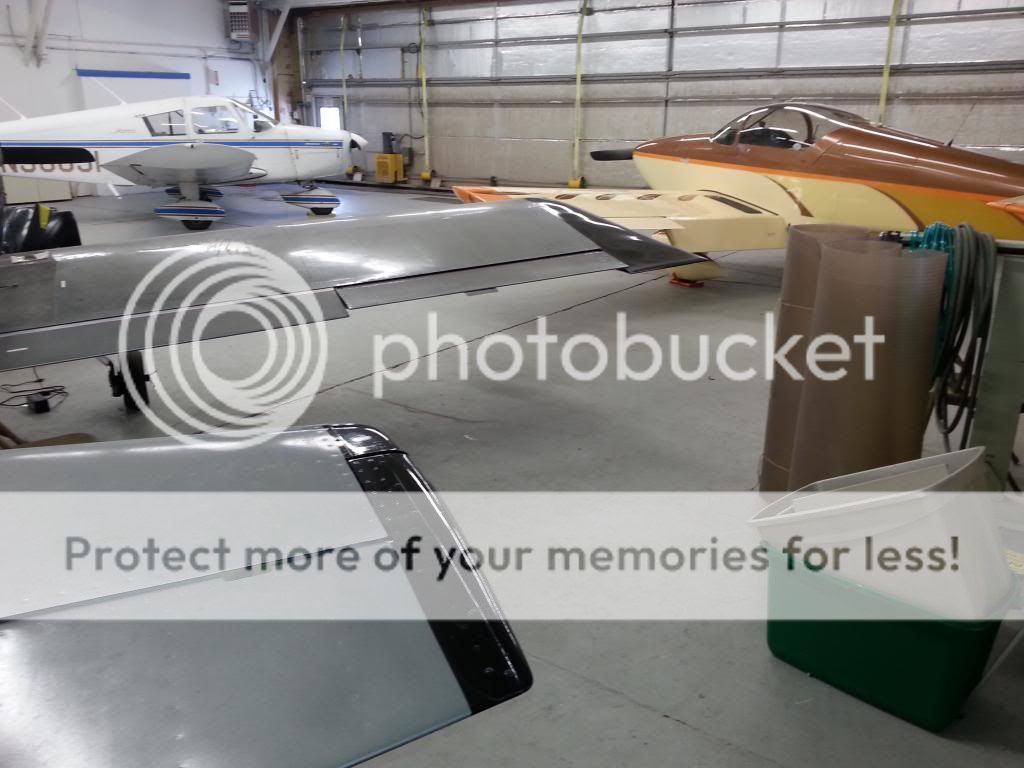
Moving on to the paint and glass work... Here you can see that the tips are not painted and the Tail tips are blue.. Weird color against a grey plane.

going black.


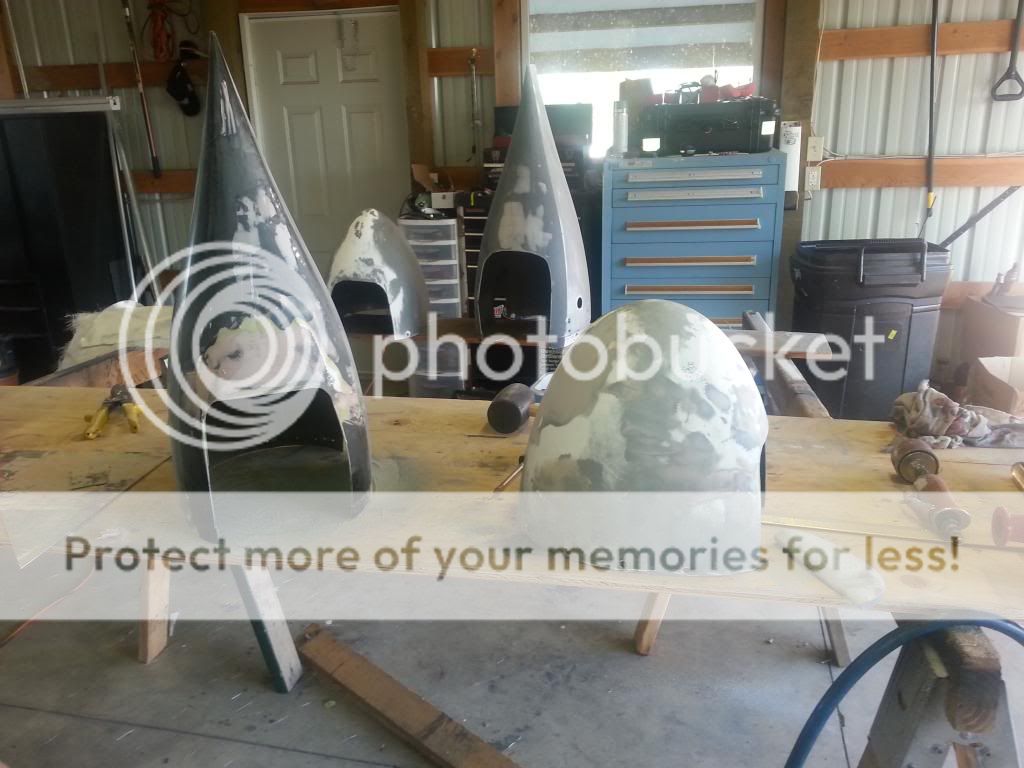
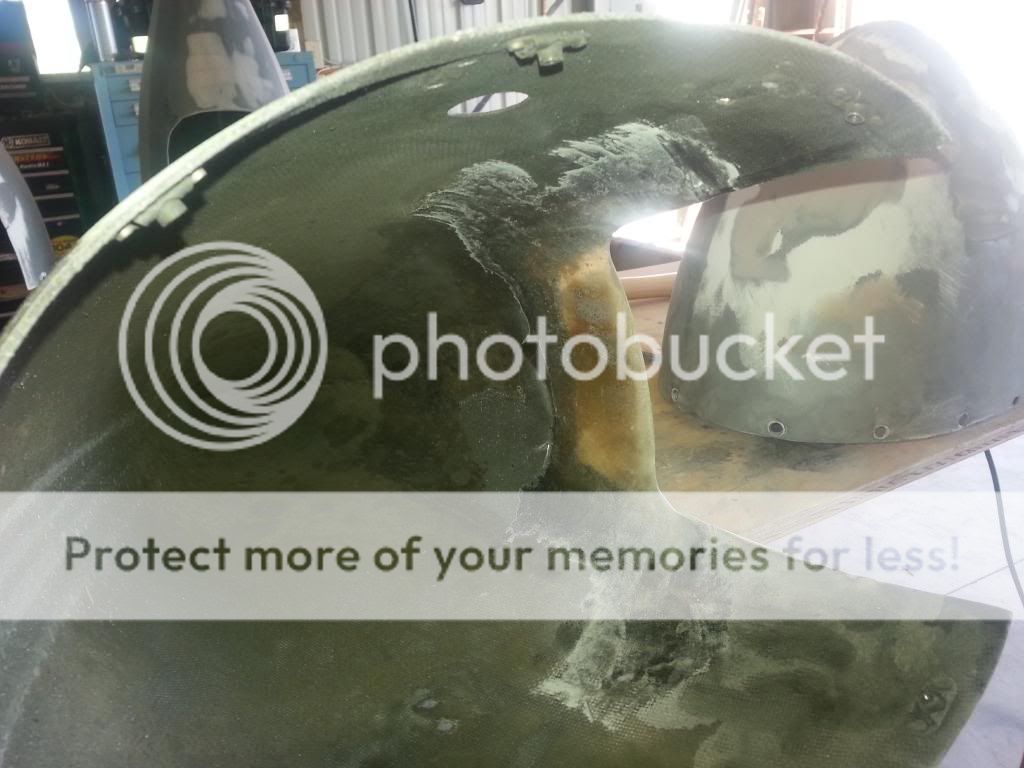
Wheel Pants need some help..

they were broken, cracked and scraped up as if they were slammed on to a gravel field.

there was one side that had about 4 inches of Glass completely broken out of the aft end behind the tire so I had to fill that in as well.

get out the glass and here we go.


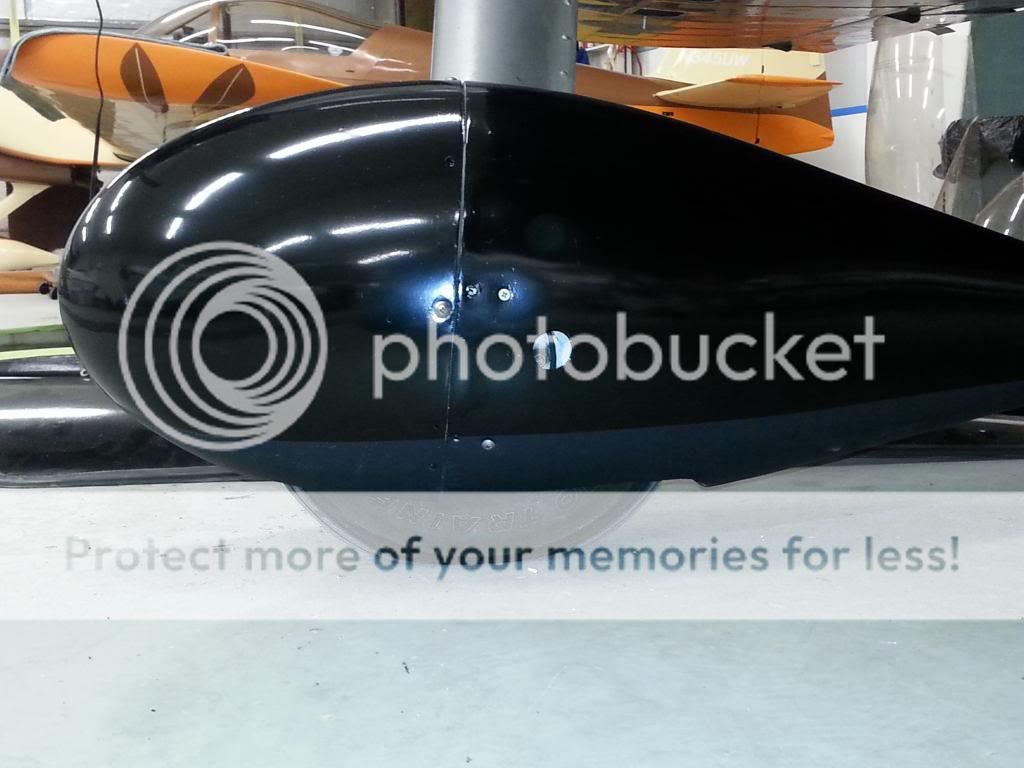
Re-Painted and I put a Coat of Spray on Bed liner to the bottom of the pants to help with the "Contact" or any other debris that could damage them.


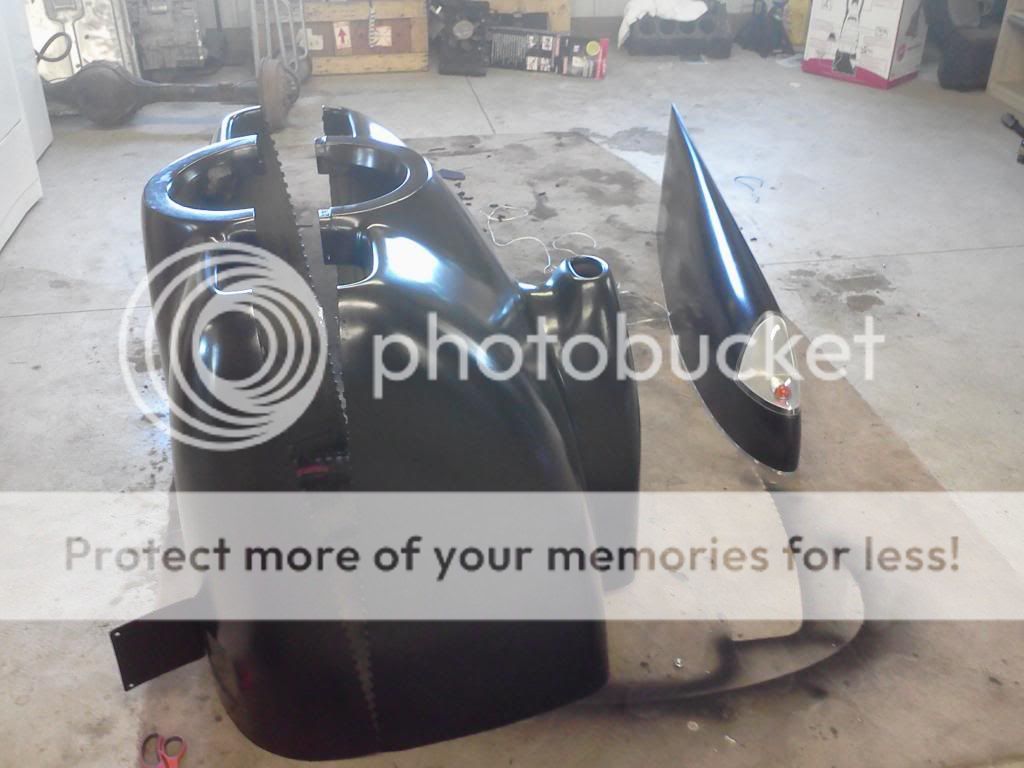
Cowing needed some help as well. the ring that holds the back of the spinner was digging into the cowing so I back filled the back of the Cowling 360 Degrees then ground down the face of it with both halves together to get an even front. Little body fill and fit well!

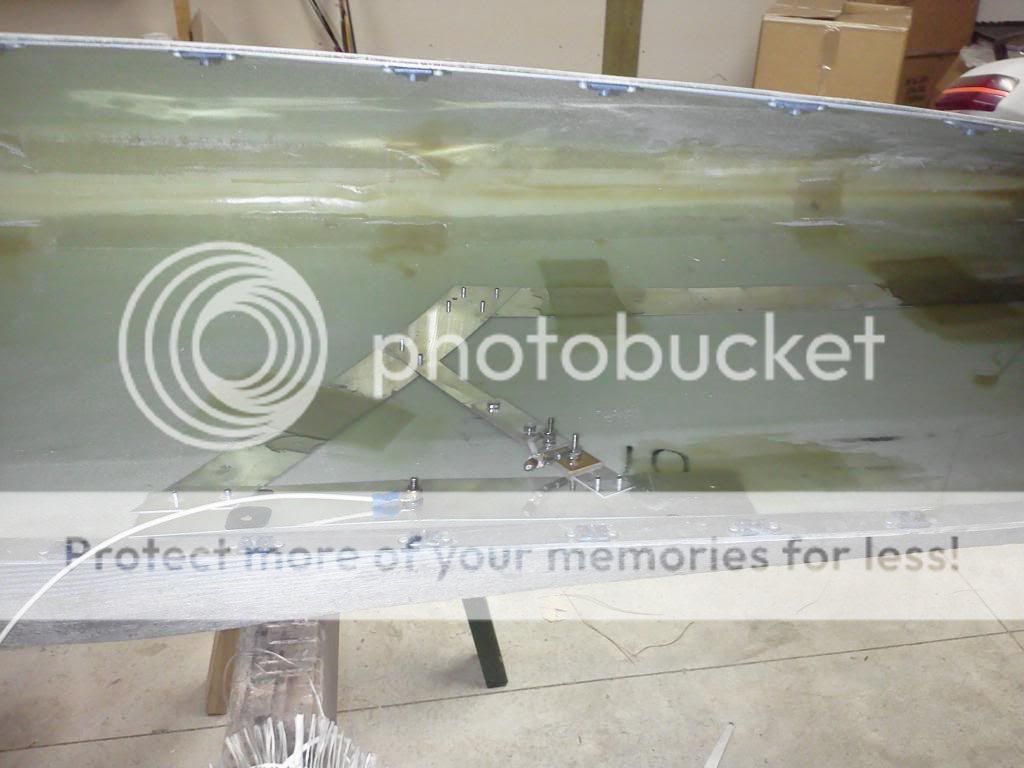
Wing tips were also worked on a bit doing some filling and repair of a few minor cracks. Also Installed the Antenna in the Right Tip.

 
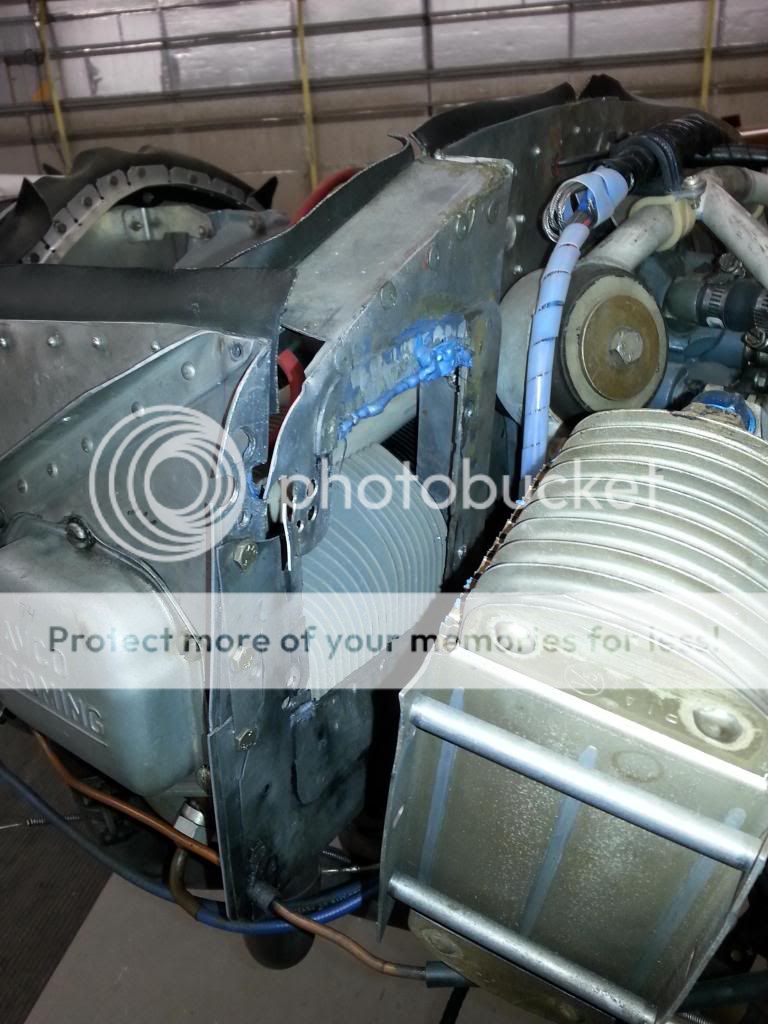
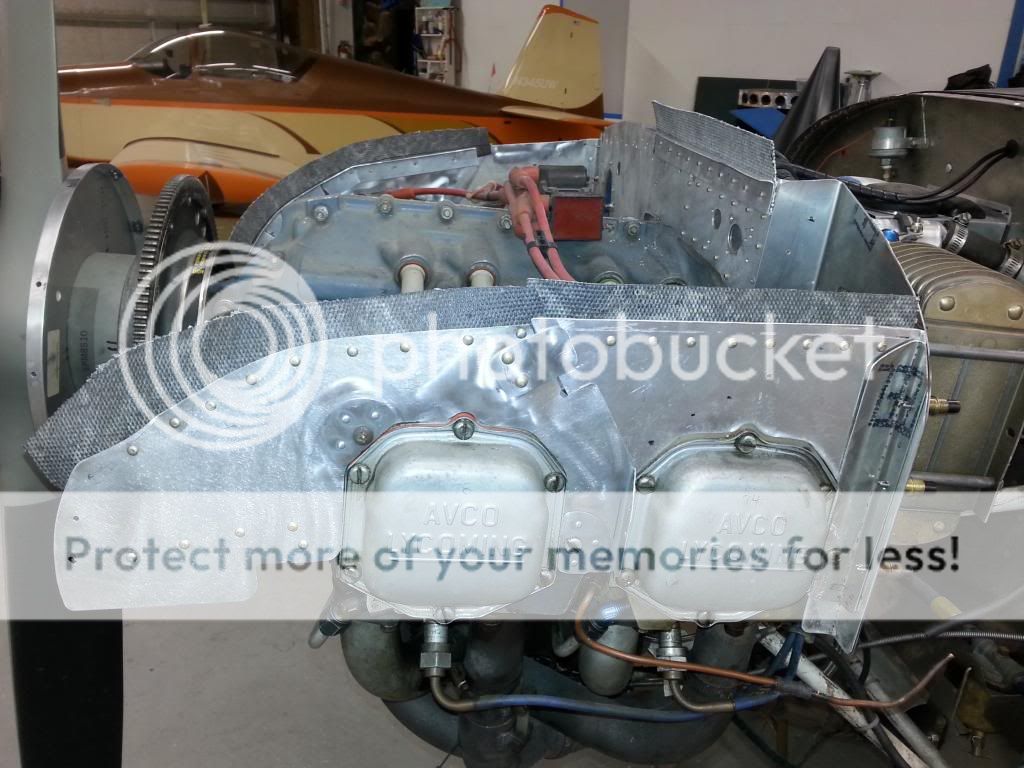
Engine Cooling baffle...


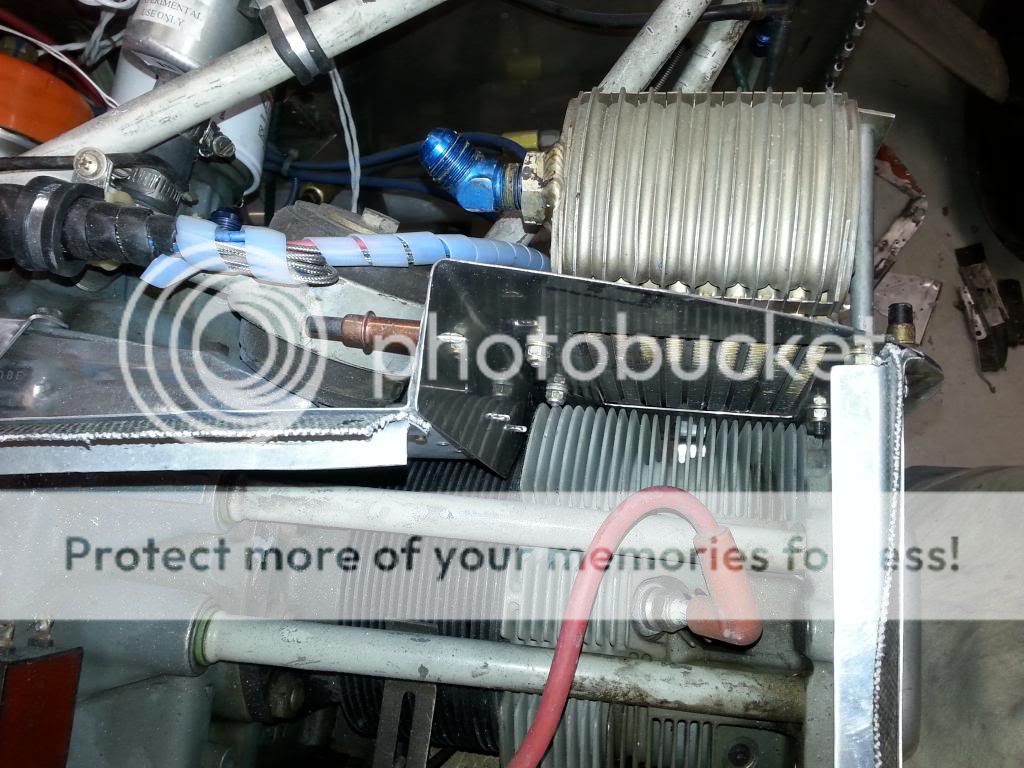
Oil cooler mount, broken in multiple places, the previous fix was broken.
Time to rebuild and do something different.

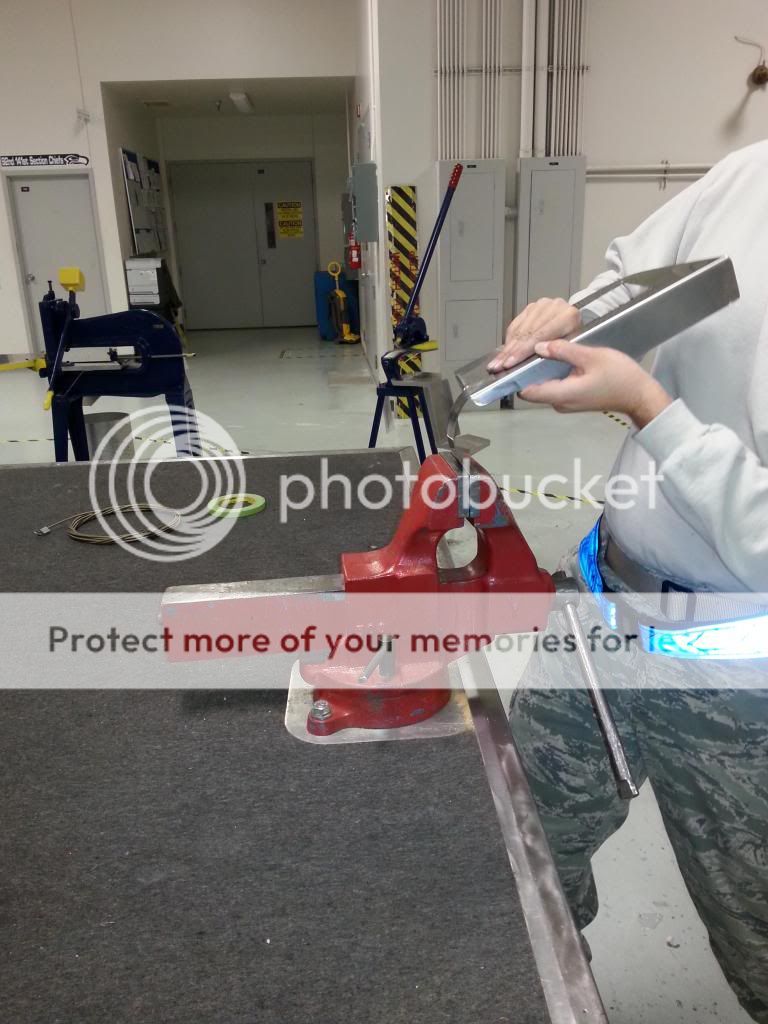
I decided to remake the Oil Cooler bracket out of something a bit more stout, .050 Stainless. I received help from work on this one. They have better equipment to make it right.

The amount of help I have received from around base has been outstanding!


that looked good then decided to just disassemble the rest and replace all of the cowing seal. Put in new rivets and new aluminum.

Then got aggravated when I saw I could have bought an entire set online for about 200 bucks or so...

I have yet to finish it, but I will when other projects get done first.


What was I thinking?

Pulled the grounded bird out to give'r a bit of a run.. no fire.

Fuel good, new mag and ignition switches... not even a sputter.
A look at my wiring and questioned how things were hooked up. I know mags need to be grounded to shut them down, and I figured the same for ignition, I was wrong...

Gave ignition 12v and a ground, bet she'll fire now, Ill try again next weekend.

Also had no indication on CHT so I have a new set coming from GRT this week.

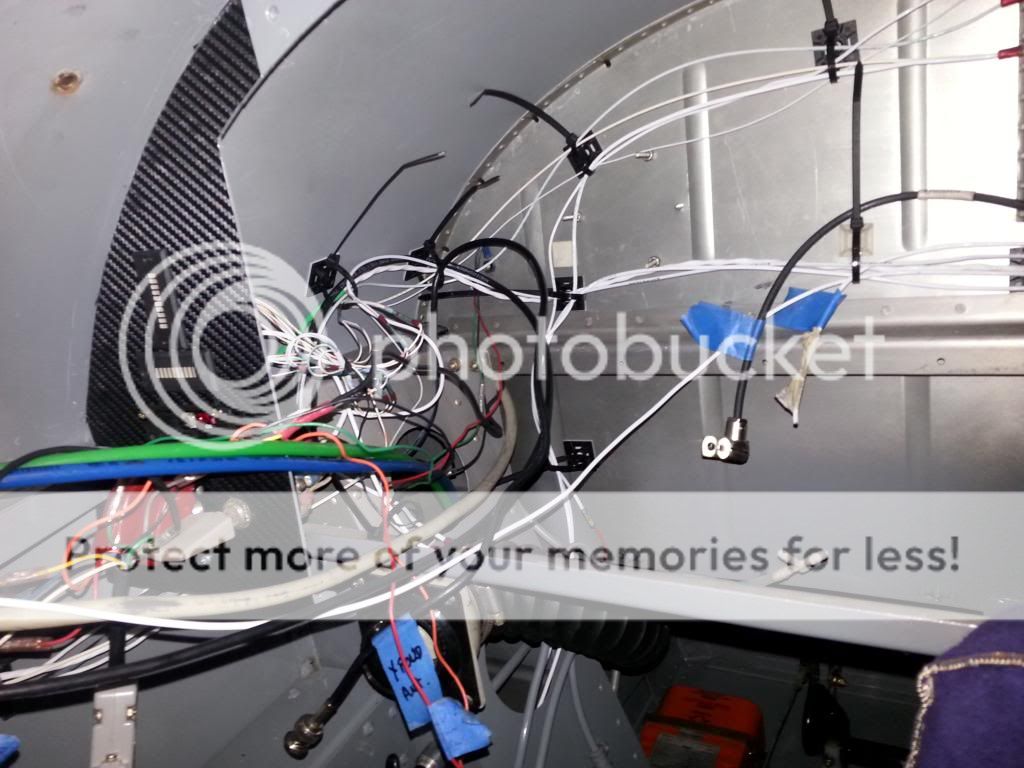
had to rip up my engine harness to get it c/w, oh well, I wanted to fix some things any way.

on a lighter note,

The Shell 77 memorial will be on base and if I am not mistaken, it will be open to the public. I spoke with the Wing Commander and he would love to have it on the ramp next to the tankers. Also, in the works is possibly a Fly-over with the tankers.. we shall see, he is working the details.

I have lots to do in the next few weeks so more to come.

Thanks so much for what you're doing. 3 May 13 was a sad day for all of us tanker folks, not just the -135 community.
 
Replacing canopy


Started October 2013 by the way

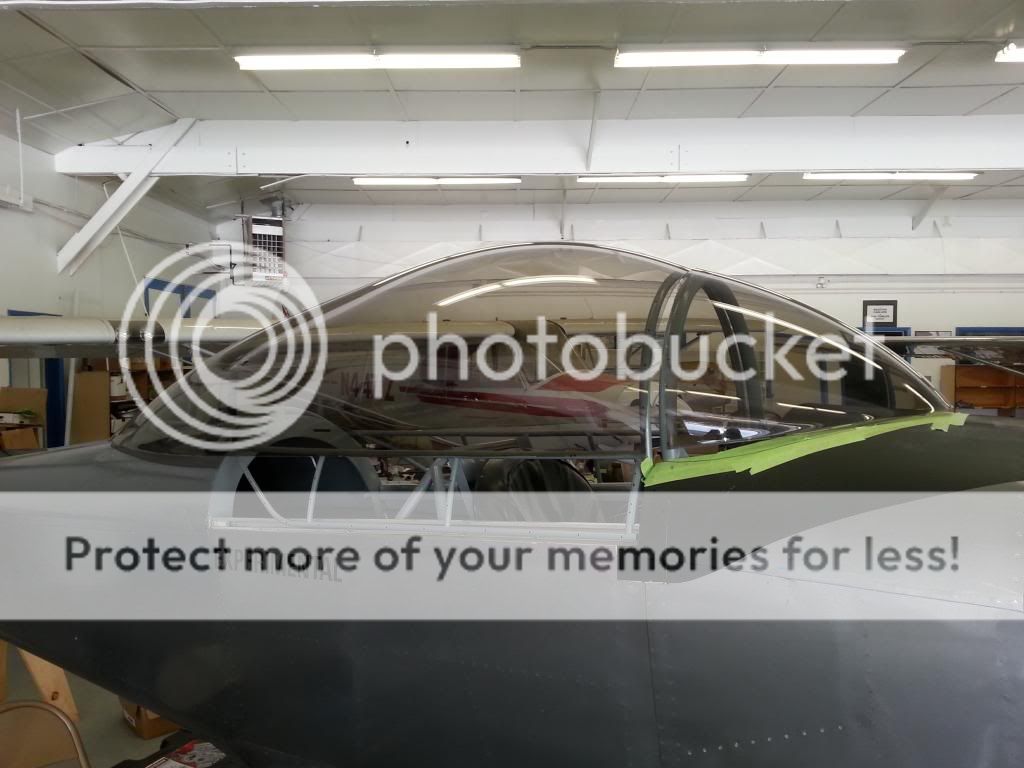
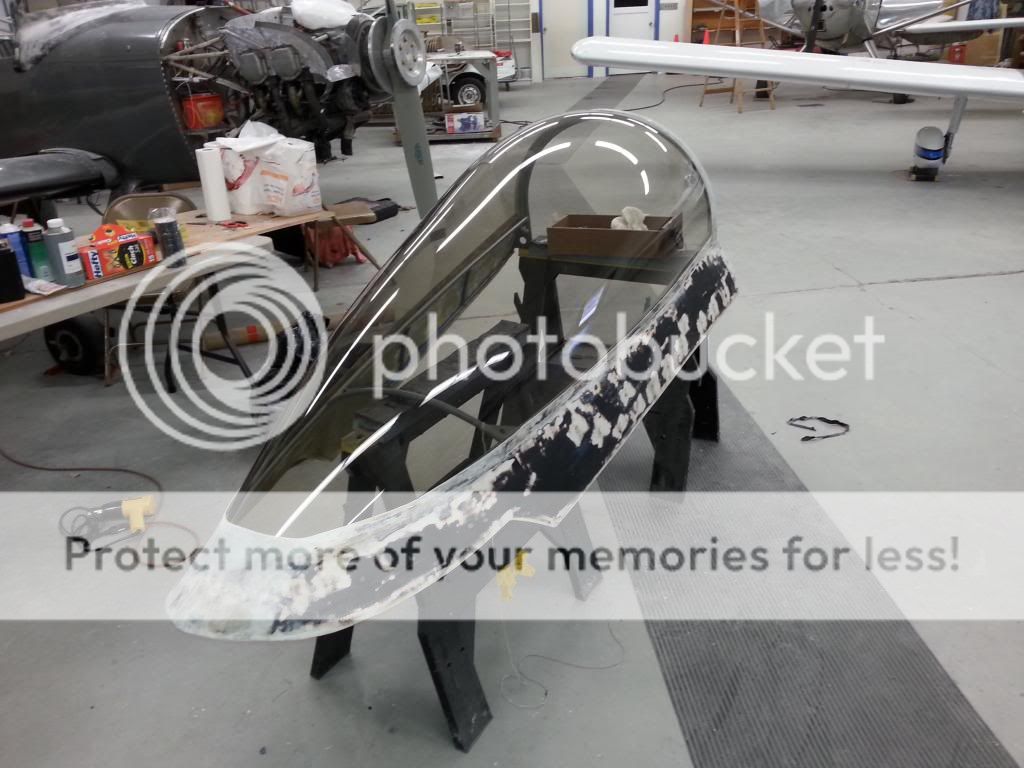
I was too busy no cracking the canopy while cutting the wind screen out to take pictures of that process... so here it the first fitment.
 
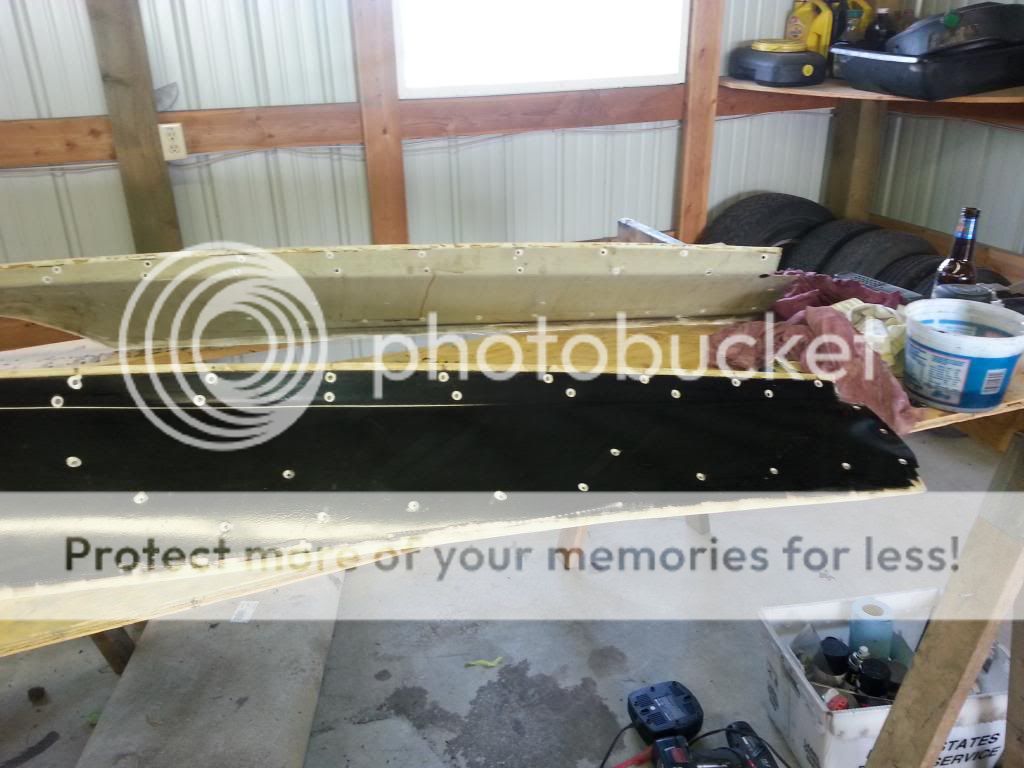
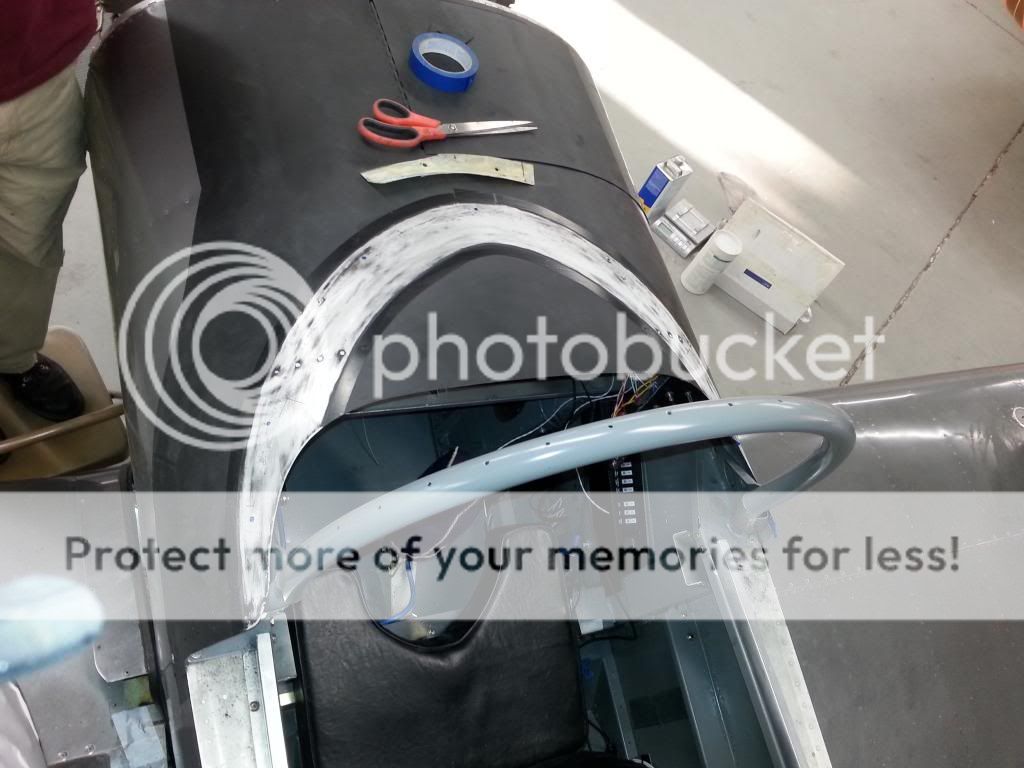
Canopy Faring rework


Brought this thing to the house to get the holes filled in.
Of course looking back, I should have started over with a new one.
 
Moment of reflection


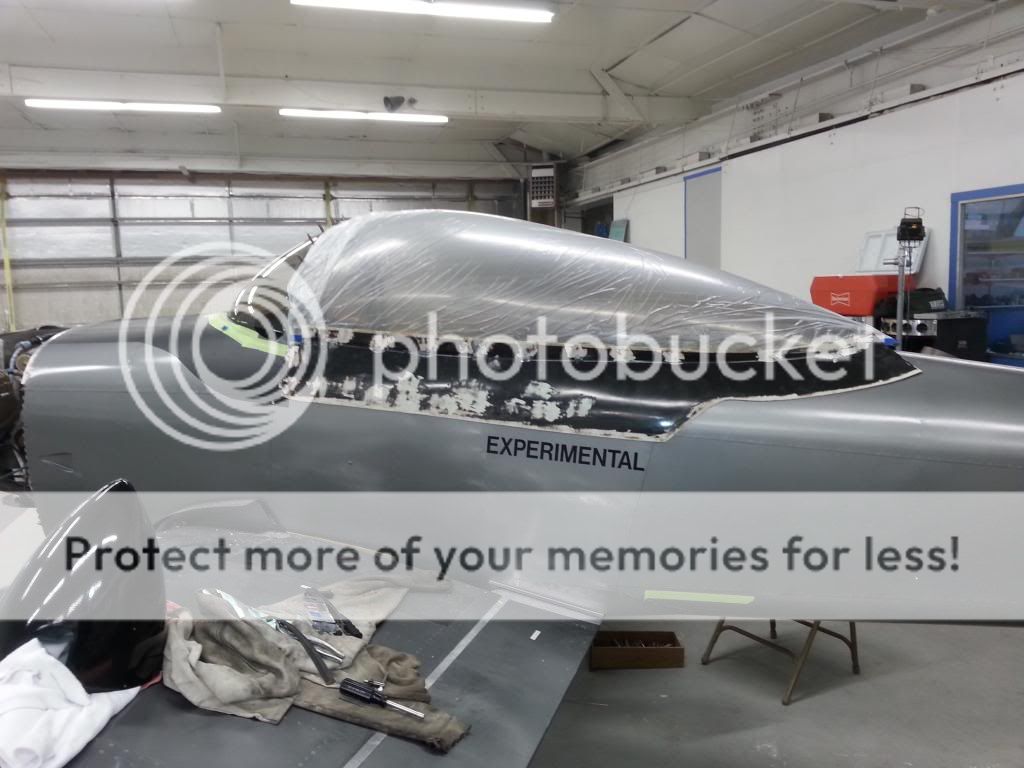
This is where that moment of disapointment came into play when i saw that the new canopy did not buble out as much as the one I removed. In fact, it hardly fit well at all.
 
Chop, Cut, Rebuild


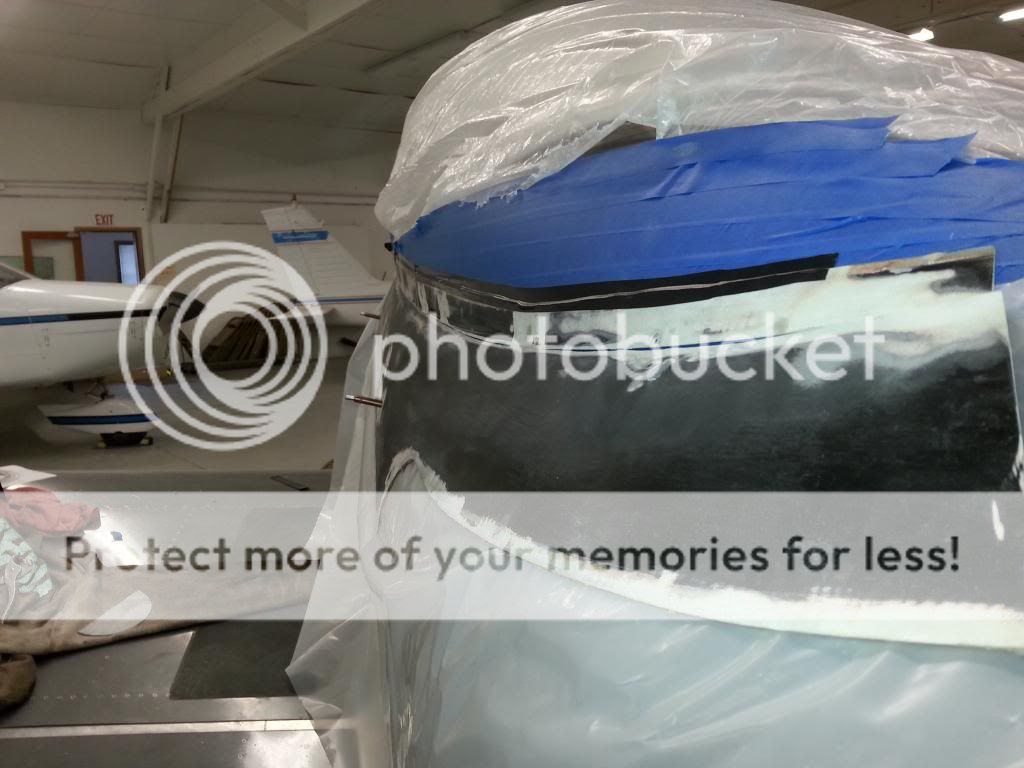
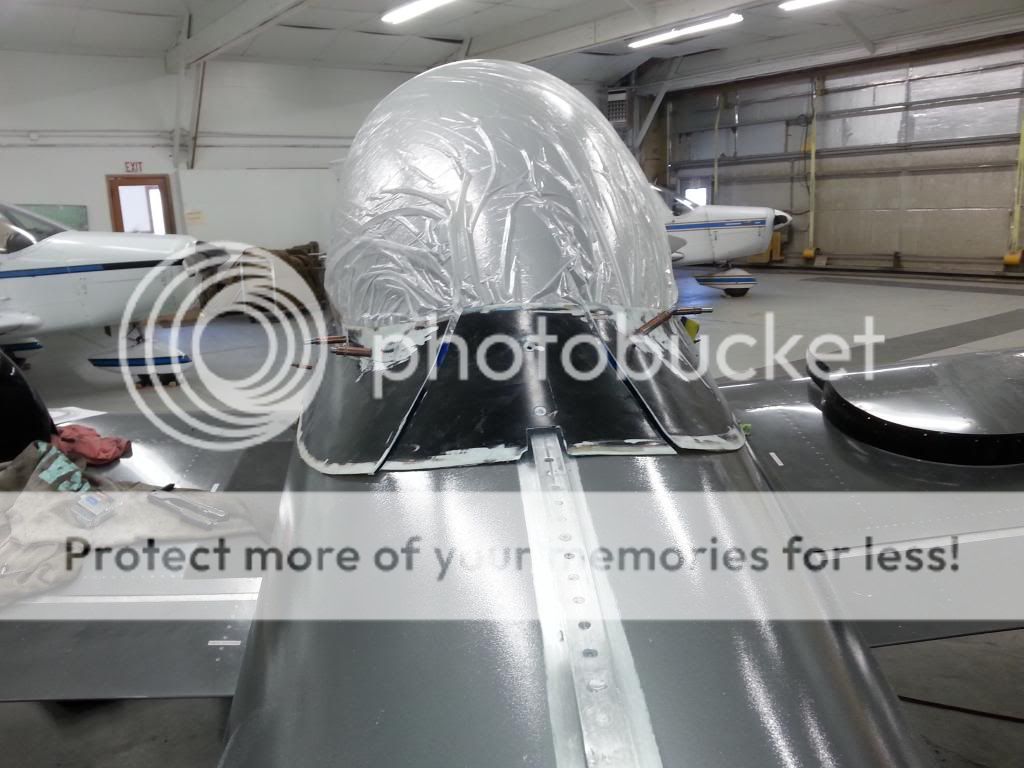
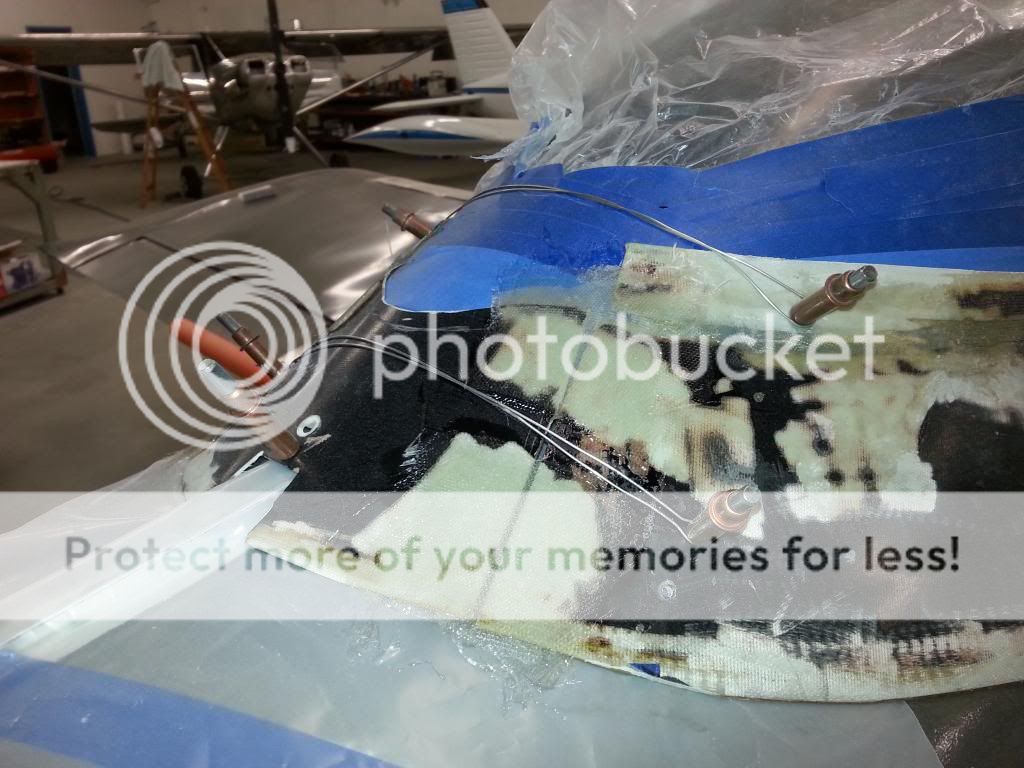
the top of the faring was almost a half in from the glass, so, I cut at the angle and make it fit. (if it doesnt fit, force it) Right?
 
Forward of Canopy


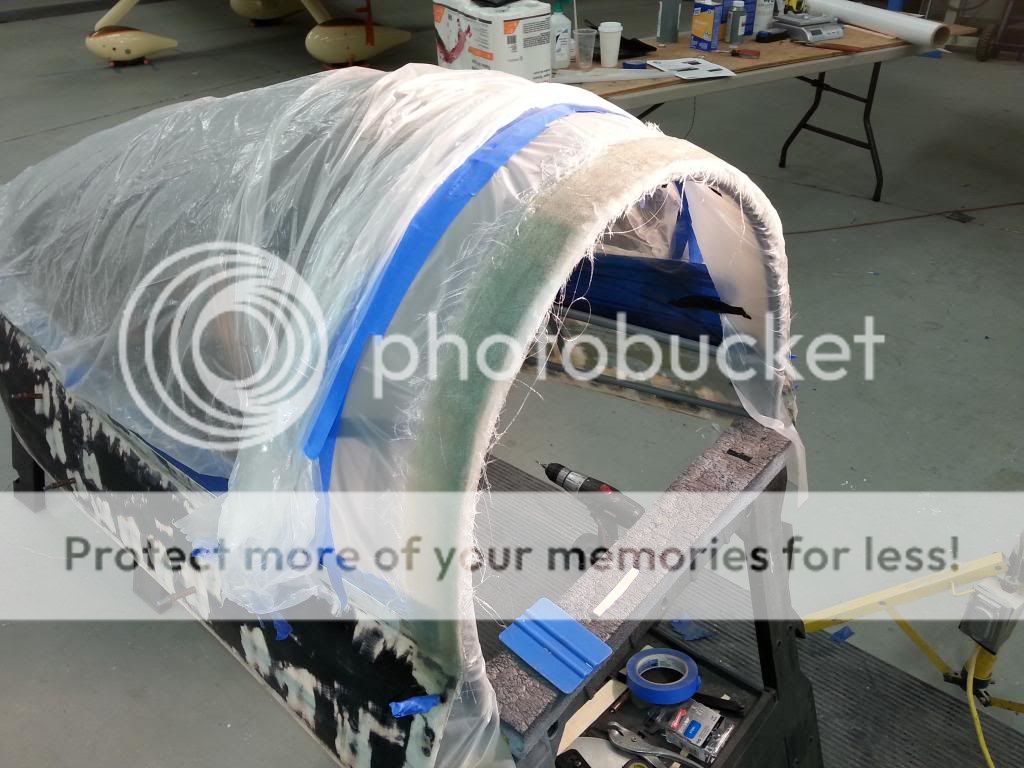
Figured while the Rear end is Curing, I can re-fab the front of it as well and tie it all together.
 
Have to stand back and look at it from a distance


Aft of Canopy is looking better and more streamlined
 
Filling Gaps


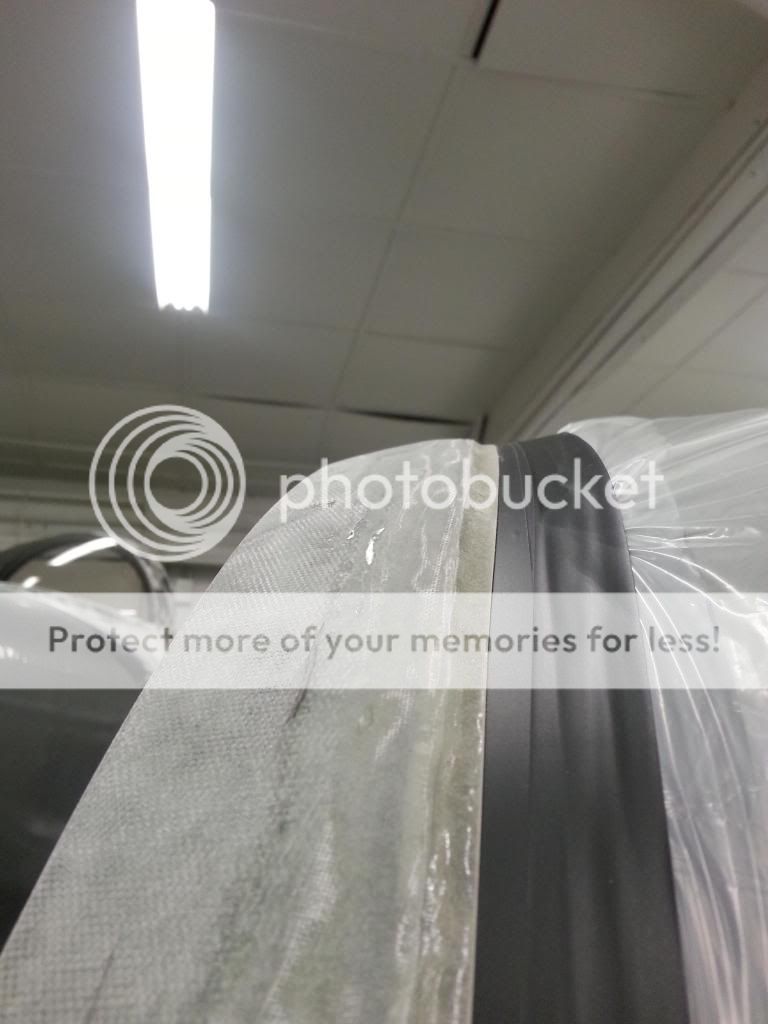
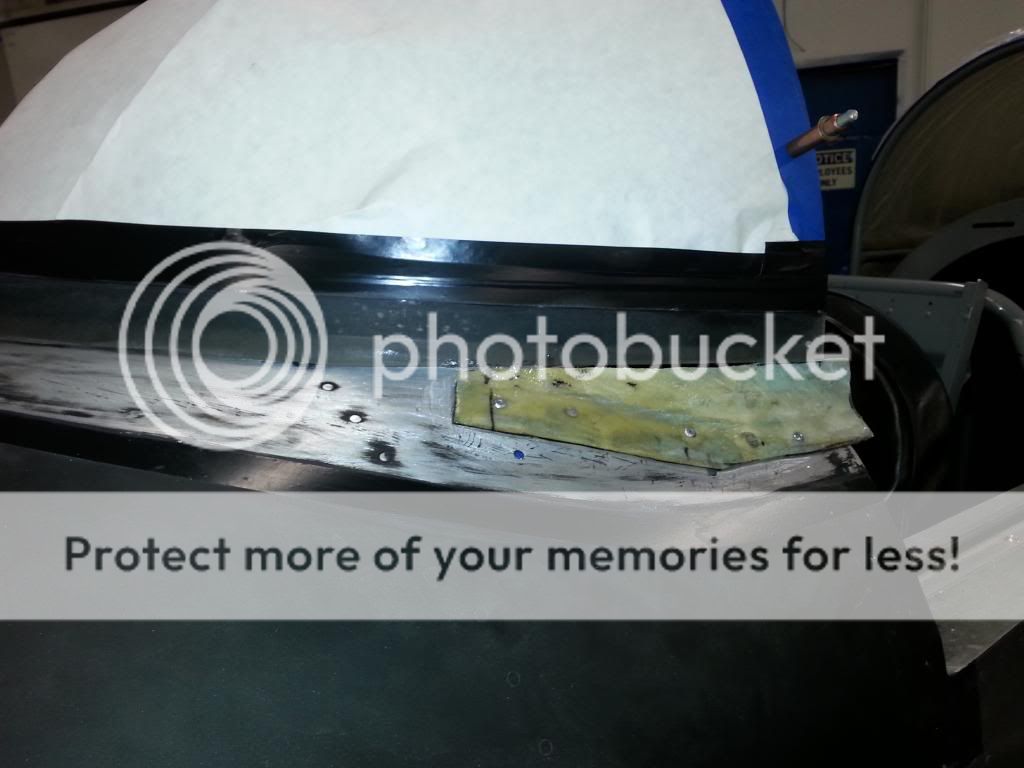
Used the old Fiberglass to fill the gap from the old Canopy. The new Canopy did not come down as low as the old one unfortunatly.
 
Back
Top