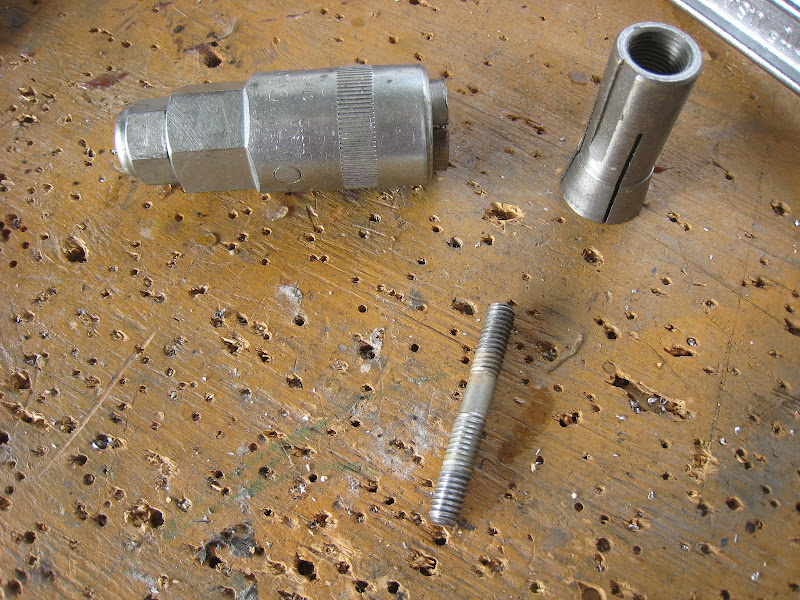
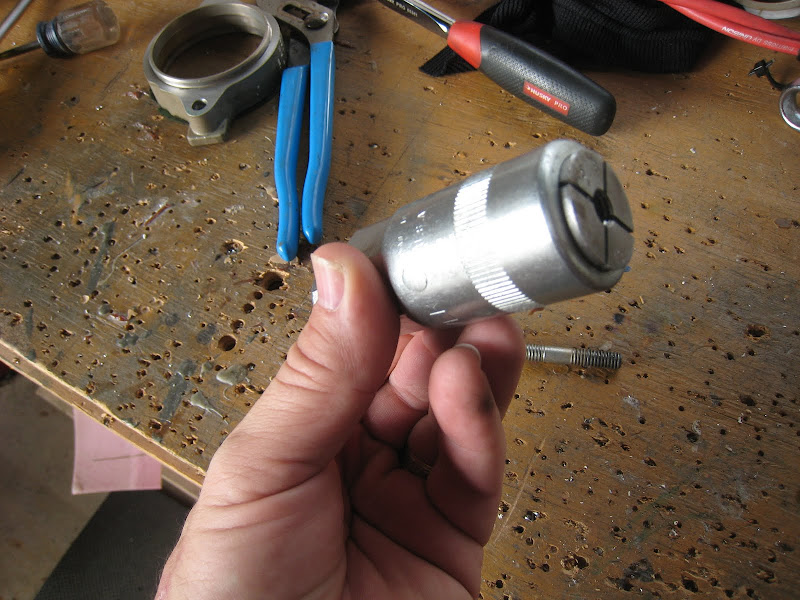
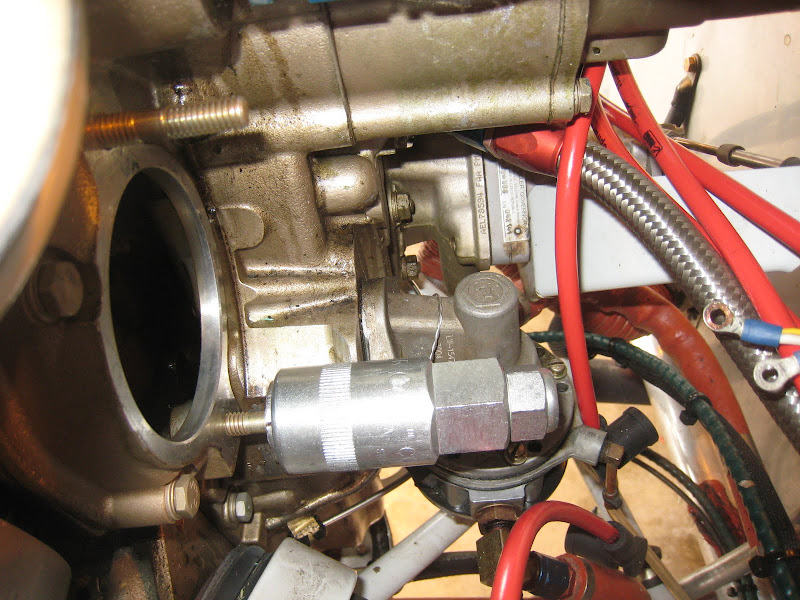
Hi folks - quick question for the experienced mechanics here. I need to replace the left magneto studs on the Valkyrie (swapping to _P-mags, and taking out the impulse coupler spacer - so need shorter studs). I've put doubled nuts on them and cranked, - they just aren't coming. I'm figuring heat is the answer, but I don't have a lot of experience with that - are we talking butane-torch heat? On the case? And how much?
Non-heat answers are even better - I haven't put gorilla strength on them yet - they are so long, they almost seem to want to twist....if the answer is "use more force!" we can try that too....
Of to lunch - let's see how many answers I get!
Non-heat answers are even better - I haven't put gorilla strength on them yet - they are so long, they almost seem to want to twist....if the answer is "use more force!" we can try that too....
Of to lunch - let's see how many answers I get!