DaleB
Well Known Member
Guilherme, is that an extra baggage compartment I see? If so, how is access to it arranged? I have been thinking about doing something similar.
And congratulations, by the way. I'm a few months behind you, I think.


Milestone
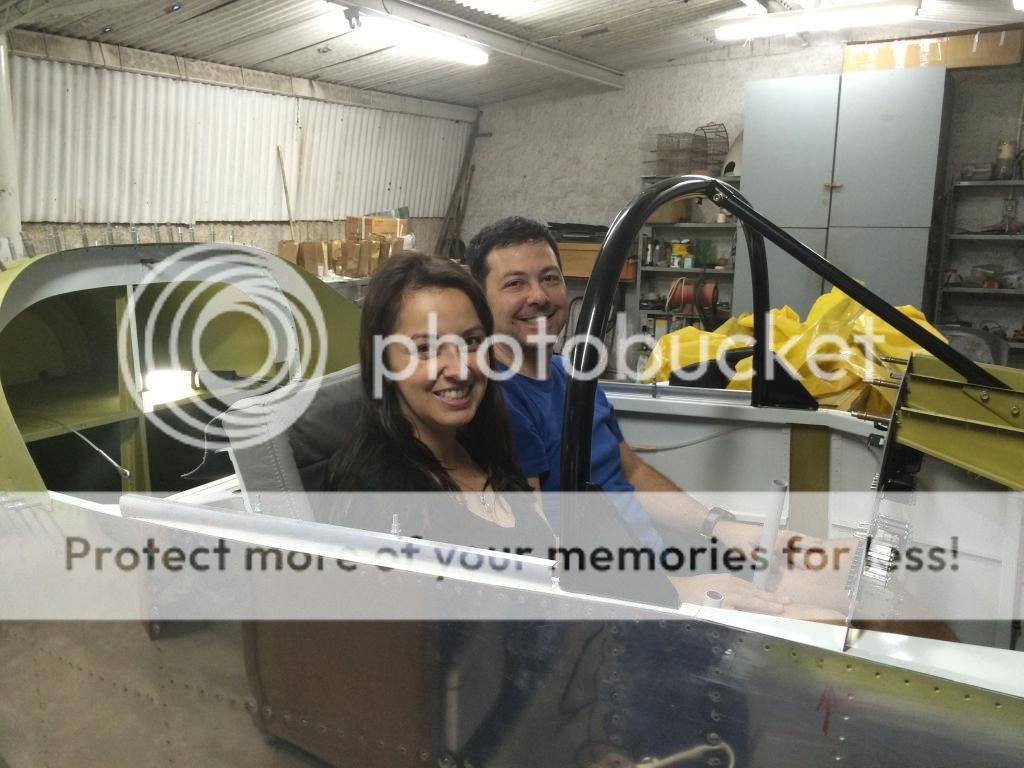
Engine placed
Tach time 7 months 3 days
http://i1349.photobucket.com/albums/p744/Guilherme_Plassmann/imagejpg11_zpsd5312f0f.jpg


Milestone
Engine placed
Tach time 7 months 3 days
http://i1349.photobucket.com/albums/p744/Guilherme_Plassmann/imagejpg11_zpsd5312f0f.jpg
Astonishing progress!! I bet my hard earned twenty it will fly on next Carnival Sunday!


Ha! Yeah, I think a lot of us do.Larry,
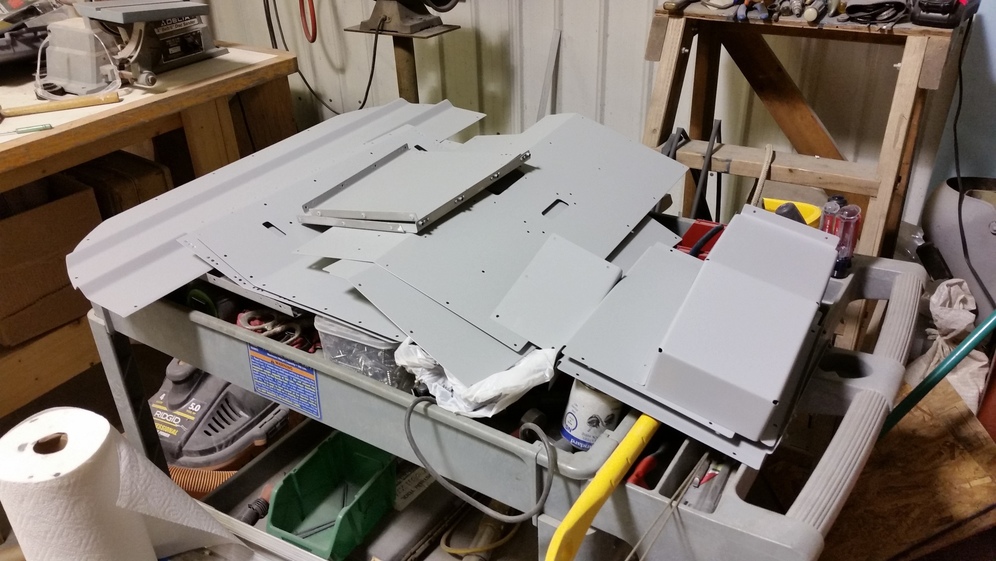
Looks like you own a couple "spare" flap spars! I have one as well...ehemm.
Hi everyone. I received my empennage kit #74424 yesterday.
It's going to be a long journey, and I'm going to need a lot of help from this amazing community of pilots!
Thanks in advance....
check out the Tips page for gotchas on the 7 assembly.Hi everyone. I received my empennage kit #74424 yesterday.
It's going to be a long journey, and I'm going to need a lot of help from this amazing community of pilots!
Thanks in advance....
 CJ
CJ
 ).
).


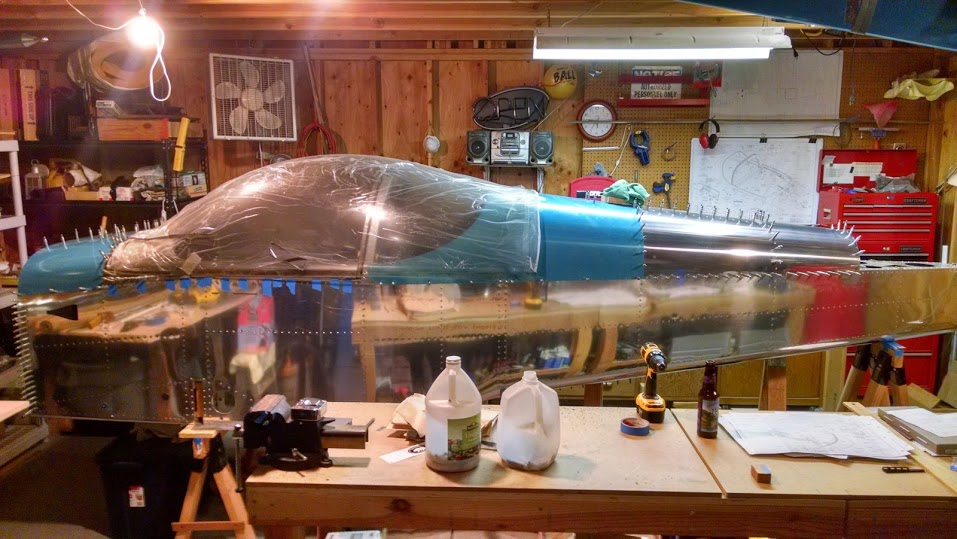
Looking good Dale.
Right behind you. I spent the day massaging the tail cone and bulkheads into submission.
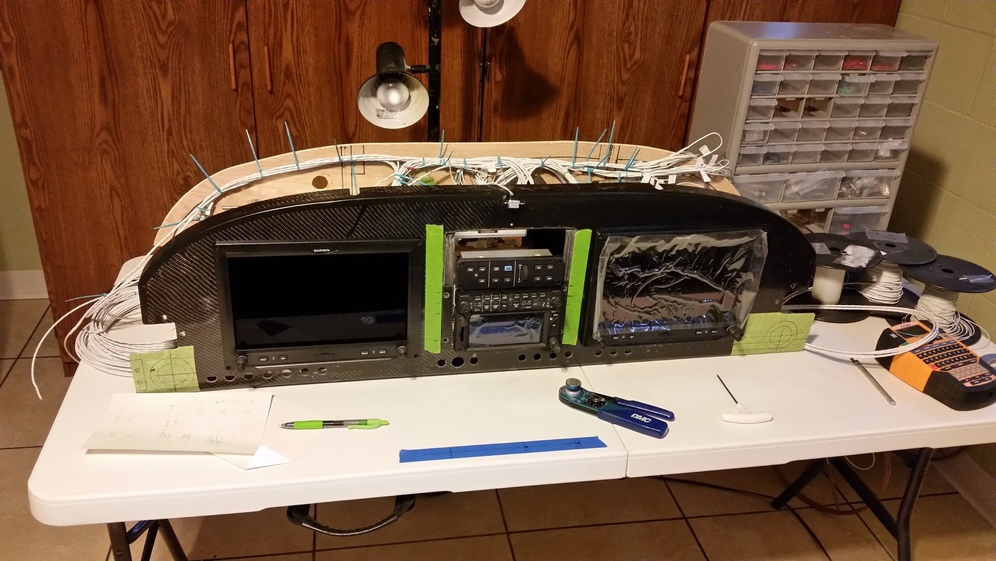
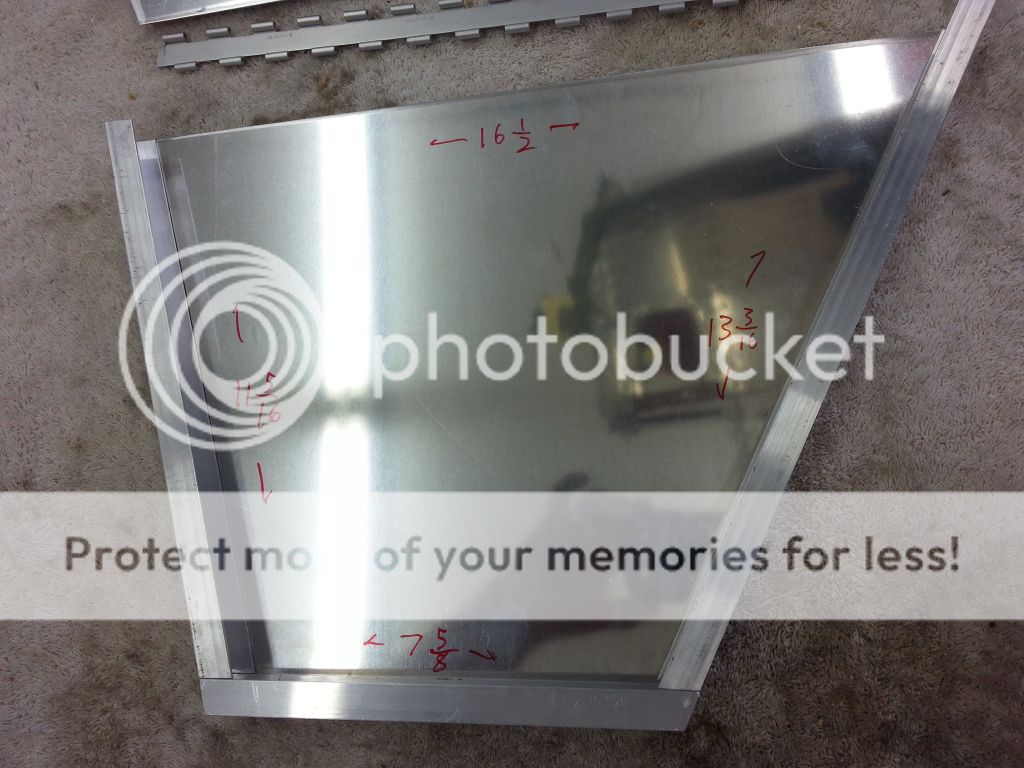
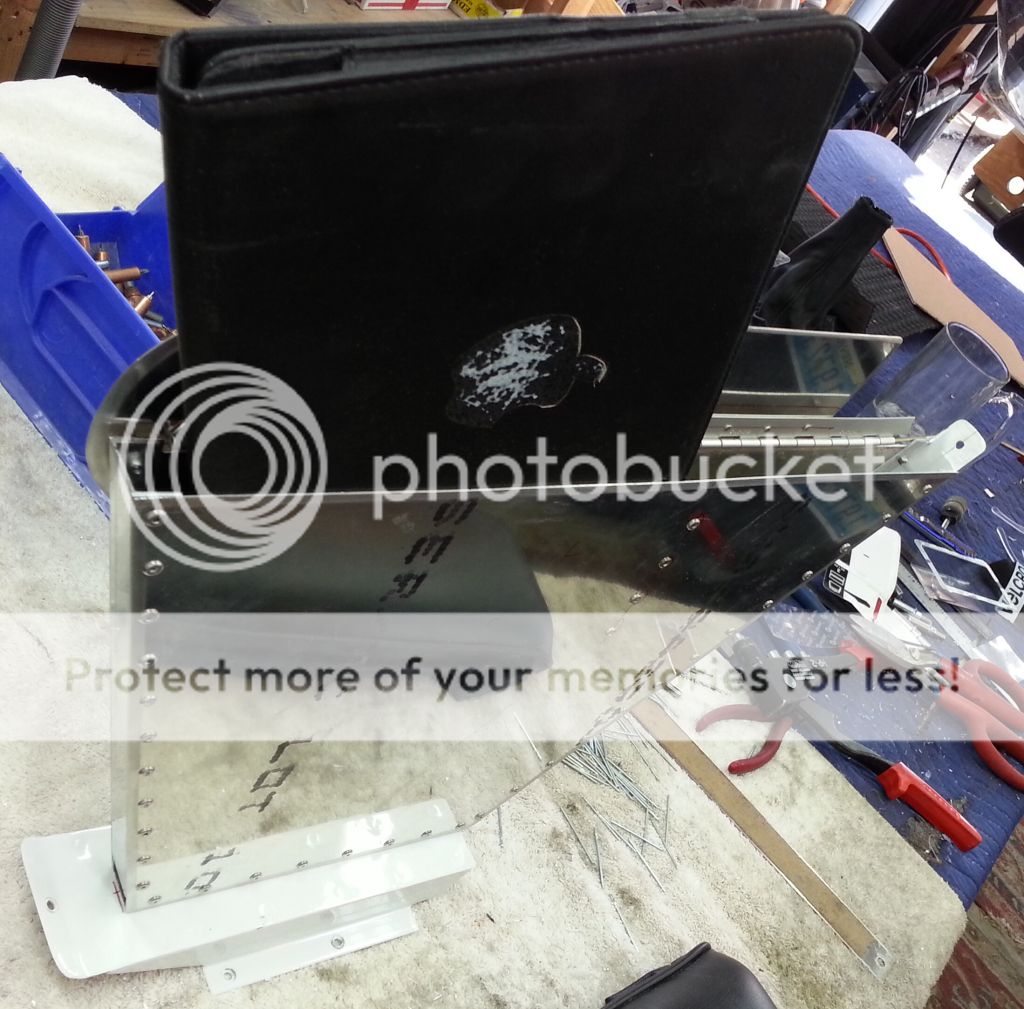
Spent the day making a center console / arm rest, 7 screws locking it in. Made it out of 7/8 C channel and .040 2420, came out to 34 Oz. Big enough for the IPad and back up paper.

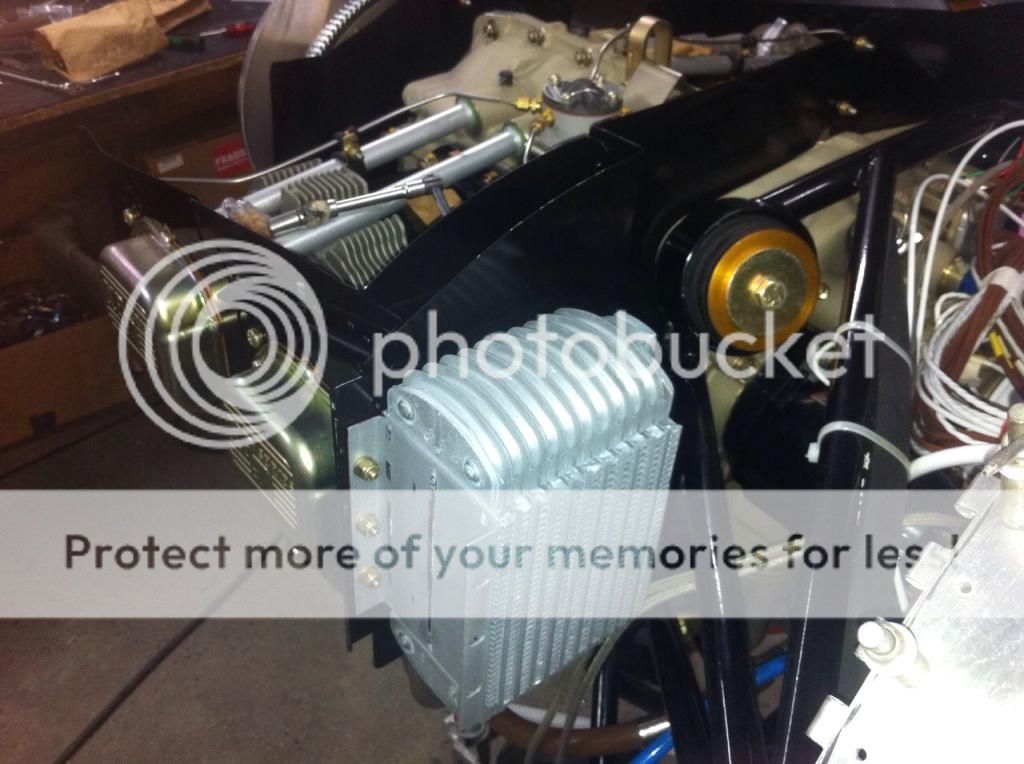
I managed to fit a 10 row in place
I managed to fit a 10 row in place


Guilhermepilot,
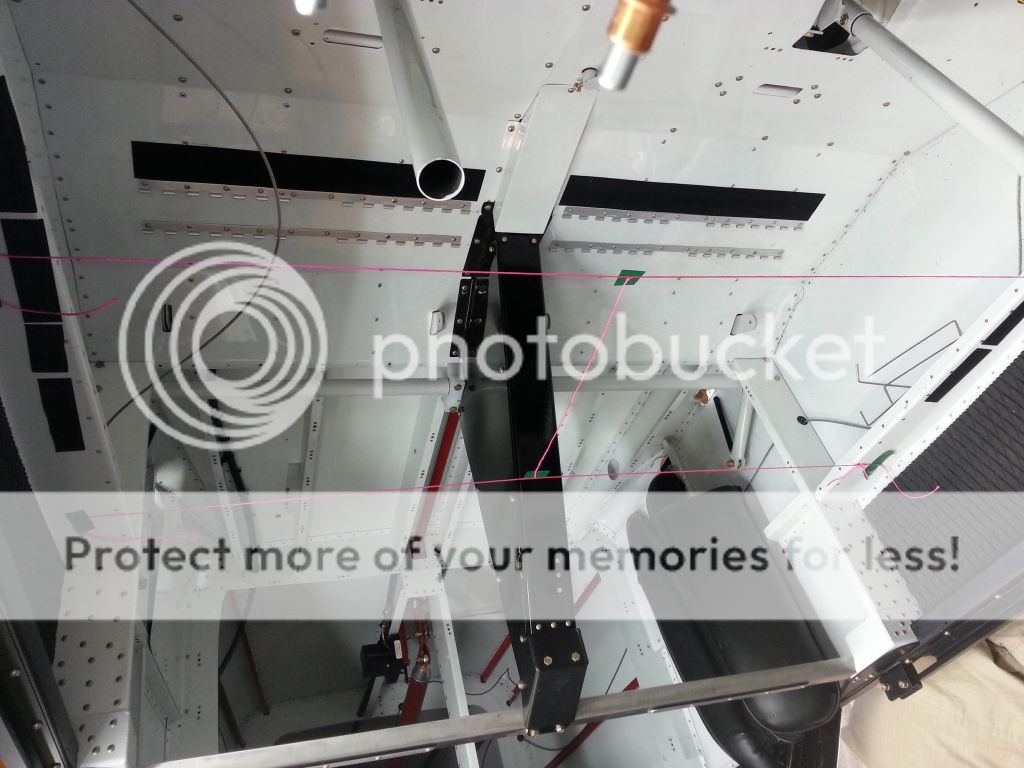
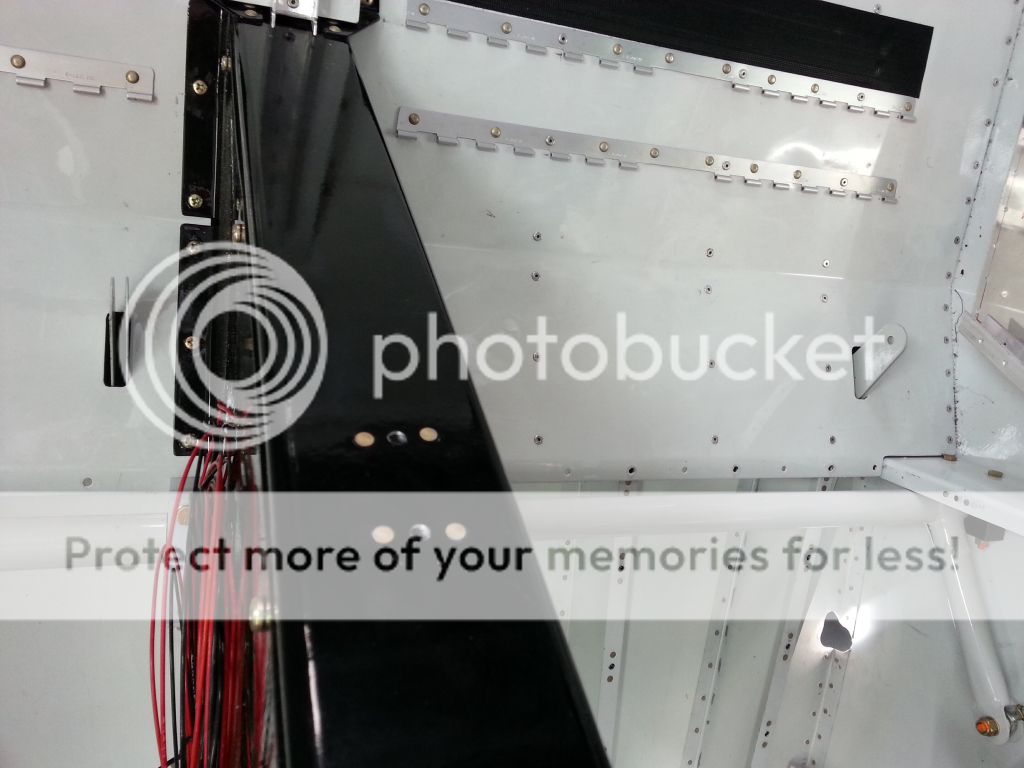
I have a nine row cooler mounted to the baffle, very similar. At about 60 hours I started seeing cracks in the baffle and the cooler mounting flange. The cracks in the expensive cooler flange really got my attention. I had initially mounted the cooler with three short bolts as shown in your photo. Recalling that Cessna and Piper mount these coolers with long bolts (AN4-40) that go through both cooler flanges and a ~3.25 inch spacer tube, I studied load paths of the two different attachment methods. The single flange attachment method obviously transfers all loads to the single flange. To over-simplify, the single flange mount sees pushing and pulling forces. the two-flange mount loads one flange with push forces, and the other flange with pull forces. The reversed bending of the single flange quickly leads to cracking in the bend. Putting the spacer between the two flanges cuts the bending in half at the very least, but FEA modeling shows even greater reductions, depending on boundary condition assumptions.
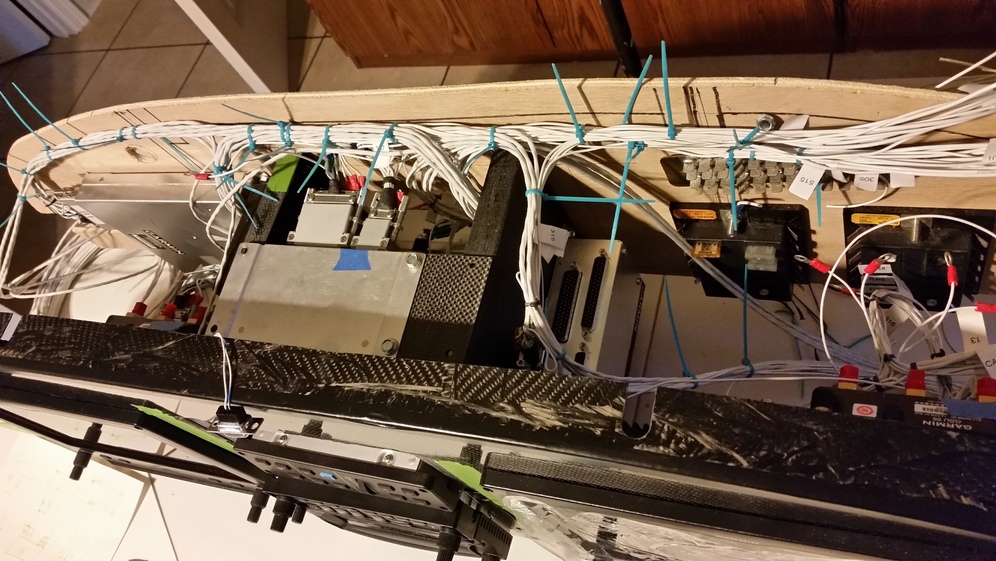
The ten-row cooler will be quite massive when filled with oil. The #4 baffle will certainly need some sort of strategic reinforcement to survive the roll frequency fatigue loading caused by the cantilevered oil cooler mass. I added significant aluminum structure in three directions to carry oil cooler loads to hard points. See Photo for current solution...testing continues!
As I get older I find that there is a difference between making it fit and making it survive.
Best regards,
- Roger
I managed to fit a 10 row in place
I managed to fit a 10 row in place