Guys,
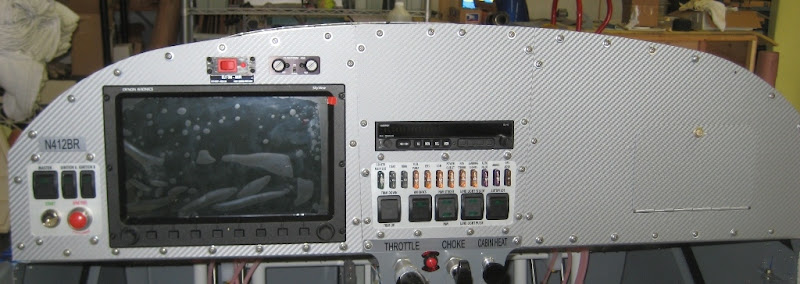
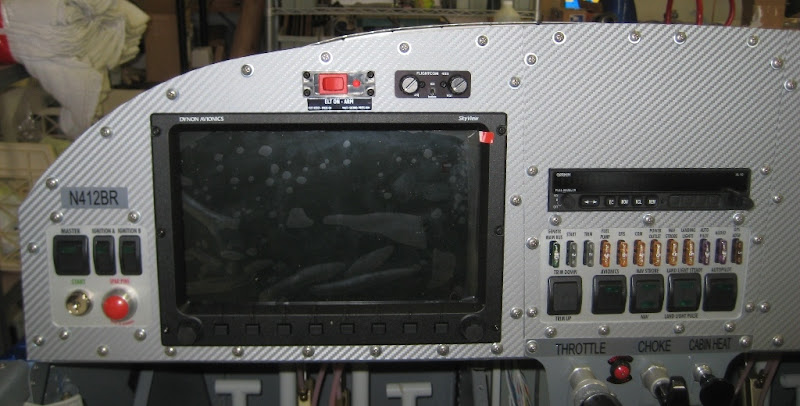
I searched the forum but could't find reference to a treatment that is similar to the factory RV-12 black panel treatment. It looked to me to be a stick on treatment. I spoke to the Synergy guys at Sebring last week. They indicated that they send off the panel to get the treatment done but thought that there might be a stick on treatment that a builder could use. Is anyone aware of a product to do this?
Thanks
Carl


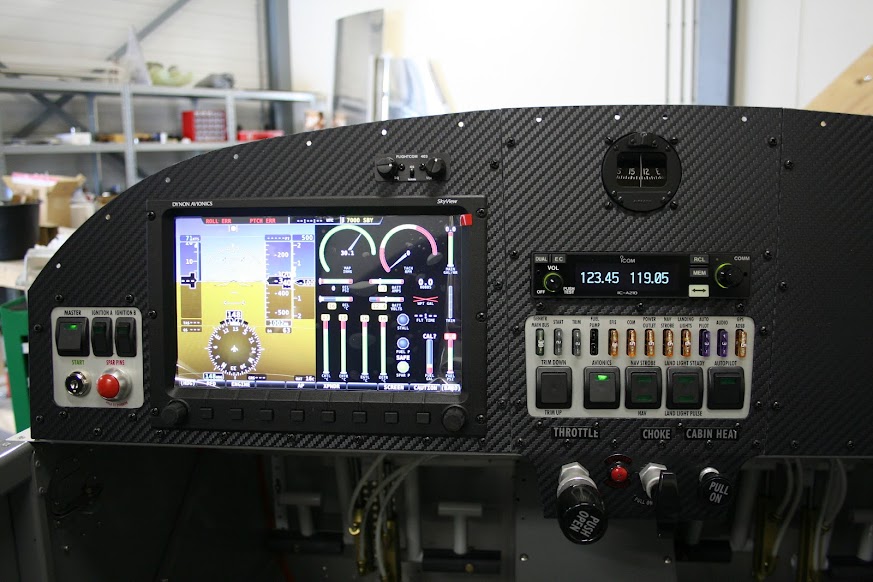
 ) BTW, wrap the edges of each panel - I would definately not try to do the entire panel with one piece of vinyl.