

f1rocket
Well Known Member
This is a continuation of my quest to get my RV-12 painted. The first part of the story, my trip from Indiana to Oregon, is document in this thread. Part 2 covers the painting process in Oregon. part 3 can be found in this thread.
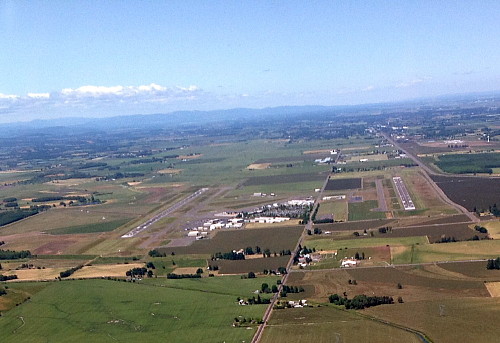
This is the Eugene, OR airport, my home for the next two weeks.
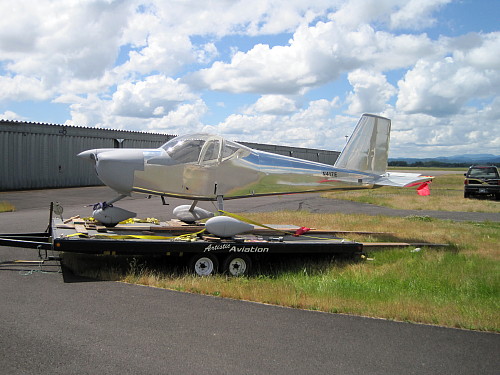
First step is to dis-assemble the airplane for transport in John's hangar and load it up and haul it off to John's studio. He does this a lot so he has it down to a science. It took us maybe 3 hours to move the entire airplane about 15 miles.
One of the reasons for flying out to John's to get the airplane painted was so that I could actively participate in the painting process. That started as soon as we got the airplane in the studio. We proceeded to scuff every aluminum surface. In particular, because of the pop rivets, we had to really work to prepare the rivets to accept paint.
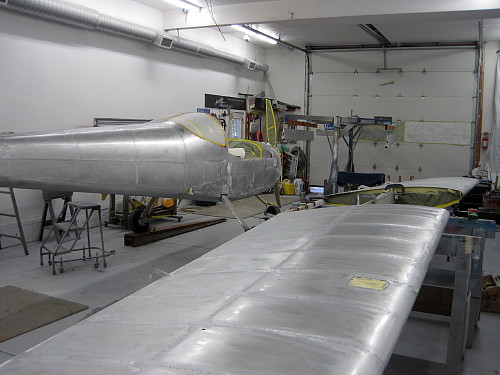
After that, it was into primer.
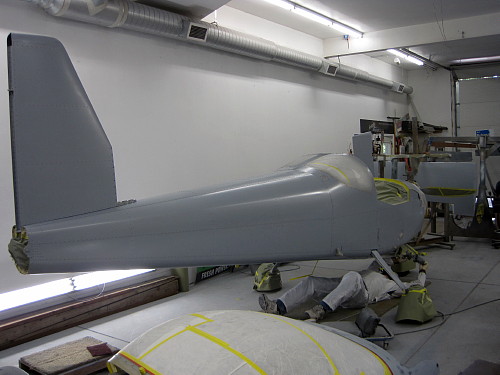
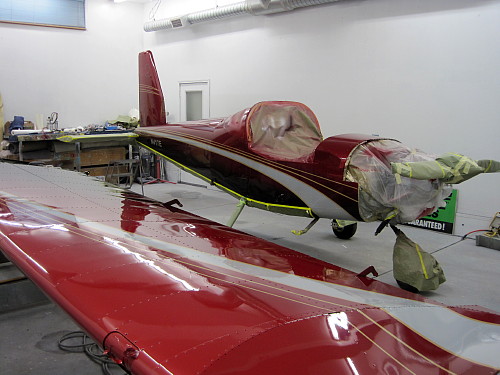
Once the two-part epoxy primer dried, it was lightly sanded and the undercoat was applied. The striping was applied in reverse of what you might think. First the stripes are painted then masked off.
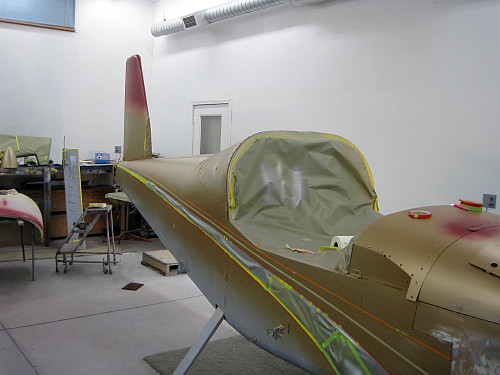
Then the color is applied over that.
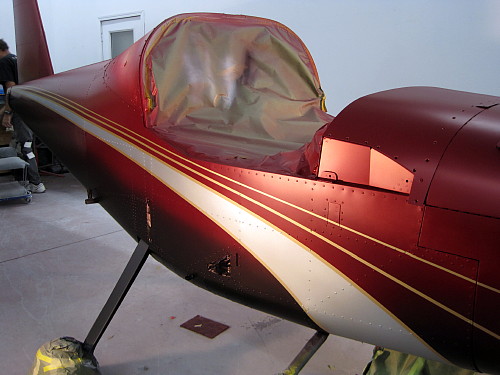
Finally, three coats of clear finish it off. The entire process took just 8 days!
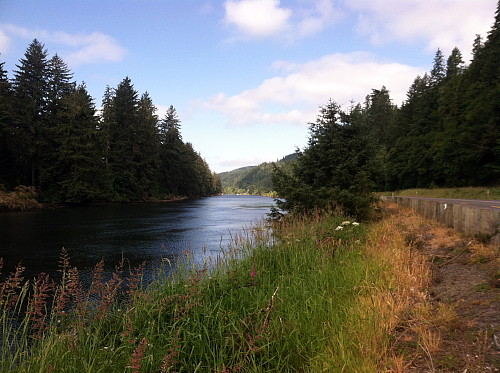
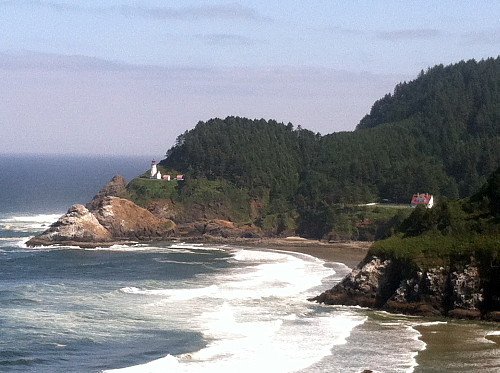
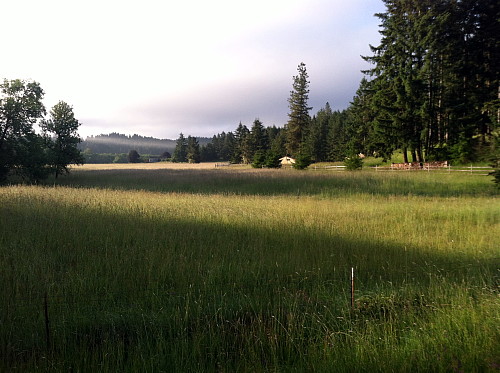
While the clear was drying, I had some time to do a little sightseeing. I ran over to the coast for a few hours. I don't work for the Oregon Tourism department, but I could. I've never visited a more picturesque state. Just amazing.
After two days of re-assembly back at the airport, I was ready to start the 2,200 nm trek back to Indiana. I'll cover that part of the trip in the next installment.
This is the Eugene, OR airport, my home for the next two weeks.
First step is to dis-assemble the airplane for transport in John's hangar and load it up and haul it off to John's studio. He does this a lot so he has it down to a science. It took us maybe 3 hours to move the entire airplane about 15 miles.
One of the reasons for flying out to John's to get the airplane painted was so that I could actively participate in the painting process. That started as soon as we got the airplane in the studio. We proceeded to scuff every aluminum surface. In particular, because of the pop rivets, we had to really work to prepare the rivets to accept paint.
After that, it was into primer.
Once the two-part epoxy primer dried, it was lightly sanded and the undercoat was applied. The striping was applied in reverse of what you might think. First the stripes are painted then masked off.
Then the color is applied over that.
Finally, three coats of clear finish it off. The entire process took just 8 days!
While the clear was drying, I had some time to do a little sightseeing. I ran over to the coast for a few hours. I don't work for the Oregon Tourism department, but I could. I've never visited a more picturesque state. Just amazing.
After two days of re-assembly back at the airport, I was ready to start the 2,200 nm trek back to Indiana. I'll cover that part of the trip in the next installment.
Last edited:

