Hi,
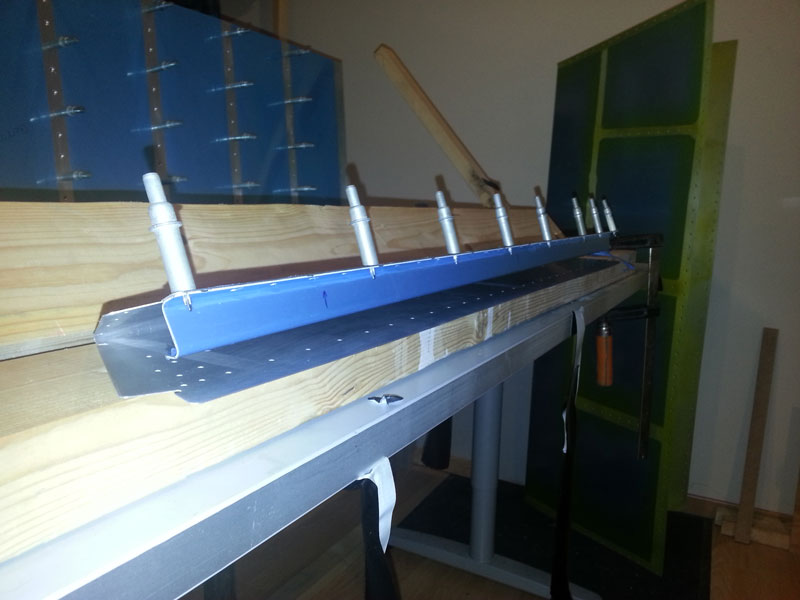
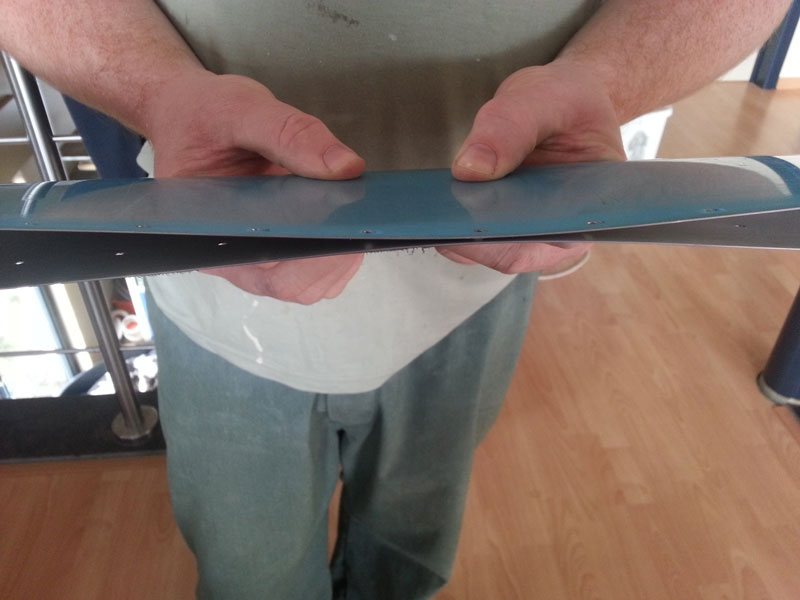
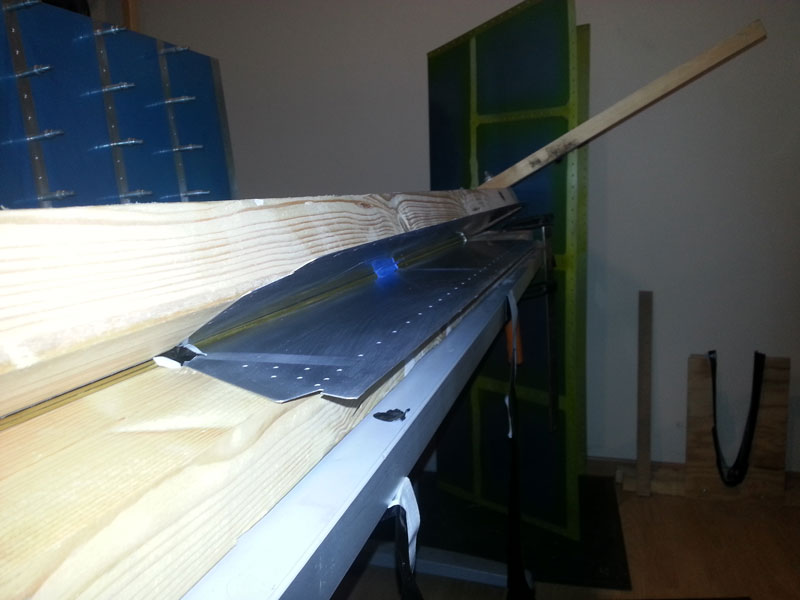
I am currently working on the legendary trim. It appear to be one of the most redone parts in the kit. And that doesn't surprise me at all...
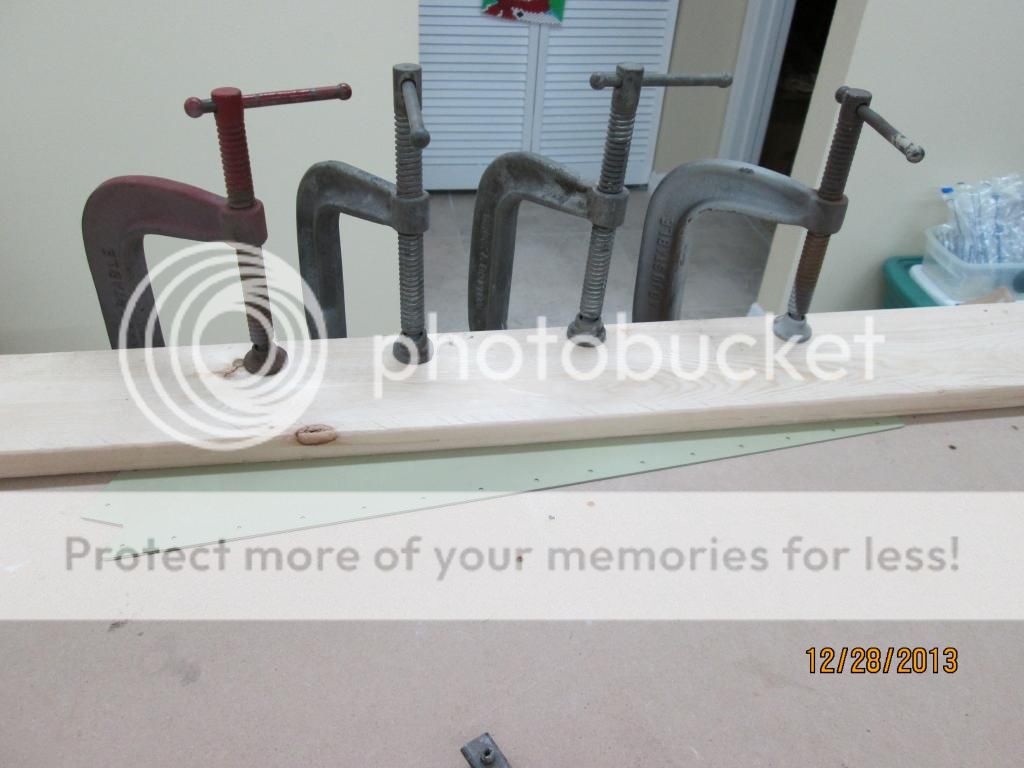
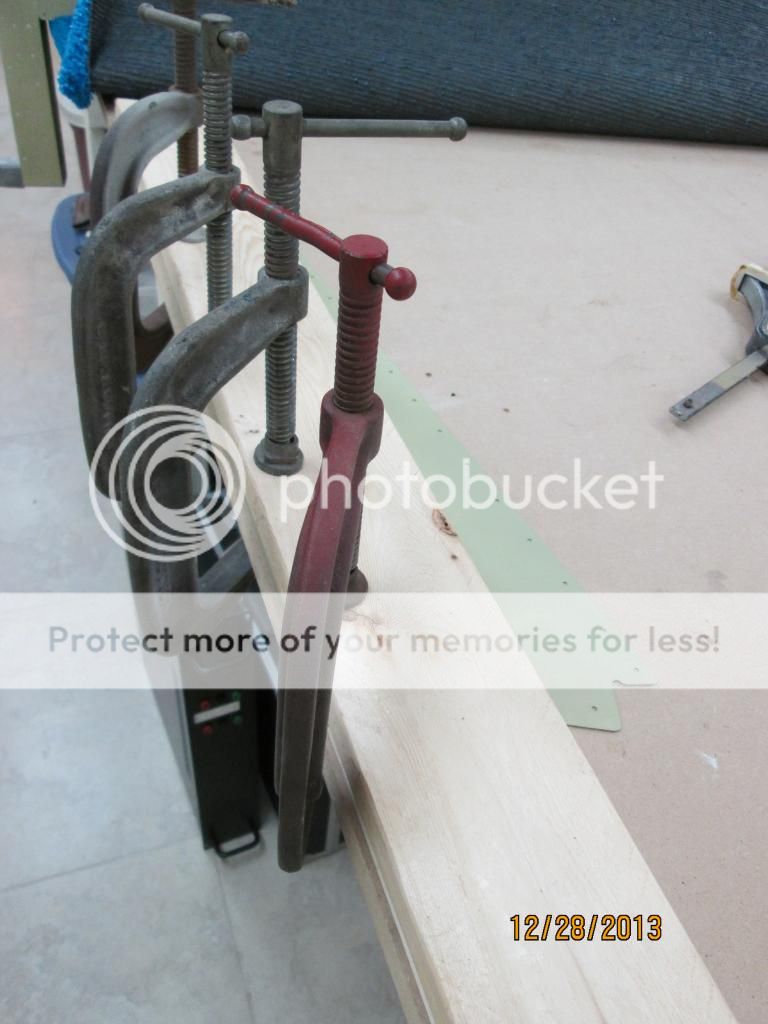
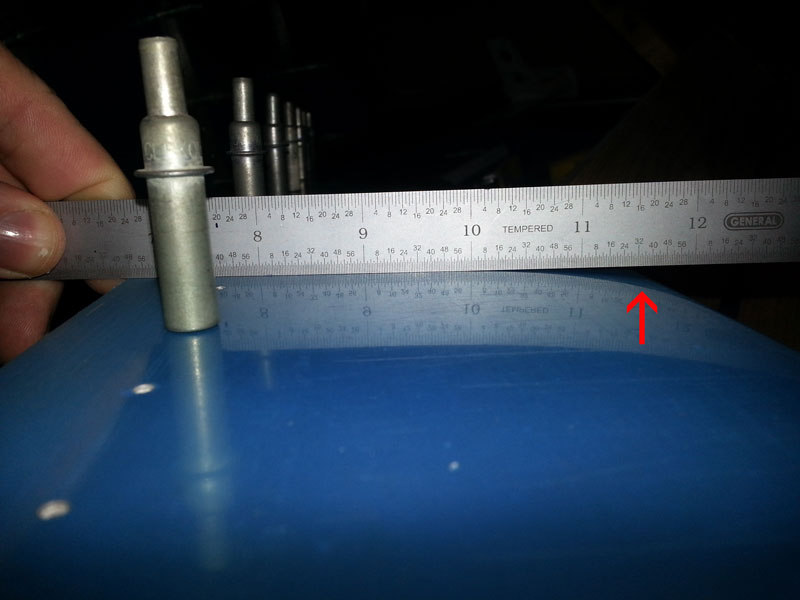
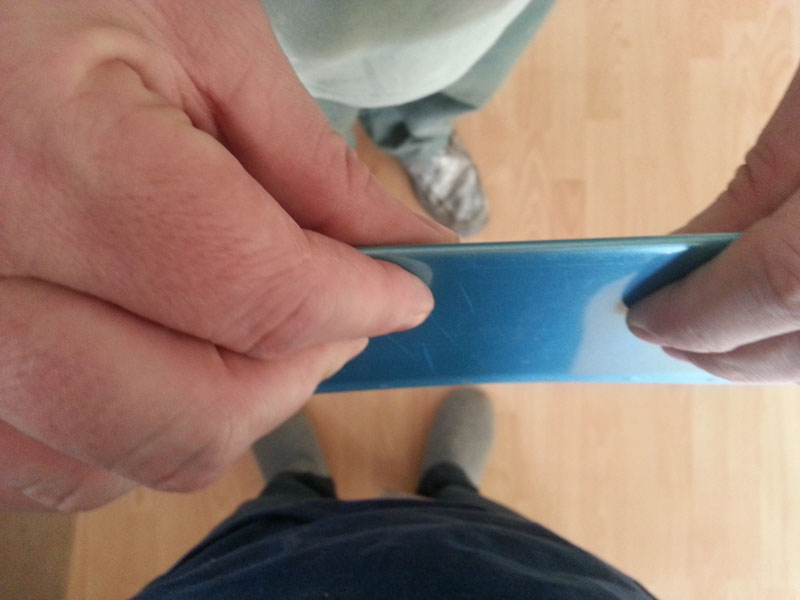
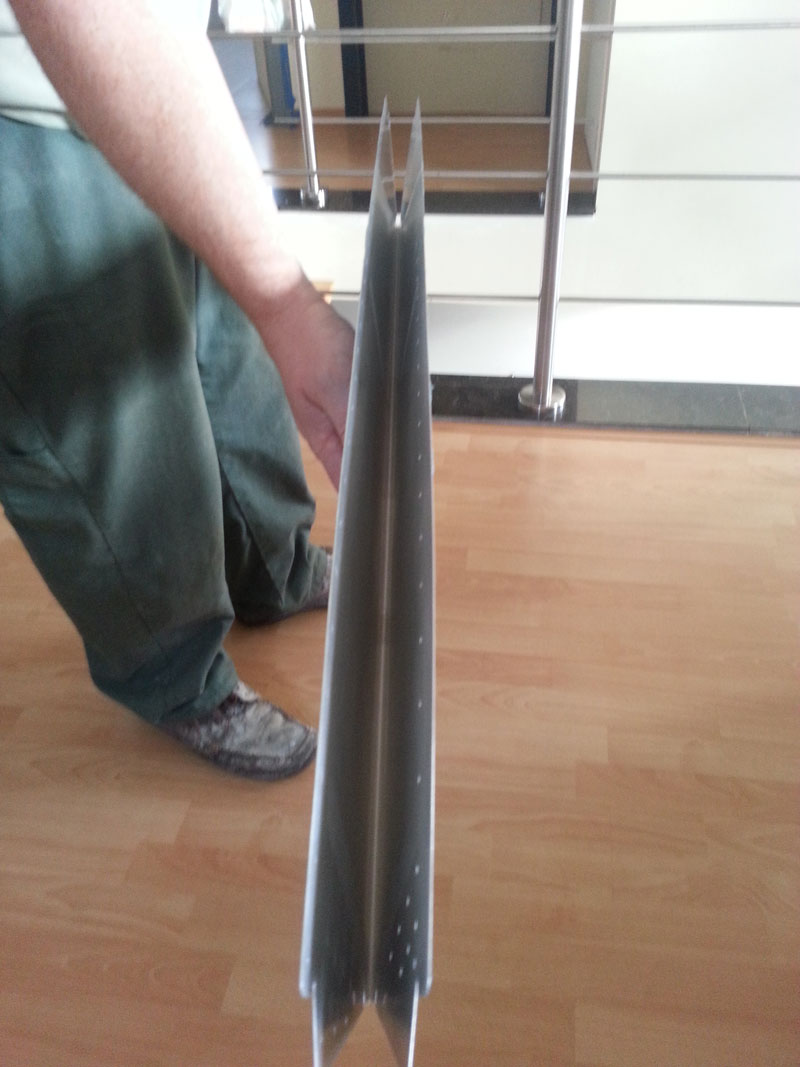
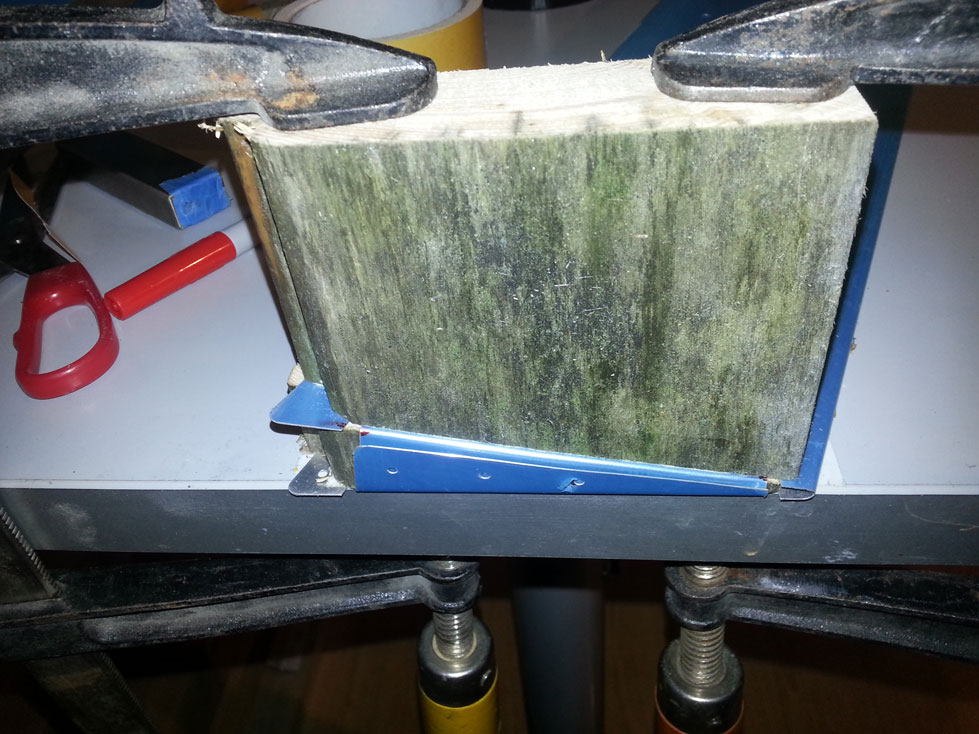
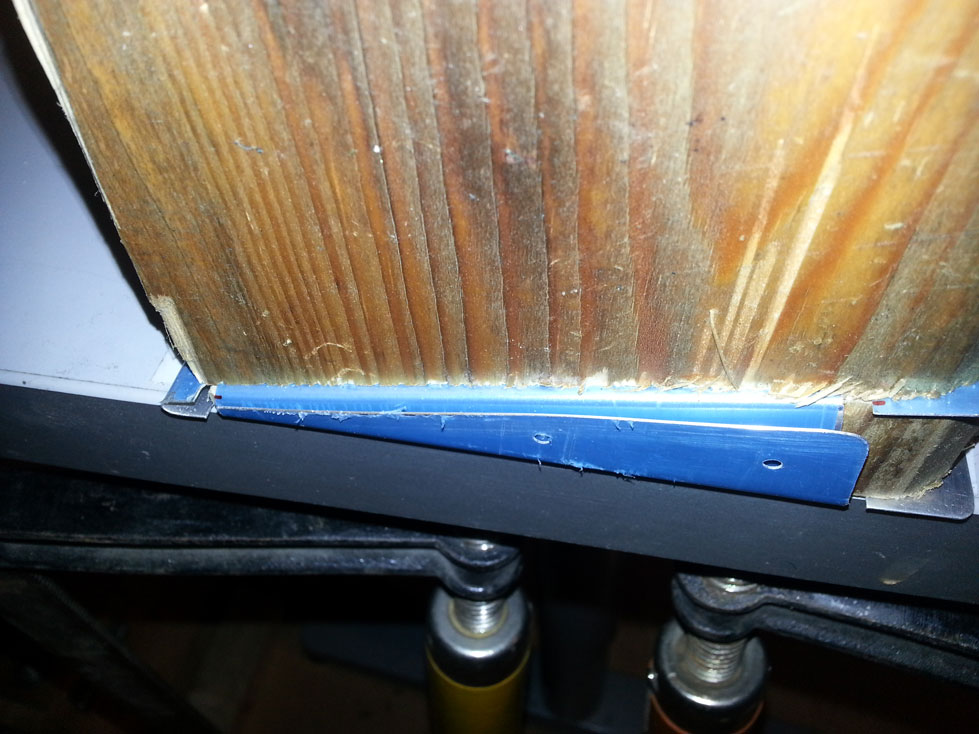
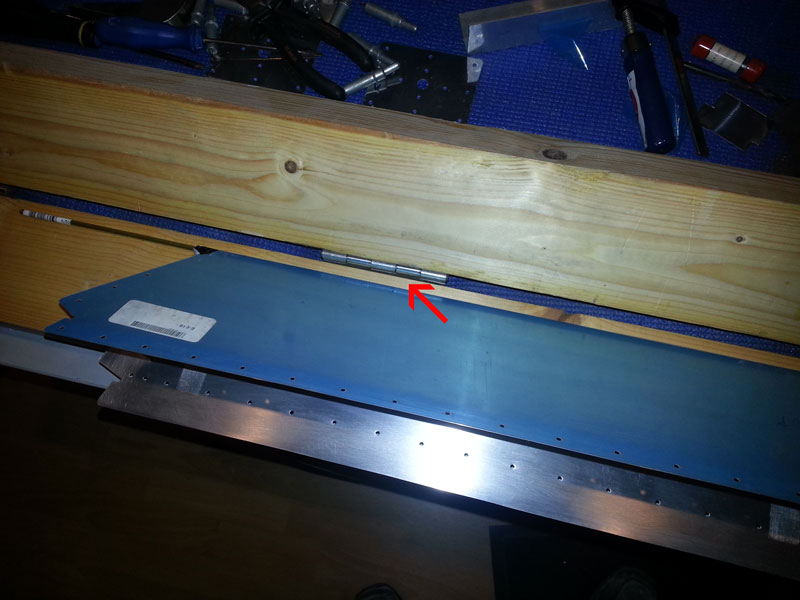
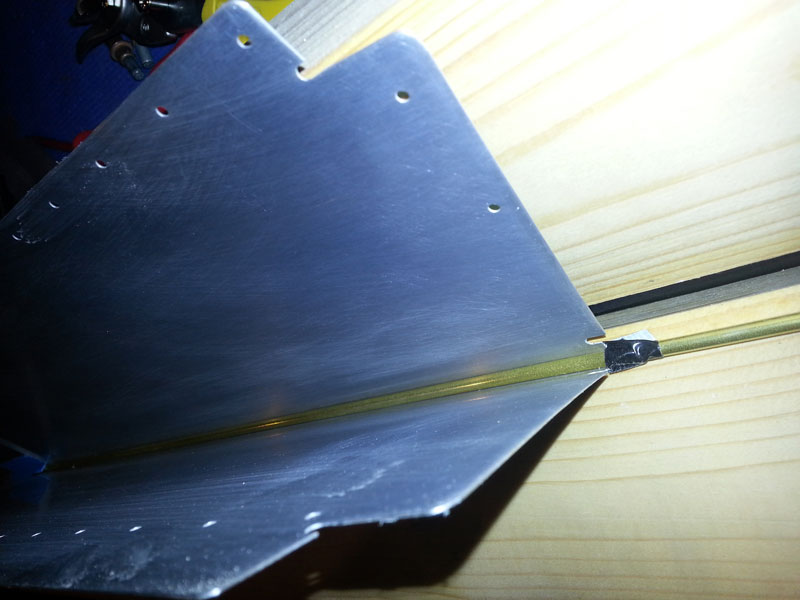
I have put a circular metal bar of 4 mm (about 0.157 inch) in the corner. This was a tip from a fellow builder. But how far can I bend this part without damaging it? I don't really dare to bend over the point that I feel resistance, fearing for a cracking sound... It is also unclear to me how far the trim edge should be from the corner on the "brake". (red arrow). I also hope that the metal bar isn't to big...
Any advise? Thanks!
I am currently working on the legendary trim. It appear to be one of the most redone parts in the kit. And that doesn't surprise me at all...
I have put a circular metal bar of 4 mm (about 0.157 inch) in the corner. This was a tip from a fellow builder. But how far can I bend this part without damaging it? I don't really dare to bend over the point that I feel resistance, fearing for a cracking sound... It is also unclear to me how far the trim edge should be from the corner on the "brake". (red arrow). I also hope that the metal bar isn't to big...
Any advise? Thanks!
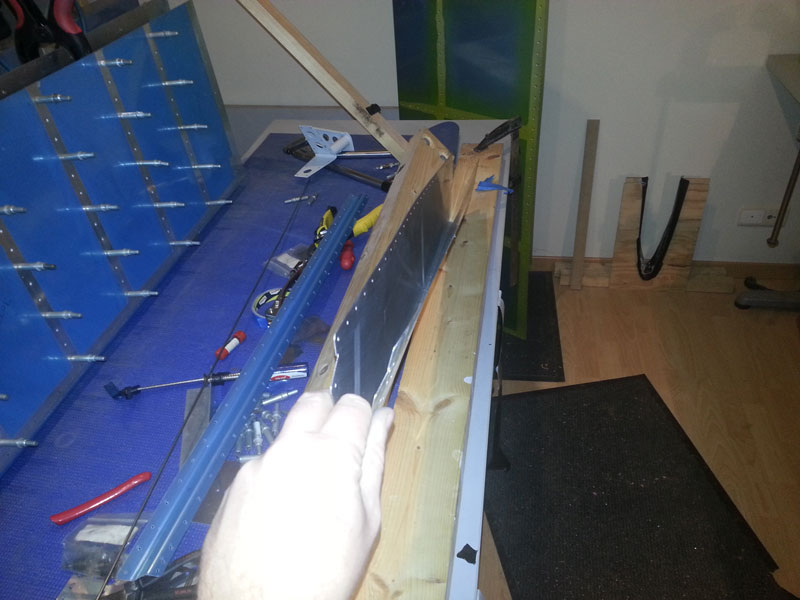
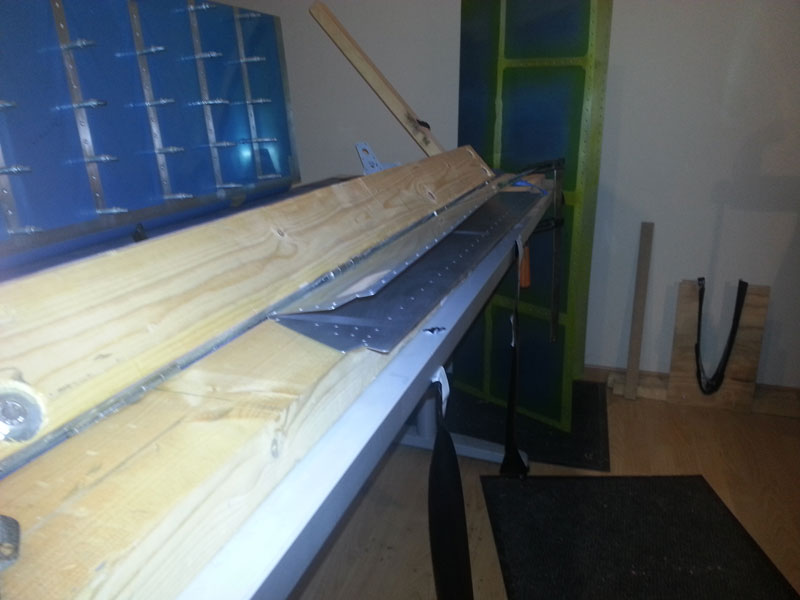
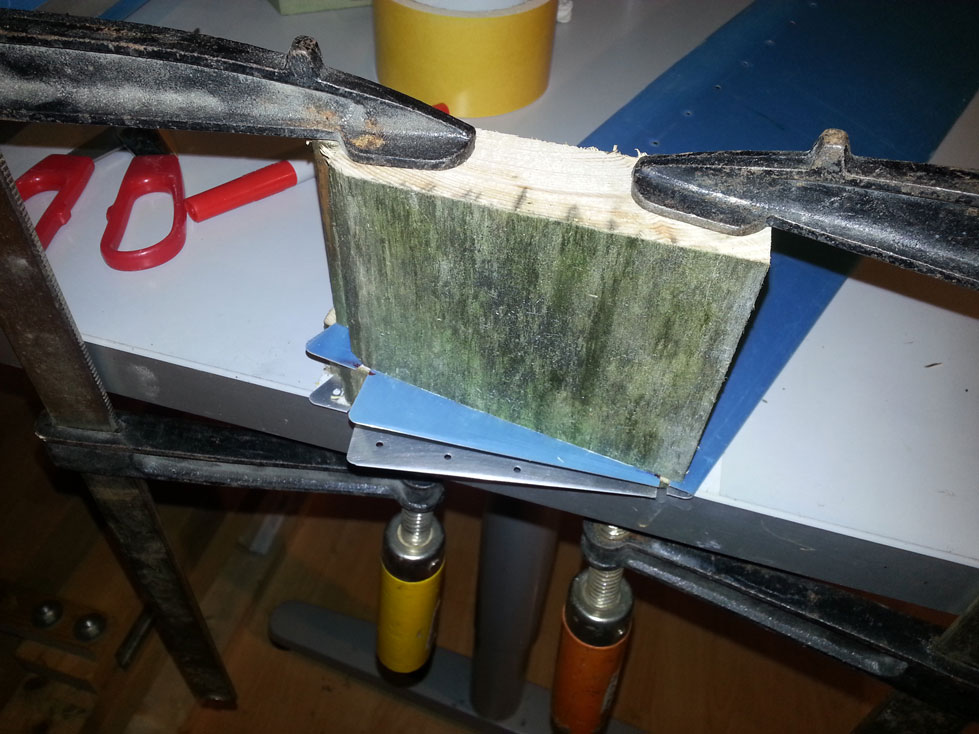
") You can use a leftover wedge instead or nothing at all as per plans. It won't slide out if the blue plastic is still over it.
You can use a leftover wedge instead or nothing at all as per plans. It won't slide out if the blue plastic is still over it.