![]() |
✈ RV-14a _ Roman & Dima _ - Israel ✈
.
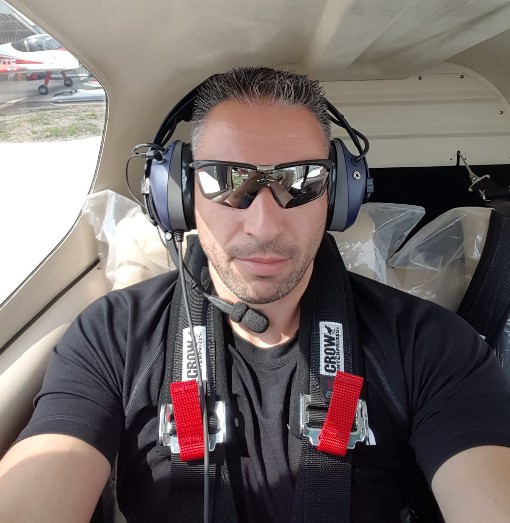
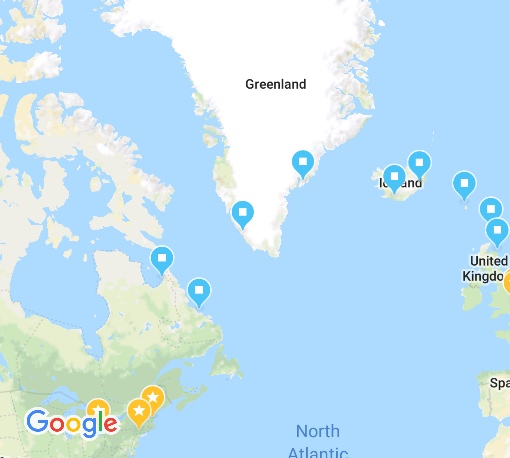
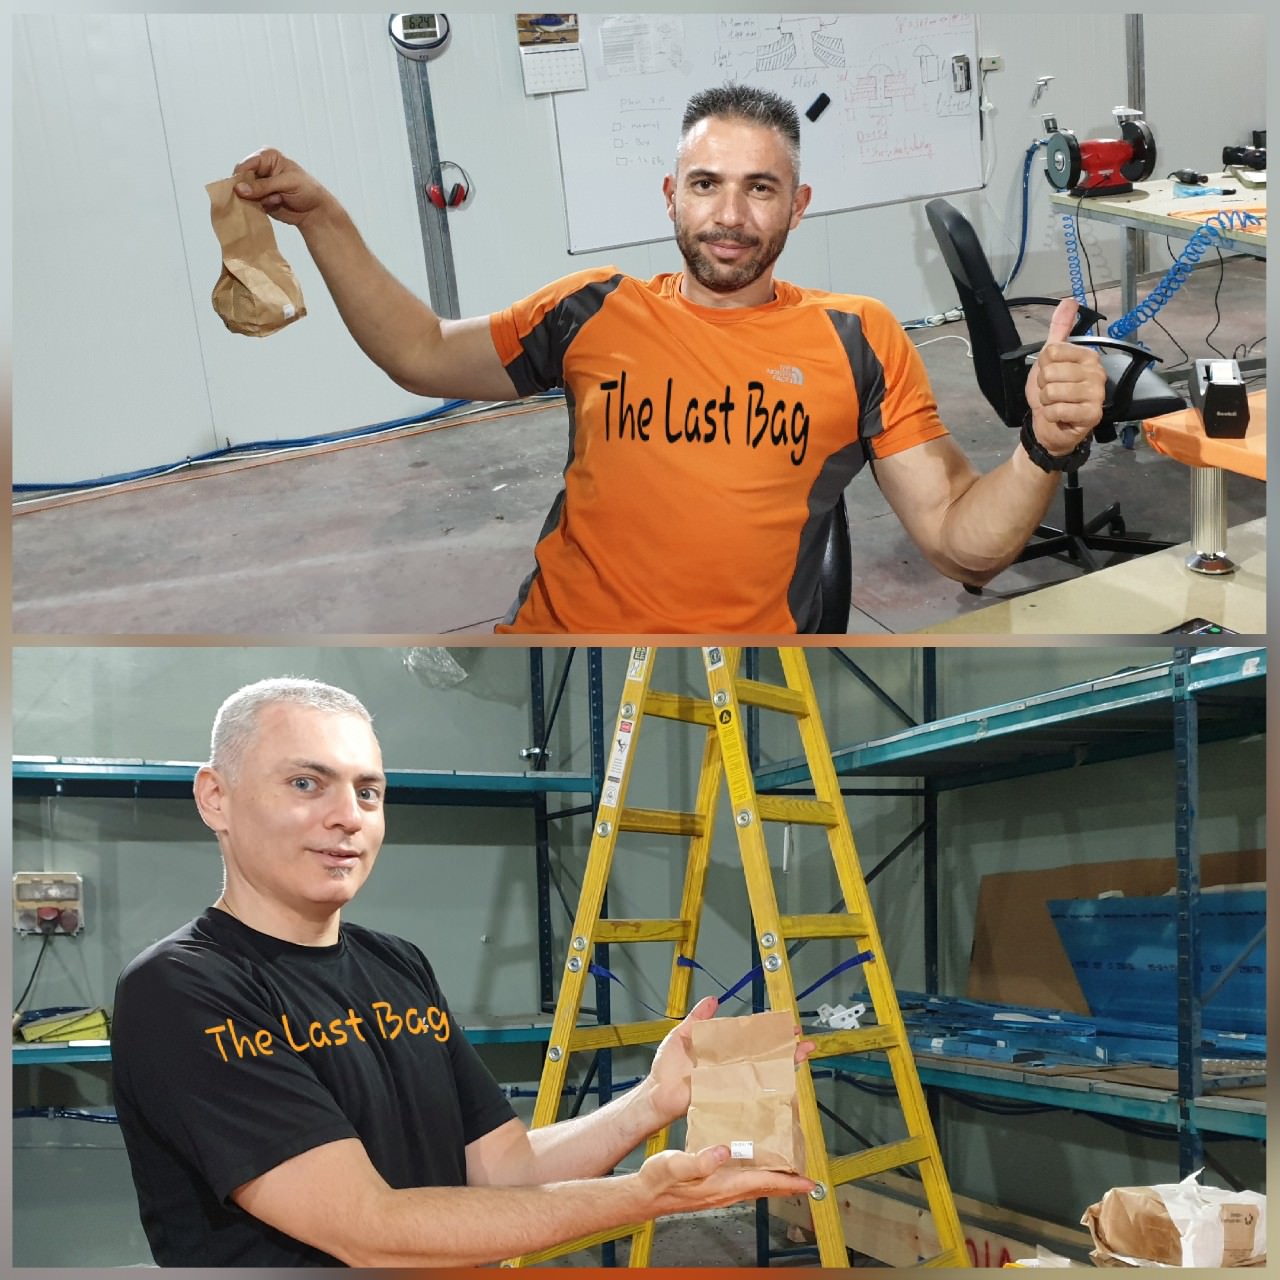
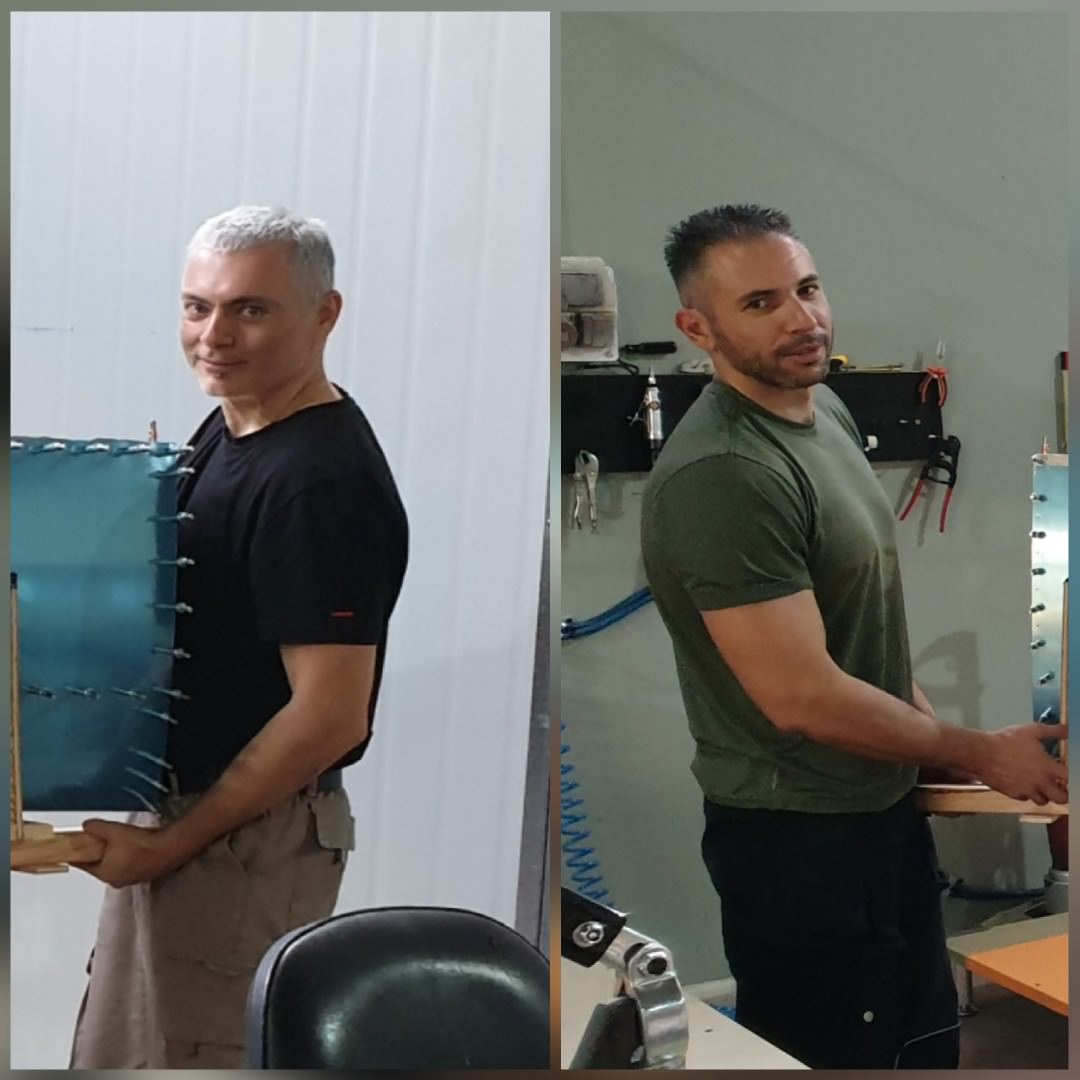
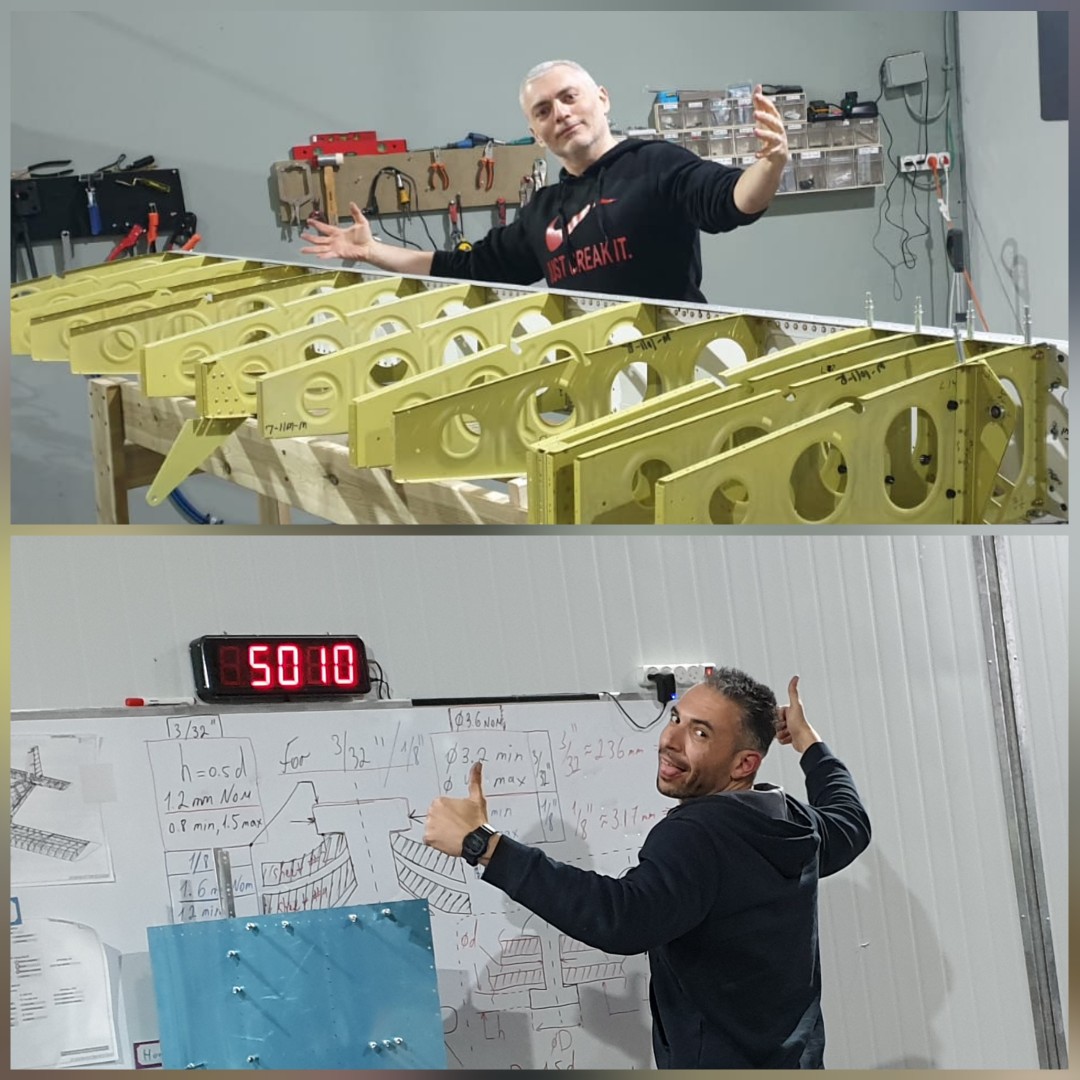
Introduction:Hello to all of you - mighty airplane builders, Today we are happy to add our progress thread to the community forum. So who are we? We are two best friends since 8th grade which makes it 25 years already (...daaa***mn we are old!!!) and we decided to make this awesome dream to come true. Roman - I am a retired soft developer and studying pilot, for that moment I have only 13 hours of Cessna 152. I hope to have my license before the construction is done. I am huge fan of Vans and avionics enthusiast. Dima - A guy who is super excited about constructing things. A GE ex-engineer (yes, we have a local branch). Dima decided to put his day job on hold for some months and dedicate next months exclusively to the project. ![]() . ![]() 18 months is the timeframe we are planning to have the plane flying. Some will say it is optimistics for first time builders. But we are super determined to prove it's doable. I think it is the first project to give a full progress report from Israel (maybe not the only builder here, but the only one to report here) and even though we feel very distant from the community we are virtually very attached. We are reading dozens of blogs and studying from all of you so much so sometimes it feels like we know all and each of you personally. The big dream for us is one day to take off from Israel on our self-constructed RV14a to cross the ocean and land on one of the events you guys are organizing in U.S. Yes it is possible, the navigation path was already planned, and what left is just to build the plane. Guys, please give us some spiritual support. I hope to shake hands with all of you very soon! P.S: Will post our first actual status update in a day or two. Cheers. Roman & Dima |

Quote:
distances and really that should be doable. Probably we will add extra tank for part of the baggage space. It will extend the range up to 1800 km (~1120 miles). Thanks for the help. - Roman. |
Roman and Dima: Welcome to the RV-14A world. Will you be doing a blog or online build log? If so be sure to share link with other VAF'ers so we can follow your work - it's a great way for all of us to learn and get better.
18months is very optimistic but do-able: the biggest challenge I think you'll find is getting parts in time to keep things moving when you make mistakes and have to re-order (trust me it will happen). If I had long shipping times I'd order extras of some items like standard AN bolts/nuts/washers, rivets of all common sizes, etc. You may also want to alter your production planning to consider how to keep things moving when you have waits related to replacement parts shipping. As an example - if a section is delayed waiting for a replacement part you can look ahead into the next section and start prepping/deburring/dimpling/priming parts for upcoming sections. (if you're priming - probably not truly necessary in your part of the world unless you're right on the ocean - of course Van's advises priming certain parts) |
Nice to have you here guys. Welcome! Good plan you have with realistic build time frame. Please keep us informed about the project.
PS: A twin piper navajo will be launching eastbound from your woods to the same destination you are planning. In 5 weeks or so. Via Russia with an Israeli RV owner on board, they will be returning via Iceland. A good source of info. :) |
Roman & Dima!
I'll be visiting Israel in October to visit with family, and I'd be interested in stopping by if it's convenient. Where is your project located? My RV-8 has been flying for 15 years now, so the avionics have changed dramatically, but not the squeezing of rivets! Keep at it...it's worth every minute! |
Quote:
We are working in Karmiel area it's north of Israel maybe 1.5h from Tel Aviv. The beers is on me. |
Quote:
![]() . Zdarova Vlad, I think two engines will be much safer. Anyway I am planning small leaps for the first time: maybe 500-800 km (300-500 miles). By the way I am happy for any introduction to guys in Israel that are in that game. We can be much better connected. I am on roman.mandeleil /on/ gmail |
Quote:
total log - it is a second priority for now cause the actual planning and ordering is the 1st one, but yeah I am browsing for good blog templates from time to time. Any recommendations here are welcome. Quote:
Priming for sure: we are on the Mediterranean, that's not an ocean but that sea can kill any plane in 3 years. |
Quote:
|
Thanks Turner, for sure going
to use that list. - Roman |
✈ ✈ ✈
.
Status Report: #1Here we go, the first actual status of the project. For who is asking: yes we plan to have a full autonomic blog and already checking several templates. Any advise here will be appreciated! But the main focus is now on the things listed bellow. Anyway I think it will be great to continue with* brief updates here even after we will takeoff on the web. .
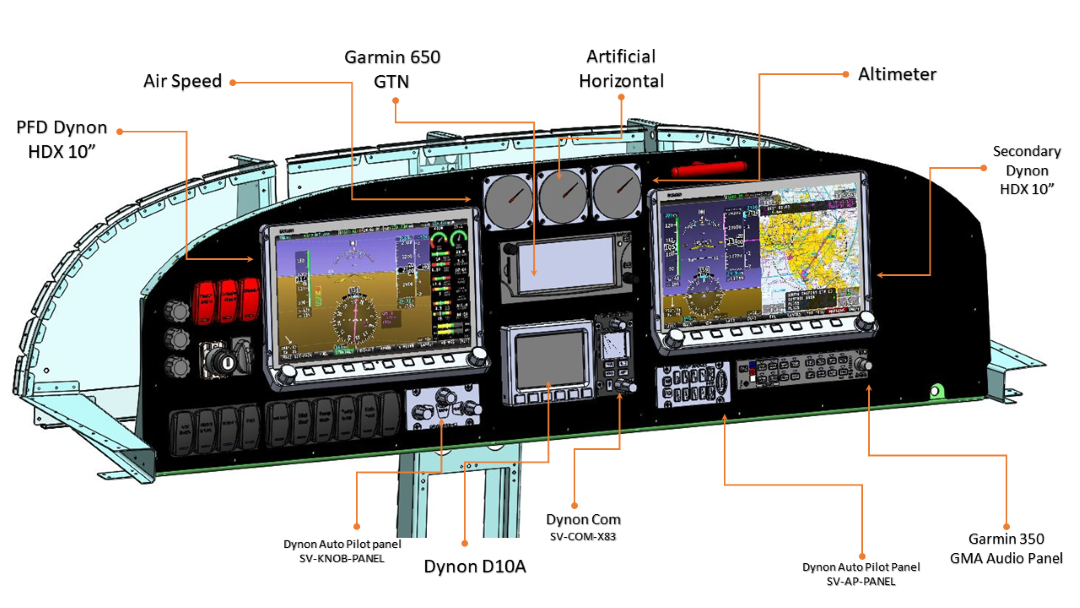
fun is in touching each rivet of the bird so that is what is going to happen. The engine is standard recommendation by Vans: Lycoming IO-390. The prop is: Hartzell 74'' The avionics: from what we study so far Dynon IFR RV-14 quick panel will do the work. It's not cheap but hey it is so well organized so no doubt we are not going to cook anything better on our first construction. We decided not to focus on electronic wires this time and let pros to help us here. If you guys have any piece of advice for us here please speak up! Priming: yes - we are on the Mediterranean beaches, with monsterous humidity most of the time. We already have done some minor research and starting to talk with local vendors. More news in the next updates. We are taking break from our professional life and focusing on the RV exclusively over the next months. Actually we plan to have no more than 18 months. That is our budget and we will be totally focused on the project to stay in the boundaries. On 2020 July I will turn 40y old. I want to have that bird flying till then. So what do we have so far? .
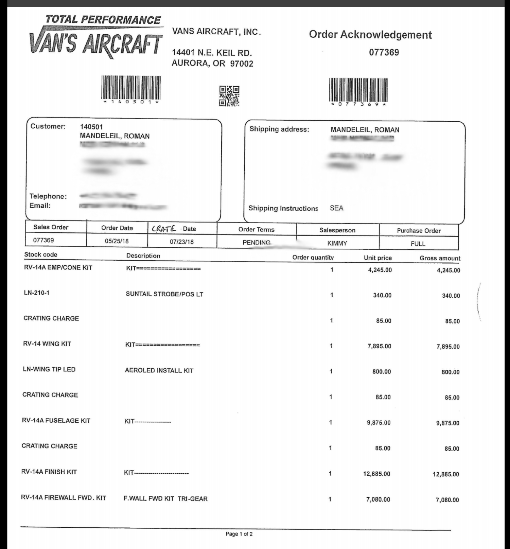
![]() We already ordered the 5 basic kits
This 5 is as most of you know the all actual plane, except the engine, the prop, the fancy leather and the avionics. Acording Vans & shipping guys the package will land in our garage some time at the end of August. That is when we start to count our 18 lunas. We didn't order any extra components, so if we should please give us piece of advice. .
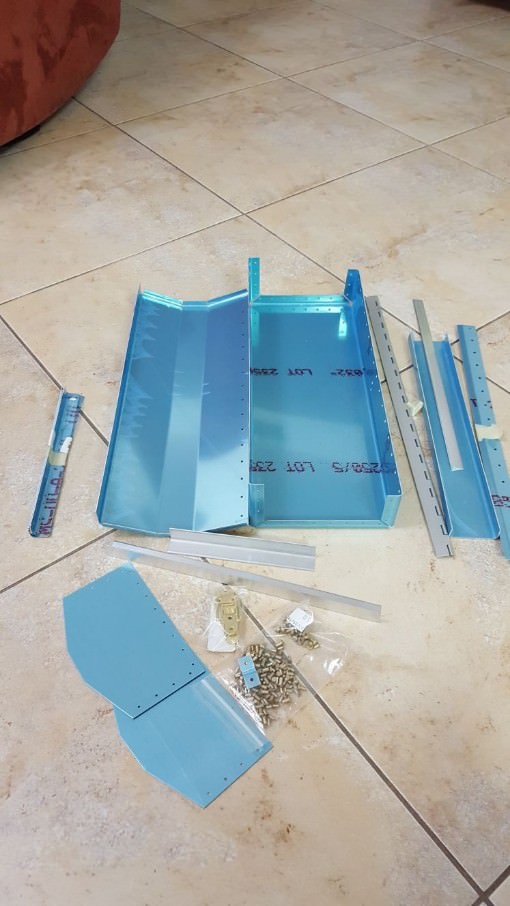
![]() Actually 4 of them 2 toolboxes and 2 small aero-profiles. We plan to study any possible nuance of that material. That is why we are not only constructing it by the plan but also planning to test our prime and study what will be the best color to use on the final plane. We even have special plan for a totally original painting scheme, but will keep the secret for a while - untill we are ensured it is doable on that metal. .
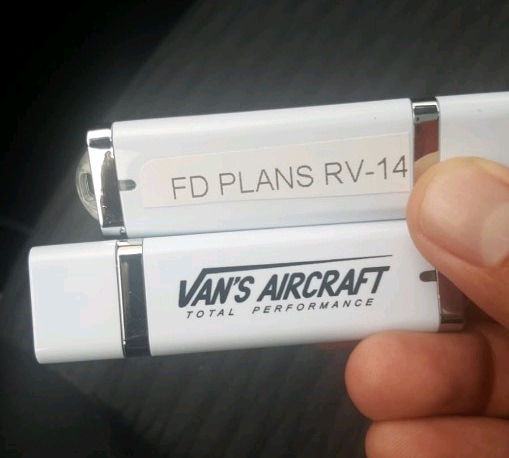
tools. Most of the ideas is from Vans official recommendations and the blogs you are posting. That is the best source so far. Here is the full list, feel free to leave any comment on that: Cleveland aircraft tools and Aircraft-tools.com: Code:
16' Back Rivet Plate Code:
Compressor + pressure line accessories those which will help us to accomplish the training kits. I guess we will be much smarter once finishing those and will make 2nd delivery for the rest of them. .
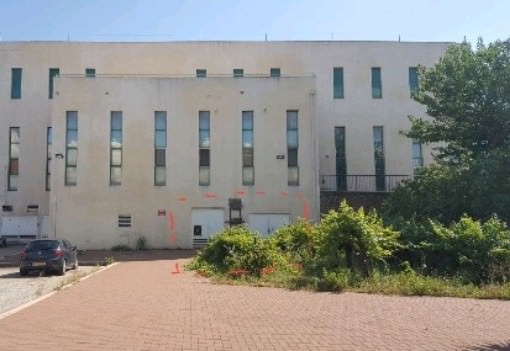
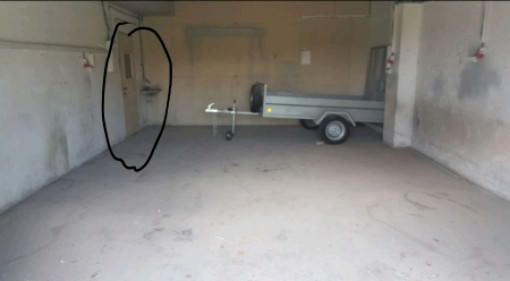
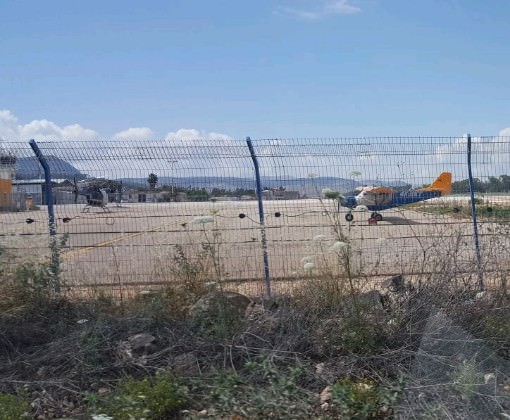
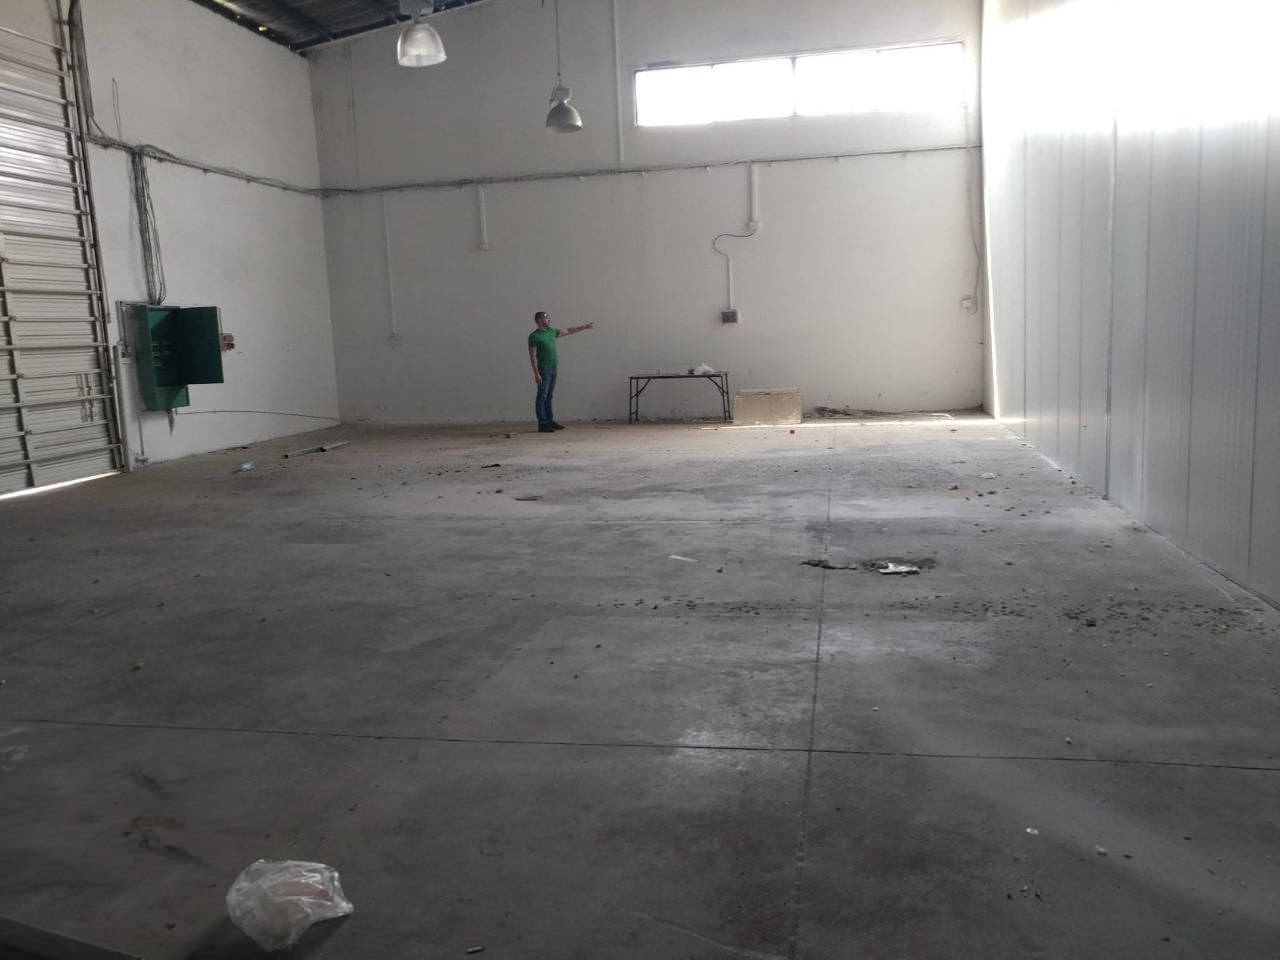
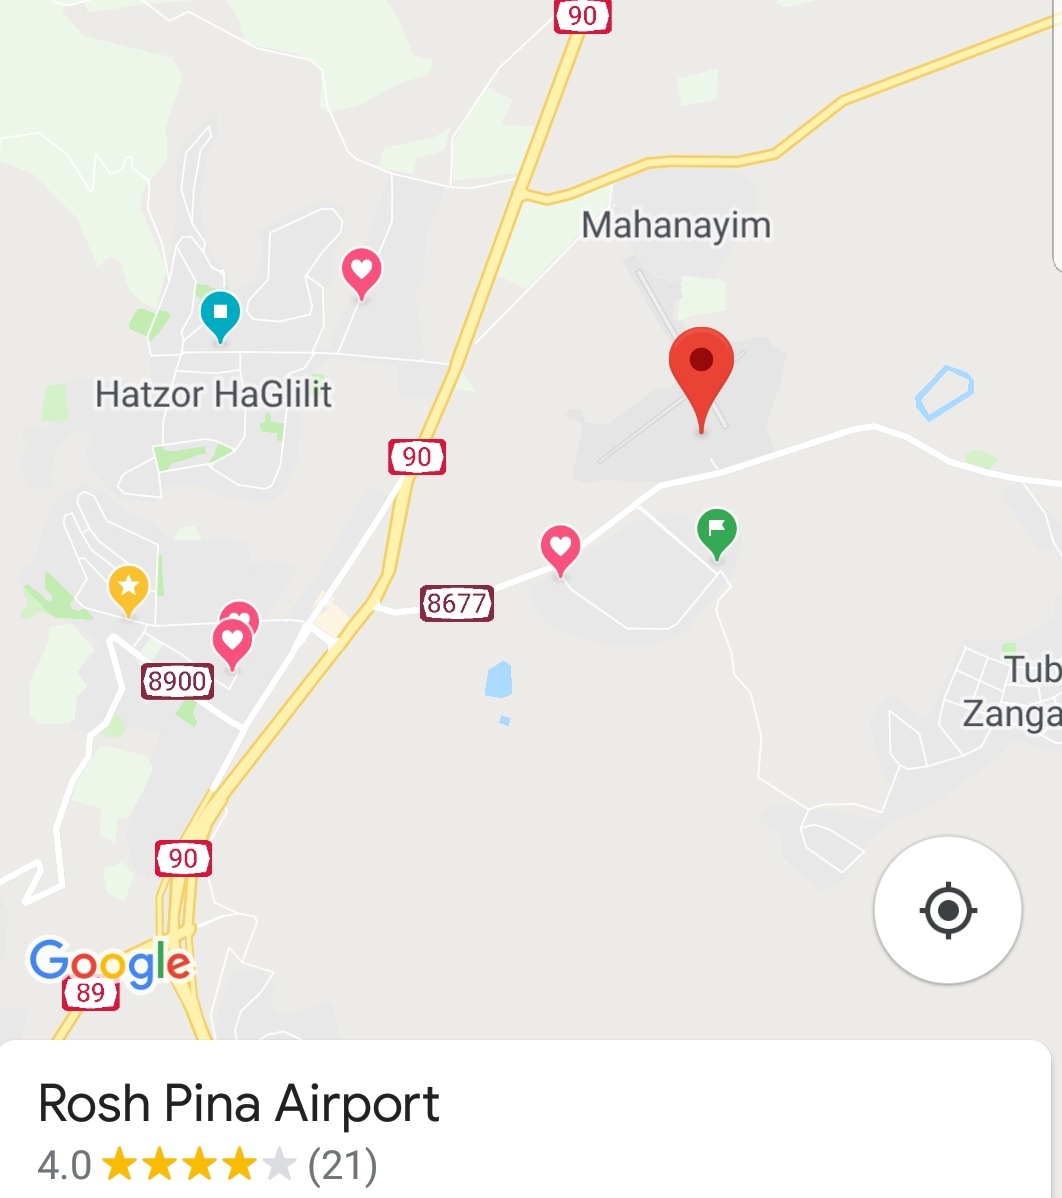
inexpensive space here in Israel so we are trying to compromise by starting the project in a smaller place than would be desired. ![]() ![]() That is the biggest challenge for now to turn that small shi**tty garage into a professional aero-lab. The challendge is accepted. The lucky moment is that the garage is near JFK airport: ![]() ...hmm ...hmm probably not, it is the ICAO:LLIB a small field north of Israel - not that active and good enough for our test take offs. Any of you wish to fly in - the beer is on me. .
the web for the information. First of all it is great fun to read how people are building a real plane in theirs back yard. It sounds crazy almost like constructing an elevator to the moon using a plier and a screw driver. But in our case those birds are actually flying at the end which makes the whole thing much more magical. So what are we looking for? The answer is: everything! Any info about tools, work processes, tips and tricks and workspace arrangements. We read probably 50-60 blogs so far and that is the best university I could have. That is so much fun so I am seriously consider to start writing blog reviews spreading Michelin stars to the best sheffs. Well probably leave that idea in favour of finally starting our own blog. Ahh yeah got the digital version of the instructions from Vans, helps to spend time in the throne room. ![]() Guys, we are mega excited, we know that we are amatures but all the info is out there, and we have all the motivation to catch up and the most important: we enjoy every moment doing that. Like my good friend says: "Remember: Noah's Ark was built by one amateur, the Titanic by a bunch of professionals." So don't hesitate to give us peace of advice or just troll us for anything we say or post. Happy to be part of such great community of so many tallented individuals. Cheers. Roman & Dima |
.
Status Report: #2 Our second report is about:
The plane is yet in the ocean and will hit the shore of Israel in about 1-2 weeks from now. But we are not wasting our time. Since our last report we managed to prepare the environment for the project, and first and most important is the workspace: .
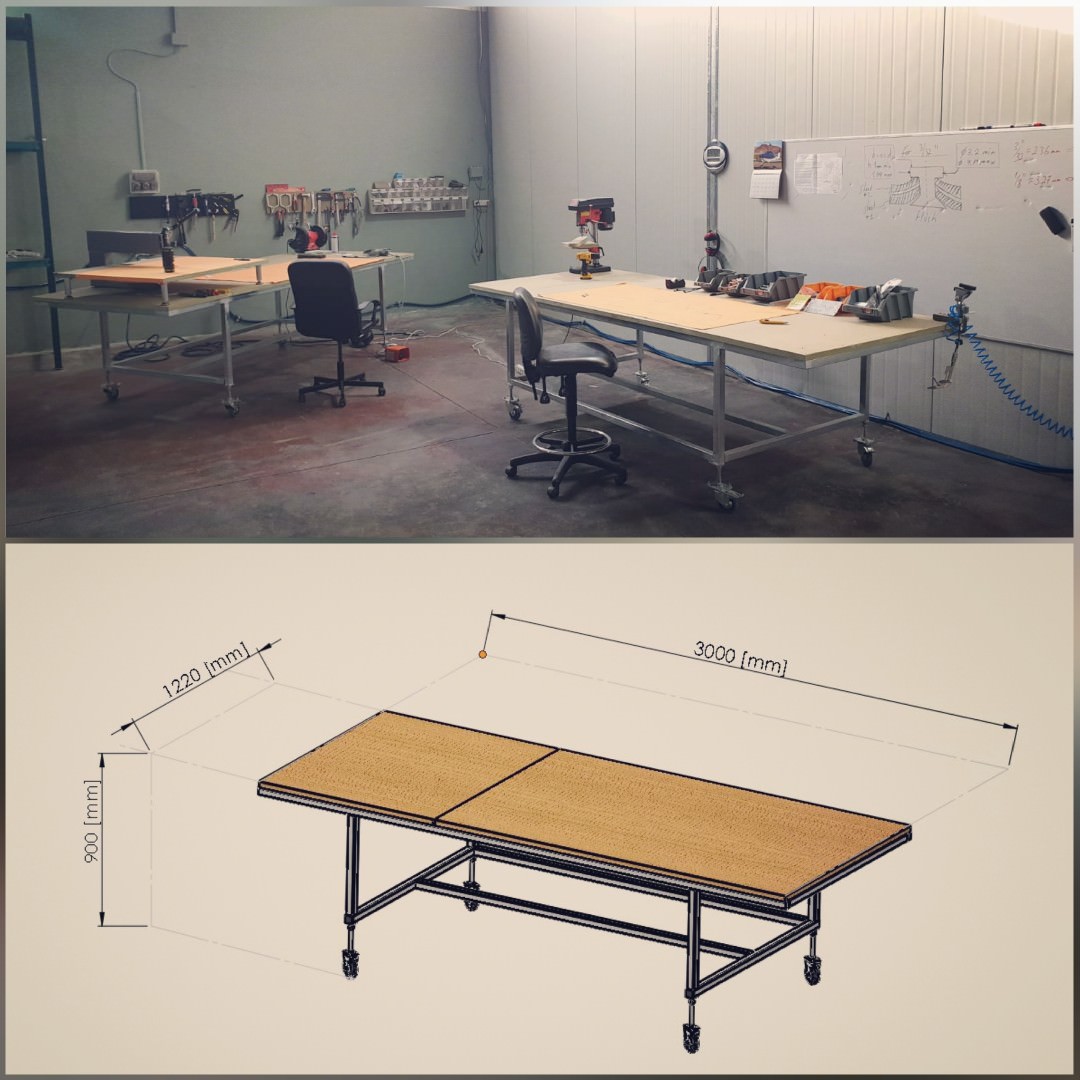
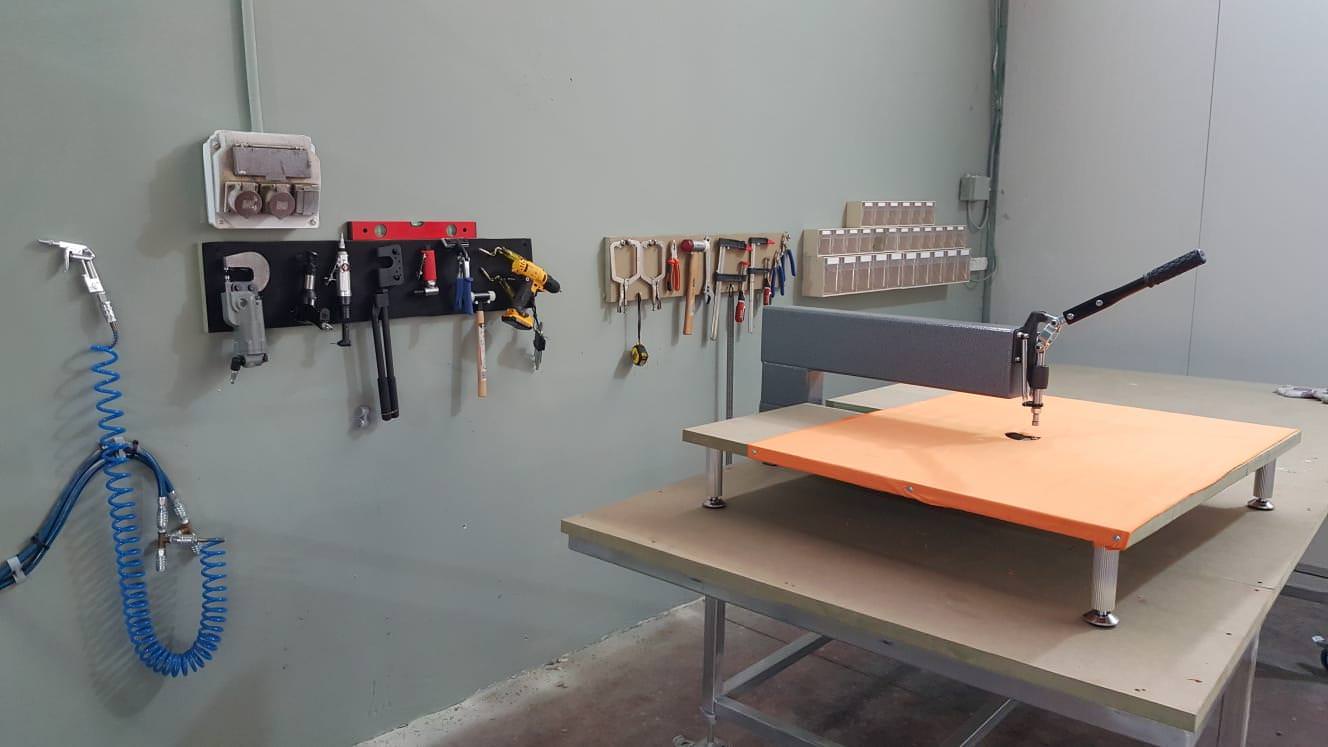
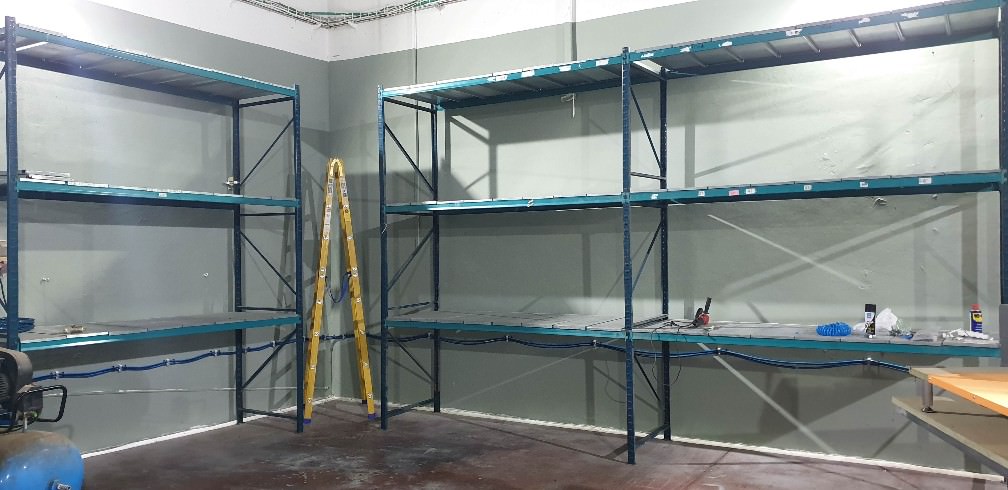
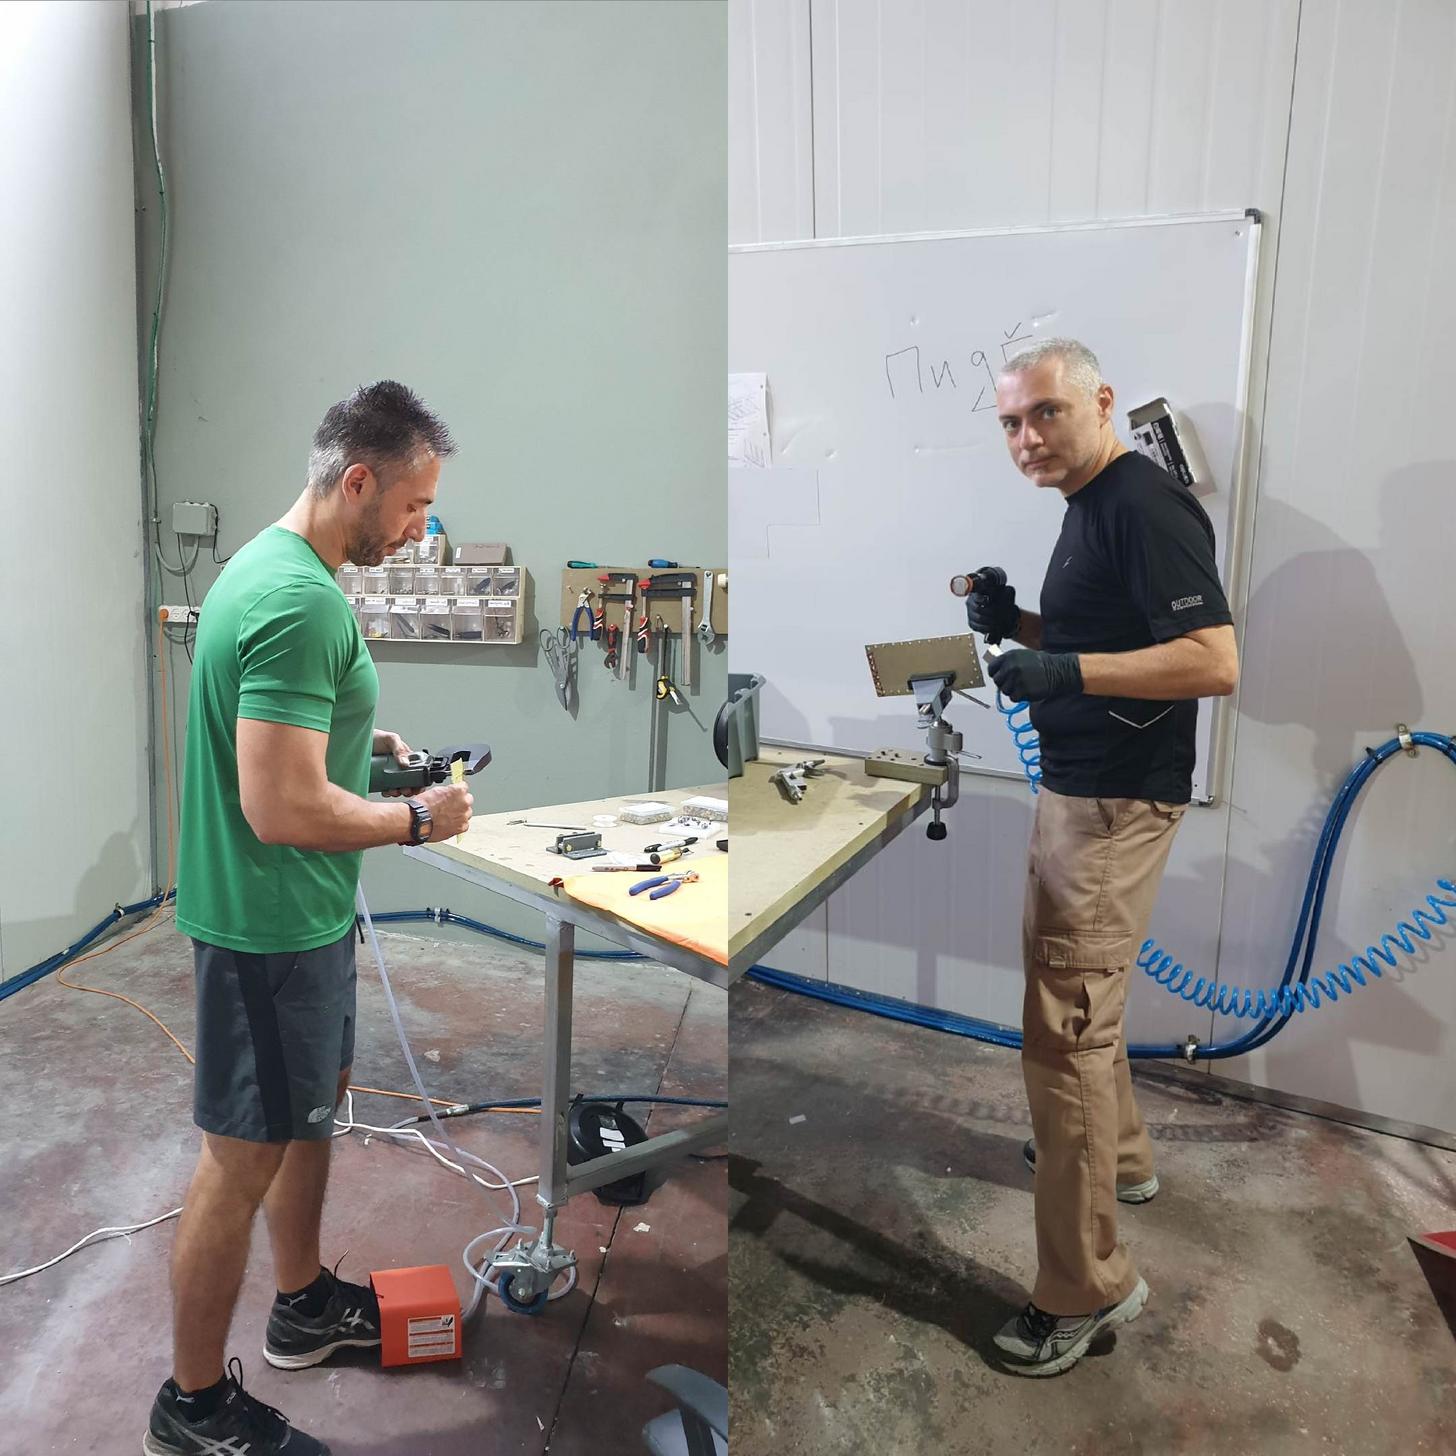
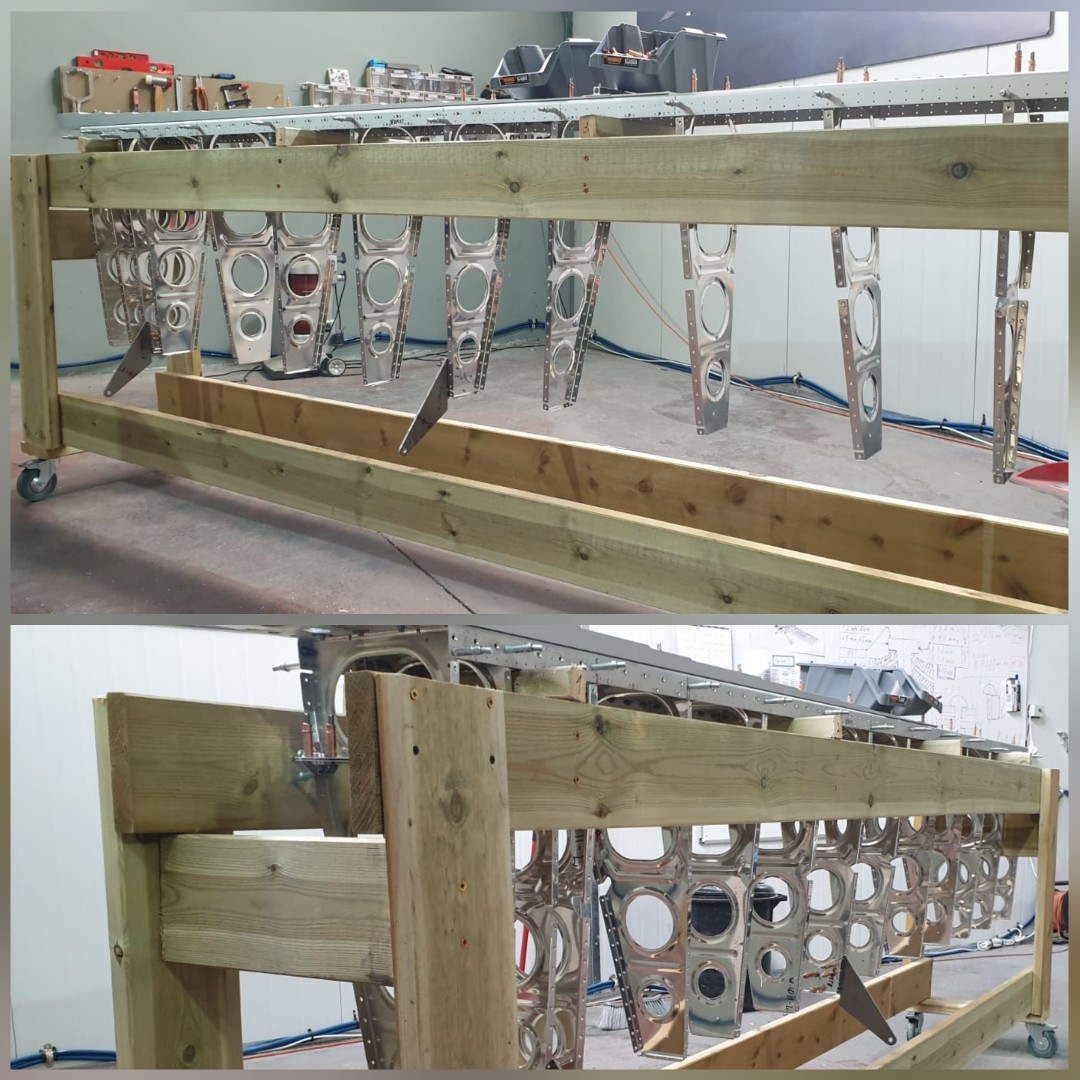
We spent last 2 months searching for a pretty spacious hangar, and rented it. The price was reasonable but the place was absolute in ruins so it took us some time to clean it up and paint the walls to feel comfortable there. ![]() Now the tables: as we watched dozens of videos of other builders, we had pretty good understanding of what kind of tables we should have. The only problem was that a professional table of that size is not a budget product. That is why we decided to construct the tables ourself from steel profiles. We designed it exactly the size we think will be optimal for most of the tasks: 3m x 1.2m x 0.9m, and what a beautiful result 4 wheels with optional high changer and voila we have 2 self made tables, for almost no money. All the training we done later kind of proves it was the right decision. ![]() Next, we had to organize all the tools in the right way so they will be placed right in front of us all the time. Cause you never know which exact drill bit you are going to use. Here are some results: ![]() Shelfs, shelfs and more shelfs, I think once we have all the boxes opened it will help us with organization of the aluminium parts. ![]() .
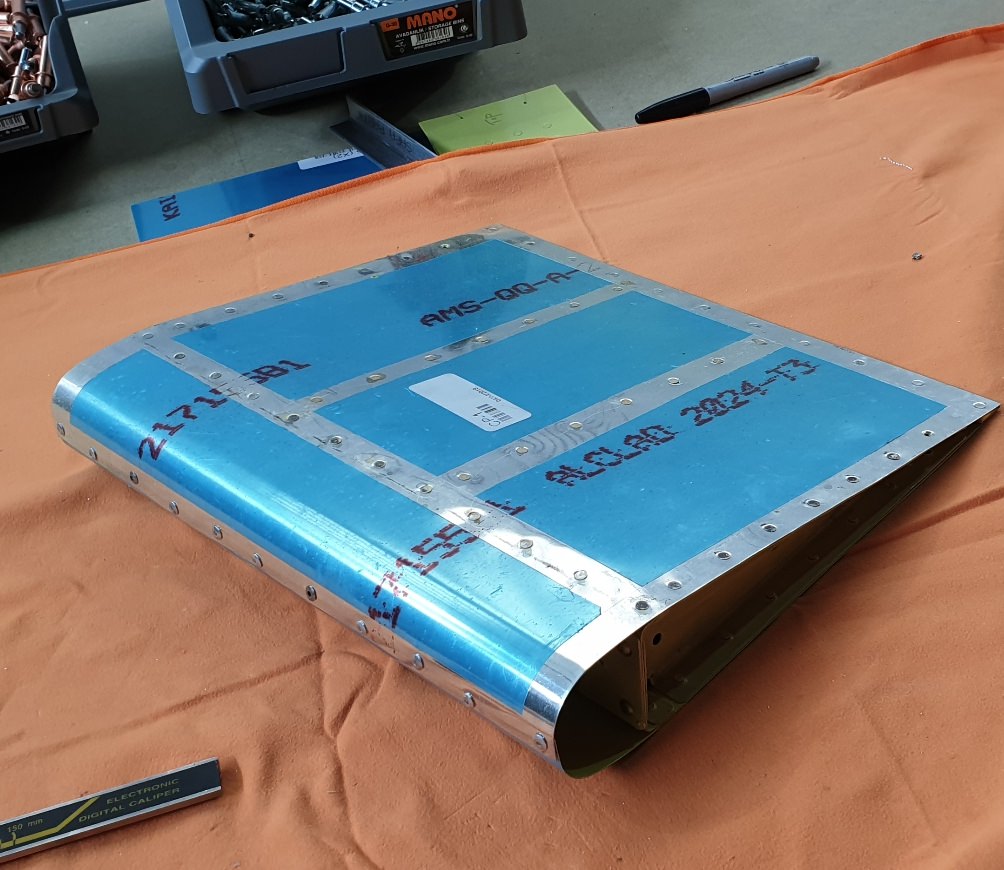
The first rivet was not an easy thing, and ‘How the **** we suppose to do 10,000 of those?, I was thinking to myself. That is exactly why Vans training project is what helps to get the right experience and confidence that you can master those skills relatively quickly. ![]() The train project is great, after getting pretty decent result I think we got handful of new skills that will be about 70% - 80% of our job in the upcoming months. Cause really... what is most of the work, if not: understanding the drawings, deburing, dimpling and rivetting the parts. All those in various sizes and levels of access difficultly. ![]() Check that result: after all - we didn't know nothing just 2 months ago and now it looks like a real wing. Small but truly aerodynamically shaped. .
![]() Luanda is the name of the ship. In current days it is sailing somewhere in the Atlantic, approaching the Gibraltar, heading to the Valencia port. That is already our neighborhood - the Mediterranean. In 1-2 weeks from now it should hit Israeli shore and then 4-5 days until we will open the boxes in our fresh office. Summary: we are supermotivated, we have all the tools and we feel super ready for the mission. God speed for the captain of Luanda and hopefully our next report will be about touching the real thing. Please keep sending your wishes and your experienced advises, we really enjoy chatting with each of you! ![]() Cheers. Roman & Dima |
Hi Roman and Dima.
Would you please contact me at: 0507815801 Thanks Ariel הי רומן ודימה תוכלו, בבקשה, להרים טלפון? אריאל אריאלי 0507815801 תודה RV8A 4X-OAA |
So the cozy pilot/builder is called Yair Gil. He is building another cozy and might be a good source of information. He also lives just north of tel aviv in herzliya if i remember correctly.
|
Quote:
Thanks |
Hi Roman and Dima,
I work for Elbit Systems America (ESA) and travel to Karmiel and Haifa sometimes. If you know anyone at Elbit who travels to the US it could be useful to pick up small parts you may need. The folks that come to meeting with us are always shopping while in the US to take thing back. TJ |
Quote:
Next time you are in Israel you are welcome to our place.On WhatsApp I am +972 547644377 |
.
Status Report: #3 That report is about:
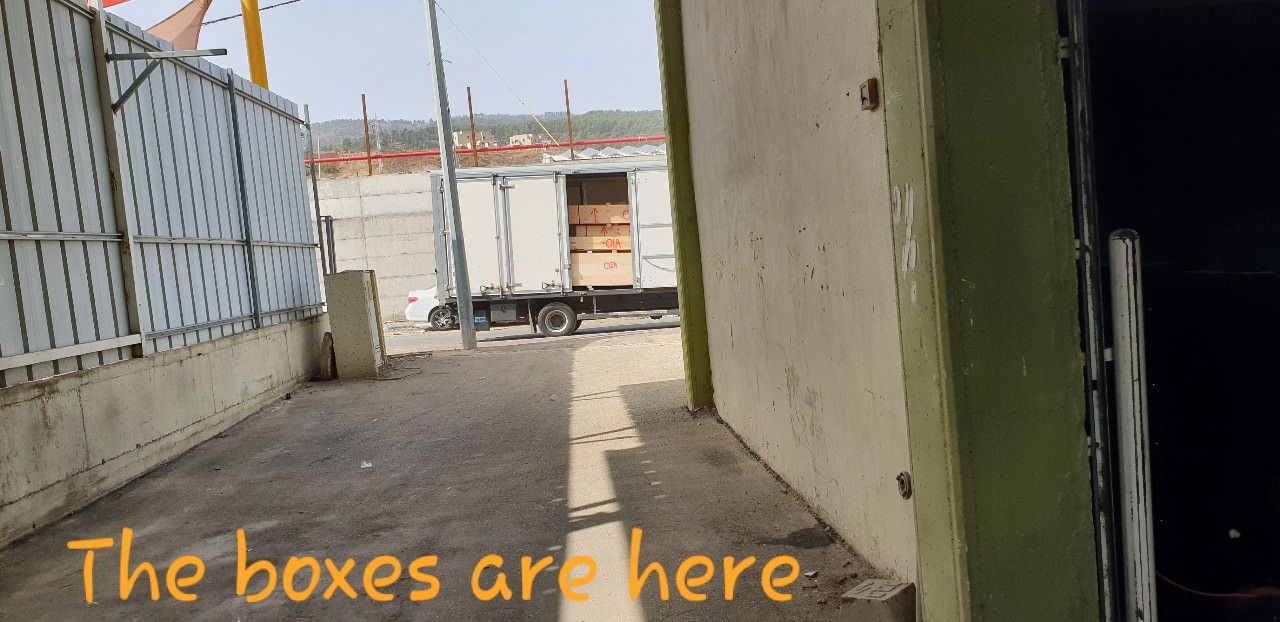
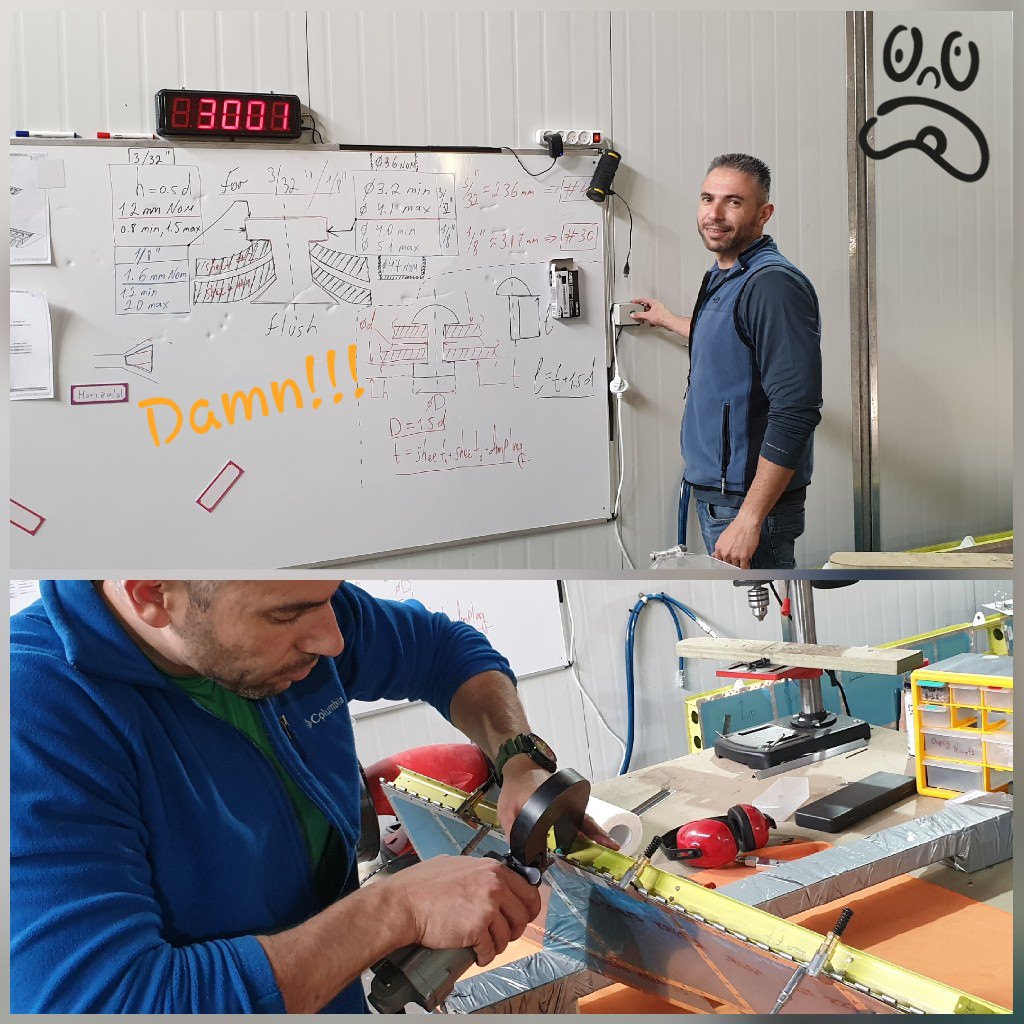
At 9:00 am at the morning we got the phone from the delivery company. "Be ready" they said "we will land in your office in 2-3 hours". That is how we started the day, drinking cup of coffe and refusing to do anything but waiting... until the stop of a truck was clearly squeaked at the gate. That is it. The plane is finally here !!! .
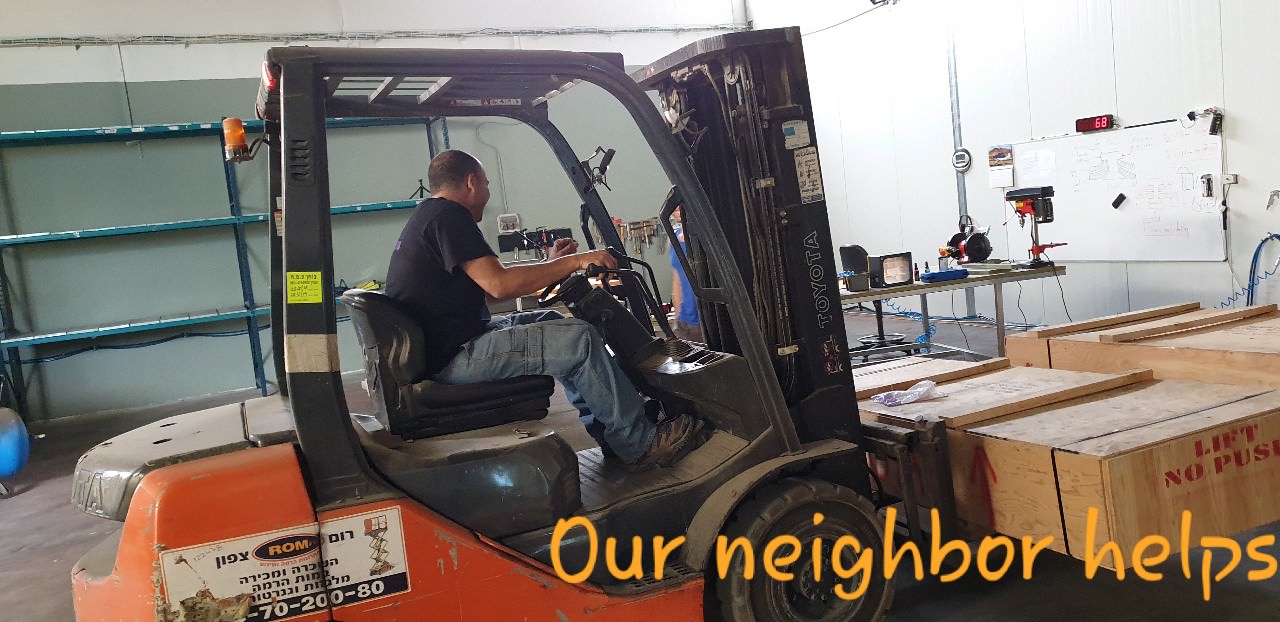
![]() After long months of waiting, the plane is finaly here, still in the boxes, still on the truck but we will fix it quickly in the upcoming months. ![]() Our neighbour helped us with the unloading process. Fortunately he had a forklift and in 10 minutes all the boxes went on to garage floor. .
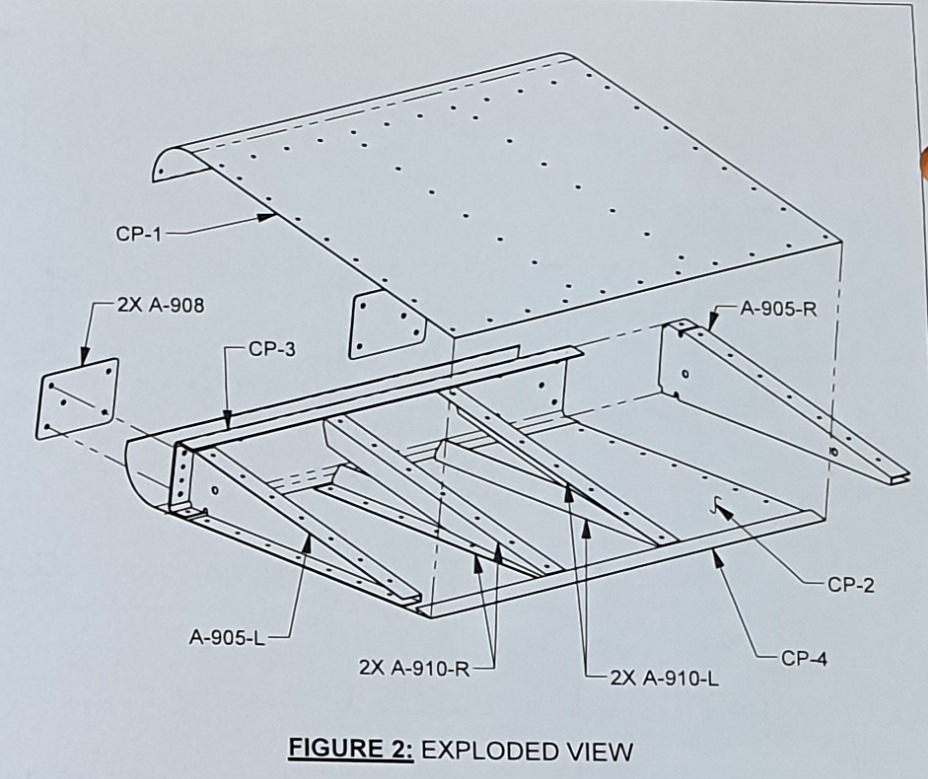
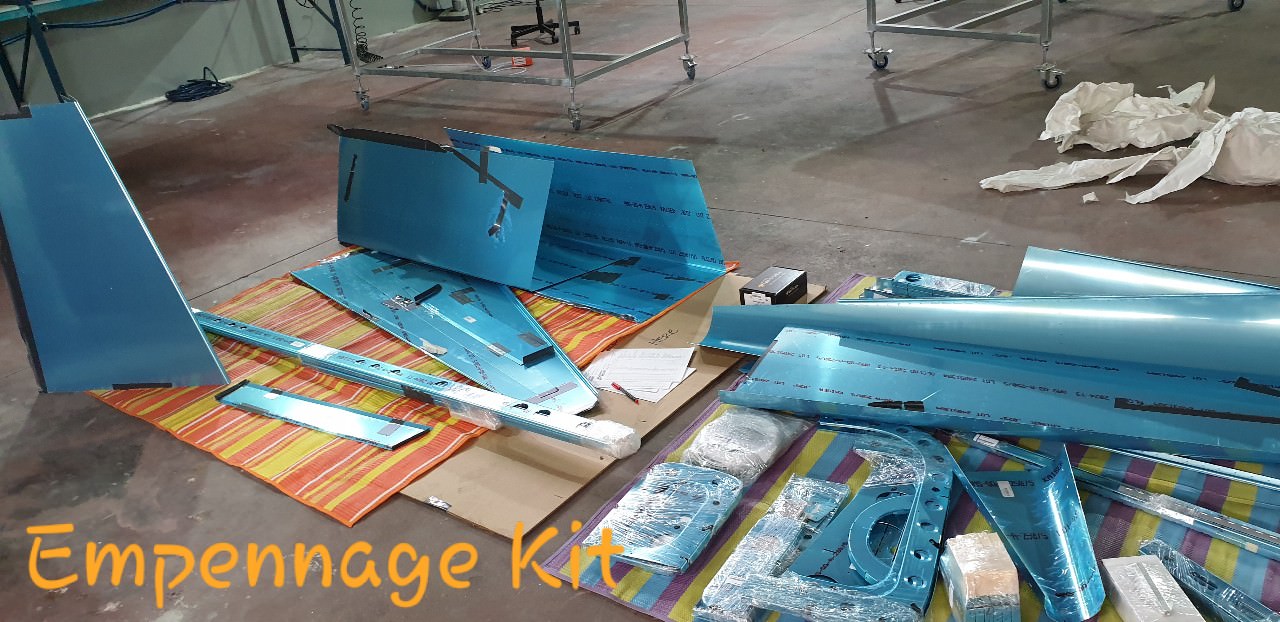
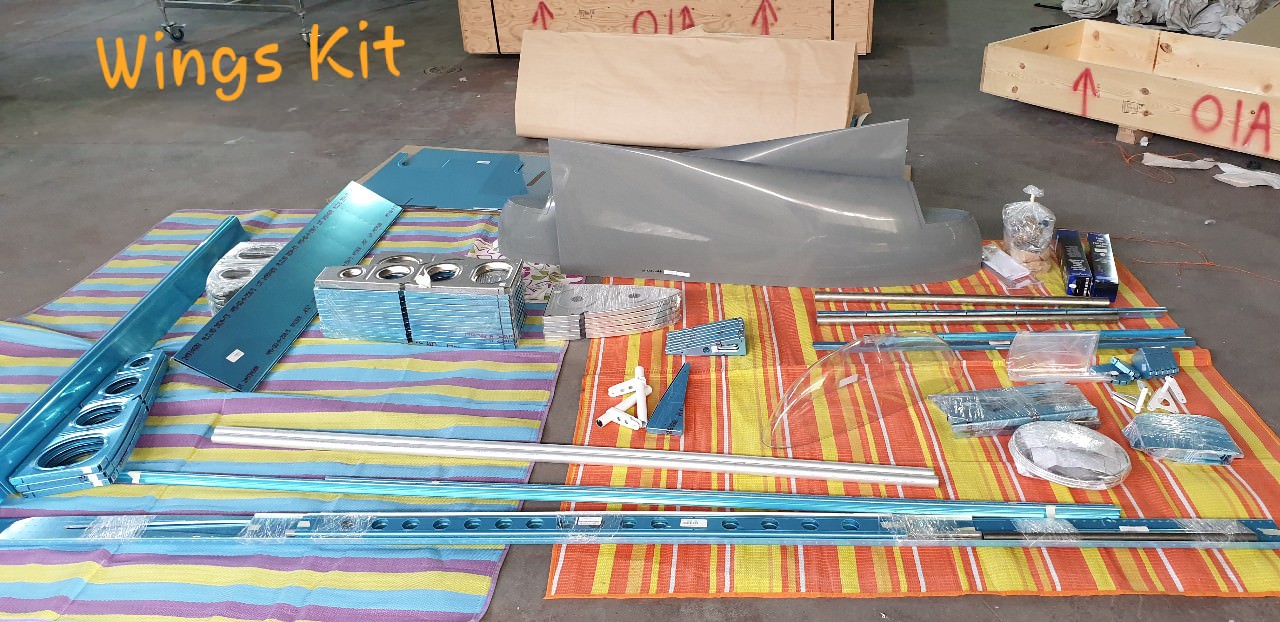
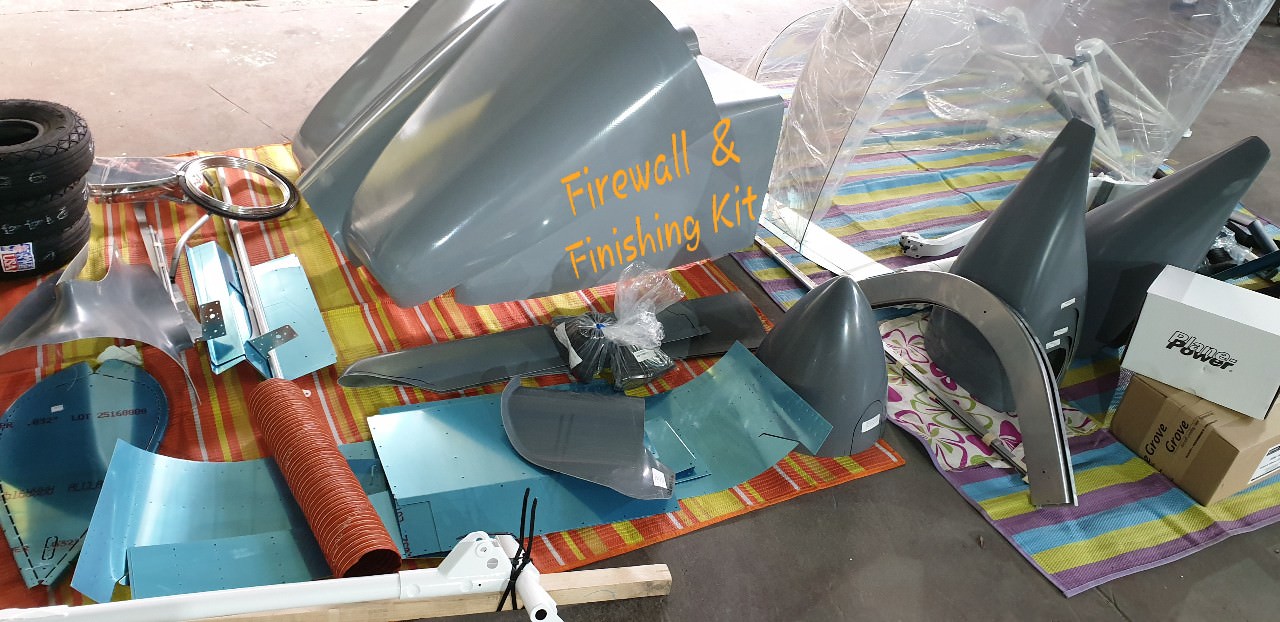
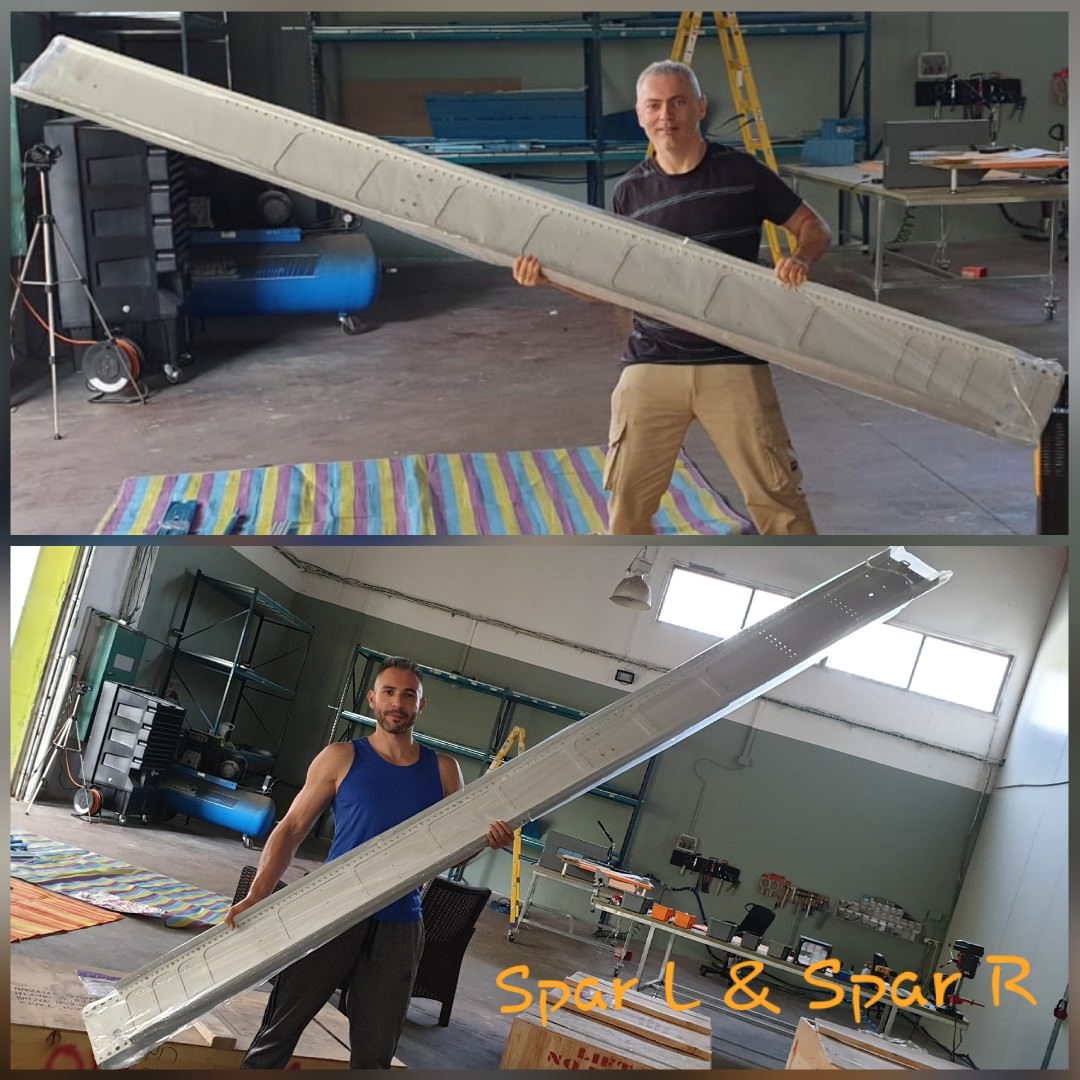
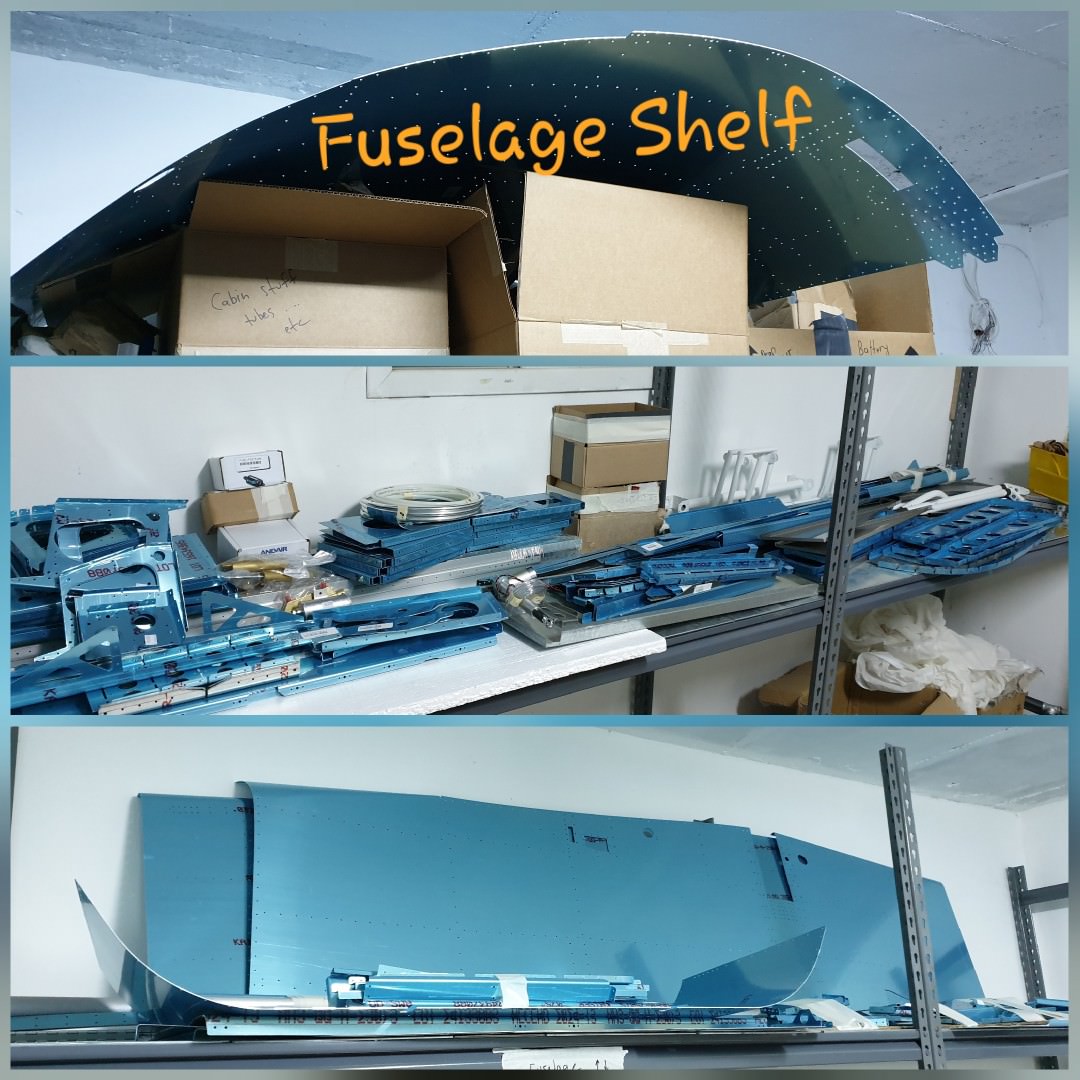
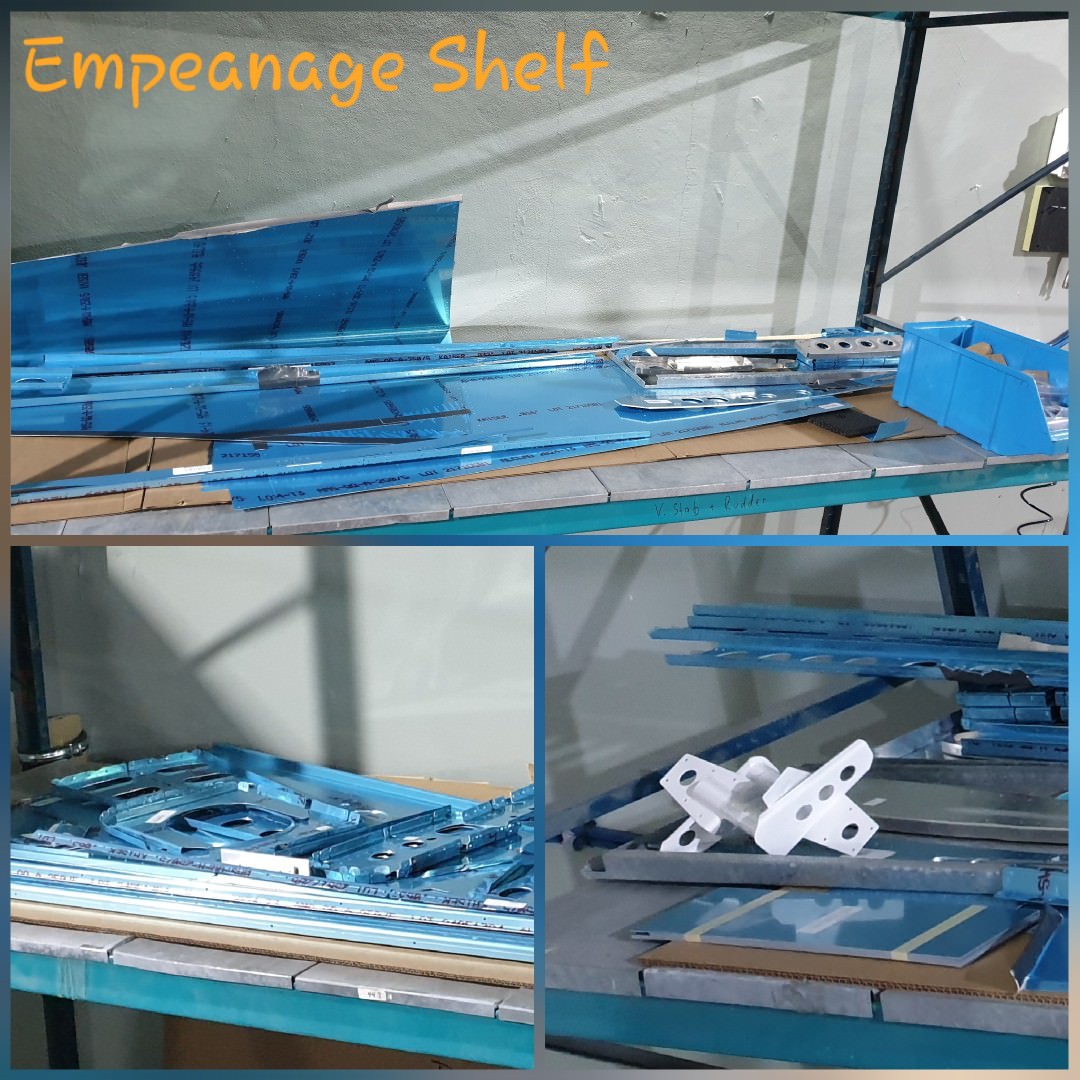
![]() ![]() ![]() Each time we opened the box we unpacked carefully each part from the packaging paper and placed it nicely on the carpet. That way we had all the kit ready infront of us waiting for the checklist. ![]() The spars are different: first of all because they are heavy and fun to work out, second it is awesome feeling to hold a plane wing or a plane backbone in the hands. Eventually it is the easiest part to store. We just keeping it in the same box they were shipped till its time will come ![]() ![]() Here is the way we organised all the kits ready for construction. Some of them will go in to the work in the next days and some will wait couple of months for its time. .
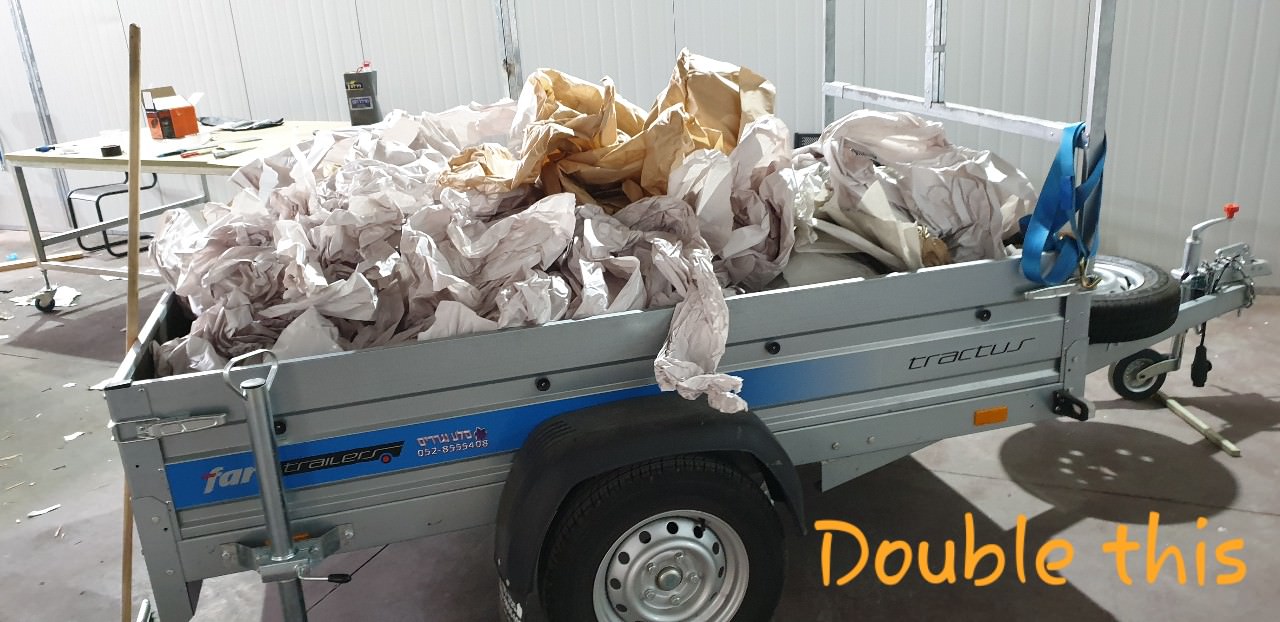
![]() Time to clear the garbage. Two small wagons of packing paper, and wooden boxes that we keept for later use - probably for jig fabrication. That is it, we are done with the unpacking, sorting, marking, guessing and shelving. The inventoring process is done and we are ready to start with the real work. Wait for the first actual construction report. In the meantime Let us know if you think we are doing the right things. The inventoring took totally 30 hours of man work cause there is two of us we finished in 2.5 days. ![]() Cheers. Roman & Dima |
Very nice shop!
Best of luck putting her together! When riveting, check your air pressures. Here is a link that may help. One other thing, next time you place a tool order, buy two extra micro stops, a deep no-hole yoke for your squeezer, and a longeron yoke. The reamers in imperial sizes, tap and die set, inch-pound torque wrench, sockets, wrenches, etc. you should be able to source locally, maybe. |
Quote:
|
Quote:
it worked on you 😉 |
Quote:
check our tooks 👍 |
I'm really enjoying this thread.
Roman and Dima:
For guy who has barely ever left the US I am finding your thread incredibly interesting. I guess I fall into the class of an ignorant American who has very little knowledge of the rest of the world. I am finding the small peek into your lives fascinating. I really like the large photos where I can see all the detail of what you are doing - and your very cool shop. Your thread is as much a human interest story as it is a build log, as far as I am concerned. Thank you for taking the time to share part of your lives with the rest of the world! Gary Welch, Cloverdale California PS: I, for one, would love to see the occasional pic of the area where you live and work. Pics could be of anything that gives a little day to day insight. Not sure if I'm the only one who feels this way but I think it would be cool. |
Quote:
Hey Gary, Thanks a lot for the inspirational note. We really want to have global multicultural discussion about aviation and beyond. If anytime you decide to fly over the middle east, we have a small airport 5 minutes from our workshop. You can google for LLIB. We always have plenty of good cold beer in the fridge. Just let us know. 🍻 ![]() |
.
Status Report: #4 That report is about:
Finally after many months of waiting we have all the complete plane organized on the shelfs. Sunday morning we took a deep breath and dived into the real work. First one was the VS. .
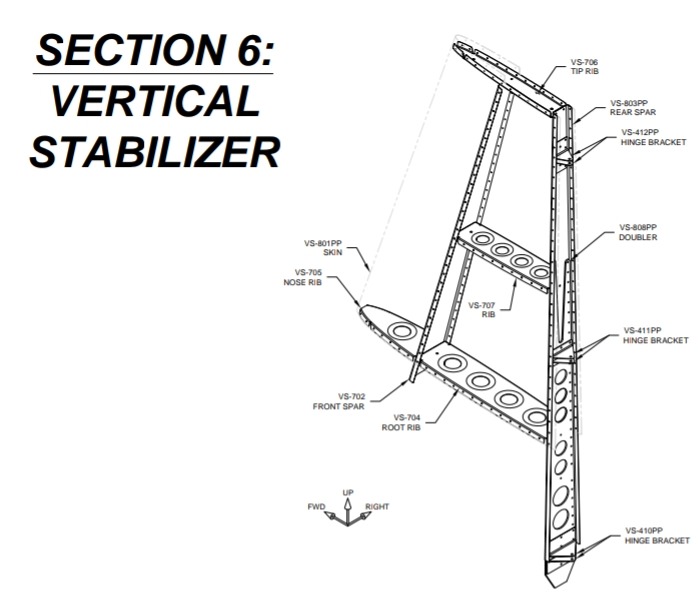
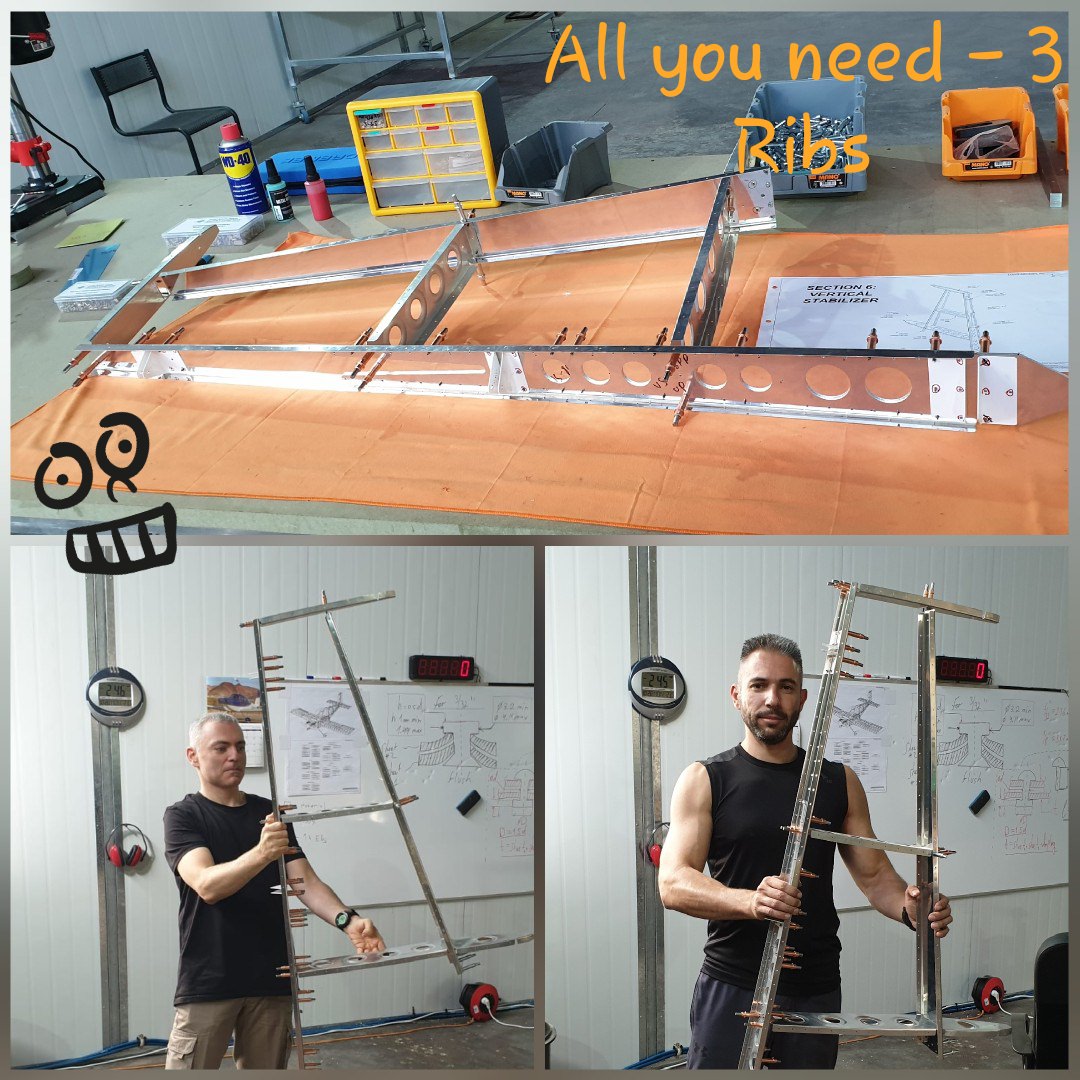
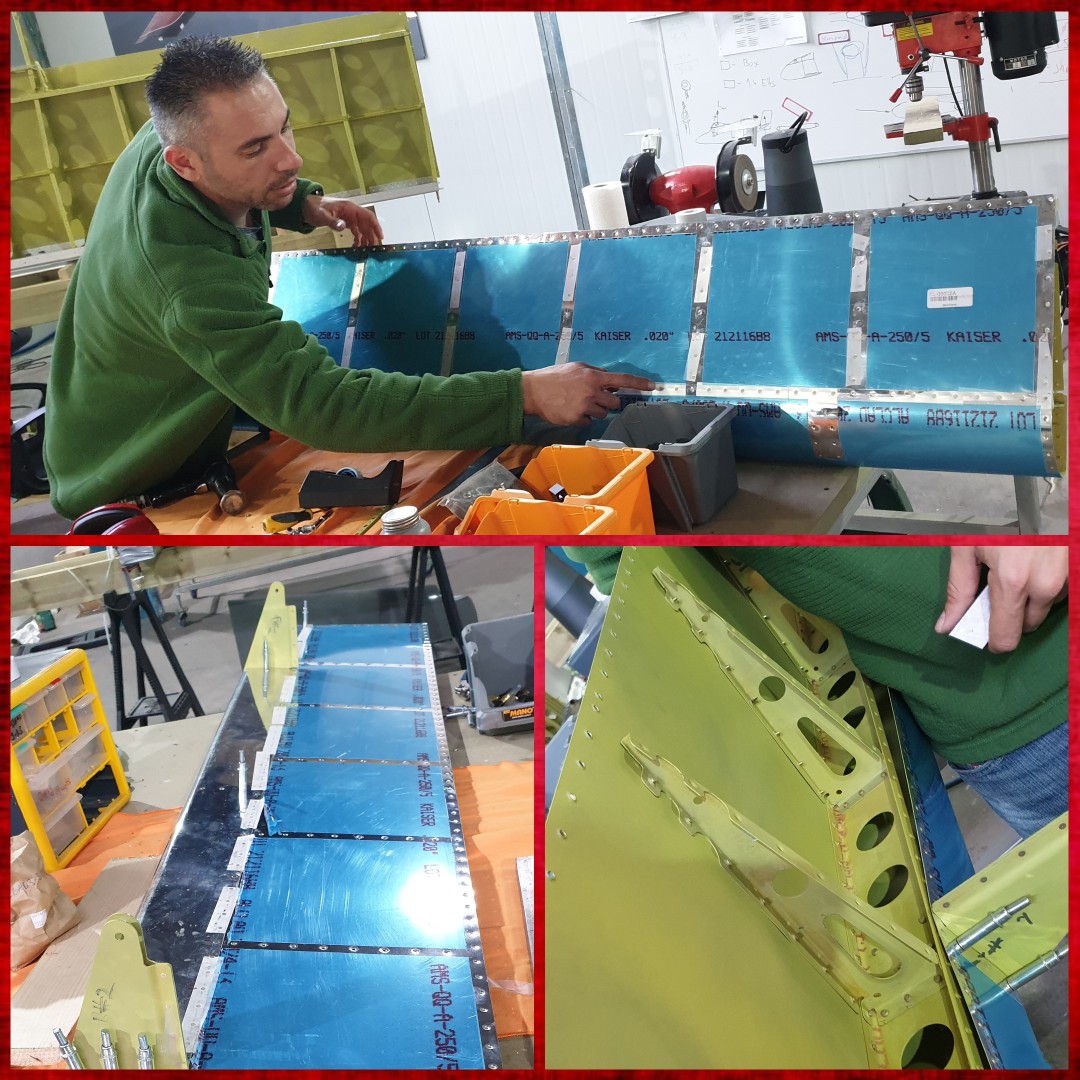
![]() ![]() The Vertical stabilizer is a good place to start: it is designed out of few parts for the sceleton and one bended piece of an aluminium skin. The construction of the web is a pretty straight-forward thing: the rear spar and the front spar are connected via 3 ribs. A couple of reinforcement plates to make their reinforcment thing are in some critical points, and the web is ready for the skin. ![]() Once done, the web is fitting perfectly into the skin. Once the skin is there: cleco-cleco to see it is solid and all the holes of the skin are directly with the rib holes under them. If all match driling the holes according to the map. Most of the holes 3/32''. Dimpling the skin - took overall 1.5 hours a single person to accomplish. Exactly as the training project -- just a bit larger. Done: disconnecting all of it and throwing back to the shelf for latter priming. .
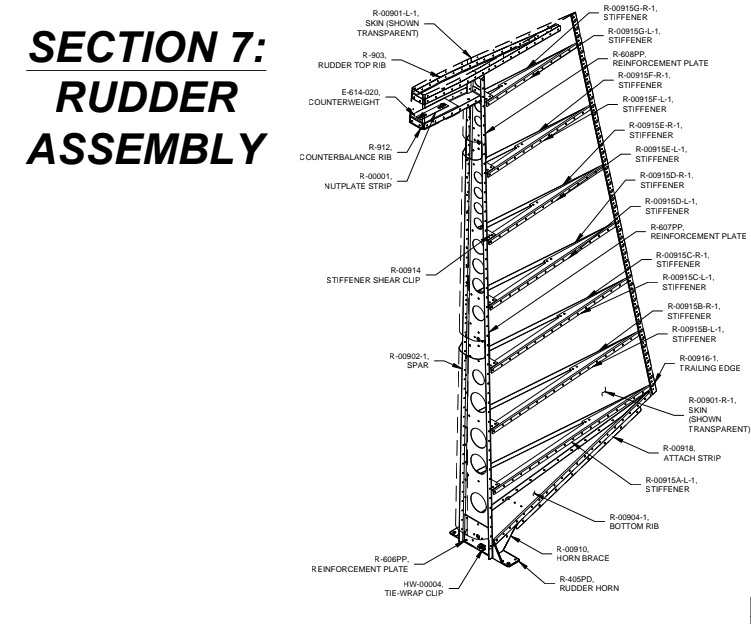
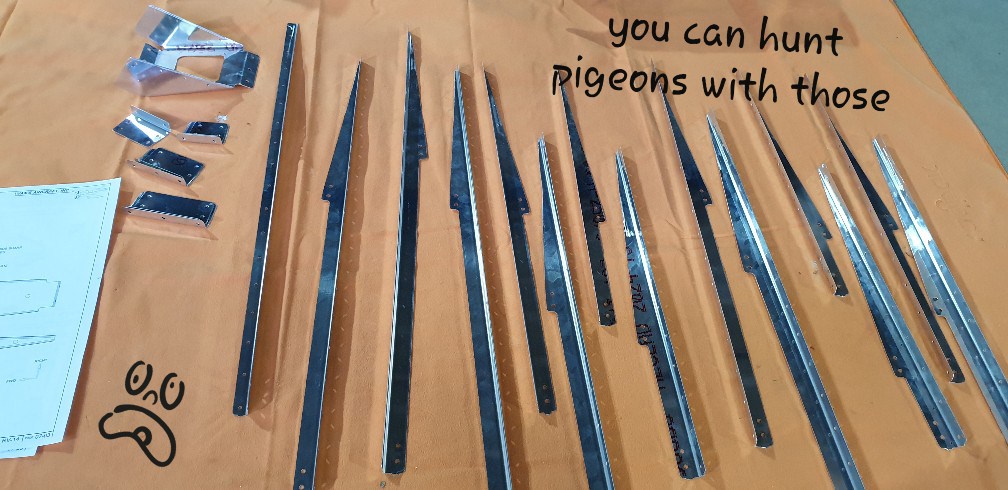
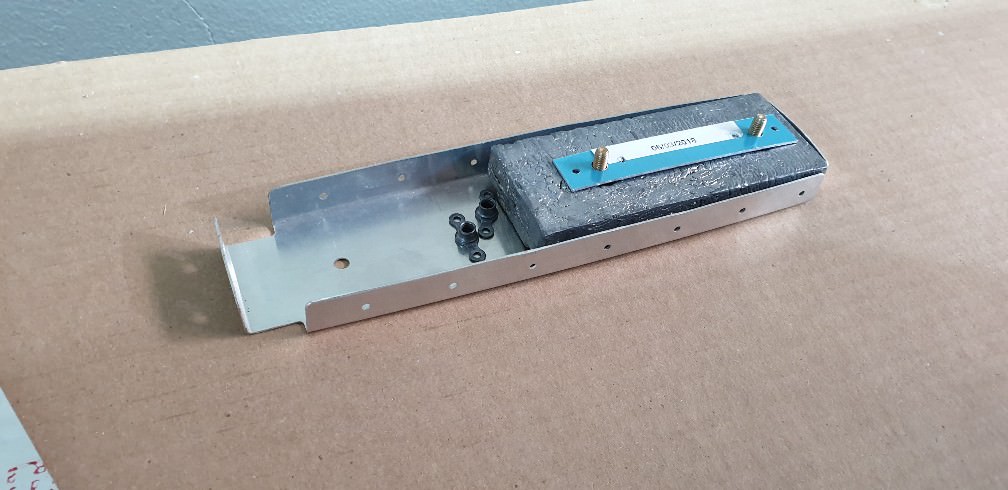
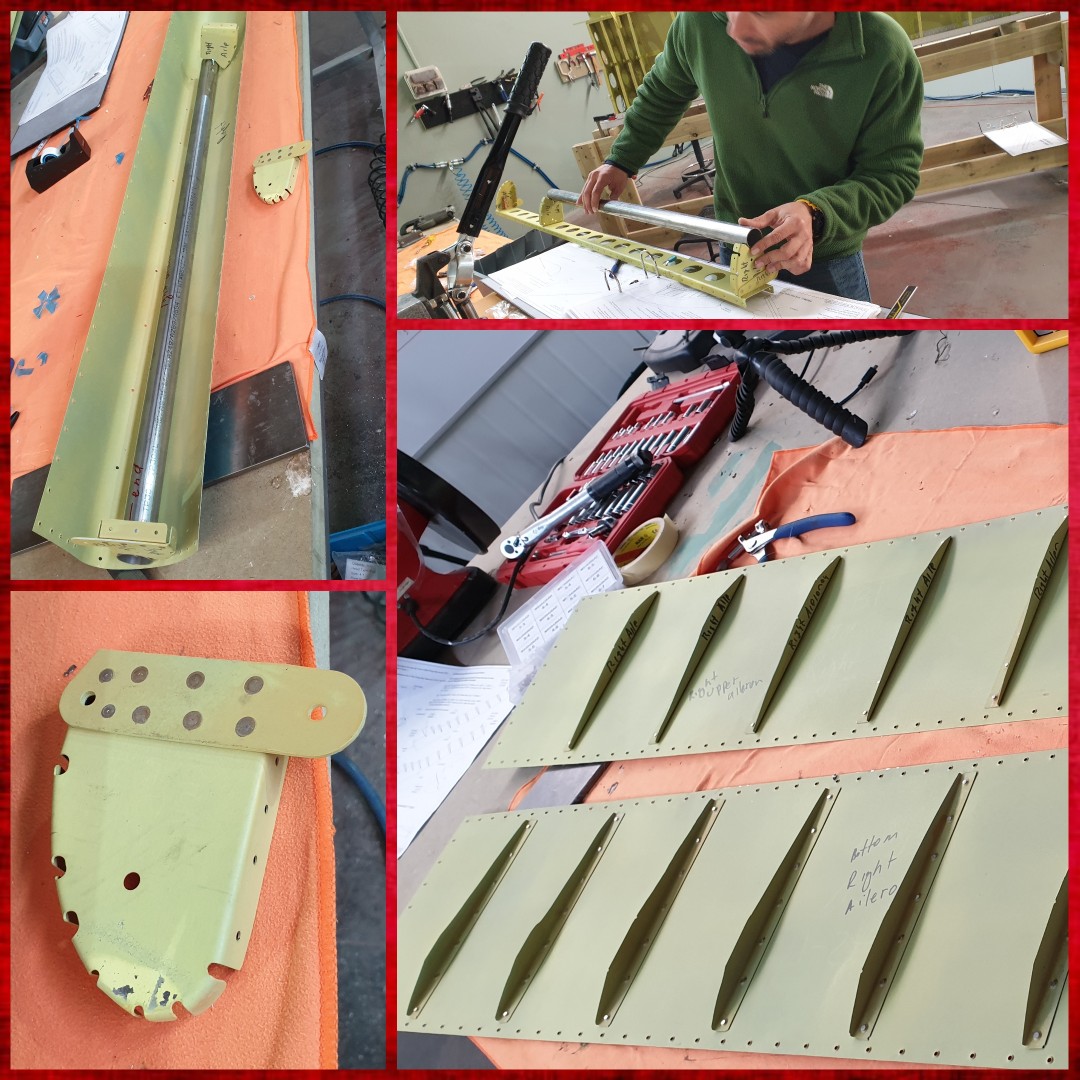
![]() ![]() Rudder has a bit more complicated structue. You have to cutout this sharp spears that will form the ribs of the construction. The reason is simple -- the trailing edge of a rudder is sharp and all the profile is more triangle-shaped, so a regular type of rib won't fit here. That is why you form 7 DIY special sharp ribs from pair of spear formed pieces of metal. ![]() When you have the custom ribs ready, you have to adjust the counter balance weight for a special rib placed on top of the construction. That one will be connected with the nut plates and boltes. ![]() ![]() That brings us to the final construction. The skins are two separate pieces of aluminum that can be easy connected to each side of the assembly. Still all clecco-connected, but looking like a real tail. .
That two assemblies proved to be a good starting point, being not very 'heavy' but allowing to study some new tricks -- and we went through the first scary moments of drilling the real plane. The progress is pretty cool, in first 21 hours of such a mutual work we are ready to prime two first constructions of our bird. It wasn't that hard but mostly like some straight-forward experinece, and we had a lot of fun during this 3 days. ![]() Cheers. Roman & Dima |
.
Status Report: #5 That report is about:
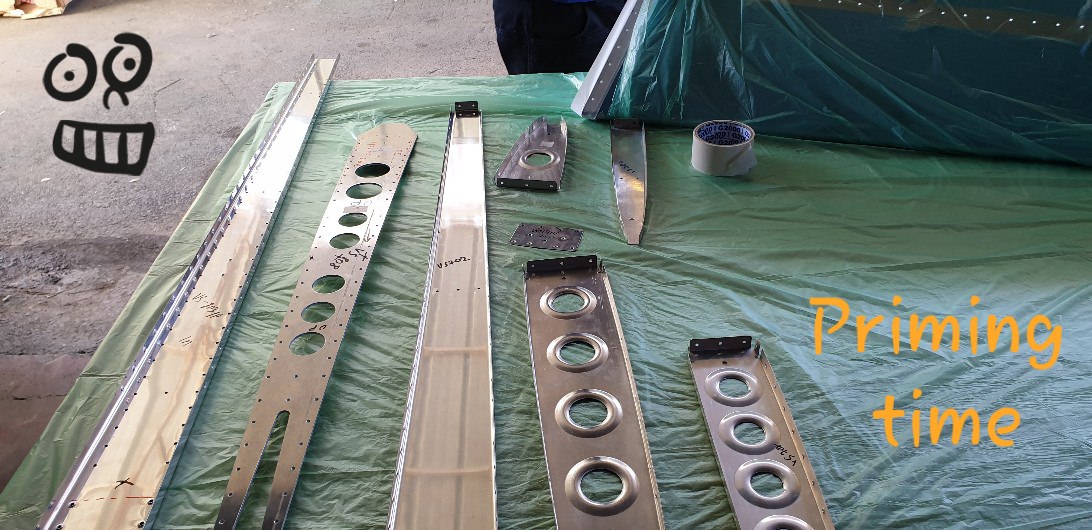
We had enough aluminum now to make a pause in the construction process and declare on the priming session. There is an endless debate whether to prime or not. We personally decided im favor of priming without doubt. That monstrous humidity that we usually have like we usually have on a sea shore of theMideterenians with 40°C make even clecco russty. .
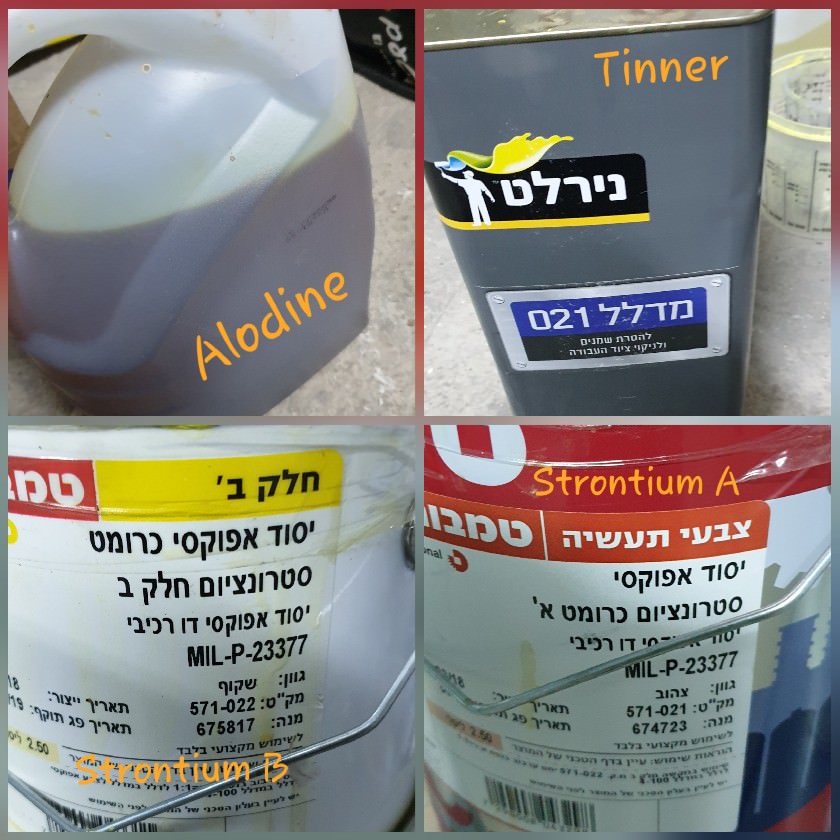
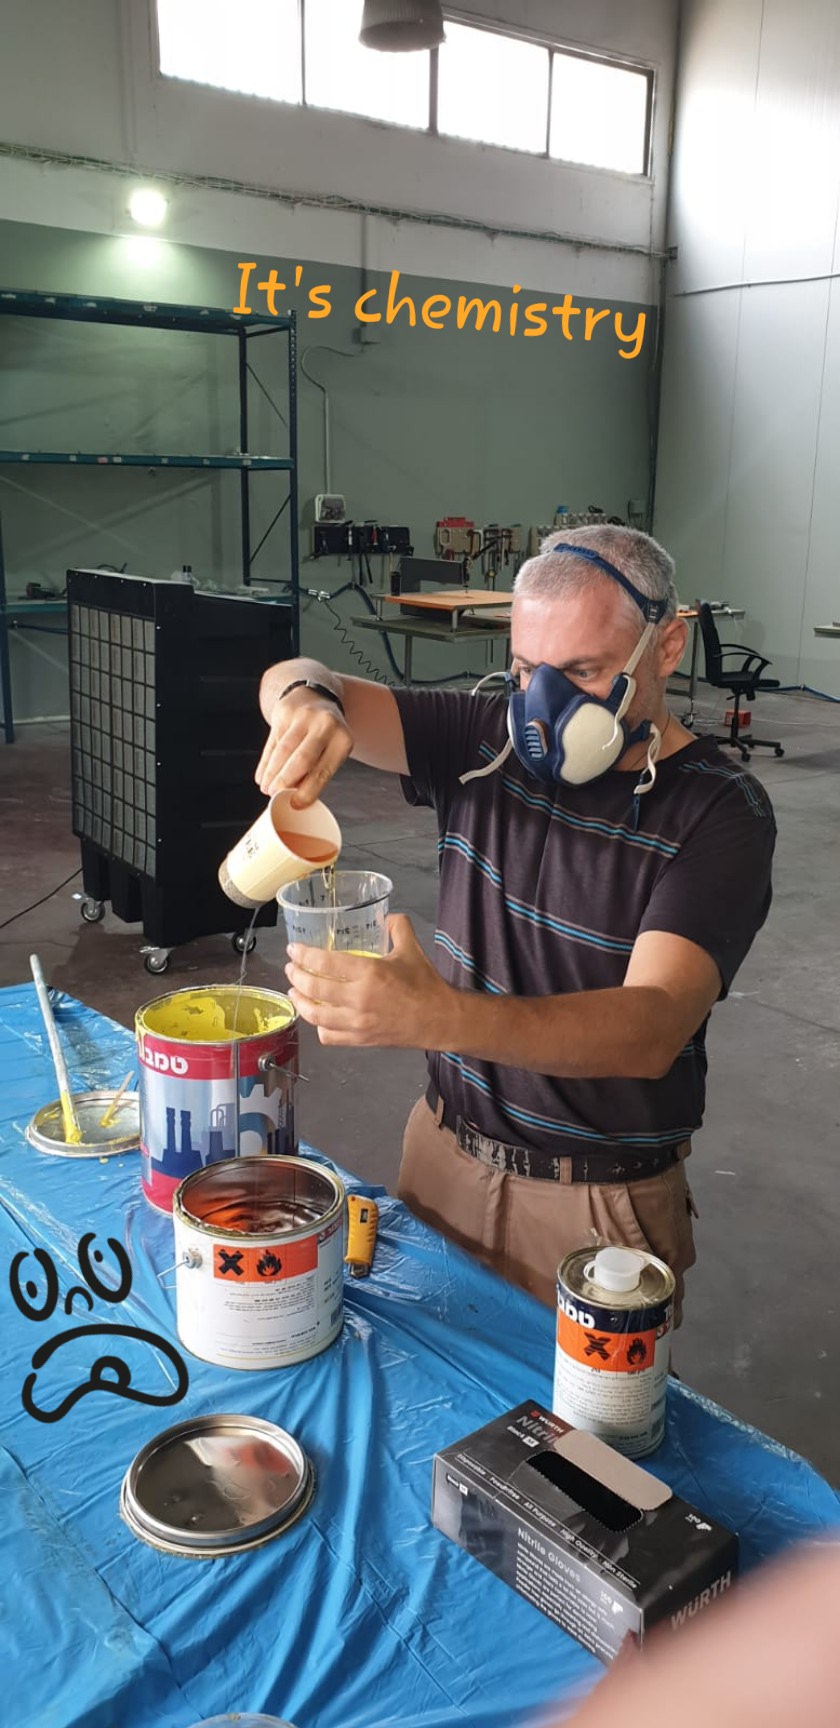
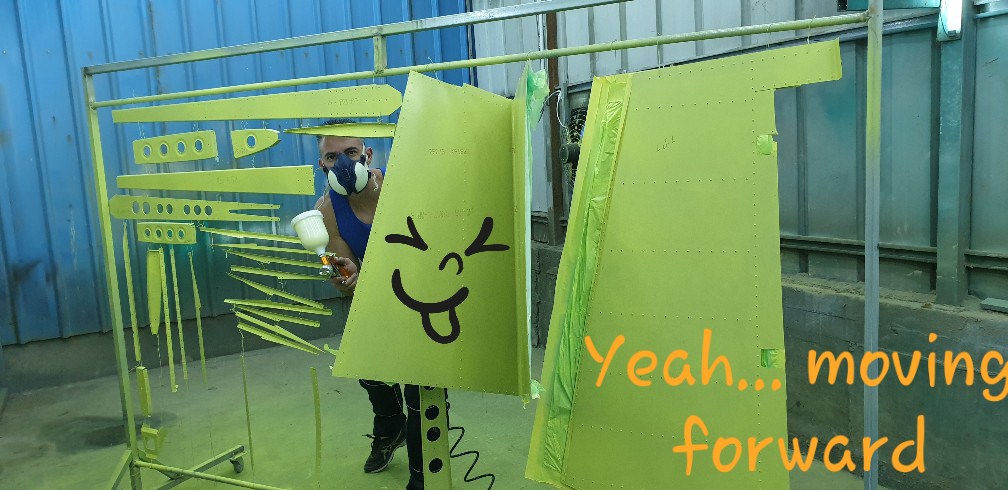
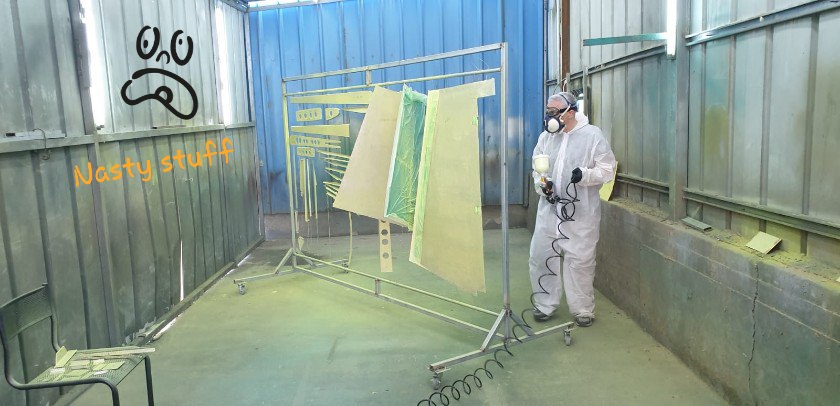
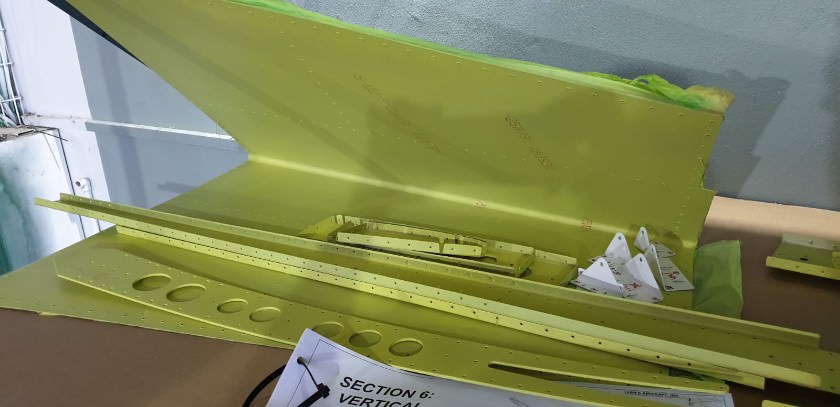
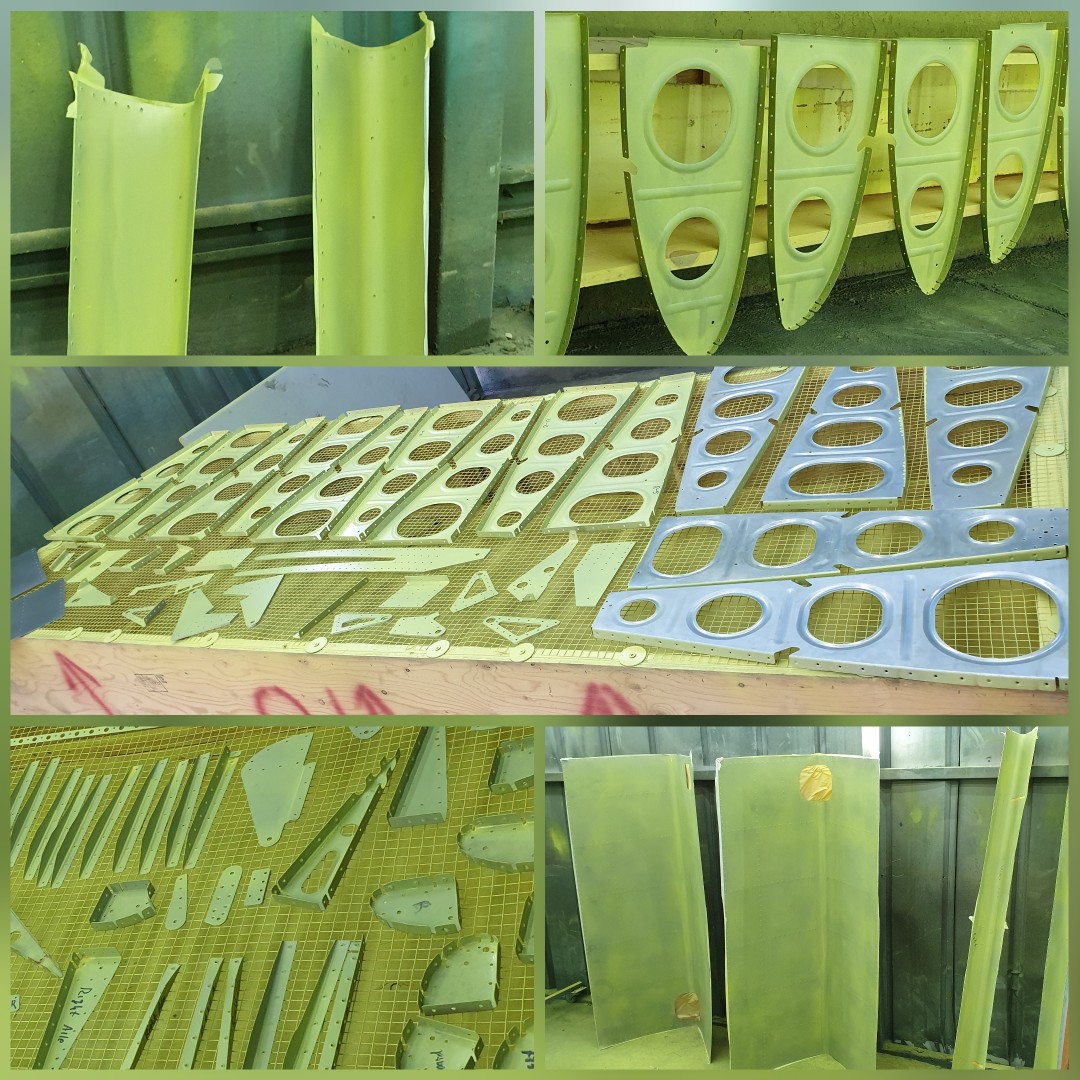
![]() What did we use: Alodine 1200 - for aluminium conversion coating. Another protection layer is Strontium Chromate. The process compounds of several steps: 1. Scuffing the metal a little with scotch or some sand paper 2. Washing all the dust away with the tinner. 3. Putting on Alodine with a flannel. 4. Waiting 15 minutes for Alodine to make its effect 5. Washing everything with watter [Now it is ready for priming.] 6. Before spraying we usually go over with the Antisilicon 7. Spraying the Strontium easily not to make the layers too heavy, cause they may flow down. Here are some pictures of the chemicals we use: ![]() ![]() The actual painting: ![]() ![]() ![]() It took us some time to make a good hand for spraying the color, so we moved carefully, putting very thin layers of color and waiting them to dry up. But later we got some boost of confidence and flushed through this work very efficiently finishing the preparation of two first parts of the empeanage. .
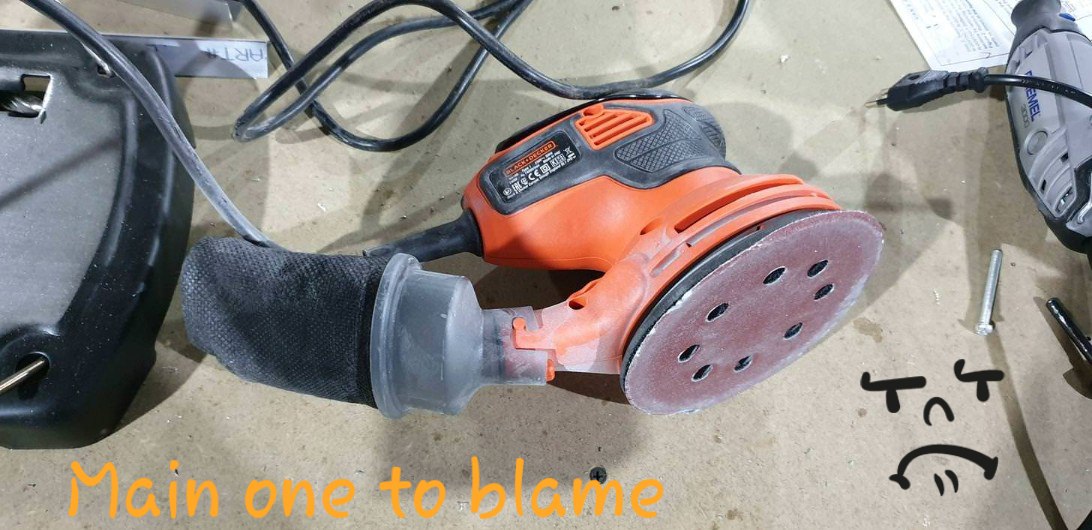
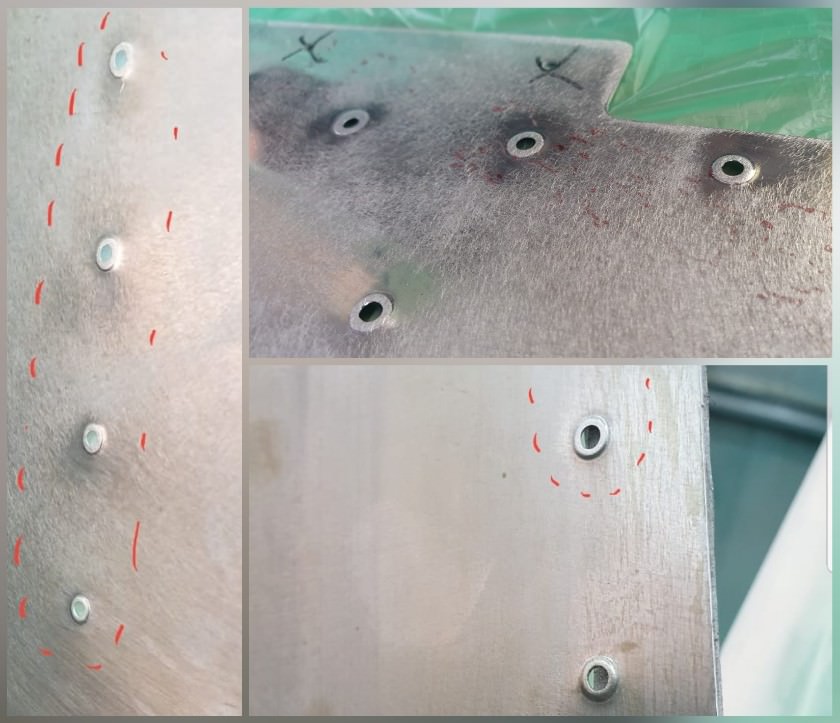
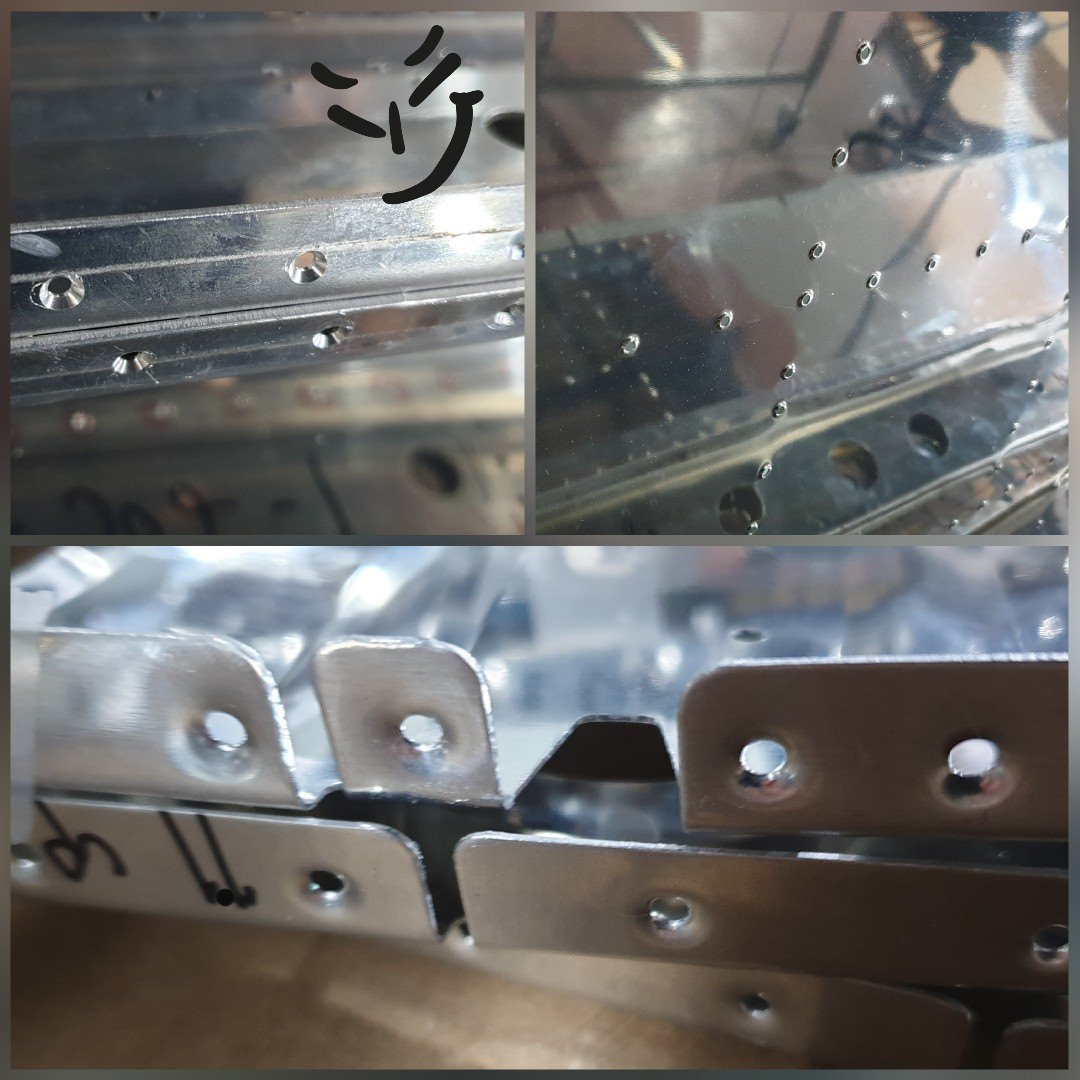
![]() I guess it happens in life of every builder and always in the moment you mostly not expect it. So here is what happened: we bought a very cool scuffing instrumment, and it worked very well on an open and wide surfaces. It worked so well that you could have scuffed tens of square meters in 10 minutes. The problem was on the dimpled spots, the cone of the dimple was rising a bit high above the skin and the roughness of the sand paper was a bit higher than required for that type of aluminium. The result was broken holes and the whole skin thrown to the garbage. The full discussion on forum can be seen here: [link]. I will give some more sad picture of this event. ![]() .
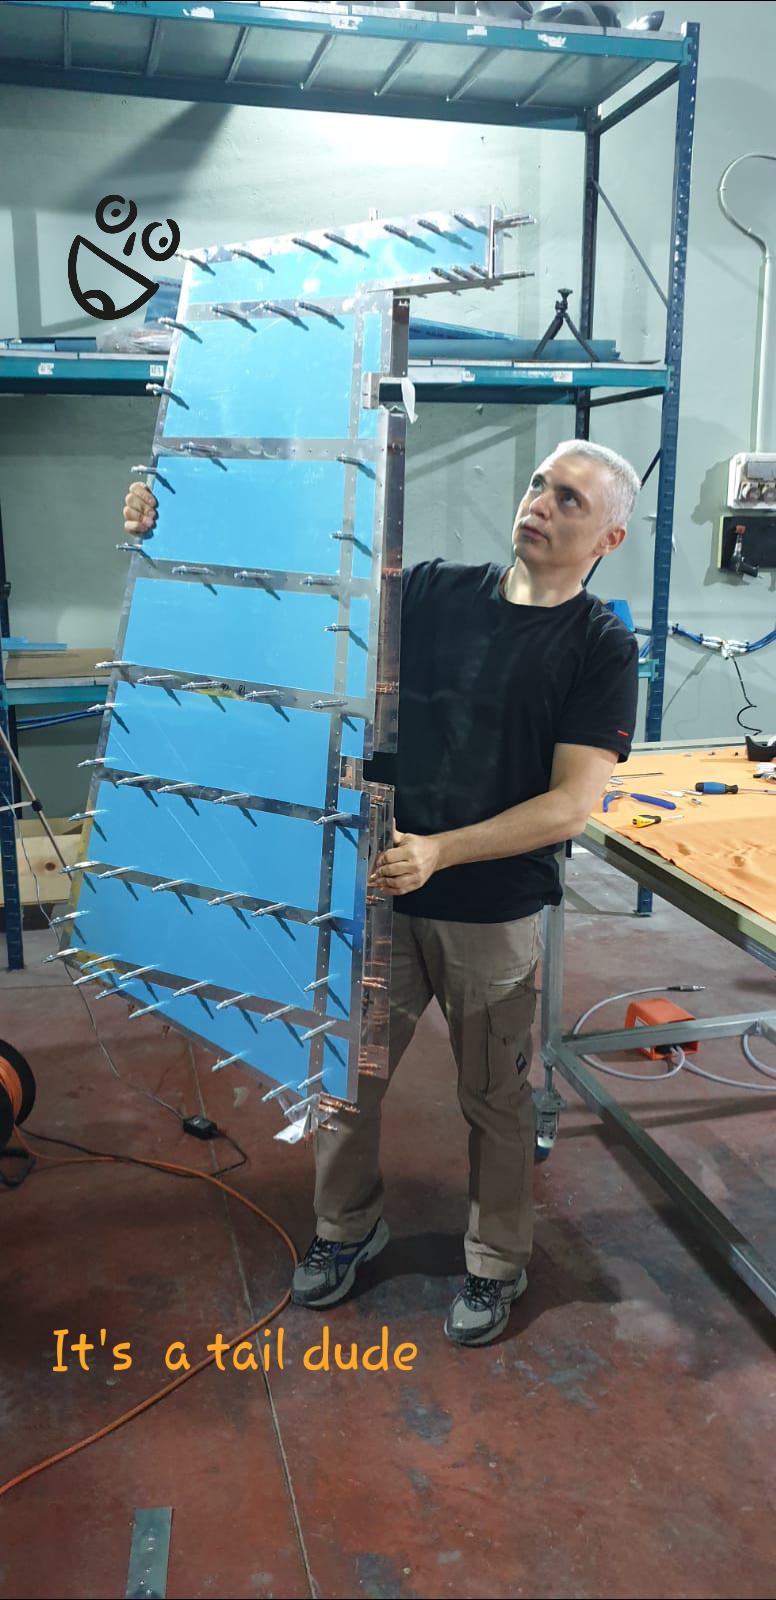
Anyway, omitting the sad part that cost us $500, the coating process went pretty good, and after 14 man-hours we are finally ready to rivet our very first structures. I don't have enough words to describe the excitment for our first week progress. See you the upcommimg weeks! ![]() Cheers. Roman & Dima |
Some paint fumes, a couple beers....
A good day!
|
Quote:
Yeah, more sweet days to come. |
Very fun build log to read, keep up the good work! First mistake is the worst, you will get used to them. :D I have a bucket of screw up parts now...
|
Quote:
how to do it right and moving forward. :D |
.
Status Report: #6 That report is about:
![]() .
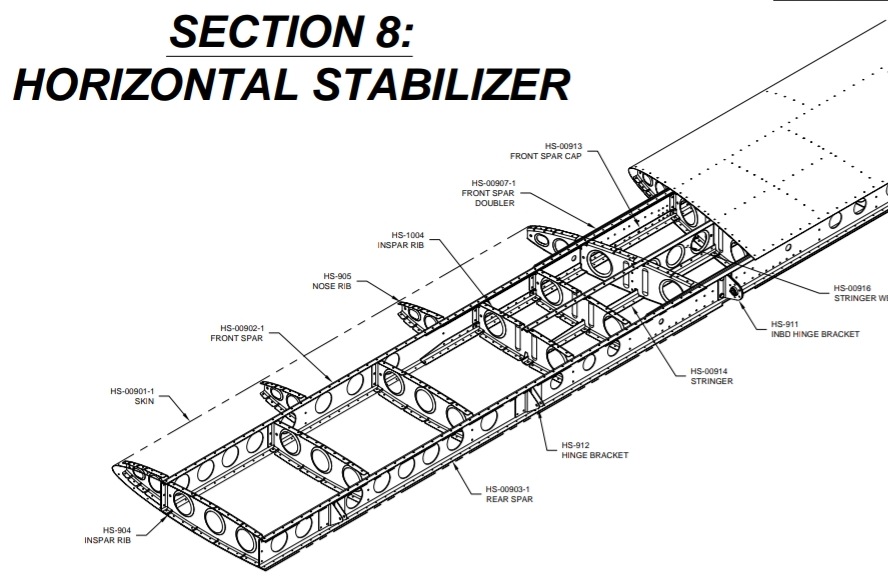
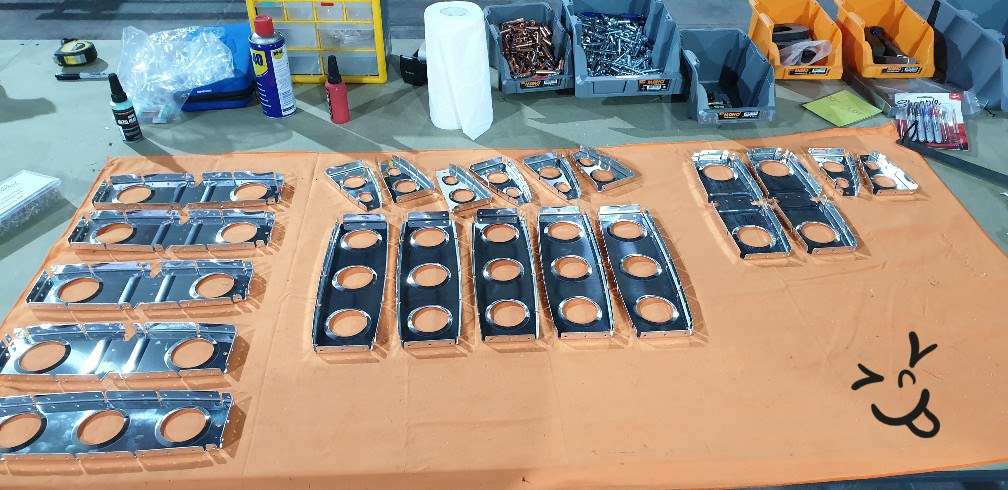
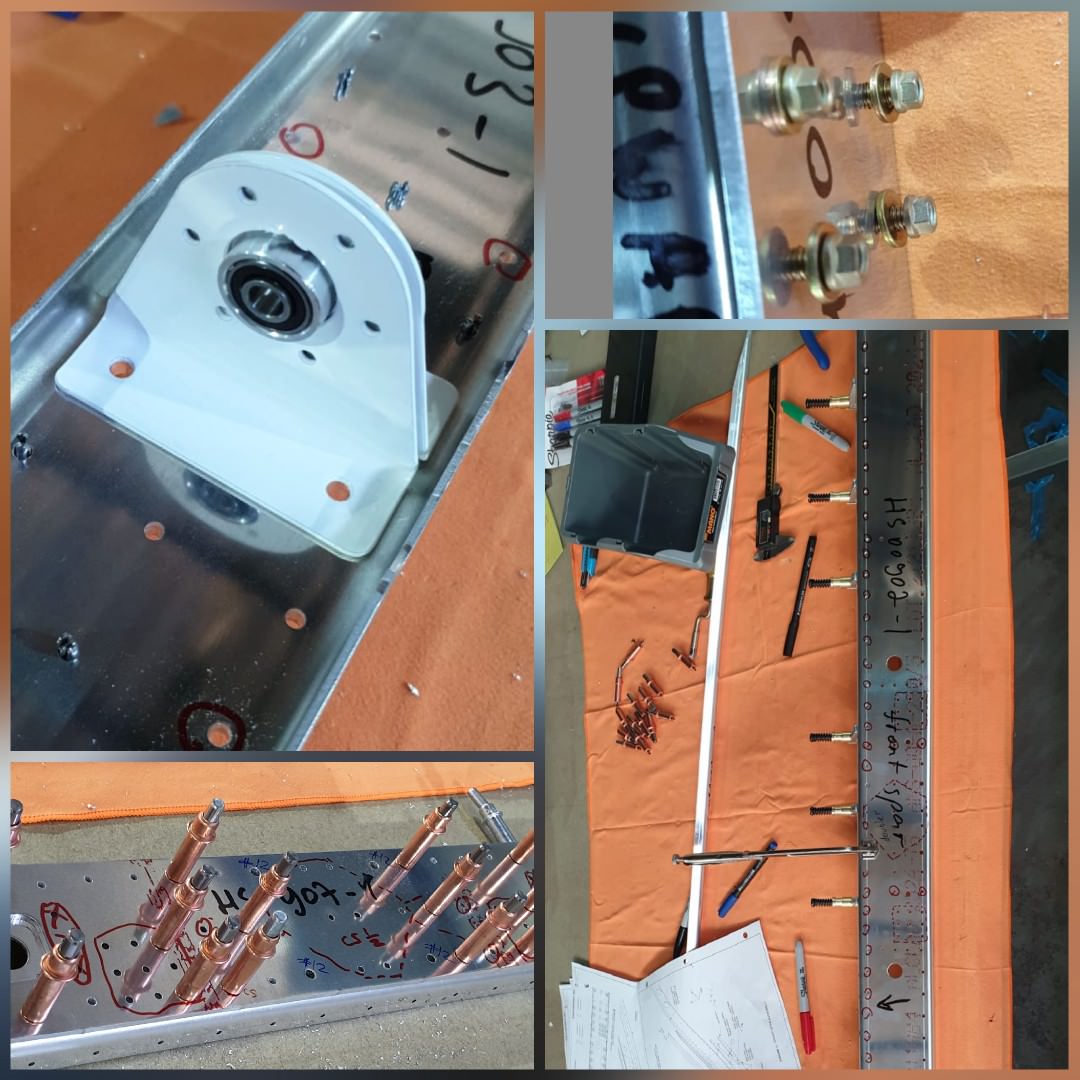
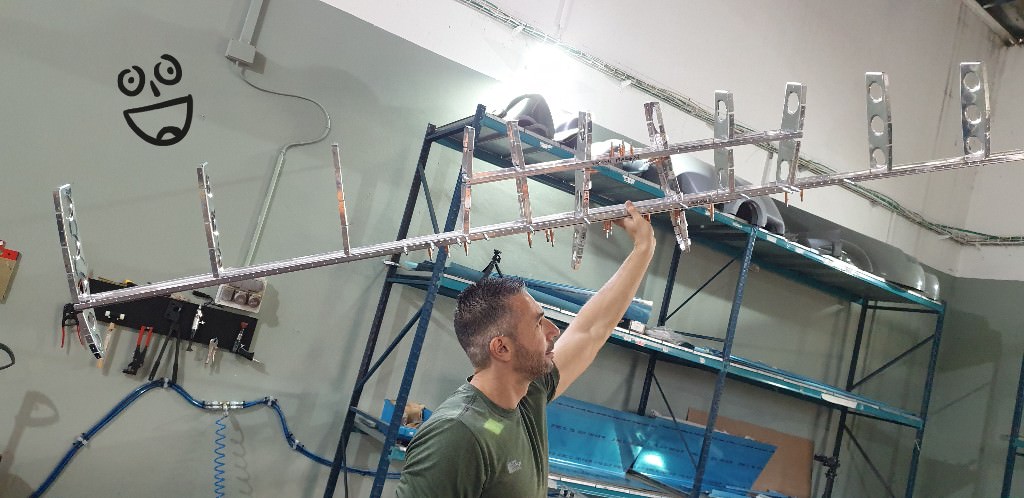
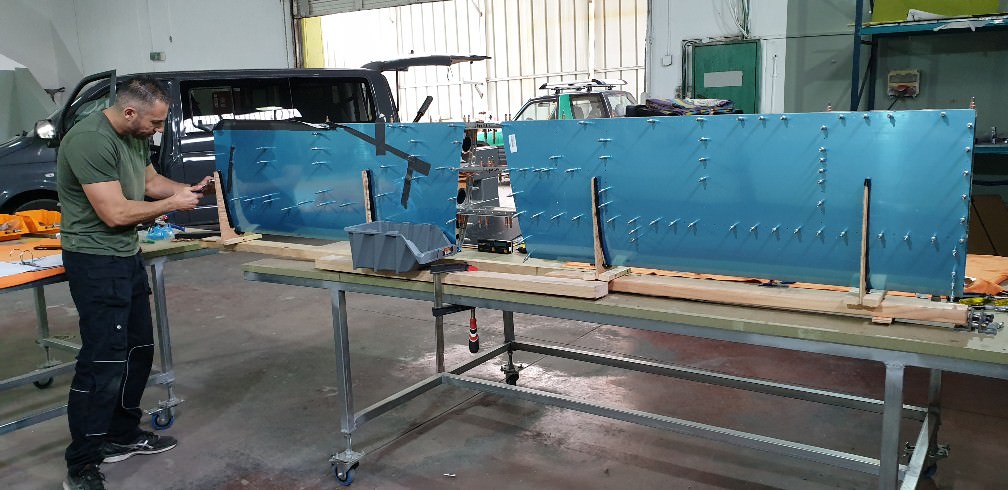
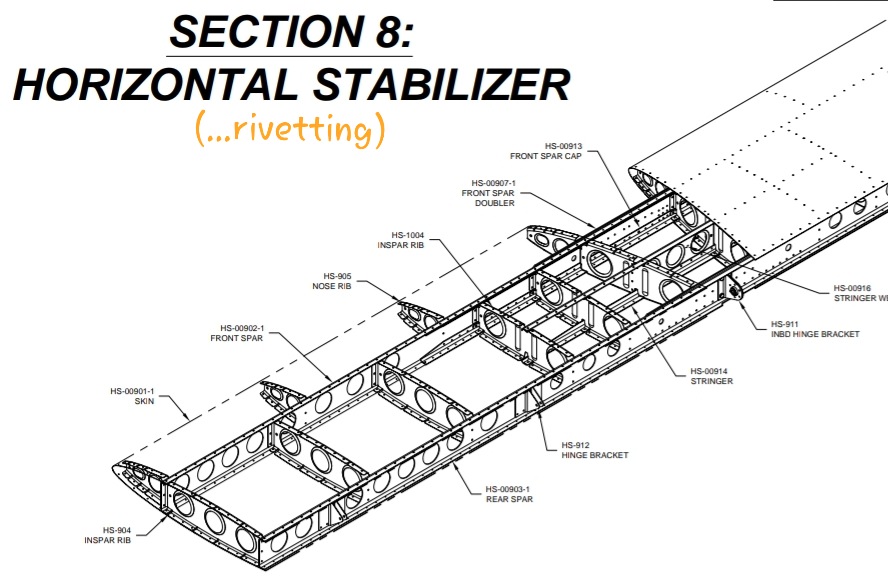
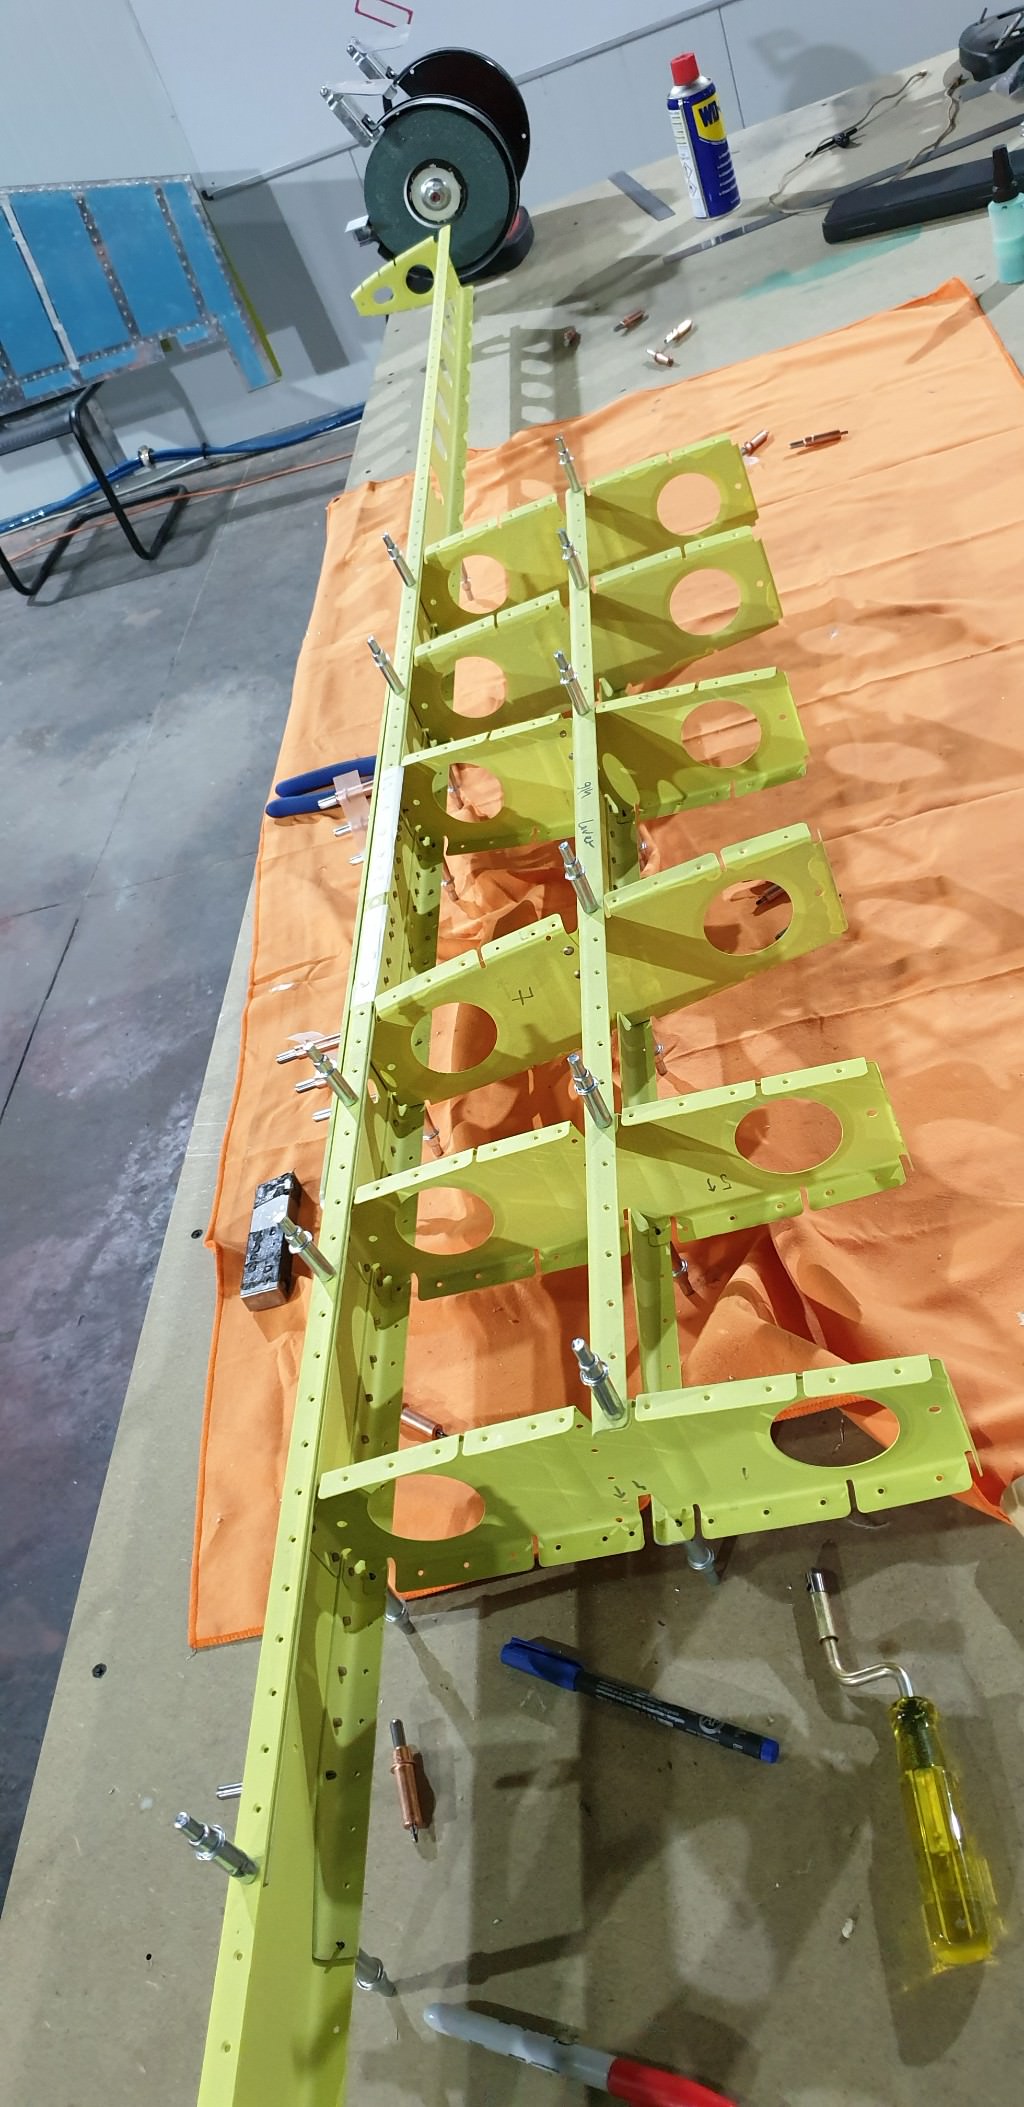
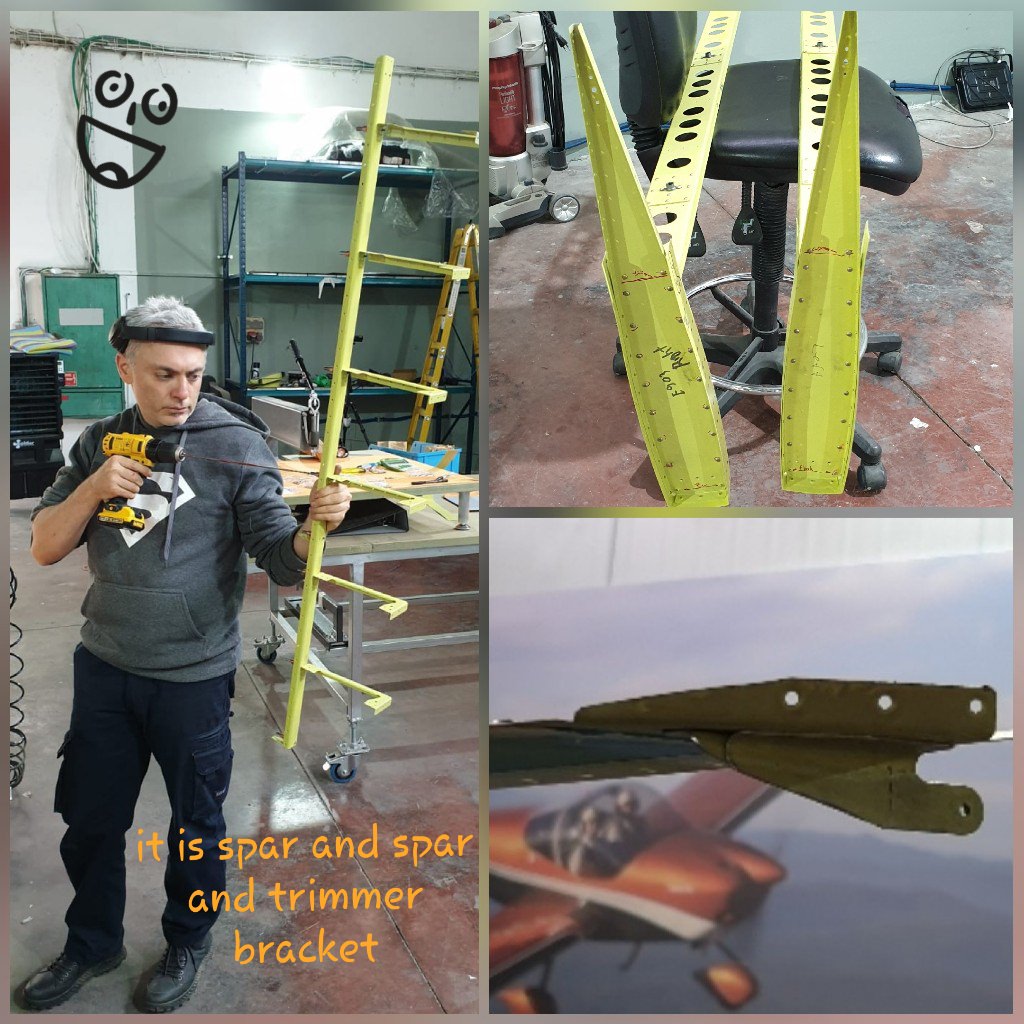
![]() The Horizontal Stabilizer is by far the most complex structure we have been working on so far. It consists of three types of ribs and has the longest spars we ever touched so far. Oh, and yes, its wing structure reminds you that the thing you building is actually a plane. ![]() The spar of HS is a pretty important part of the plane. It makes all the balance working: it takes the counter weight of the engine, and cause that one is really heavy, so the forces that work here are also pretty serious. There is about a gazillion of different holes on that spars, and they are there for the spar to be reinforced with the doubler and in-spar caps, and it also has the ribs integrated into that eventually. So the work there should be done with a serious attention to the details. One wrong drill and you are off the road. ![]() The assembly of the internal web is pretty cool, it's the first time we meet such a various types of methods to reinforce the construction. In addition to the usual doubler plates on a the spar, we also have stringers to keep the long ribs solid and caps on the spar flanges to add some mass there. ![]() Hundreds of holes to countersink and dimple so all the rivets will be hidden and will keep the aerodynamics. As you doing tens and later hunderds of those guys, you got some confidence and the work flows up quickly. We had to constantly remind ourselves that one wrong move and we would have to order new parts. ![]() That all leads us here: Horizontal Stabilizer in all its beauty, small wings that are almost ready to be painted and installed on the plane. Almost there but not yet there, and still watching it assembled was really making my day. The preparation of the Horizontal Stabilizer for Strontium coating took us about: 26 hours of 4 hands work. Yeap, 2 of us means 4 hands ;-) . Anyway, 52 man-hours and we are there.
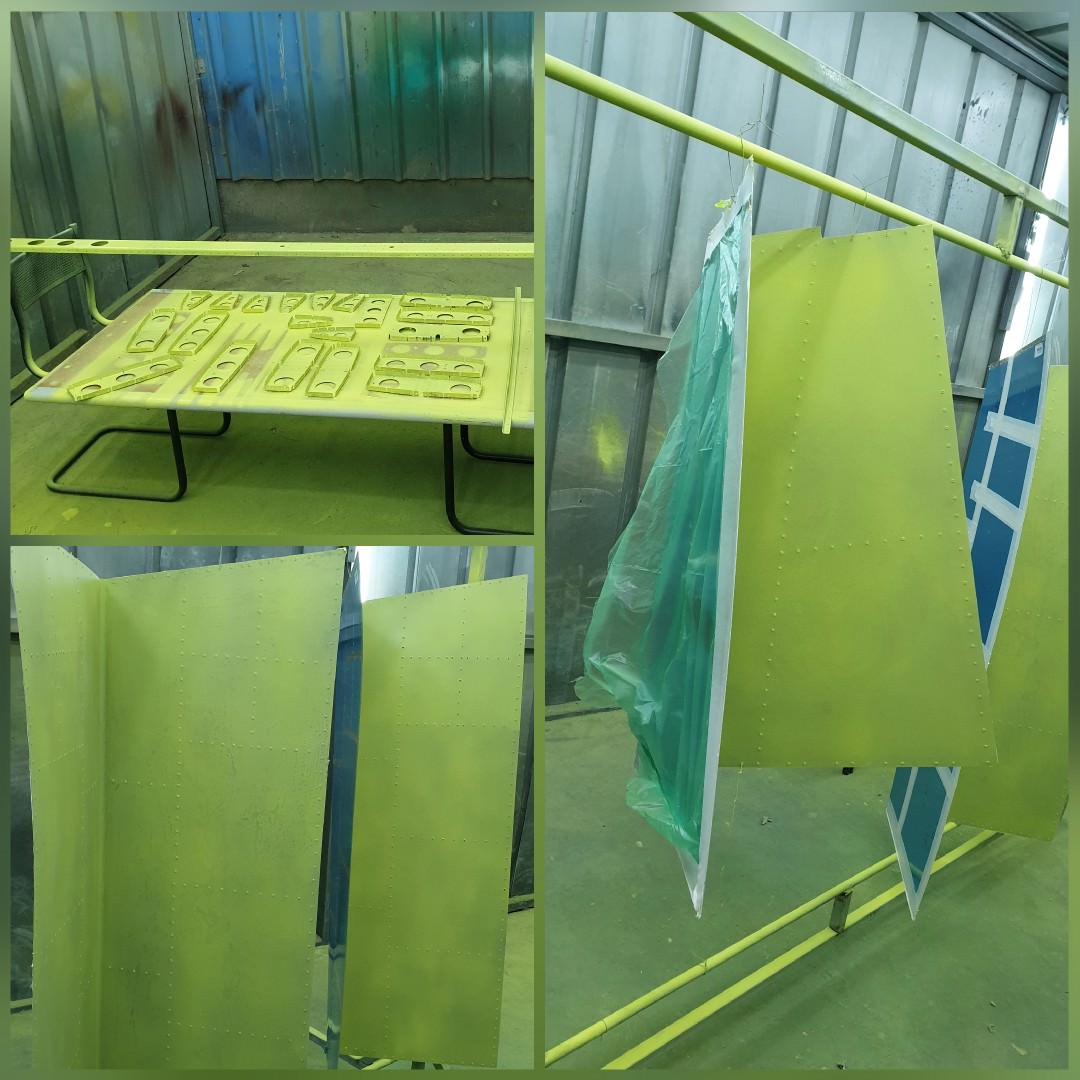
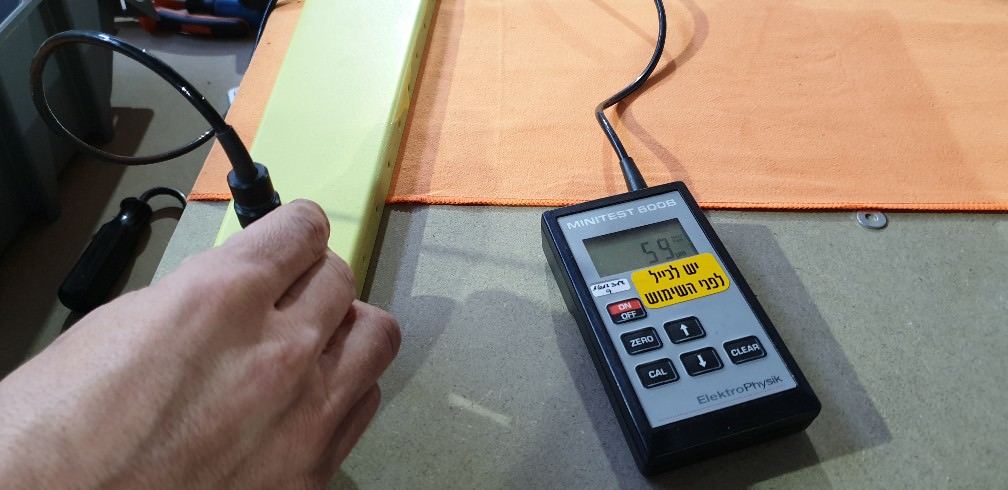
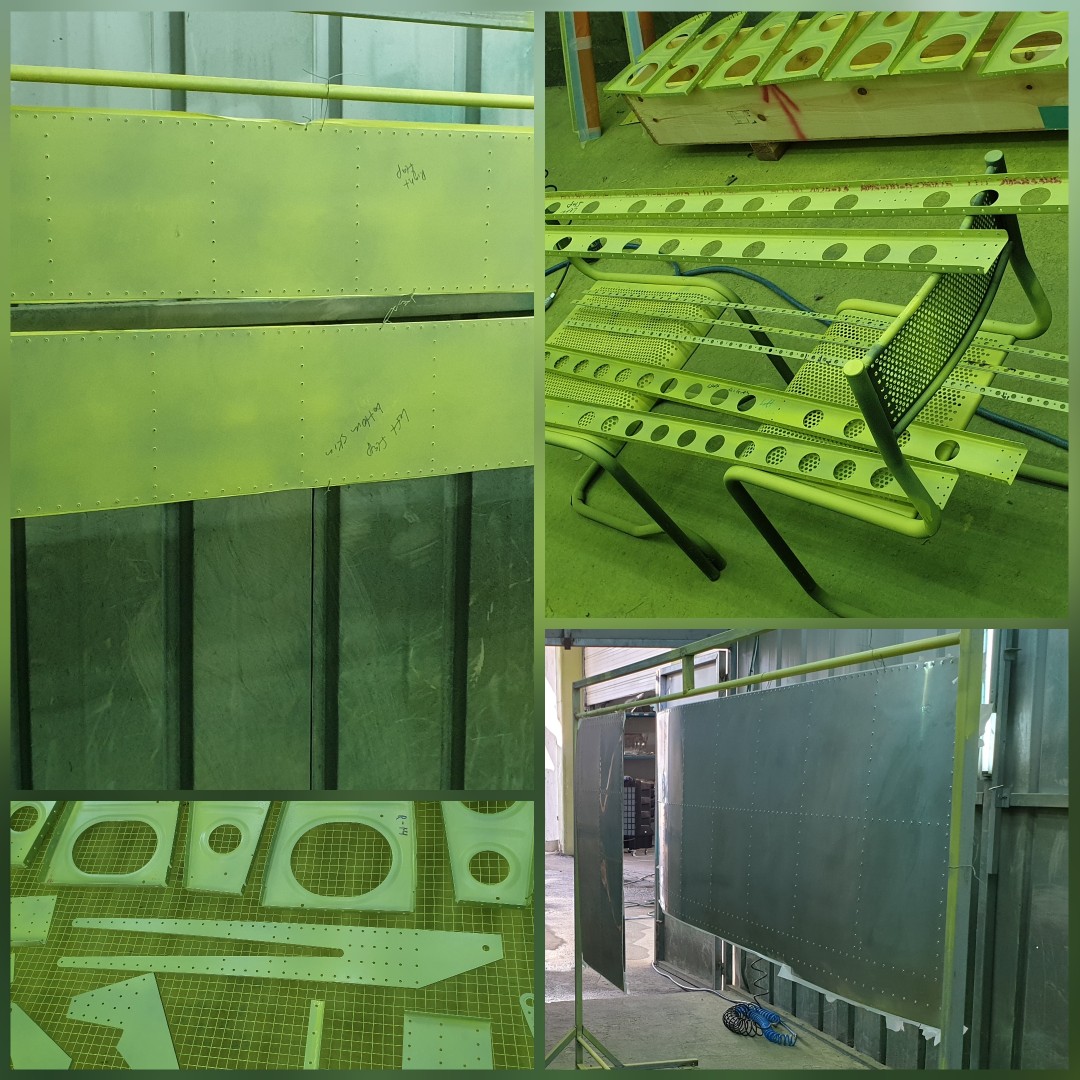
![]() The story of the various painting days is pretty similar: you do all your preparations and place the various parts in good positions to make it more convenient to coat them. The guys that follow our story, probably remember that last time we did the painting we seriously damaged the skin of the Vertical Stabilizer ? so serious that we had to order a new one. Vans acted very quickly here and before our second coating day we got the new part. A bit preparation, and the new part is also painted with the other 2 skins of the Horizontal Stabilizer. ![]() One more interesting point to mention: in that picture we have a small gauge that helps us to measure the exact thickness of the coating layer. If you are looking for one, remember you have to find a device for non-magnetic metals as aluminum will not work with the standard simple devices. The spec of Strontium says 20-30 microns will do: we made it a bit thicker but still in the limits to keep it elastic so it will stay on the metal for very long time. .
It is very inspiring for us to see us making it while the complexity of the assembly is raising up. I believe that with the time that trend will continue to be the same, as well as our ability to make it. Now the parts of the Vertical Stabilizer, the Horizontal Stabilizer and the Rudder are totally ready for the final assembly, and we are totally ready to start the final riveting stage. Join us there. ![]() Cheers. Roman & Dima |
.
Status Report: #7 That report is about:
That time our report is very heavy in achievements and we are super happy to put it here. Let's go and see it step by step: .
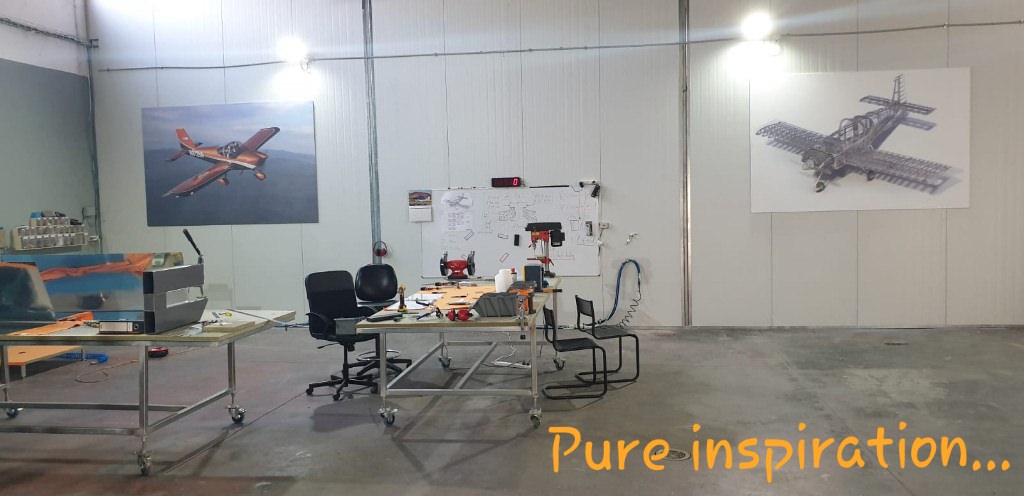
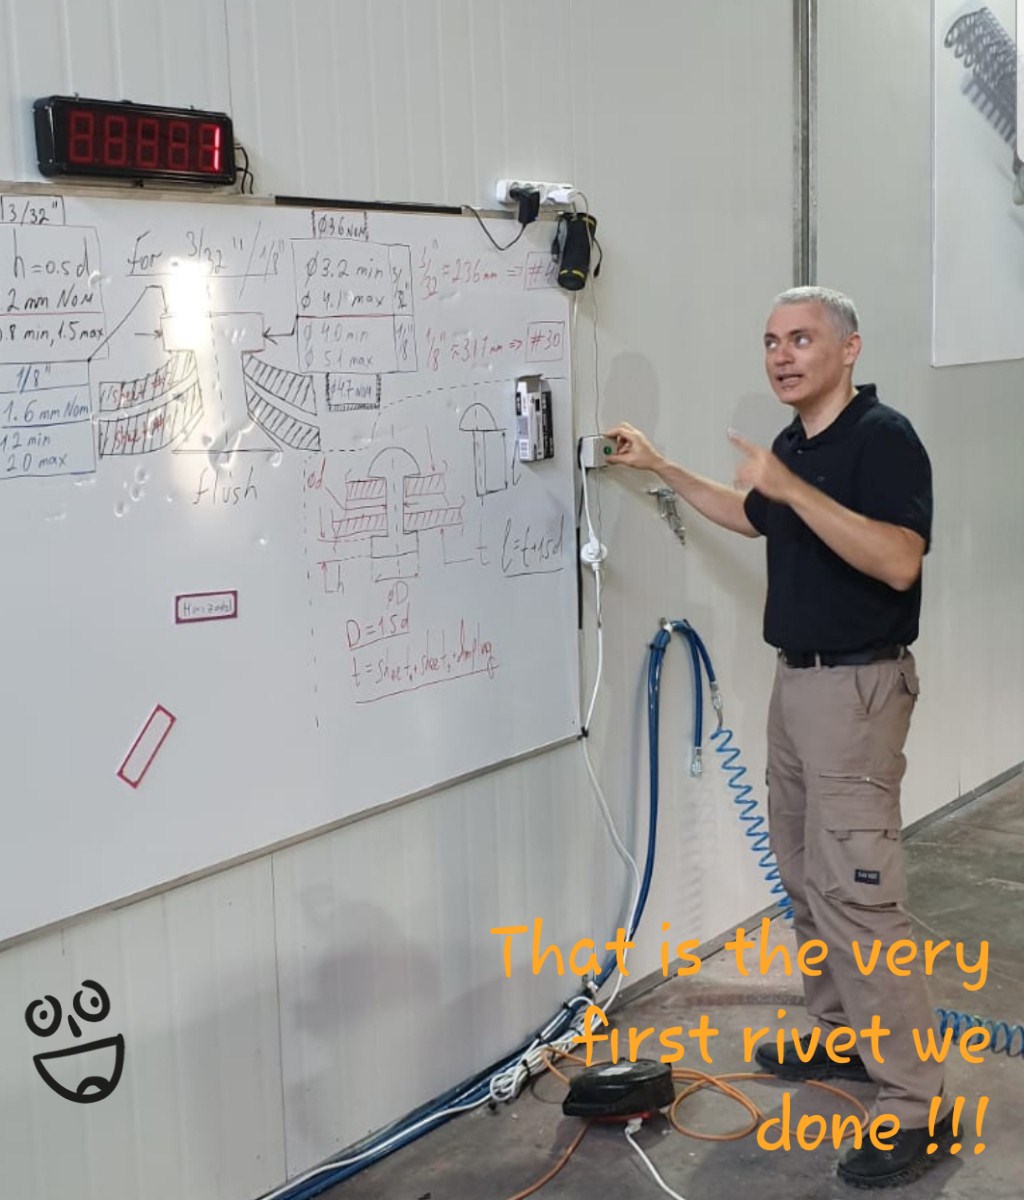
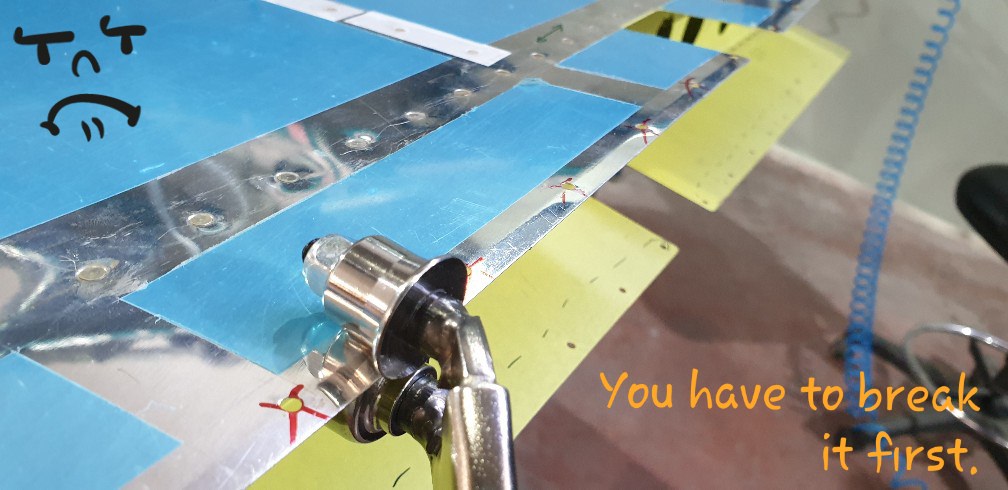
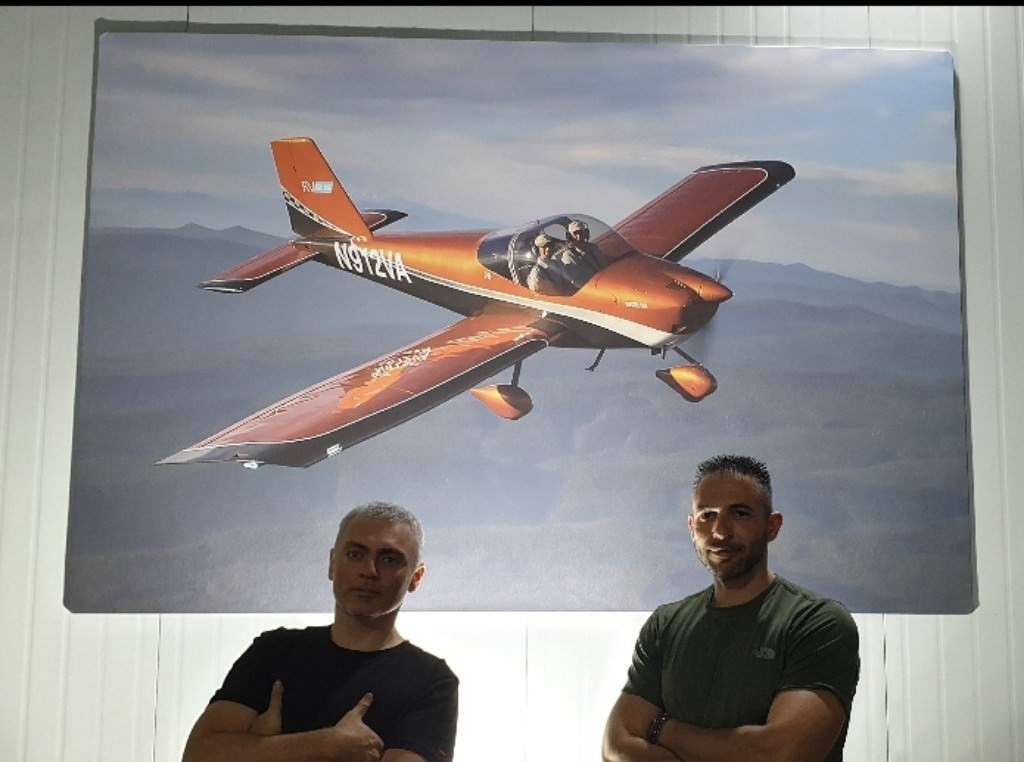
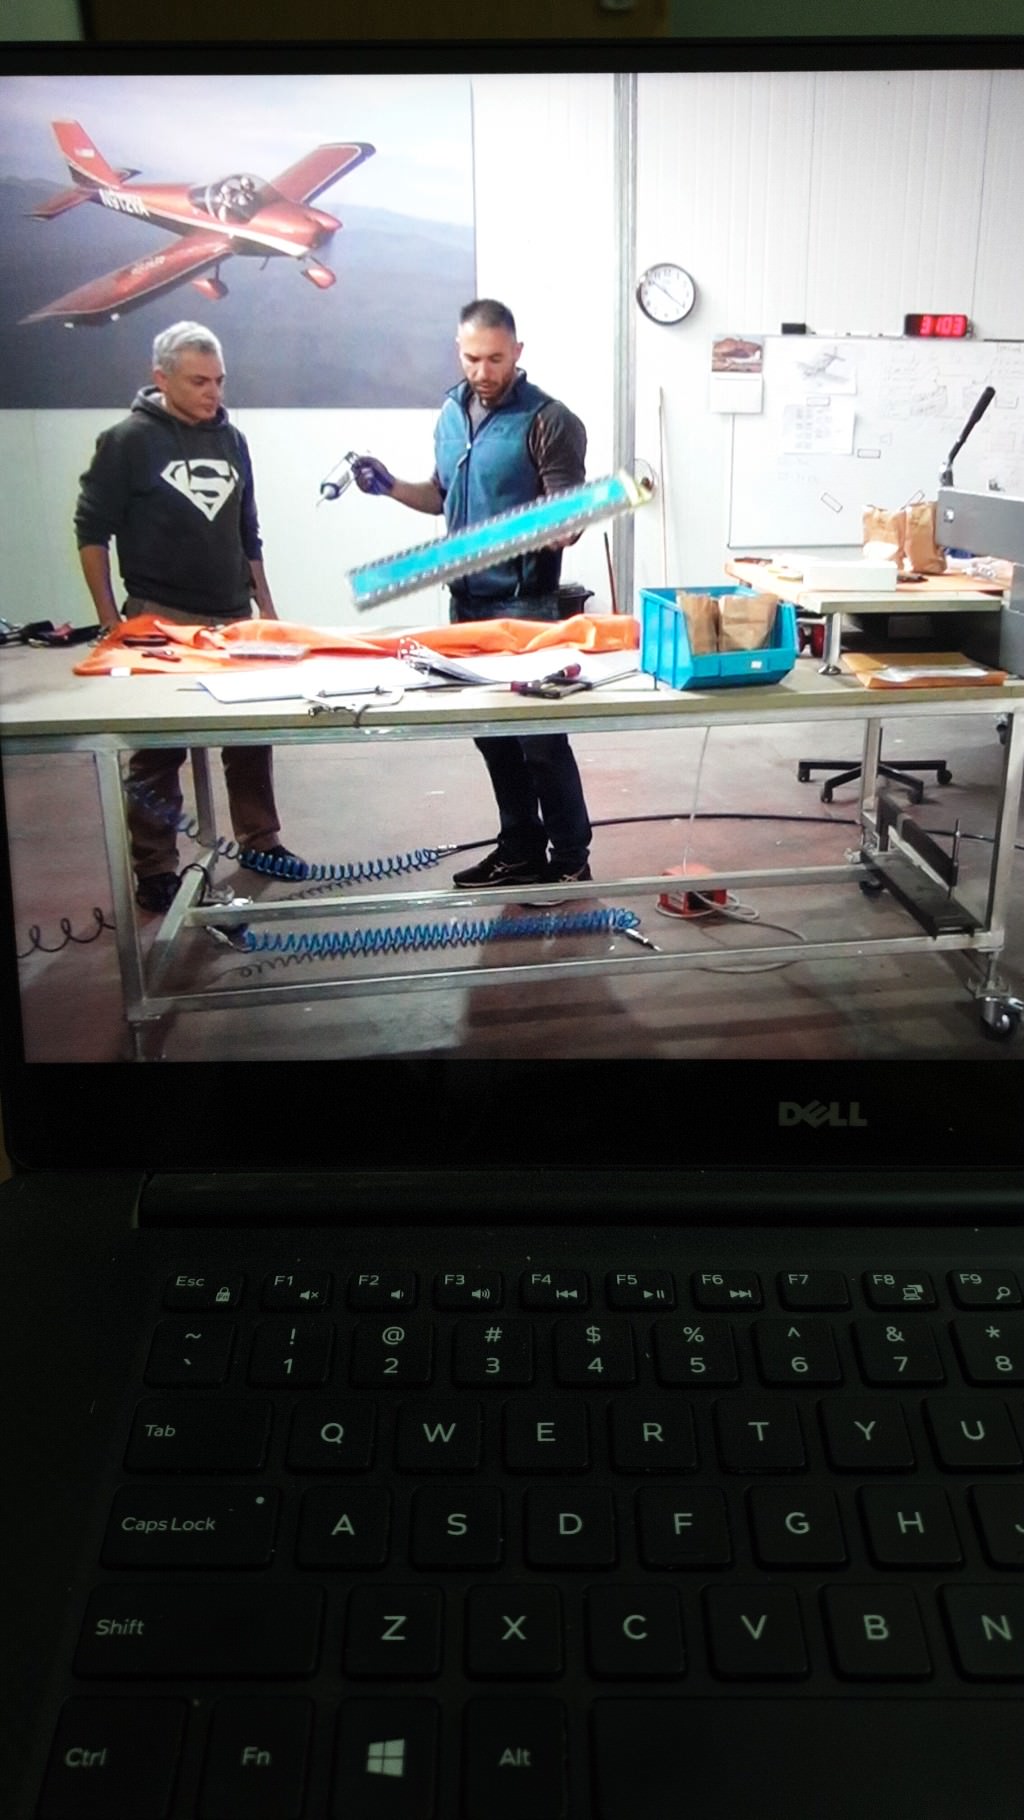
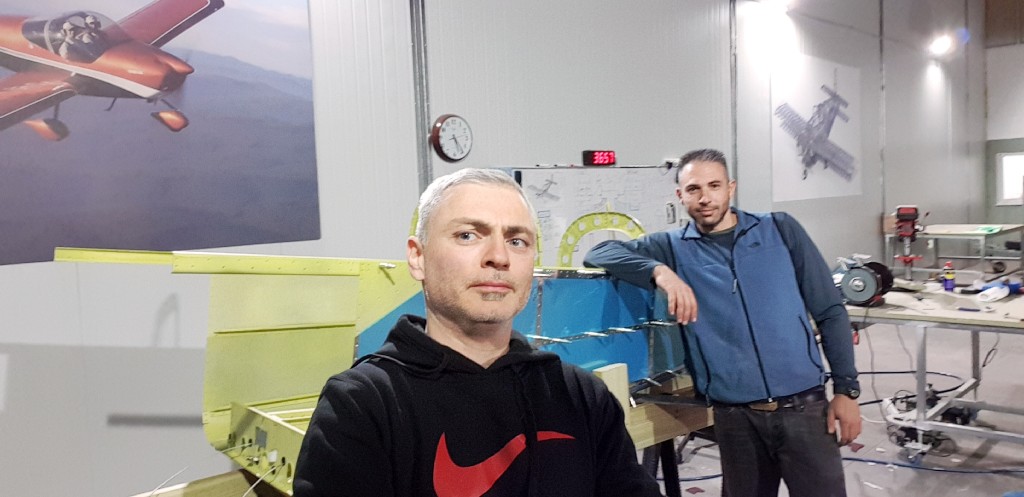
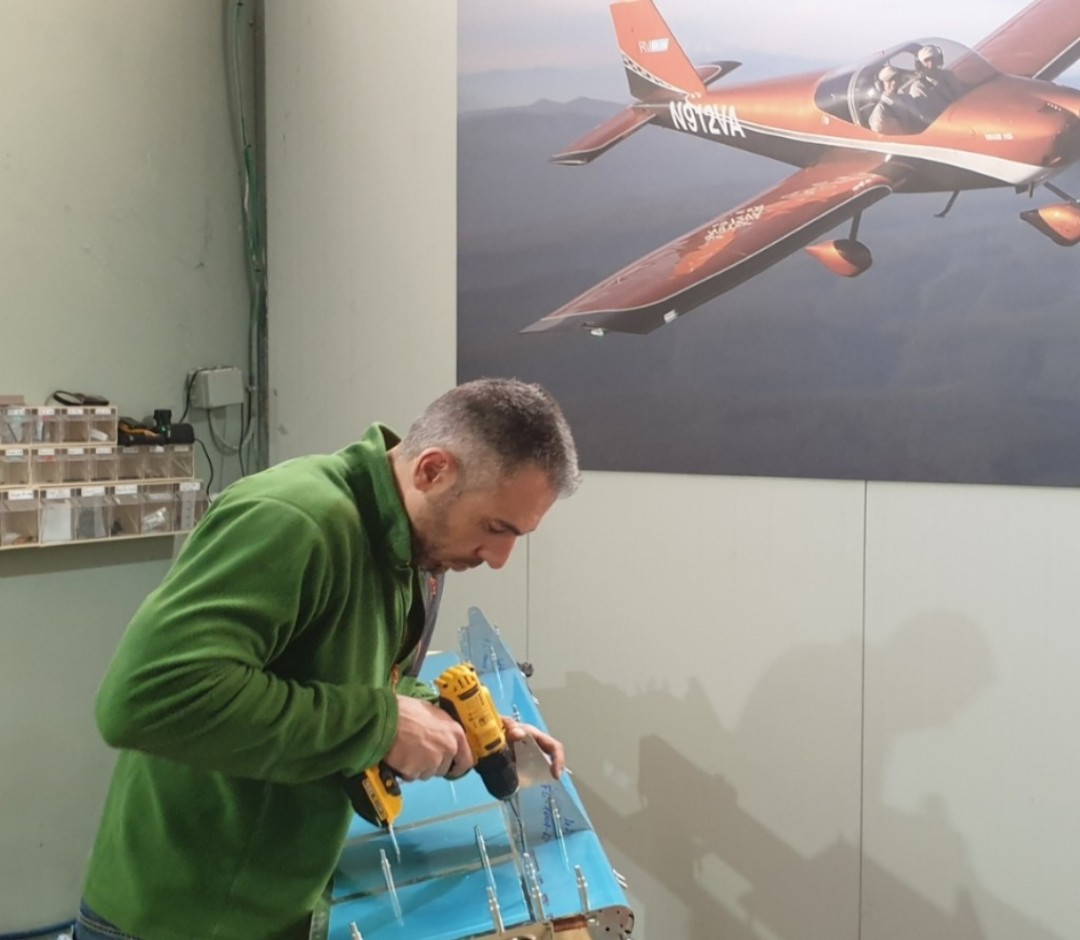
![]() Lets admit it, not every moments in the garage are energetic and effective, sometimes you make mistakes and desperately looking for some motivational boost. We want the walls to radiate aviation, we want to have our goal in front of the eyes all the time. If you remember clearly what you want to achieve, it keeps you extremely motivated and highly energetic. Alex came to our place once and ask us: "Hey do you want me to put some planes on the wall for you?", apparently he was doing this as a small business mostly printing some De Vinci stuff on people seals. Simple as that 2 weeks after this conversation he landed in our garage again with his worker and they made this two awesome posters. Our place is not the same since that moment. Each time we enter the place we know exactly why we are going to spend all this hours there. ![]() Every project has it's memorable moments. In our garage such a moment is the very first rivet installation. It is the last step to finalize all the preparation and the first one towards making real parts of the plane. As you may guess, we are going to count our rivets from here till that magic moment when the plane takes off from a nearby airfield. .
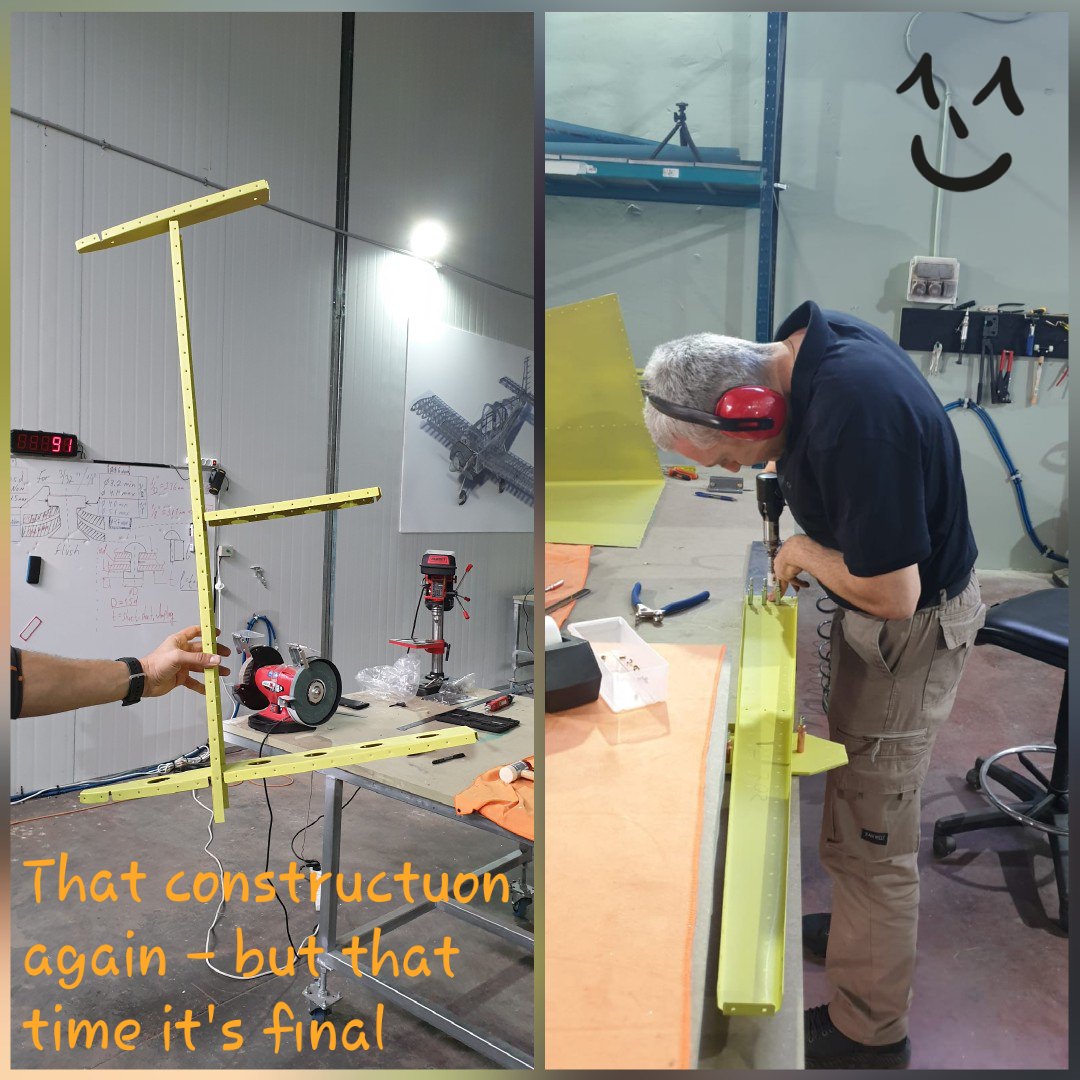
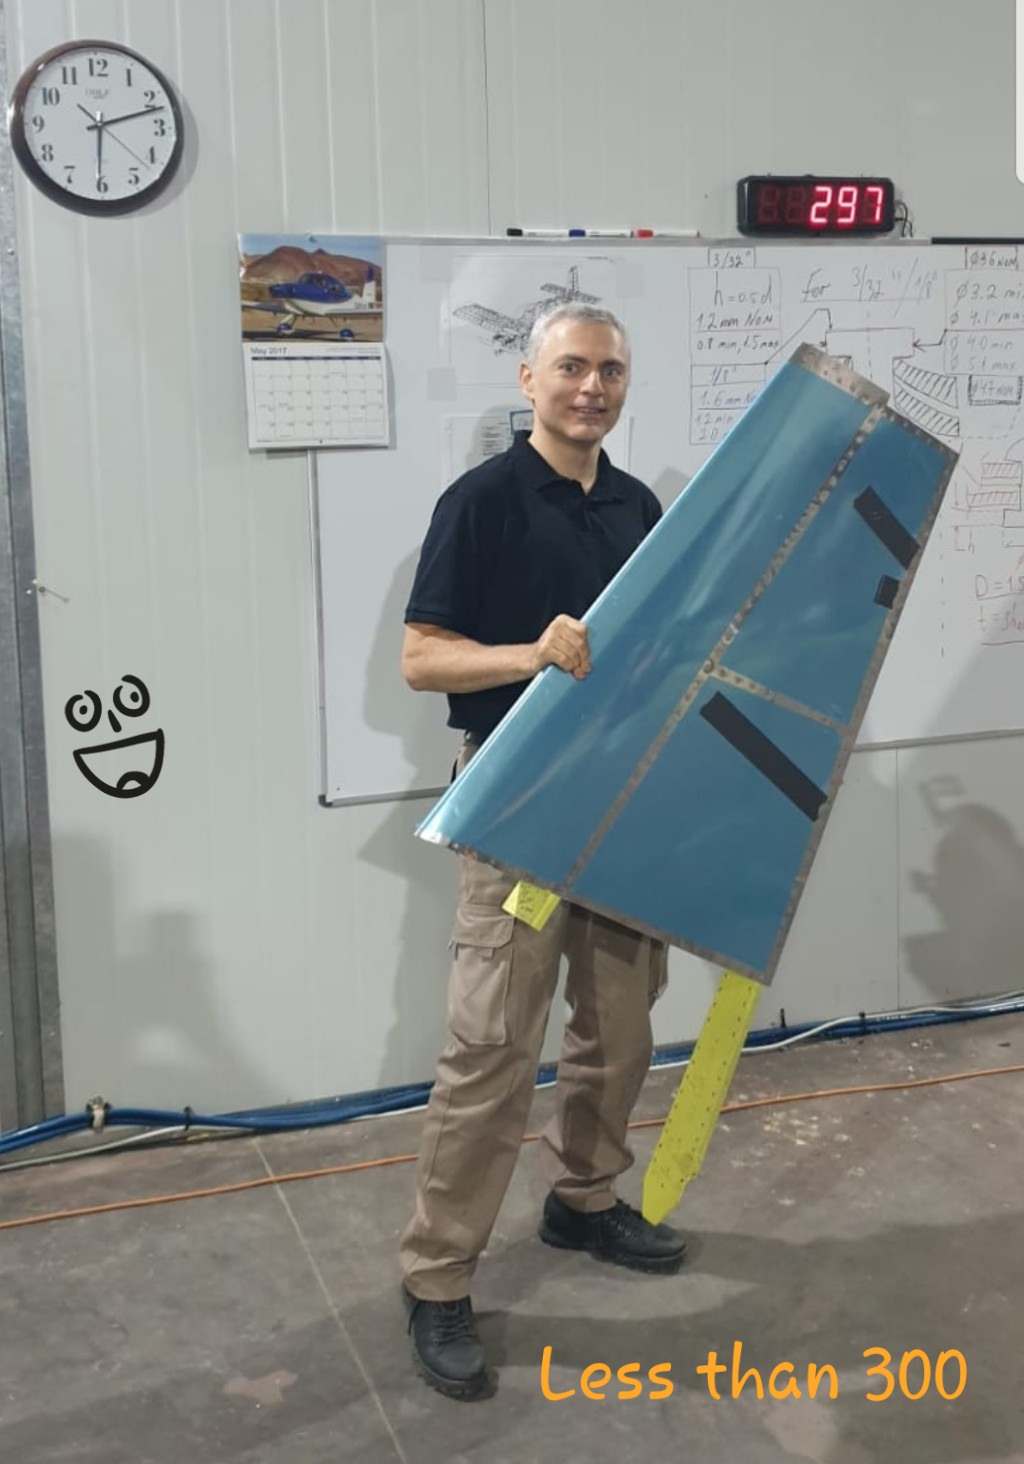
![]() I have seen that construction once or twice already but that time it was tied together with clecos and a true felling came that it is all temporary and will be dismantled in a moment - that exactly what happened. But that time it is a completely different feeling: it is done, it is there and one day we are going to fly on that part. ![]() Less than 300 rivets ? and I am holding the first real part of the plane. What can be more exciting?! What a divine moment indeed. Nothing can stop us now! .
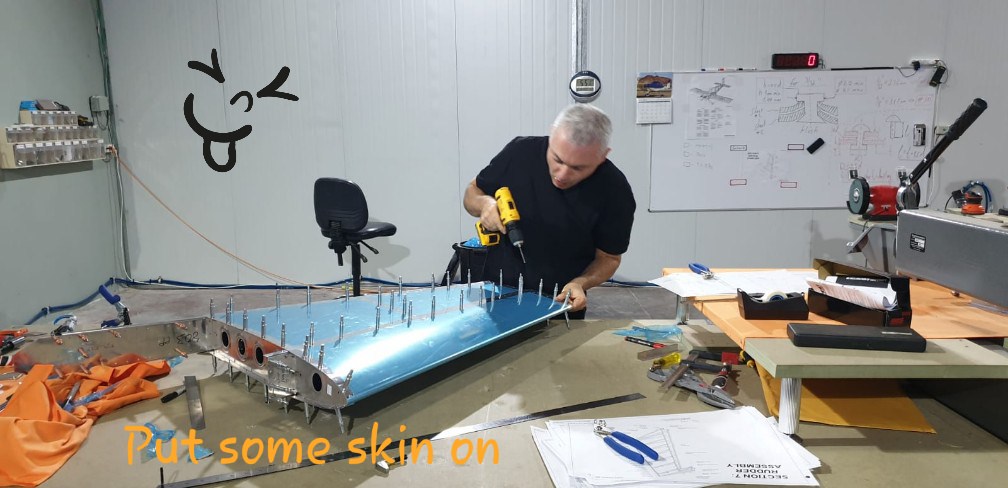
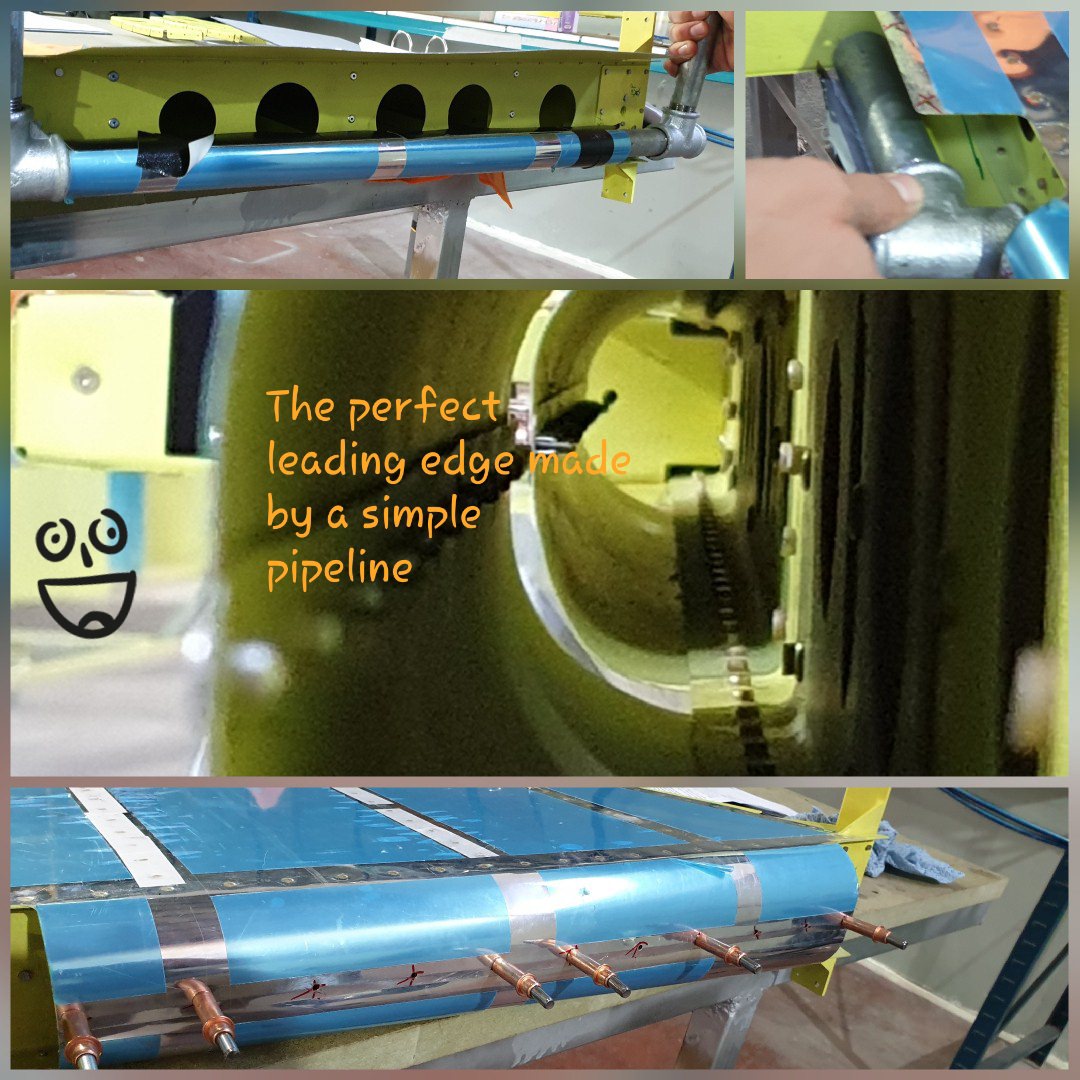
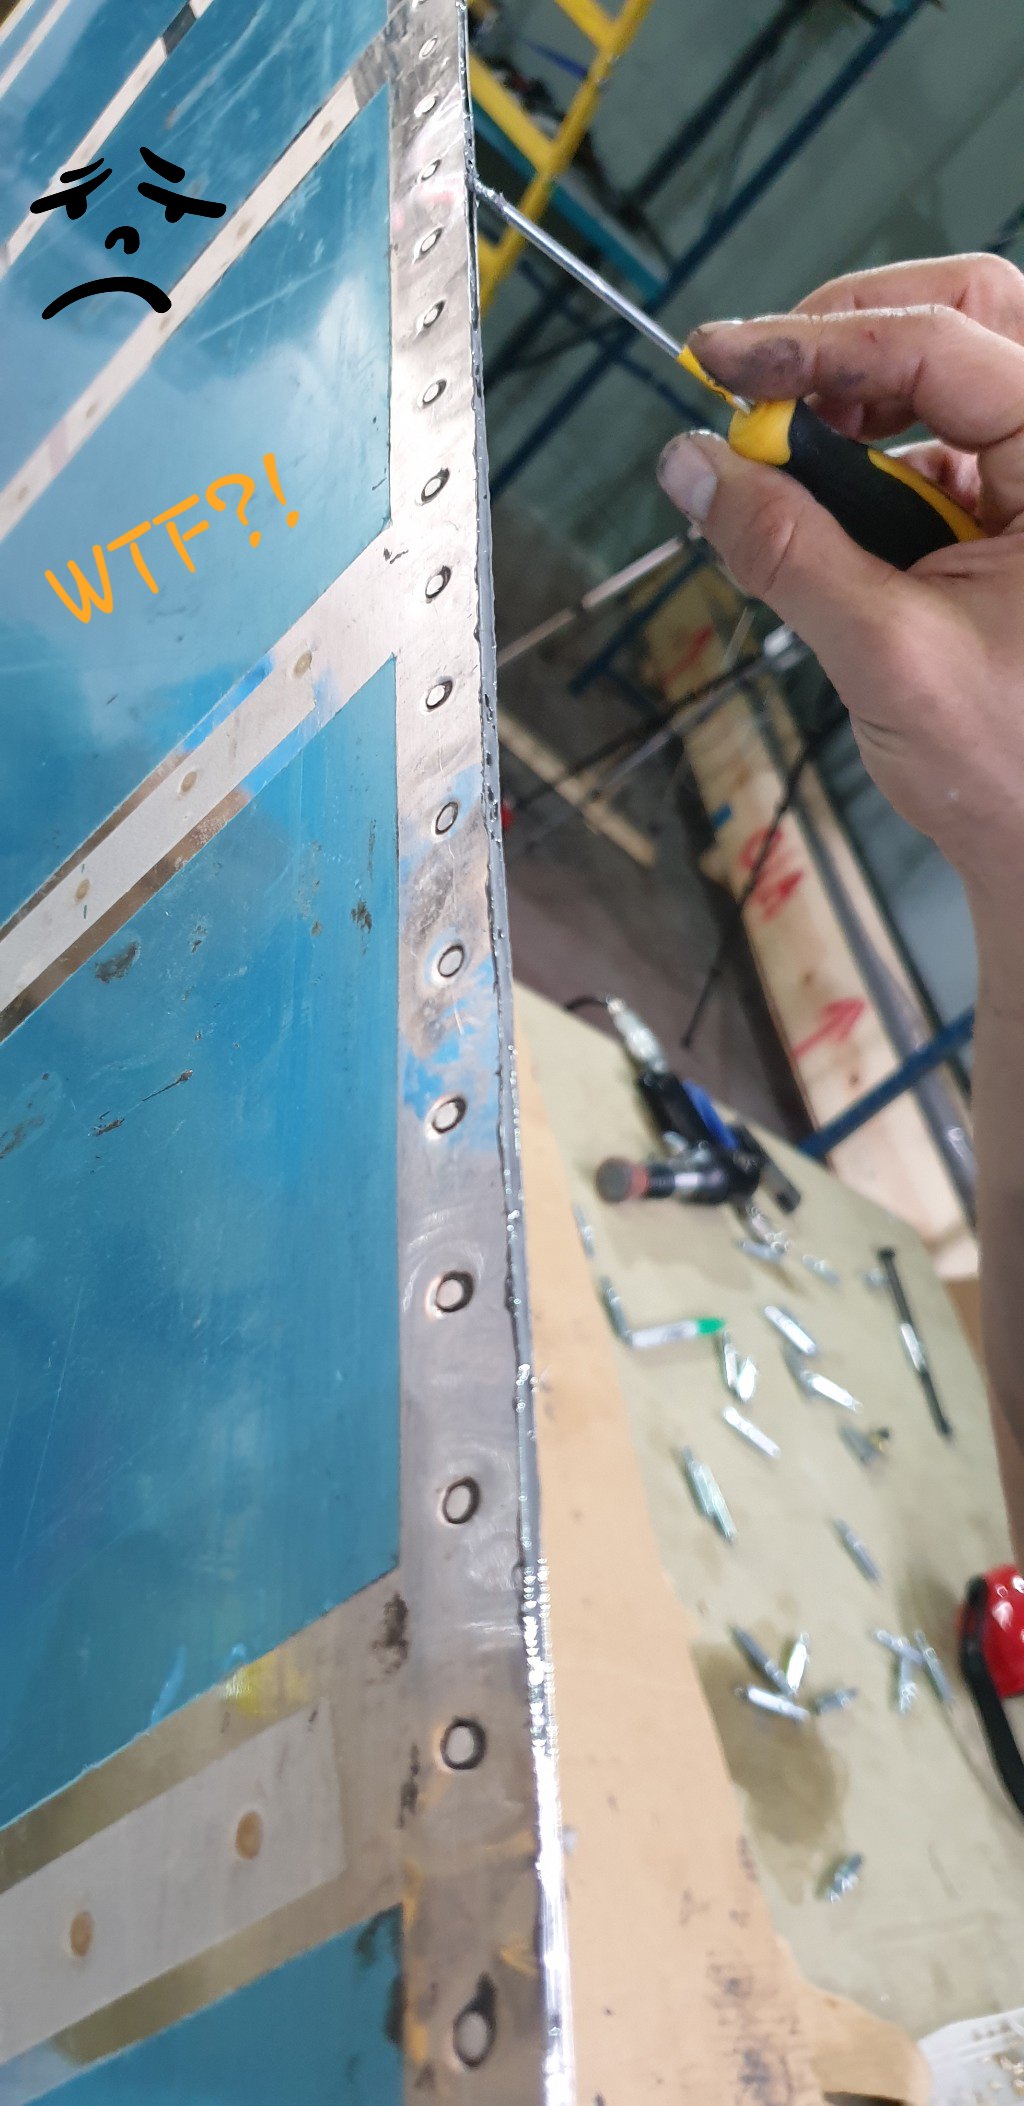
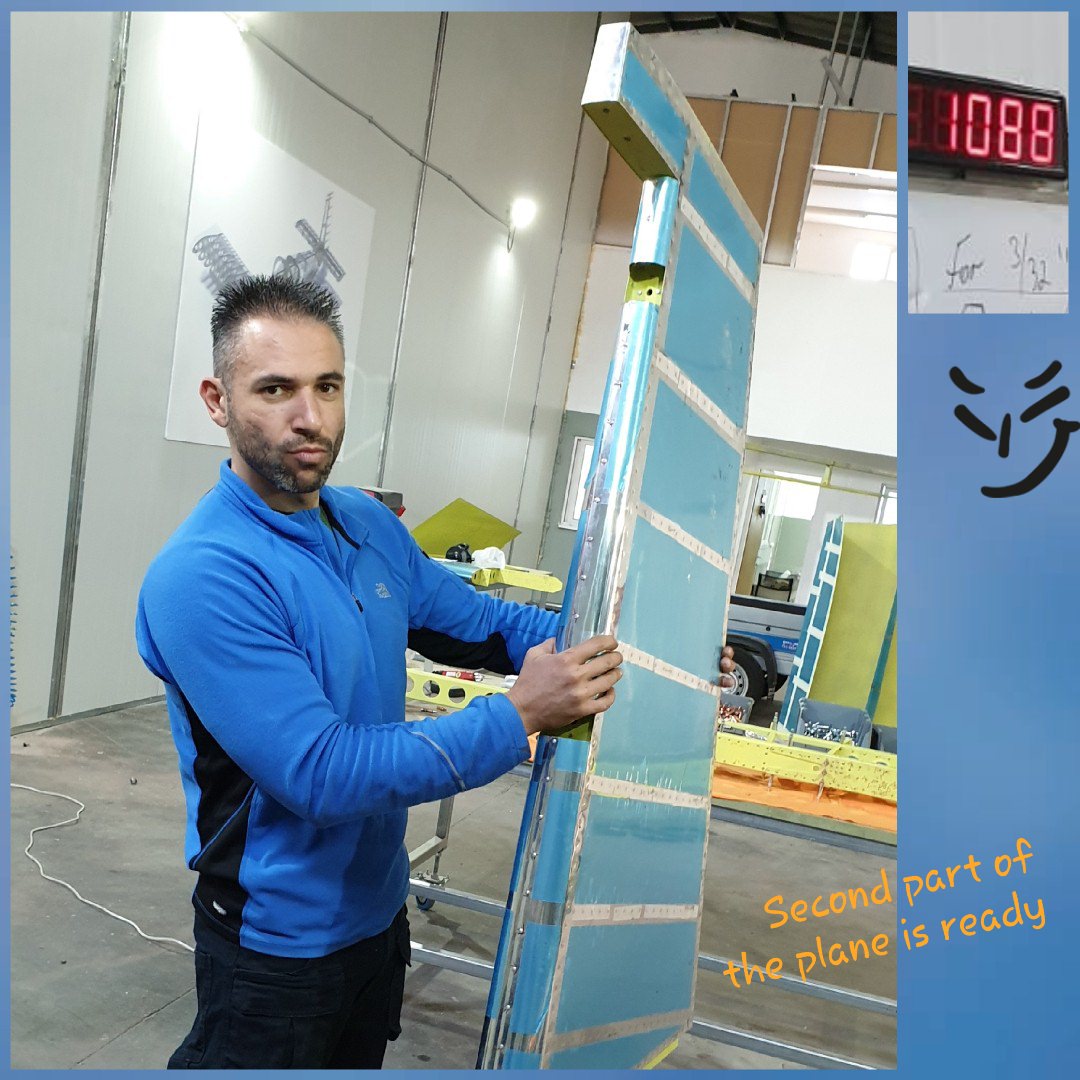
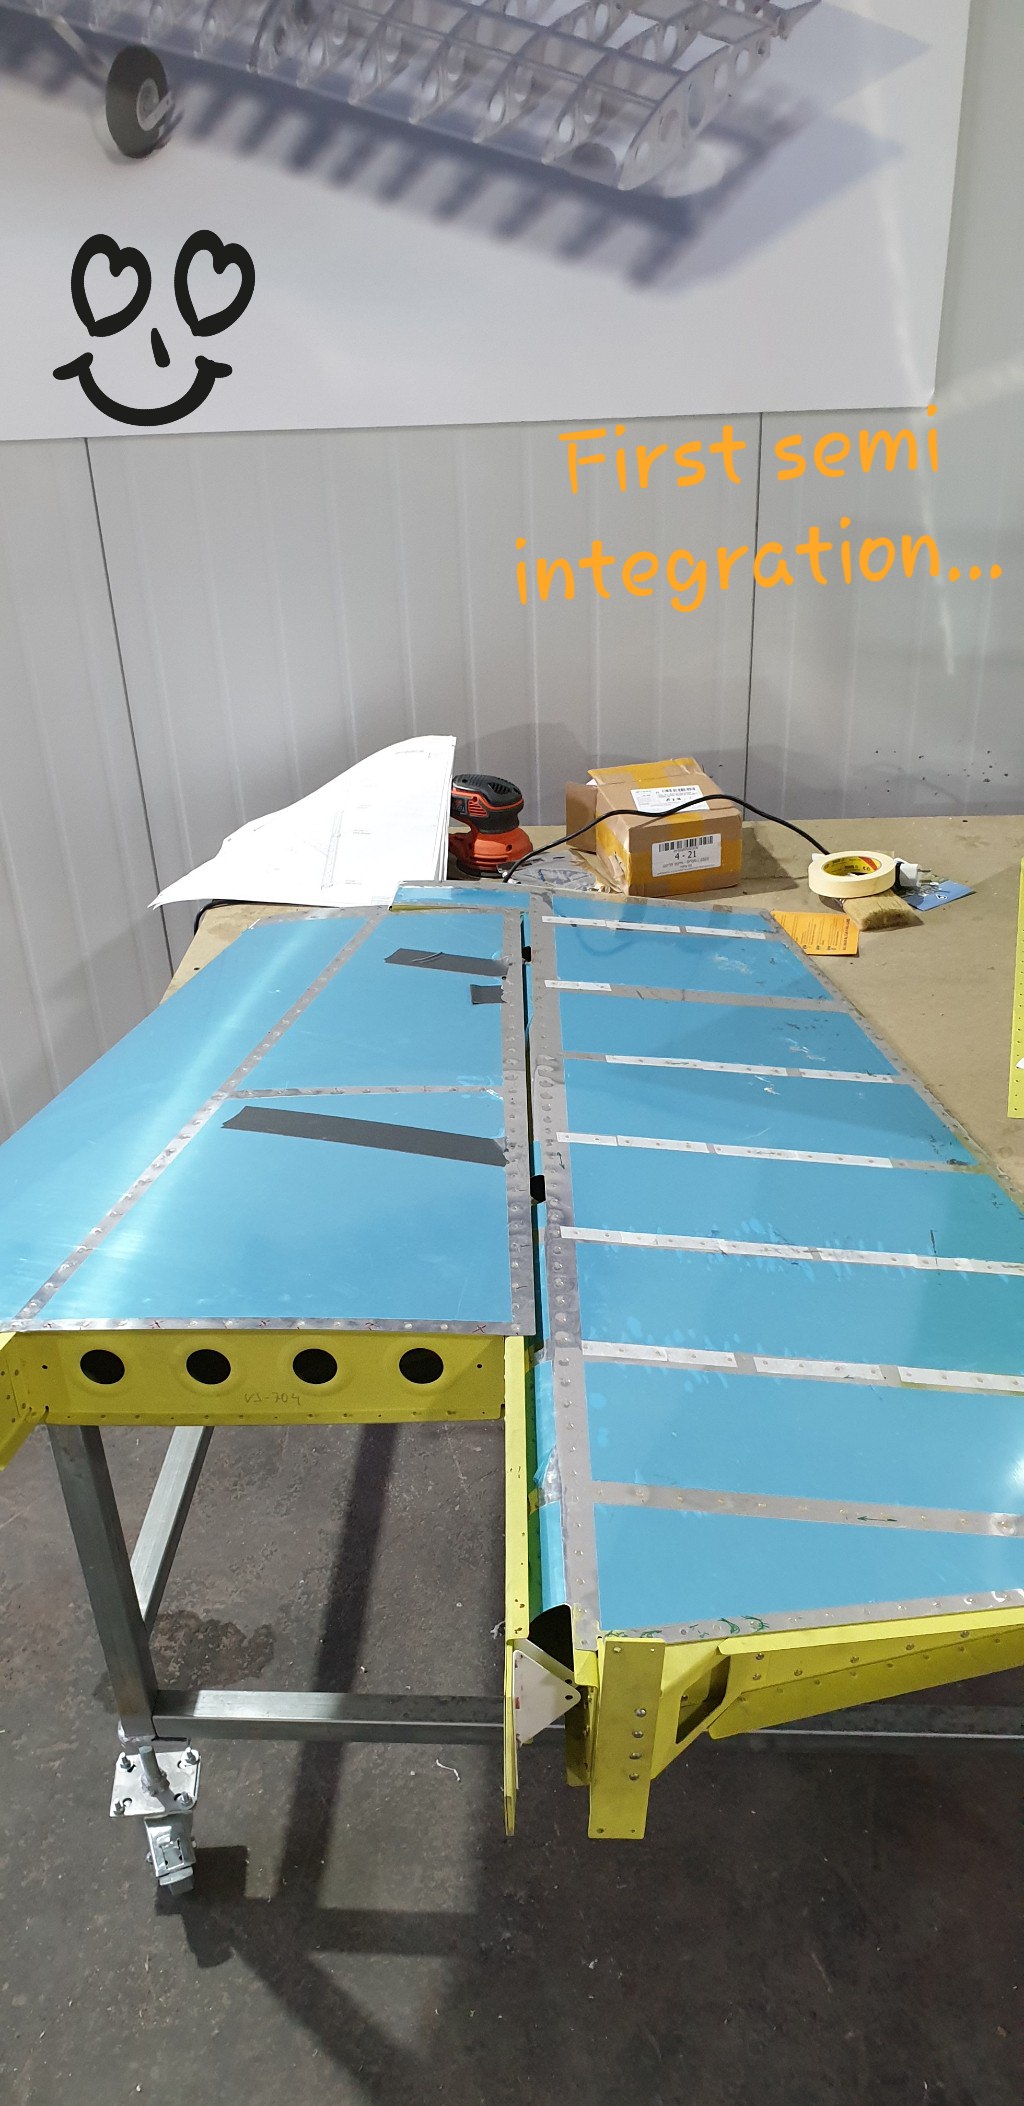
![]() The Rudder riveting is a bit more complex job. In most of it's parts it is very similar to the Vertical Stab, but some parts are new and are directly related to aerodynamics. Here we are breaking the leading edge just a little bit -- not to much but just enough to make it perfectly aligned after the leading edge bend. ![]() Now the bending part: it looks a bit dangerous to make some round structures, but we did a good preparation and have actually done it once or twice on a training project. We also prepared the right tools: if that is the correct term for a piece of a plumbing pipe. Anyway, it worked perfectly including the blind riveting later. Great joy to see your first self-made leading edge of the real controller. ![]() What is that? No, it is not a fuel leak sealing: it is an idea by Vans: how to cushion your crack-prone trailing edge. This time the wedge is riveted with what is called the wet riveting technique: code-name for squeezing up some goop between the skin and the wedge. ![]() A bit more than a thousand rivets and we have our second part ready. ![]() Guess what: once you have two parts that are sitting together on the plane, you can try the integration just in time you have them done. That is exactly what we had after the ruder was done, done, done. (No screws yet, waiting for the total Empennage assembly) .
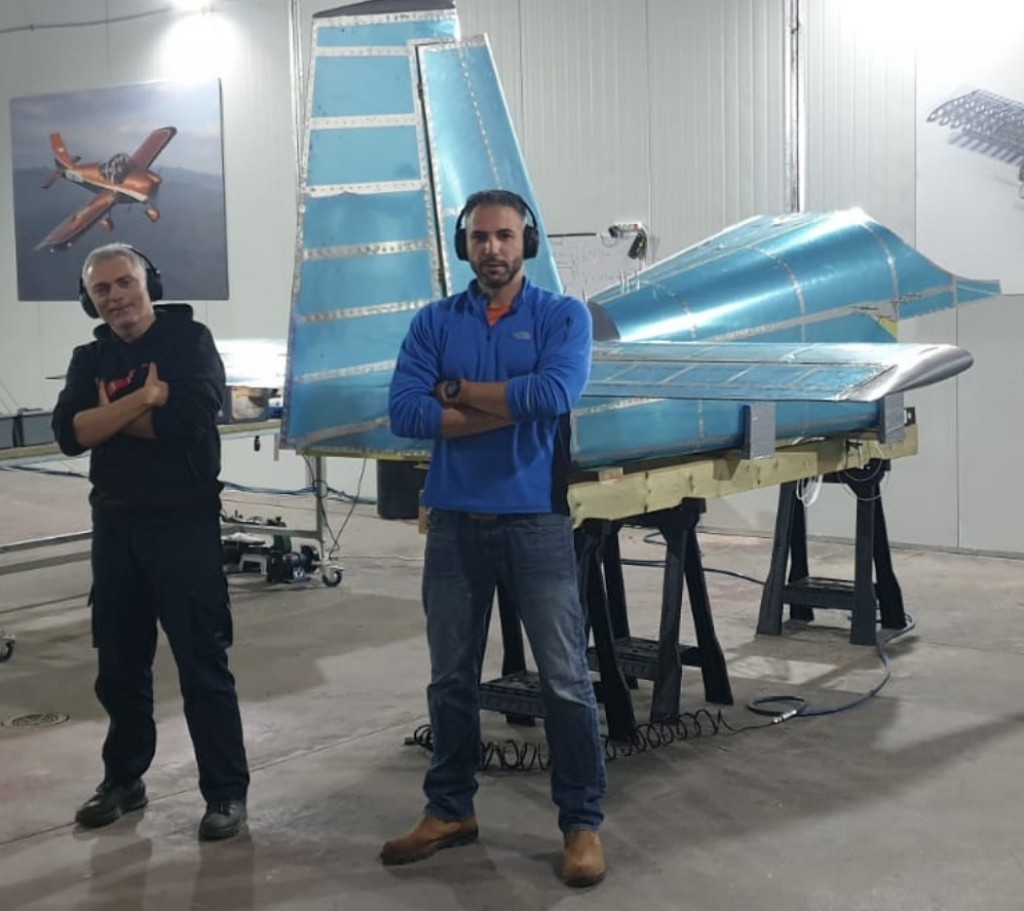
Hard to believe that we got those boxes just about a month ago. This is still the first shy steps into the world of RVators. But 2 parts of a real plane is already something we can be proud of, and we are! We will continue to unbox the aviation for ourself and all the great guys that love to build stuff. ![]() Cheers. Roman & Dima |
.
Status Report: #8 ![]() That report is about:
That time the report is short and very focused on the Horizontal Stab. riveting. .
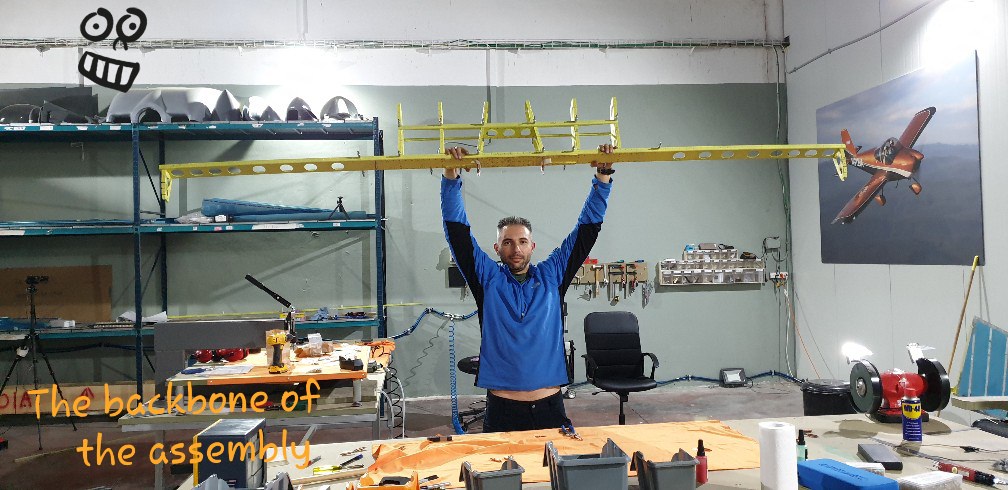
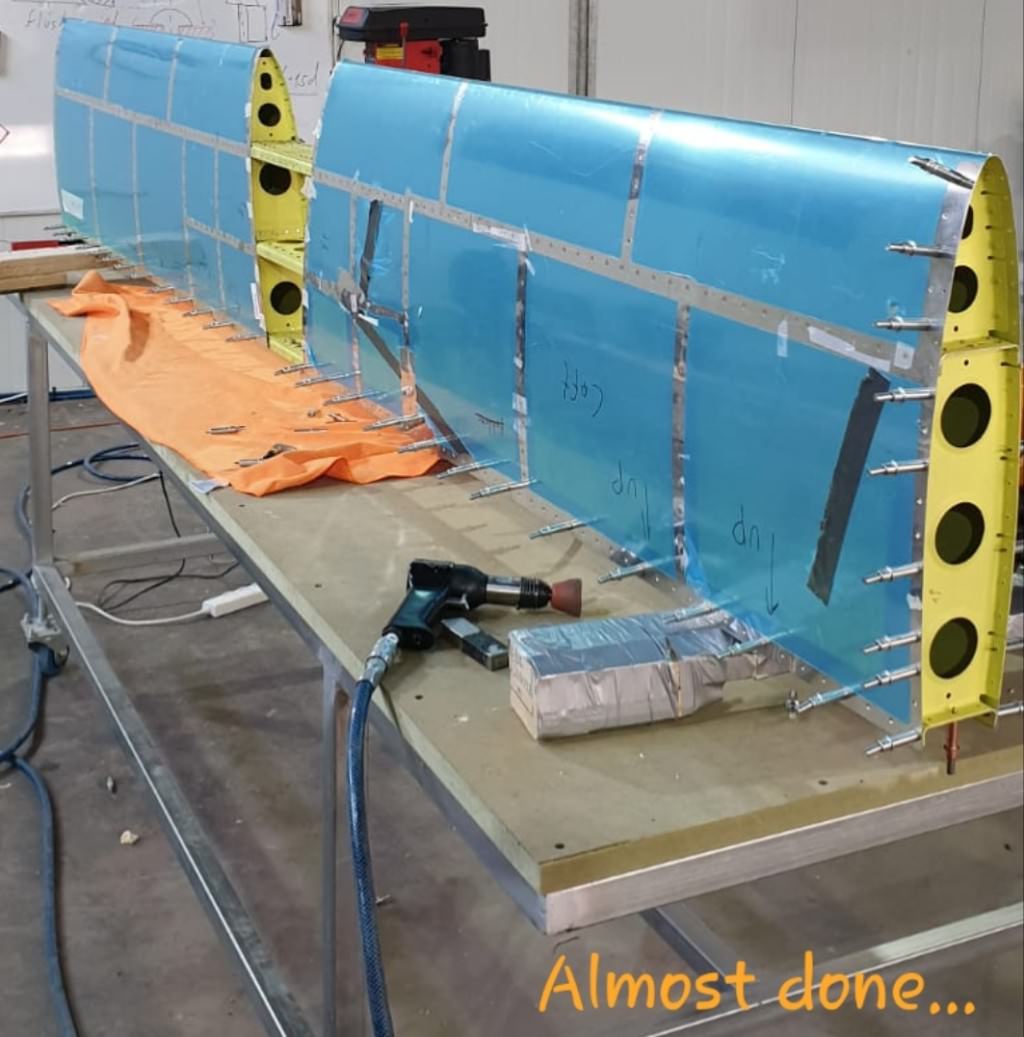
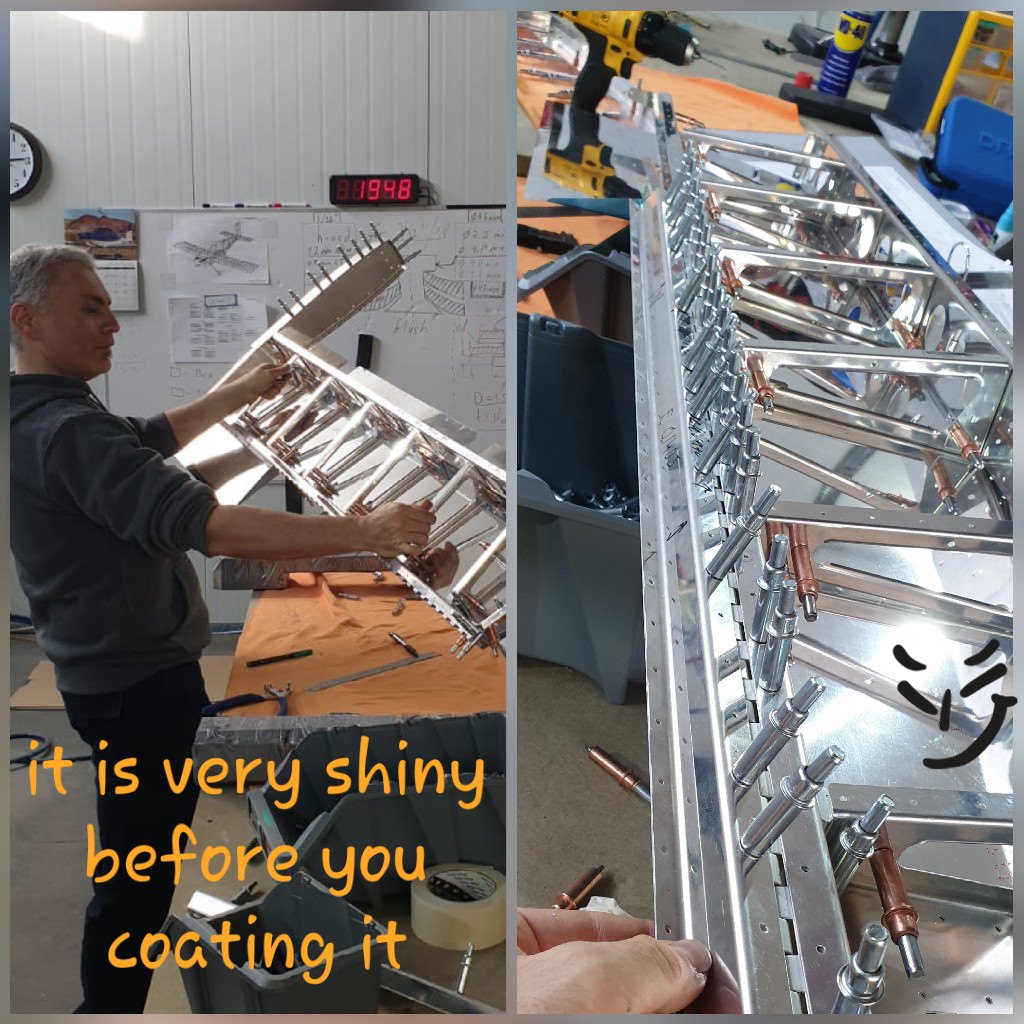
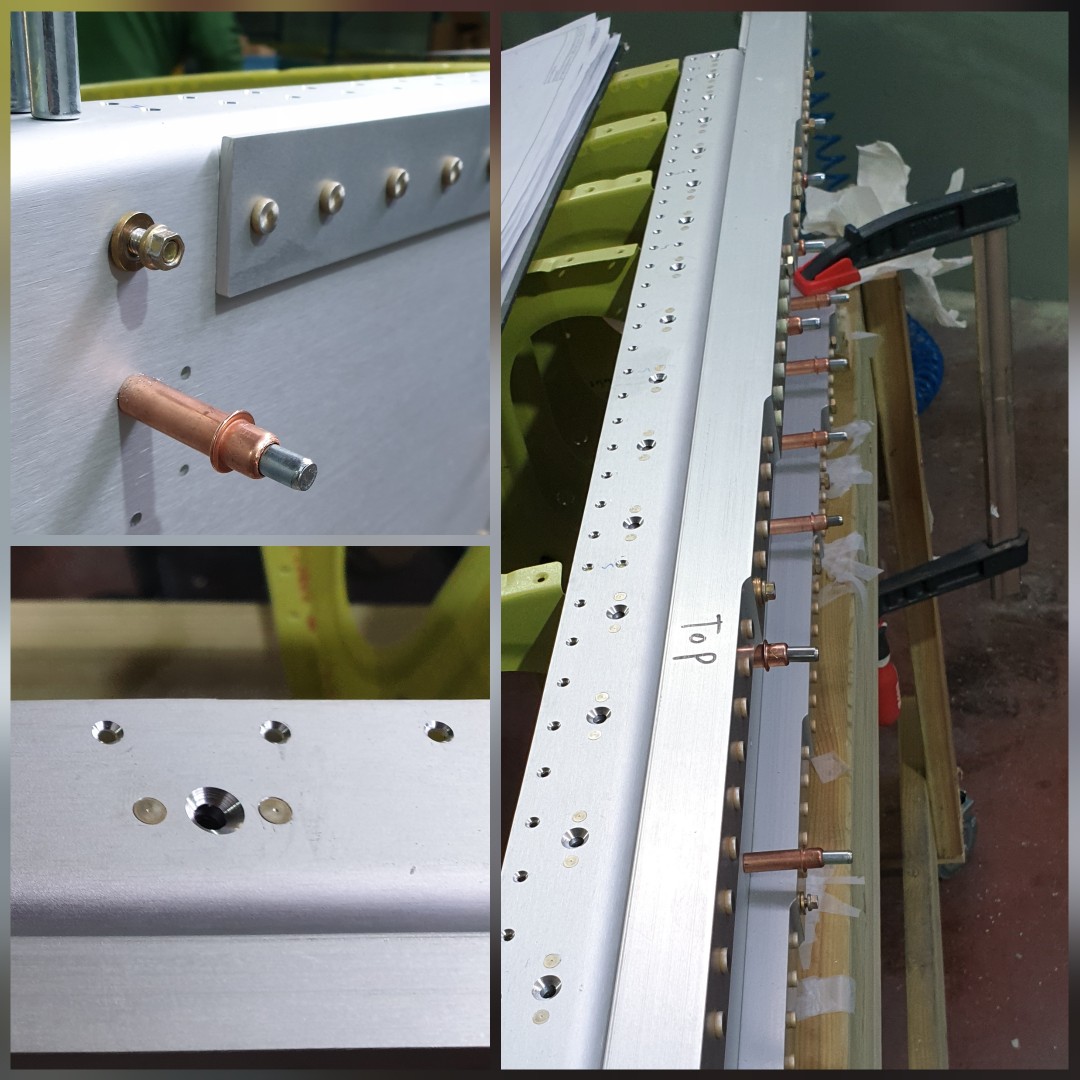
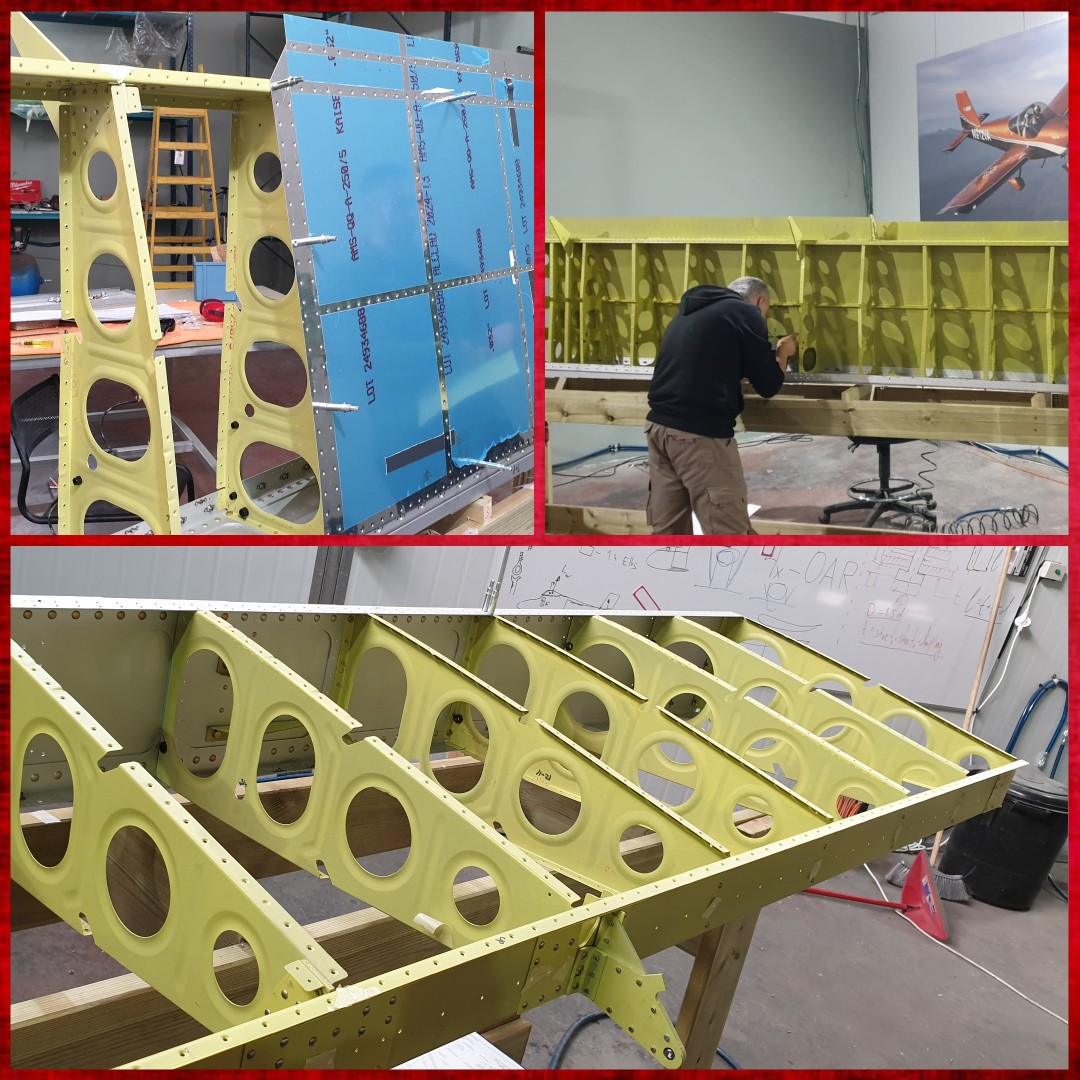
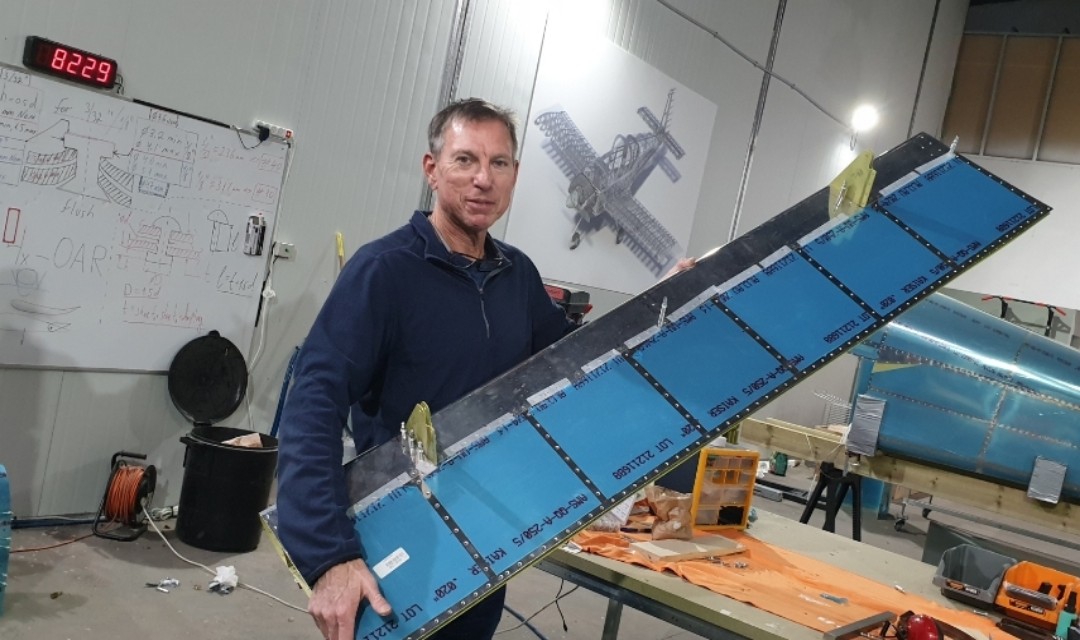
![]() ![]() After short session of painting we got the parts yellow shinny and corrosion protected. All is ready to make the final assembly. Front spar riveted together with the front spar cap, nose ribs, in-spar ribs tied together with the stringers. All that riveted together to form the backbone assembly of the two small wings of the Horizontal. ![]() ![]() Two pieces of the skins to cover each wing all riveted to the flanges. and rear spar to seal the construction. .
That is it short but focused. The final riveting of the Horizontal finalizing the 3rd part of the plane. After exactly 1948 rivets we feel super energetic to move forward toward the 2 last parts of the Empennage. ![]() ![]() Cheers. Roman & Dima |
awesome
you guys are making great progress and doing good work. I appreciate you taking the time to post your progress.
|
Love it!
Really fun pictures. You guys look like you're having a blast. Thanks for posting.
|
Quote:
Quote:
Thanks guys, we really having a lot of fun constructing the RV. The old say about enjoying the way is about us. 😉 |
.
Status Report: #9 ![]() The complexity goes up and the reward is going to be adequate this time. The small wings that control the pitch are on the workbench: .
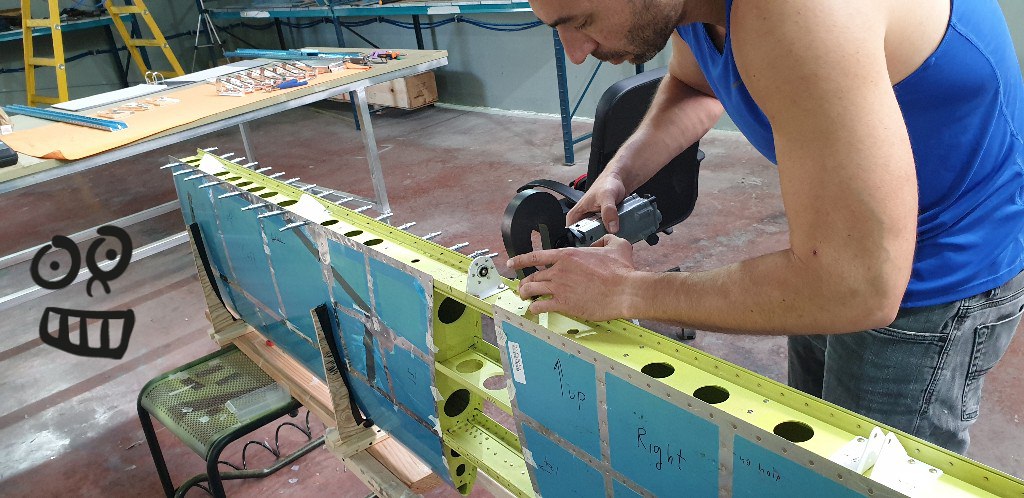
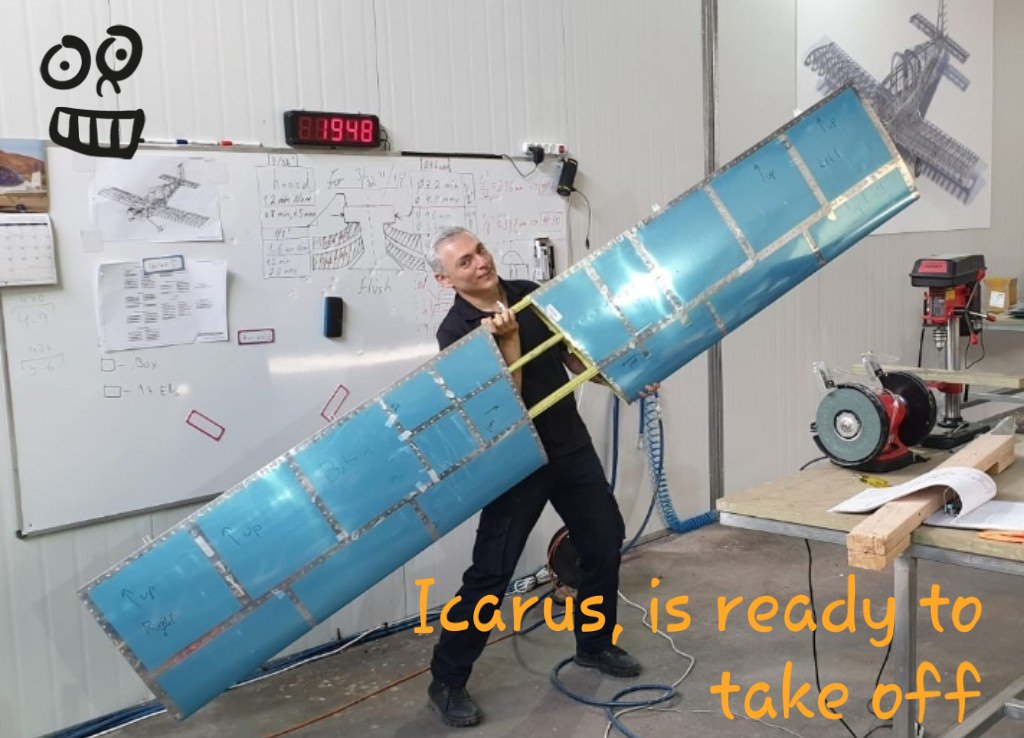
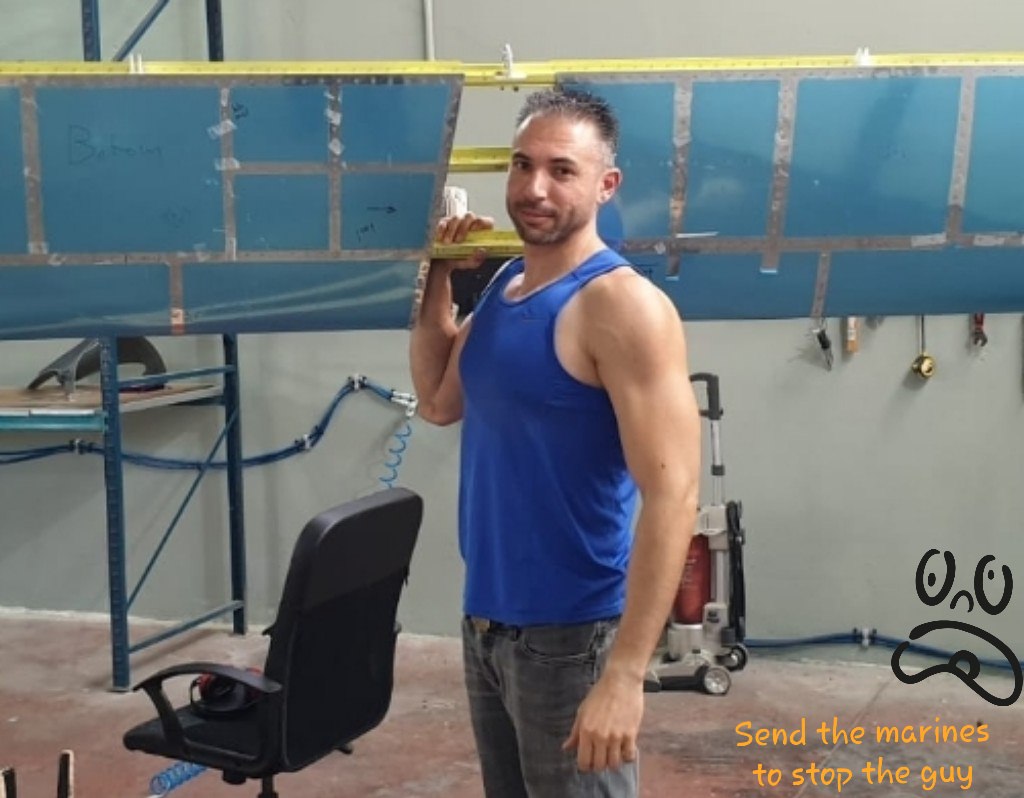
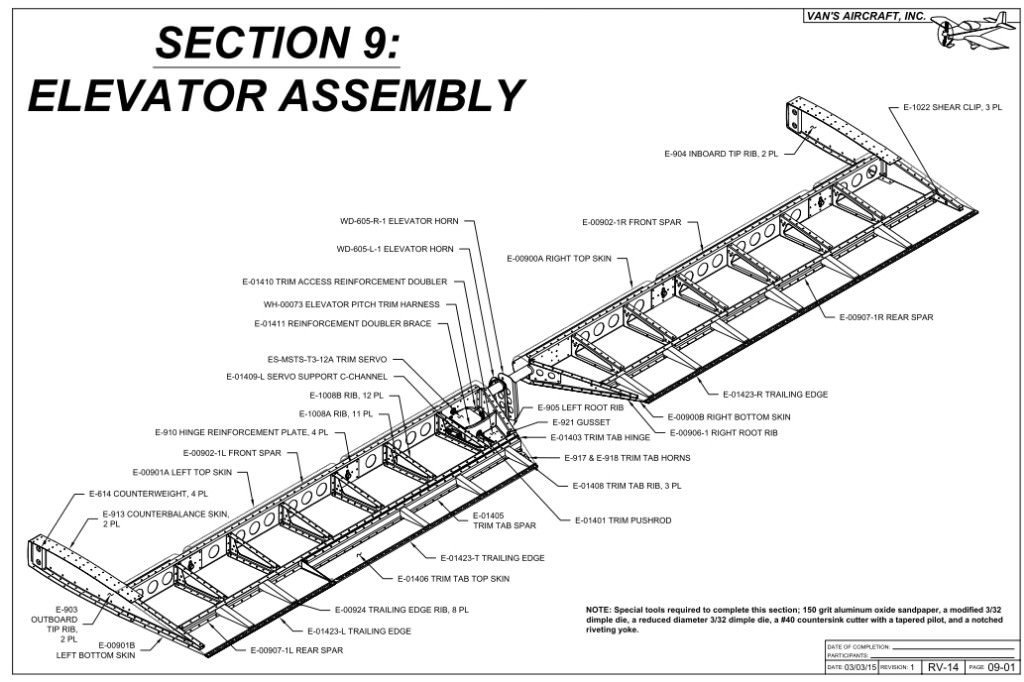
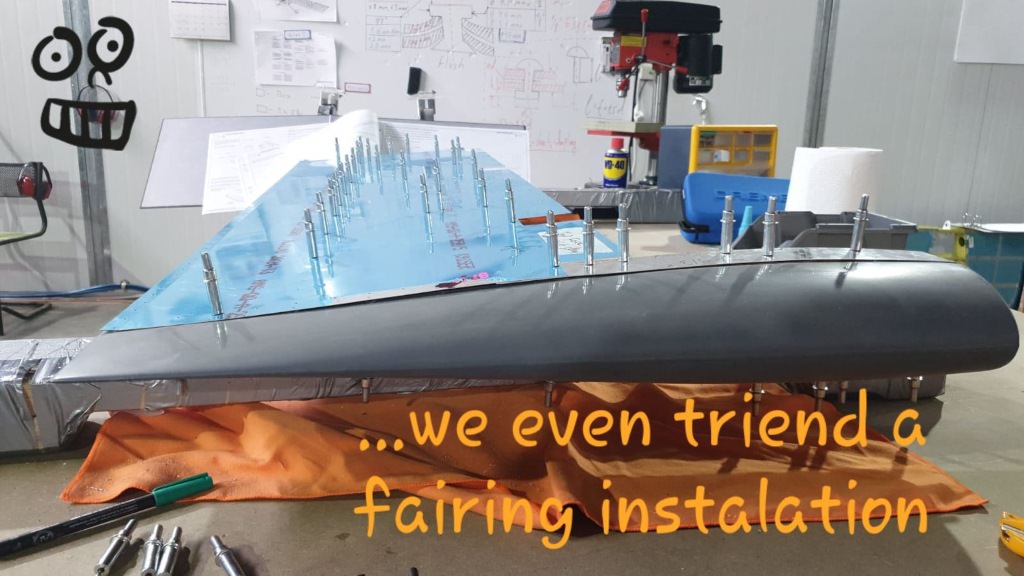
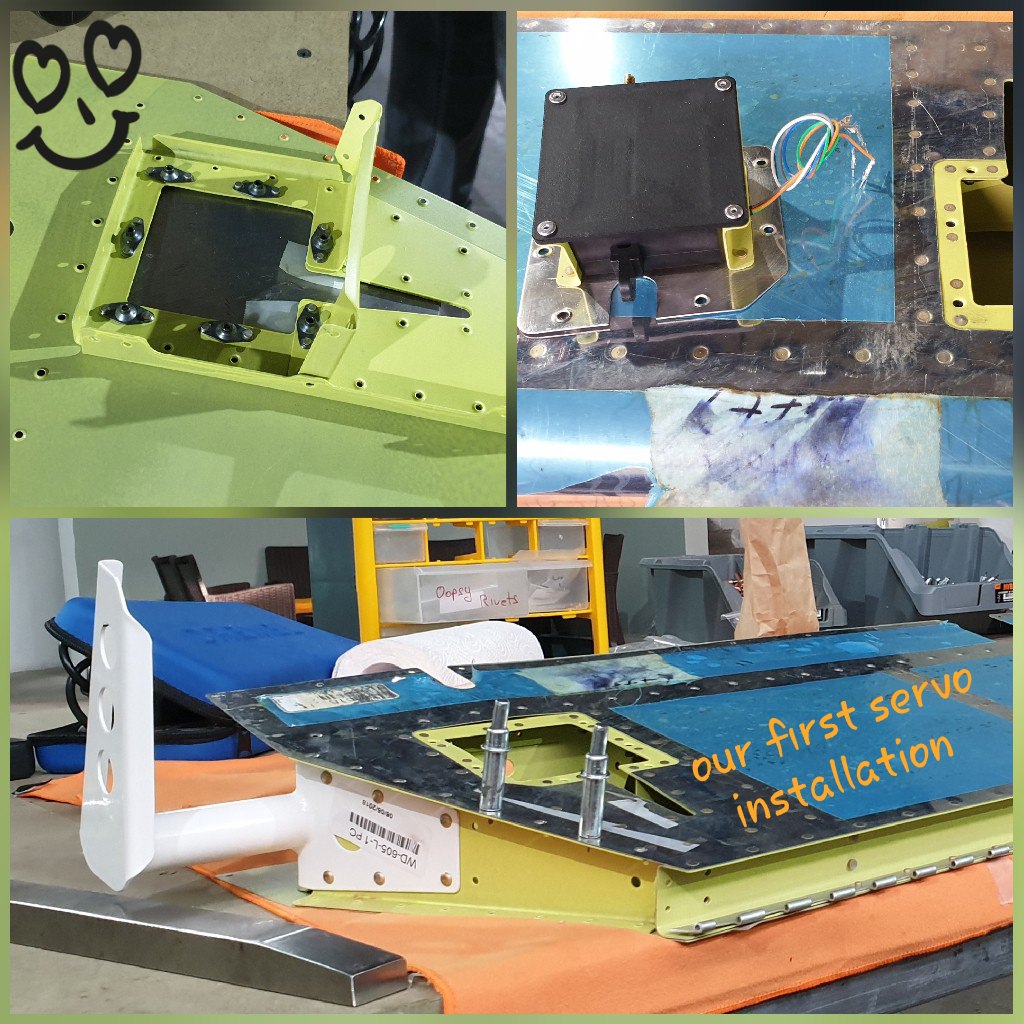
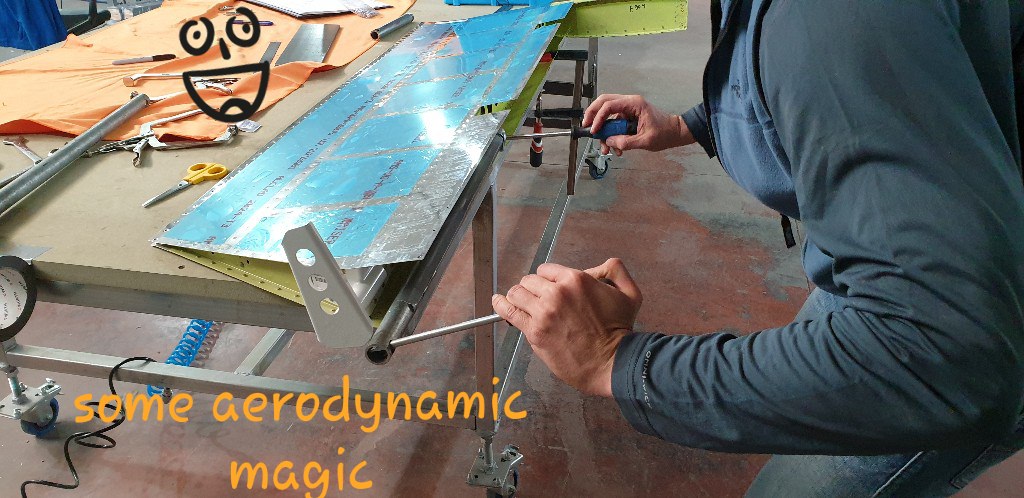
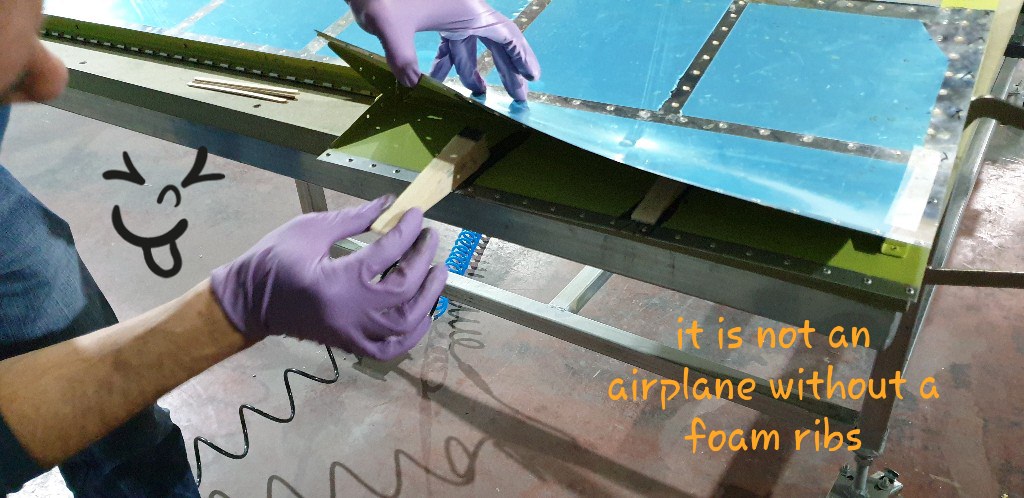
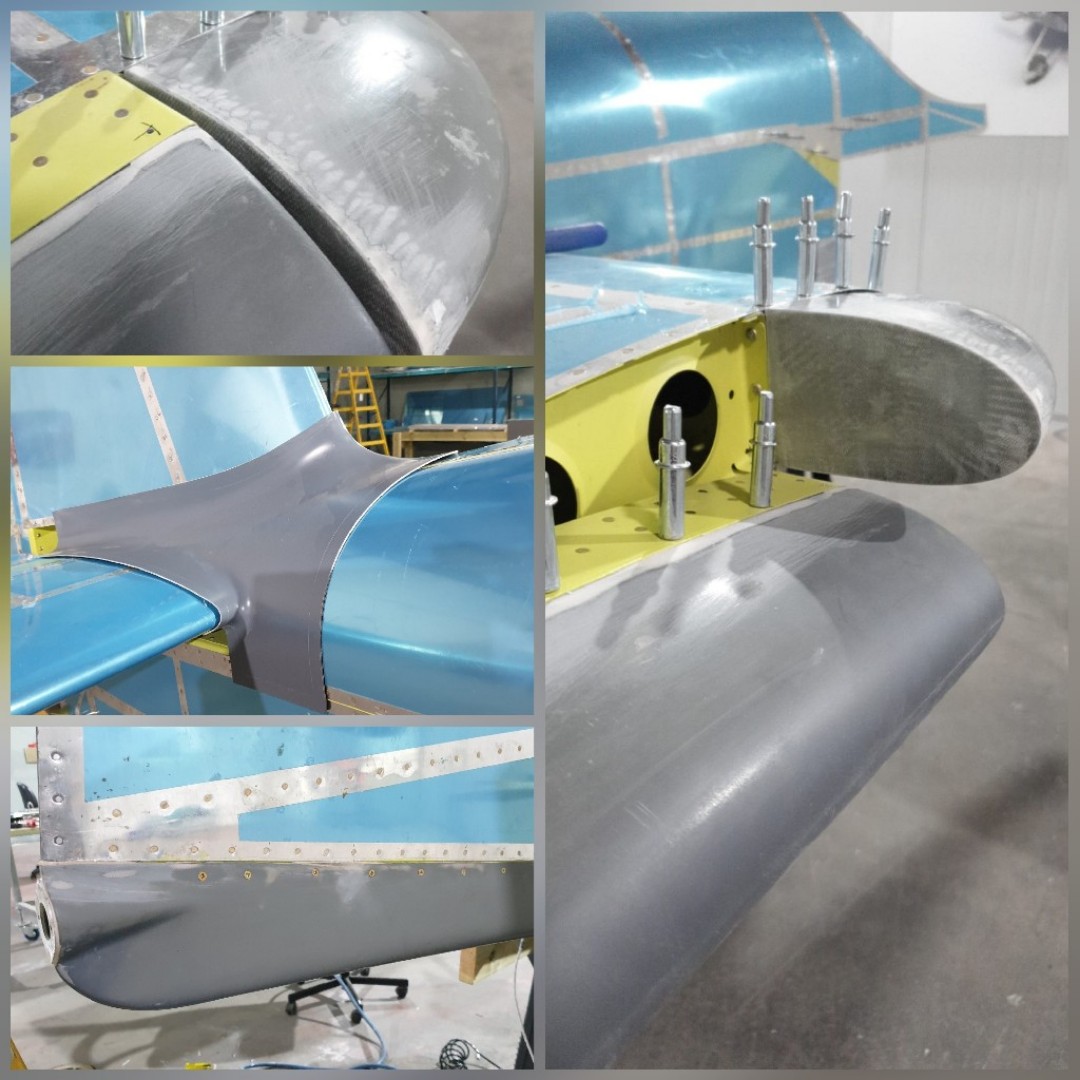
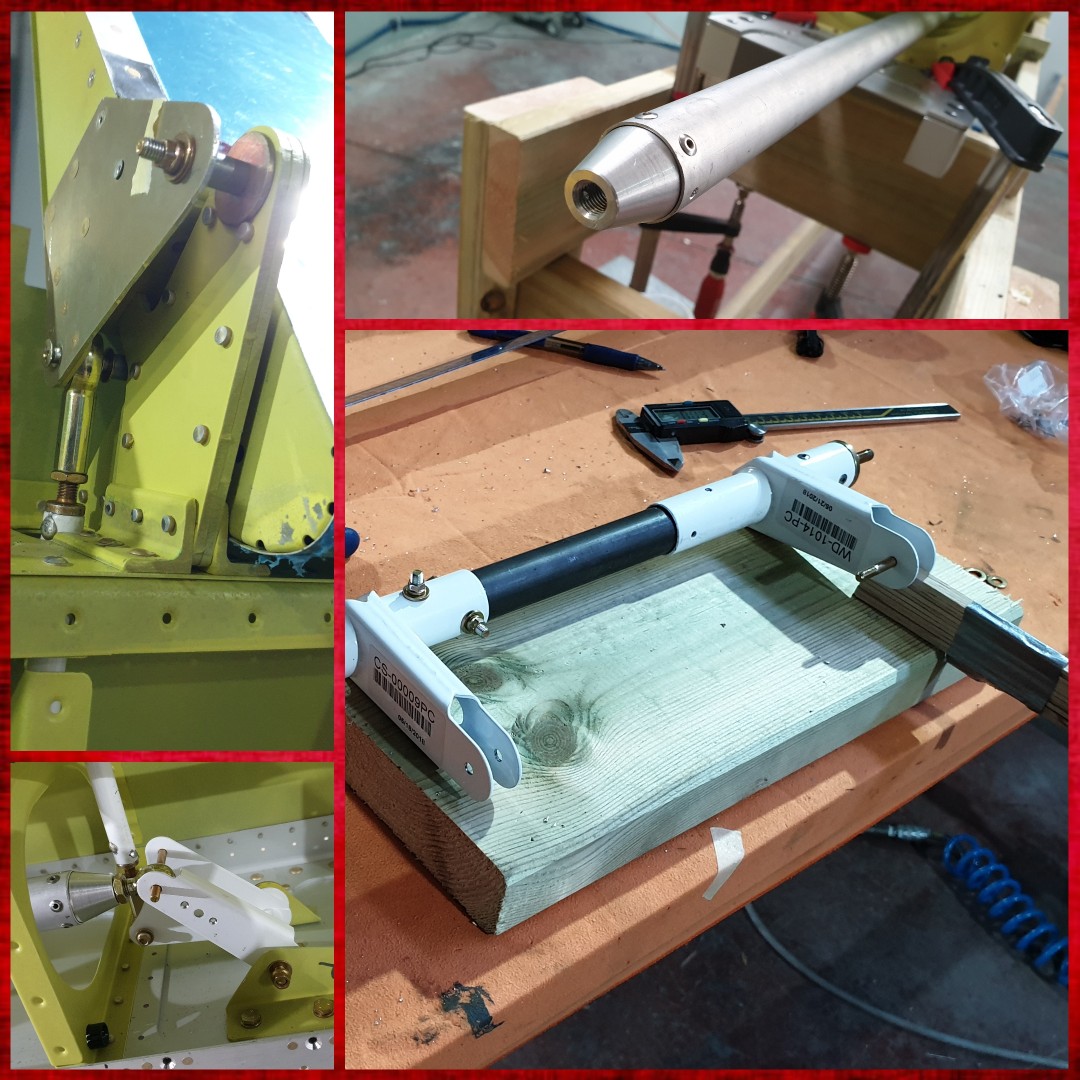
![]() ![]() First assembly: we create the ribs out of two separate parts of aluminum which will be connected later with blind rivets. This time the two small wings are not symmetric, cause we have: the trimmer. That is right the trimmer the first mechanical part that will move with help of small servo motor that will be also installed right there inside the elevator. We didn't hold the temptation and tried the fairing, also to check that wedge fabrication is correct - you have to polish it's corner a little bit to keep the aerodynamic shape. Da***mn it looks beautiful. ![]() ![]() Skipping the coating session describing this time, you can believe us it was pretty similar to the other time we did it. The motor location is pretty cool and designed that way that you can take it out for inspection after the airplane will be already flying. Seven nut-plates are pre-dimpled to ensure smoothness of the external elevator skin. I think we will show you how it works on the main assembly stage. Two spars are holding the construction of each elevator together the front spar is also connected with the tip rib that also contains a heavy counter balance lead weight. ![]() Unbelievable, I still remember our first one, and wasn't that too much time ago. Somewhere close to finishing the elevators we passed the 3000 rivets. Wow that is already some experience. Some rummors says we have 10,000 more to go. ![]() ![]() Bending the leading edge is not different than all the other parts. The plumber pipe will do the magic, and several pop rivets will hold your construction smooth, round and aerodynamic. The trailing edge should be very sharp here. That is why the design works it out with the foam ribs that are small light and glued together with a simple tank pro-seal. .
The elevators are done, we spent almost 2 weeks working on that part - from the moment of open the draws and till the magic moment it had the connecting bearing on it. And we will show here that beauty in the next report once it will be installed on the full assembly of the Empennage. ![]() Cheers. Roman & Dima |
Roman & Dima:
Thank you for the excellent build blog. I'm enjoying watching your progress. Also, your shop is very well organized! It looks great. Have fun building! |
Quote:
and cold beer in our workshop, we are only 12k km away from Arizona. 🍻 |
.
Status Report: #10 ![]() That report is about:
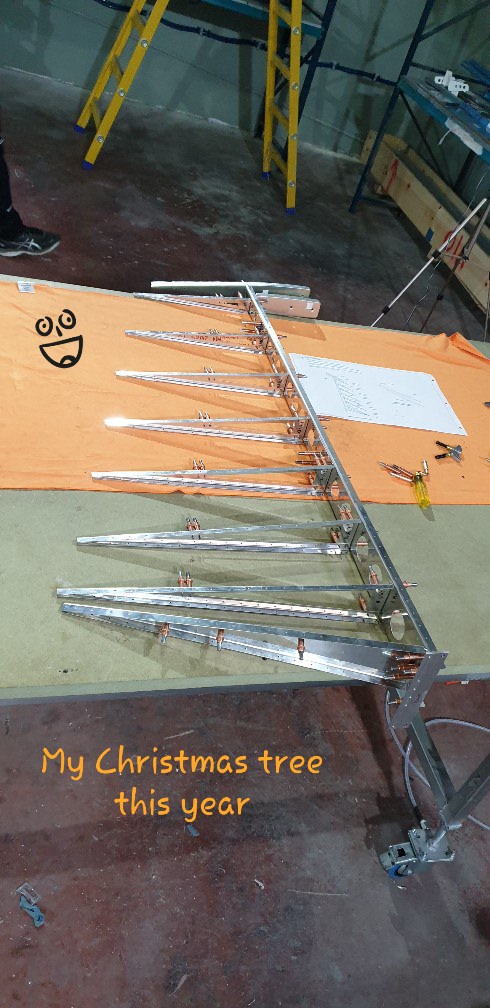
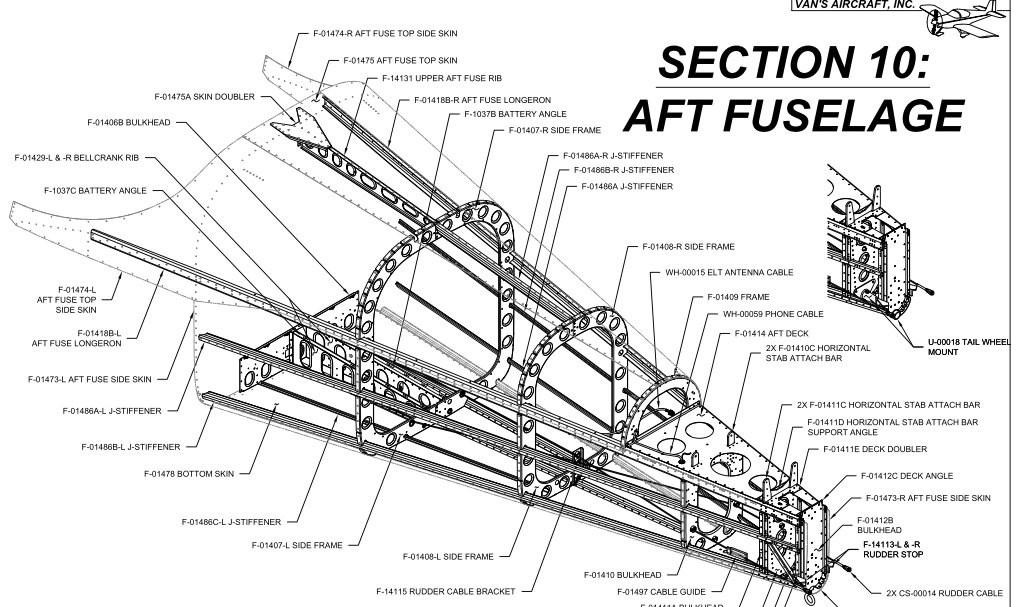
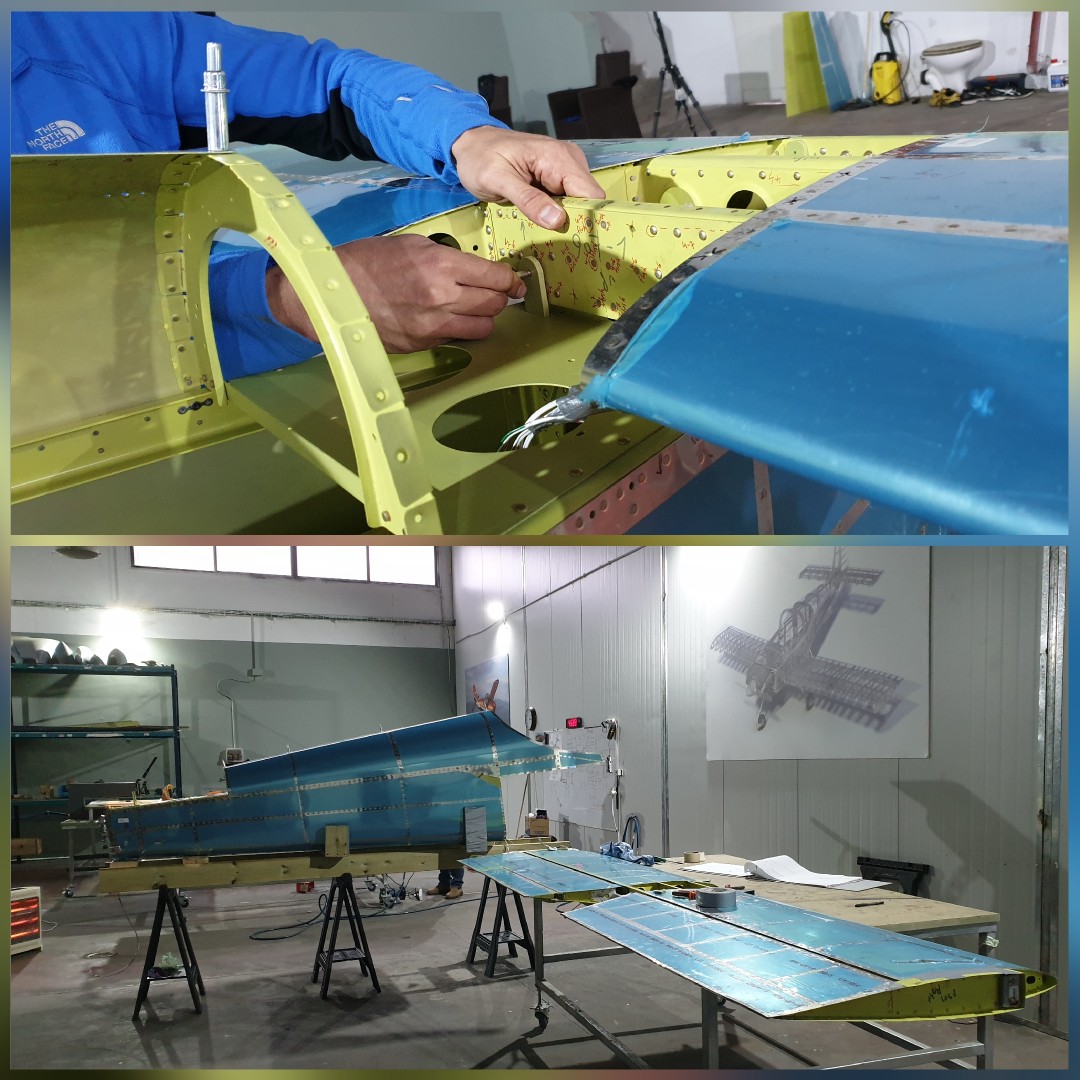
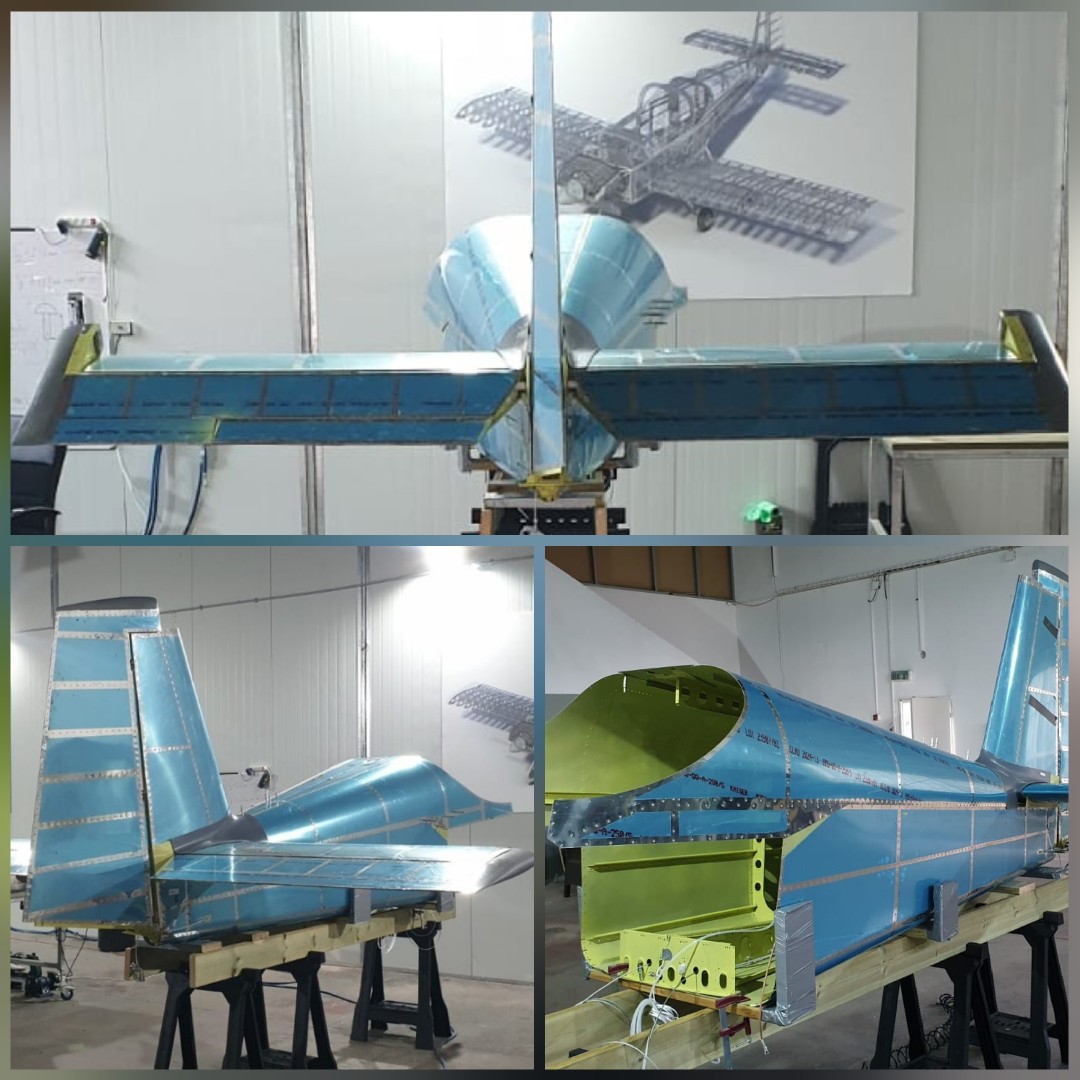
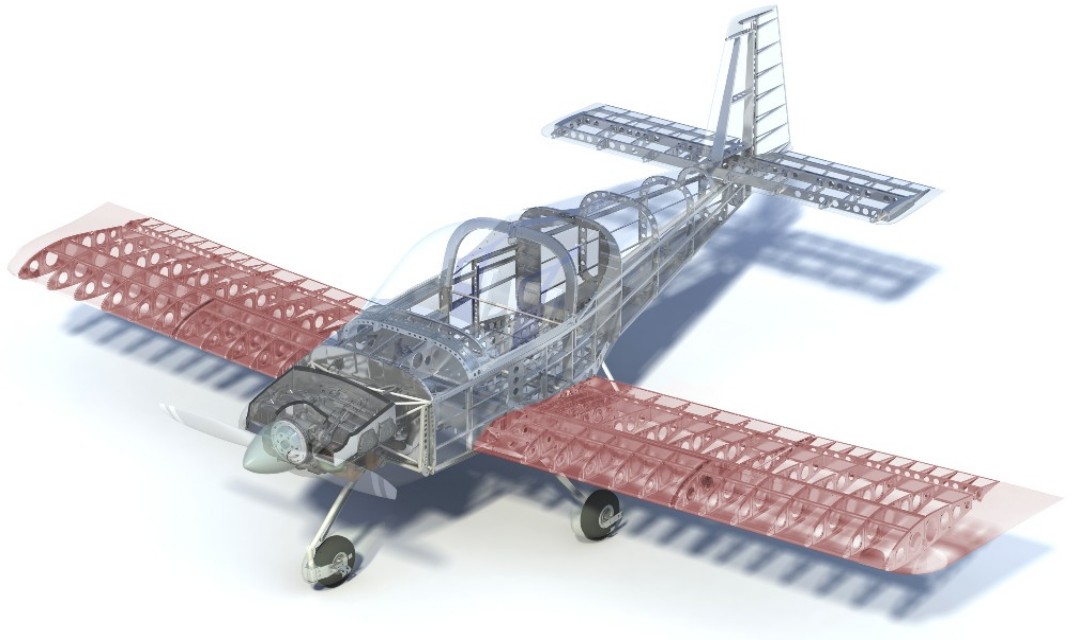
After we have made small wing type structures (...four of them), now we have a chance to try our skills on the actual body of the plane. Here is how it looks like: .
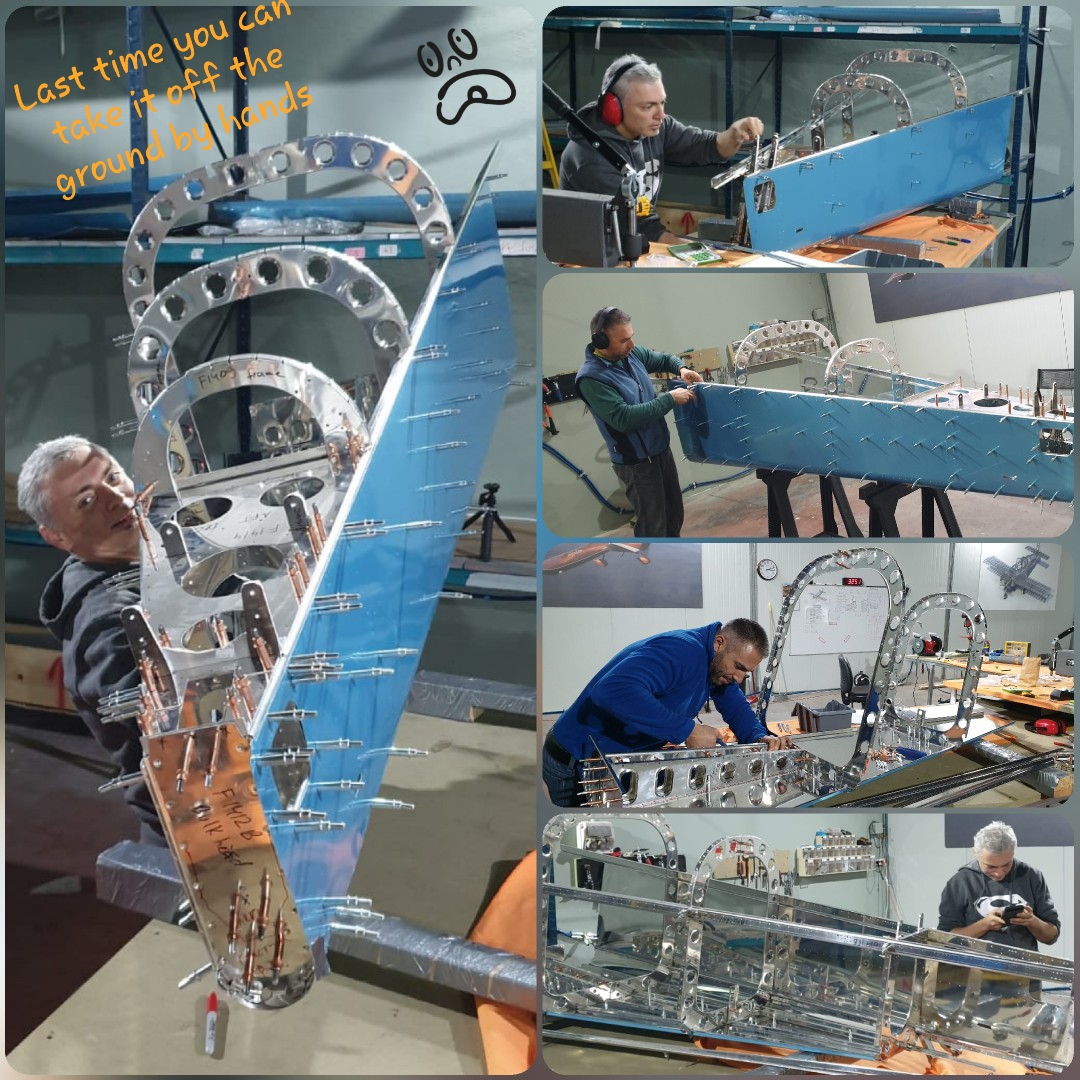
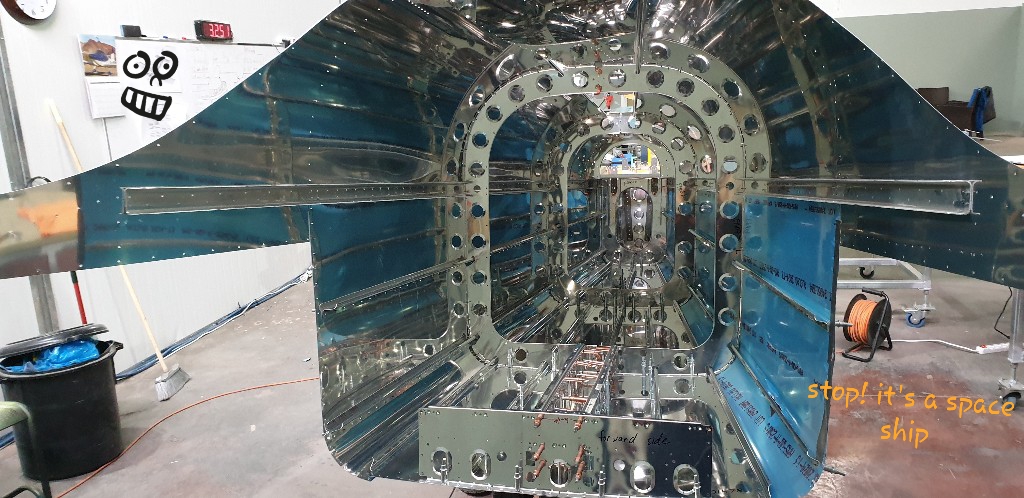
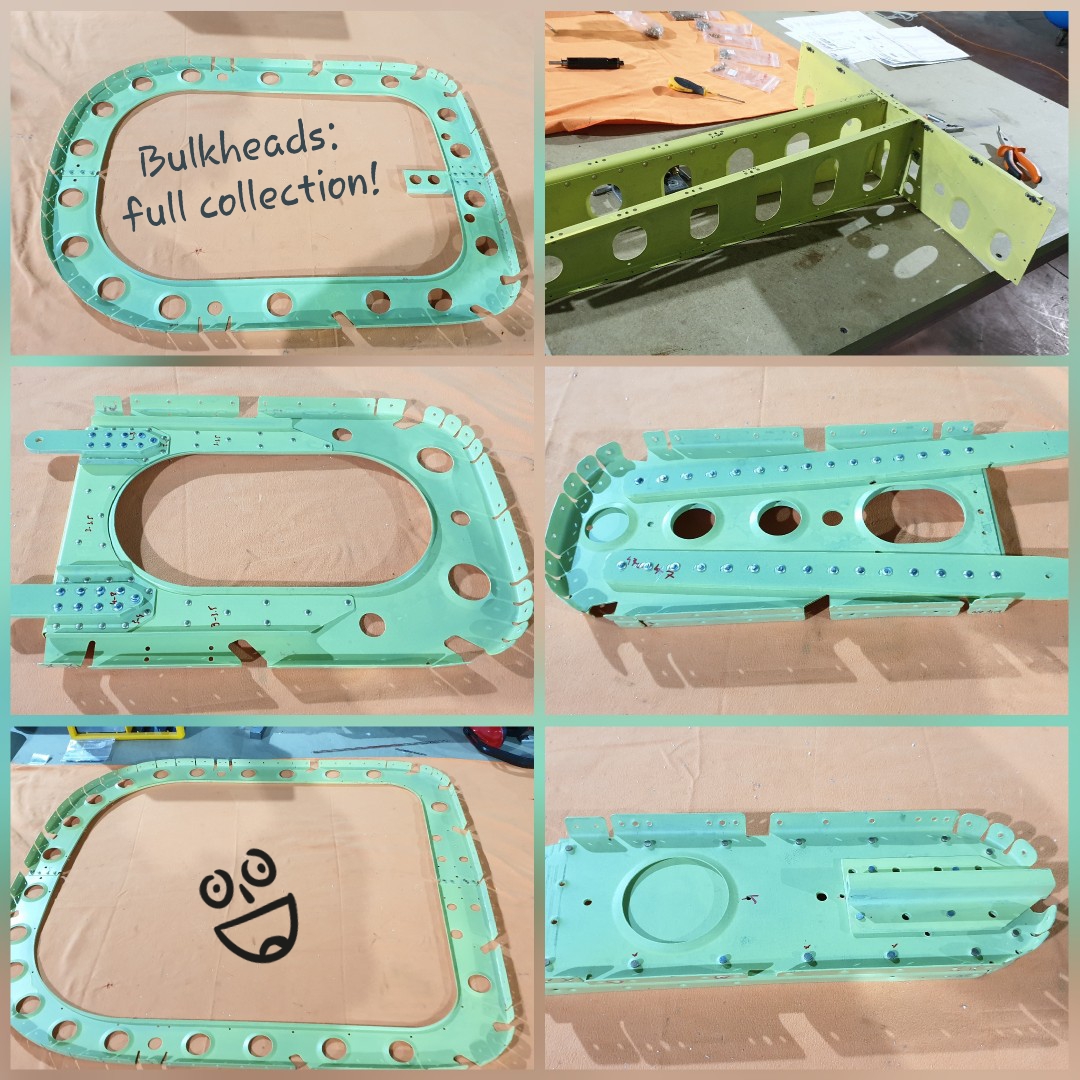
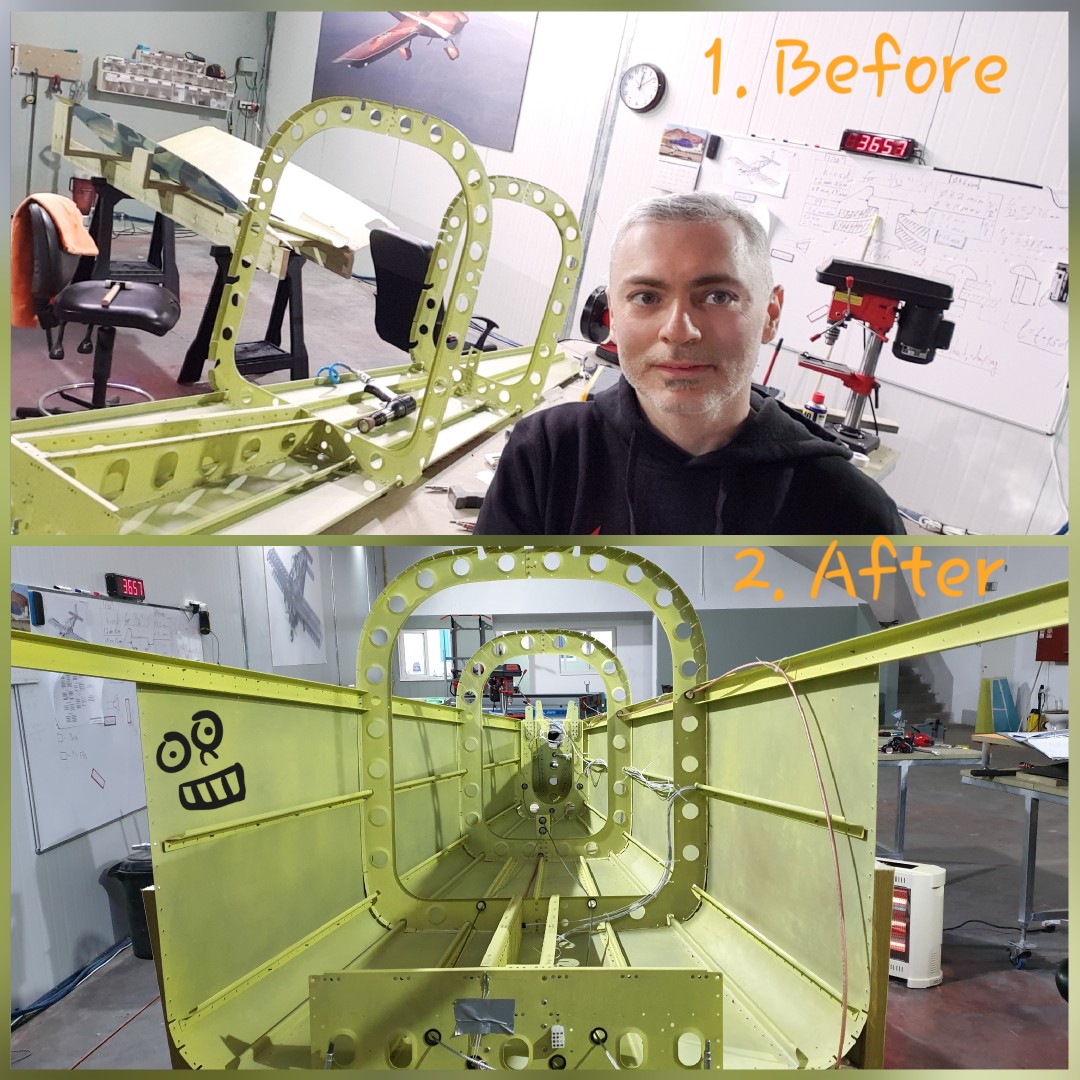
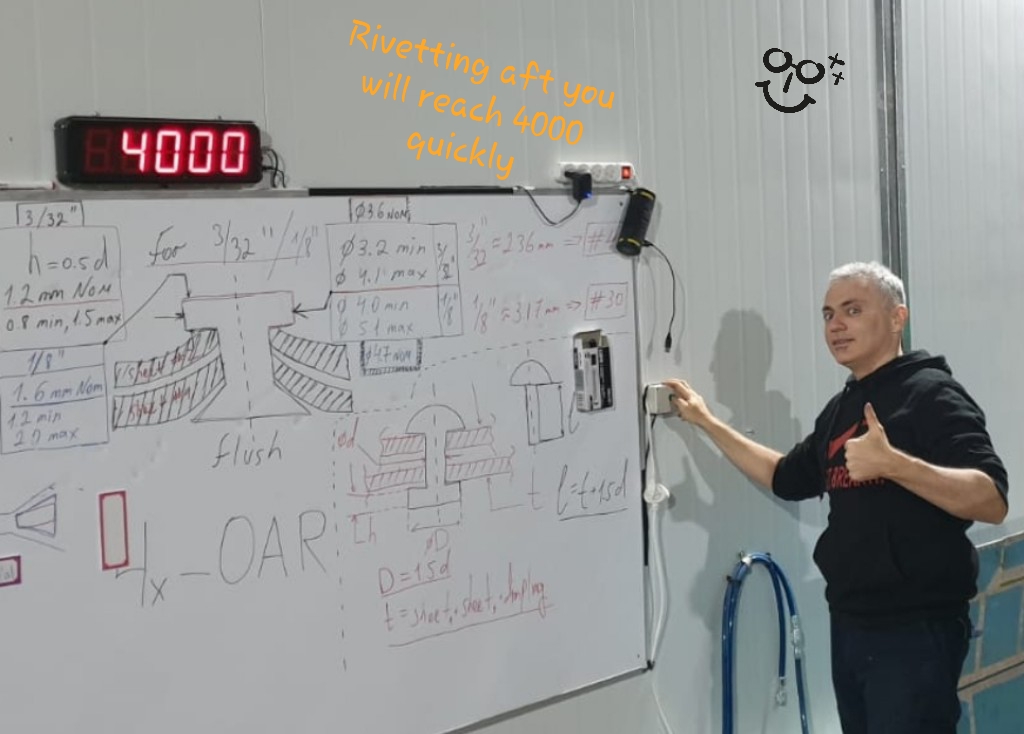
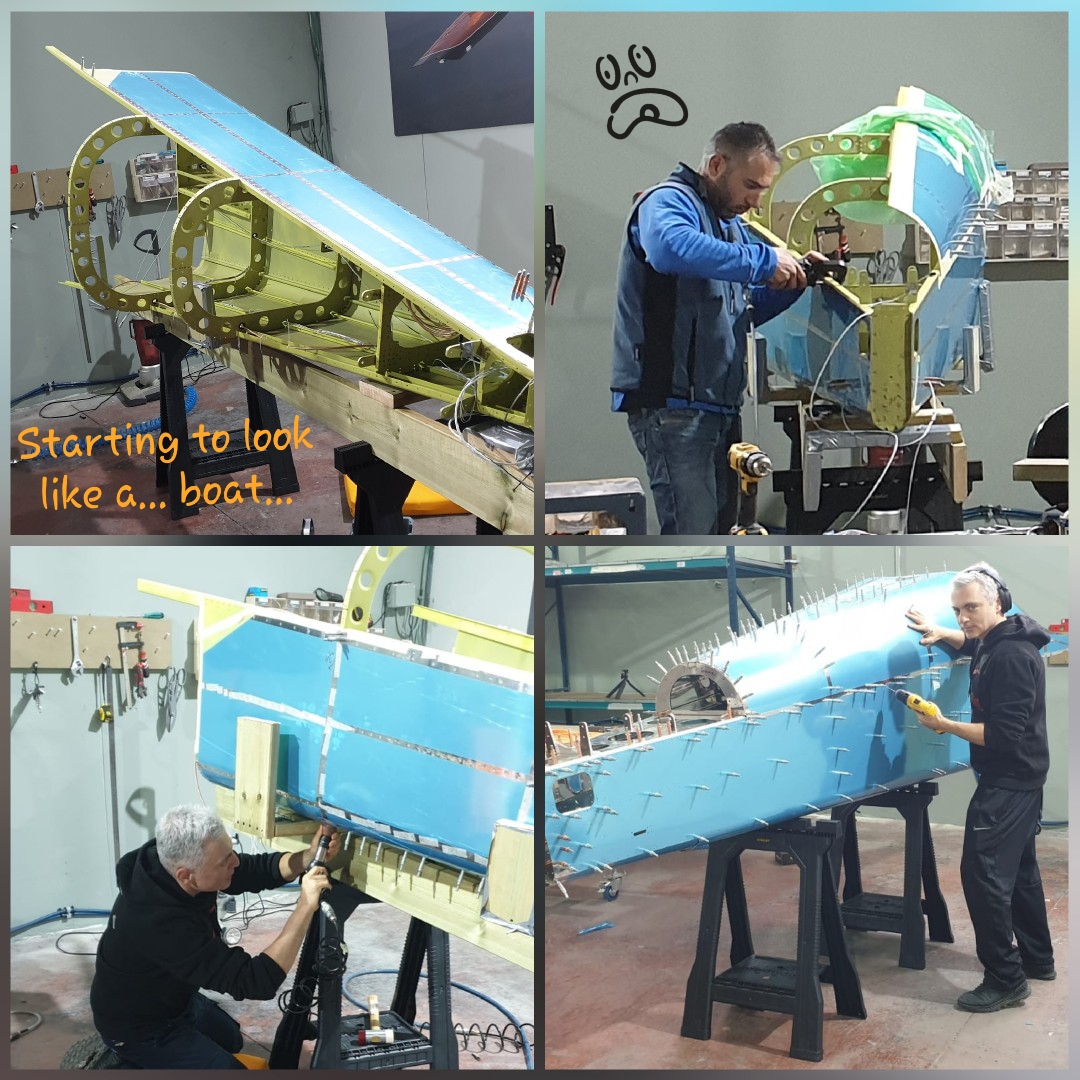
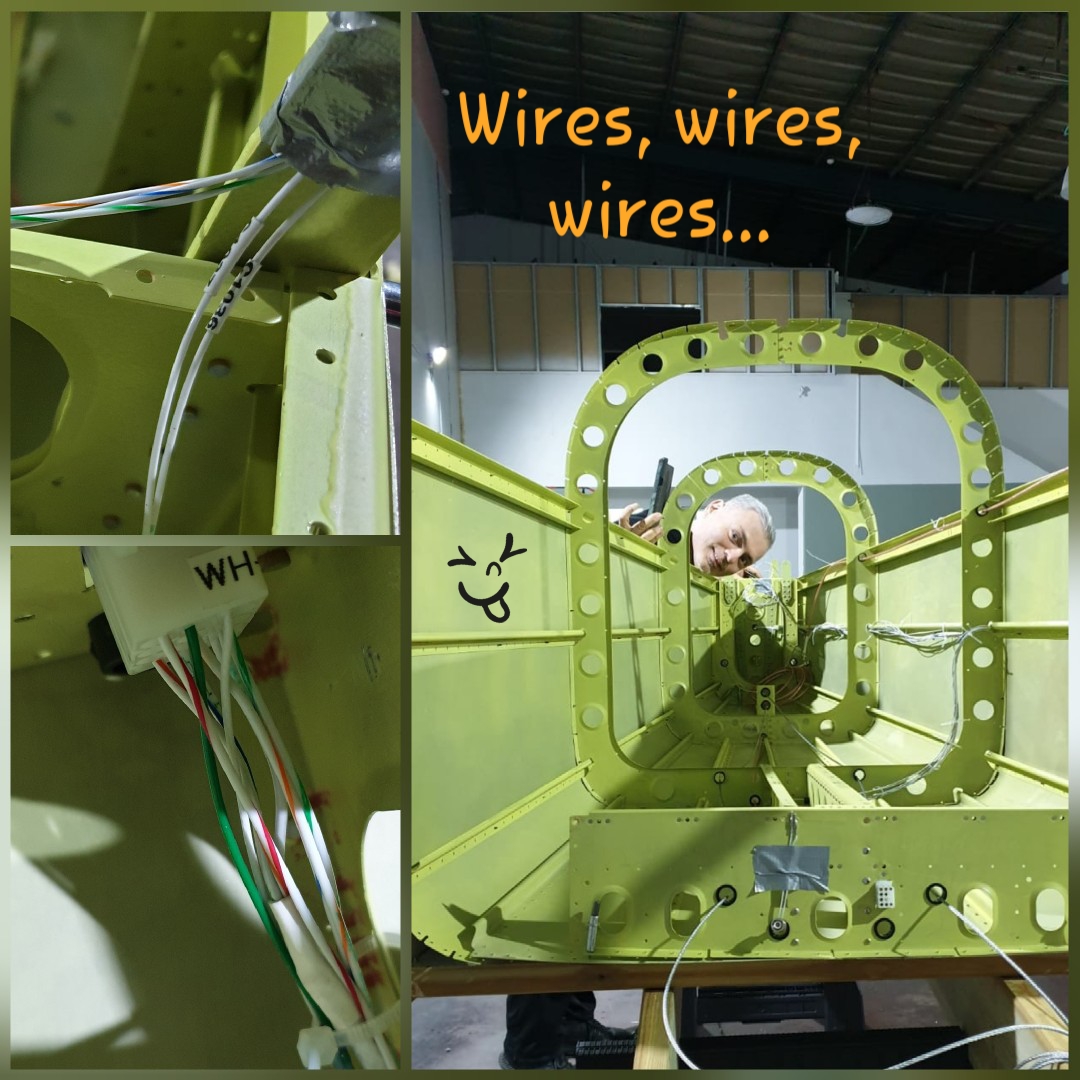
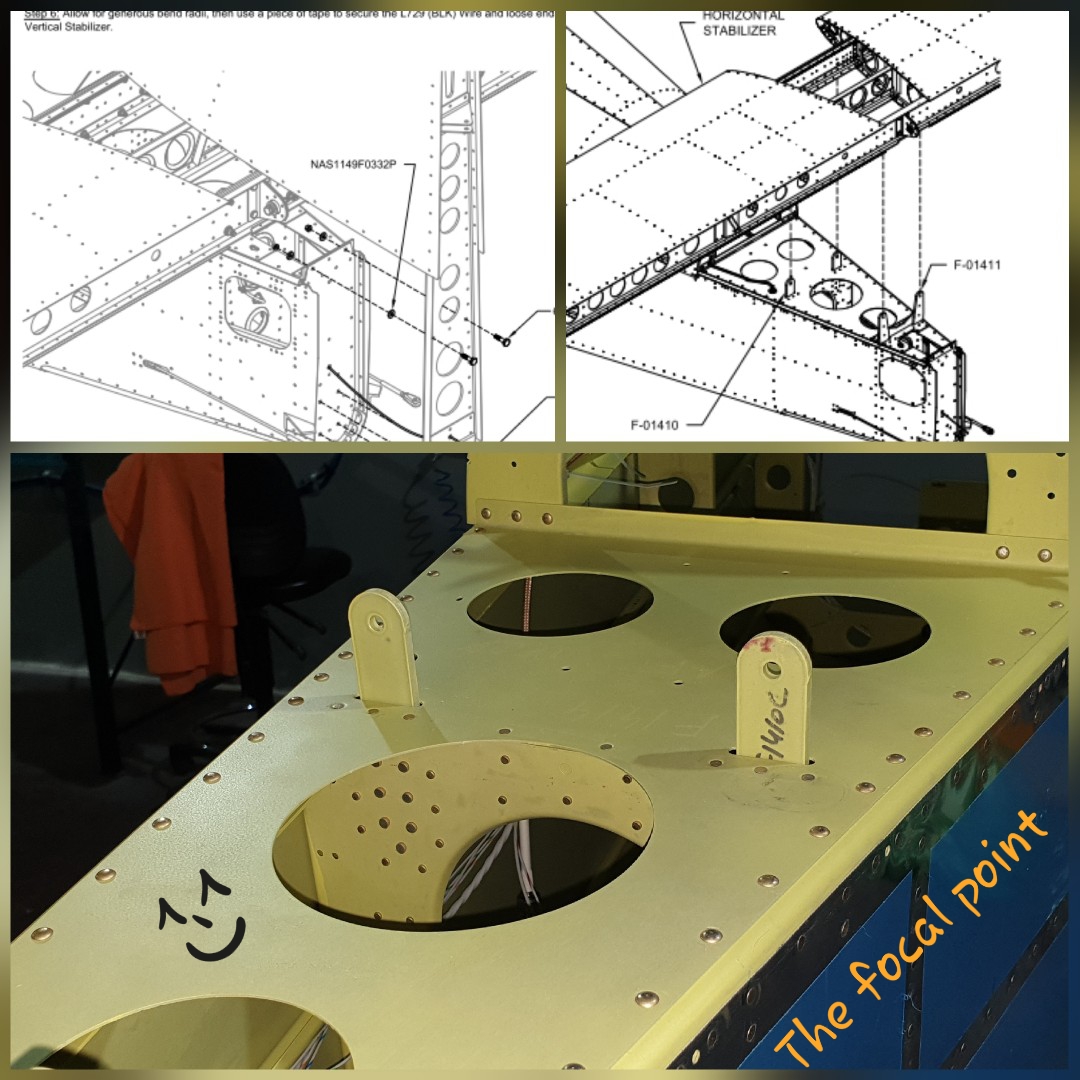
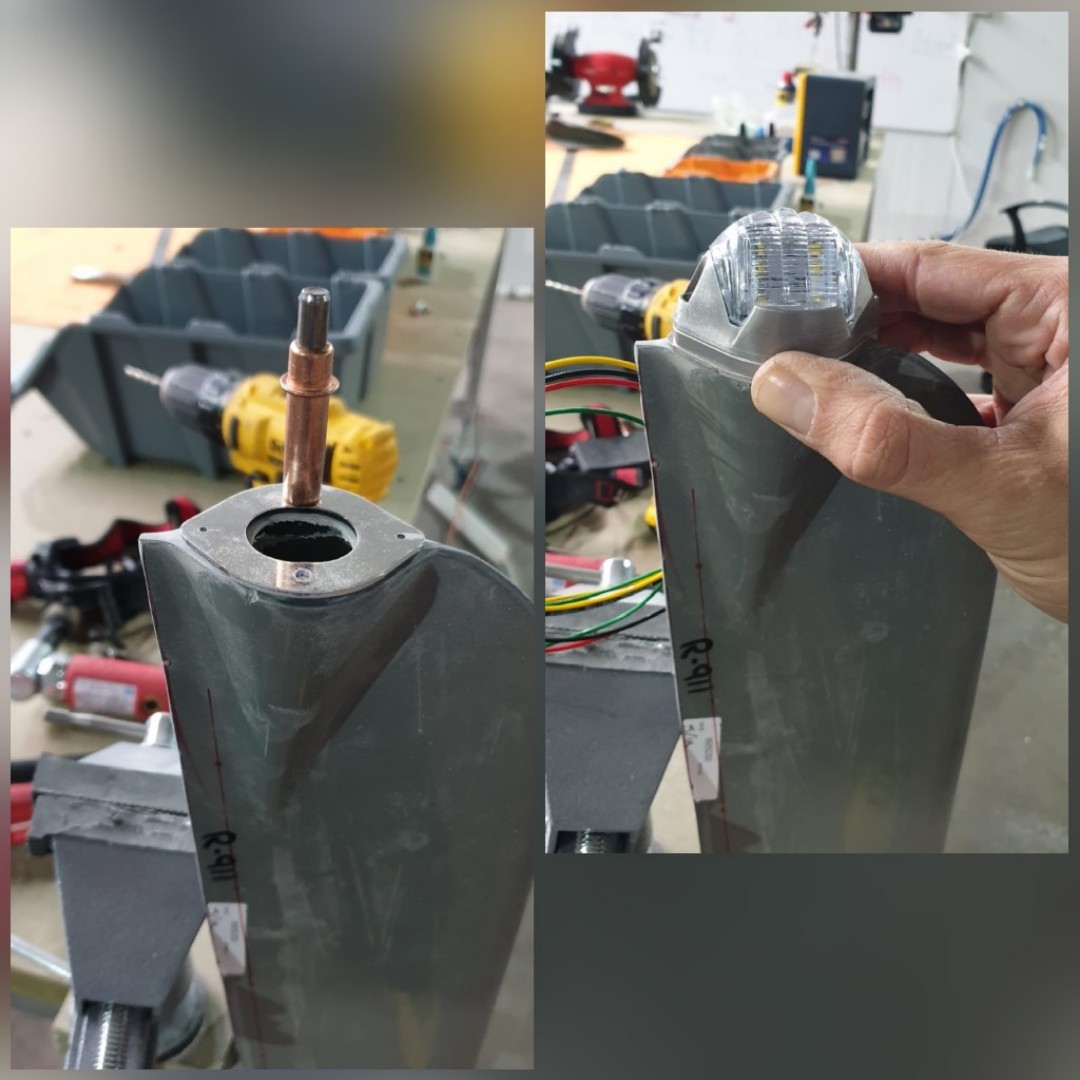
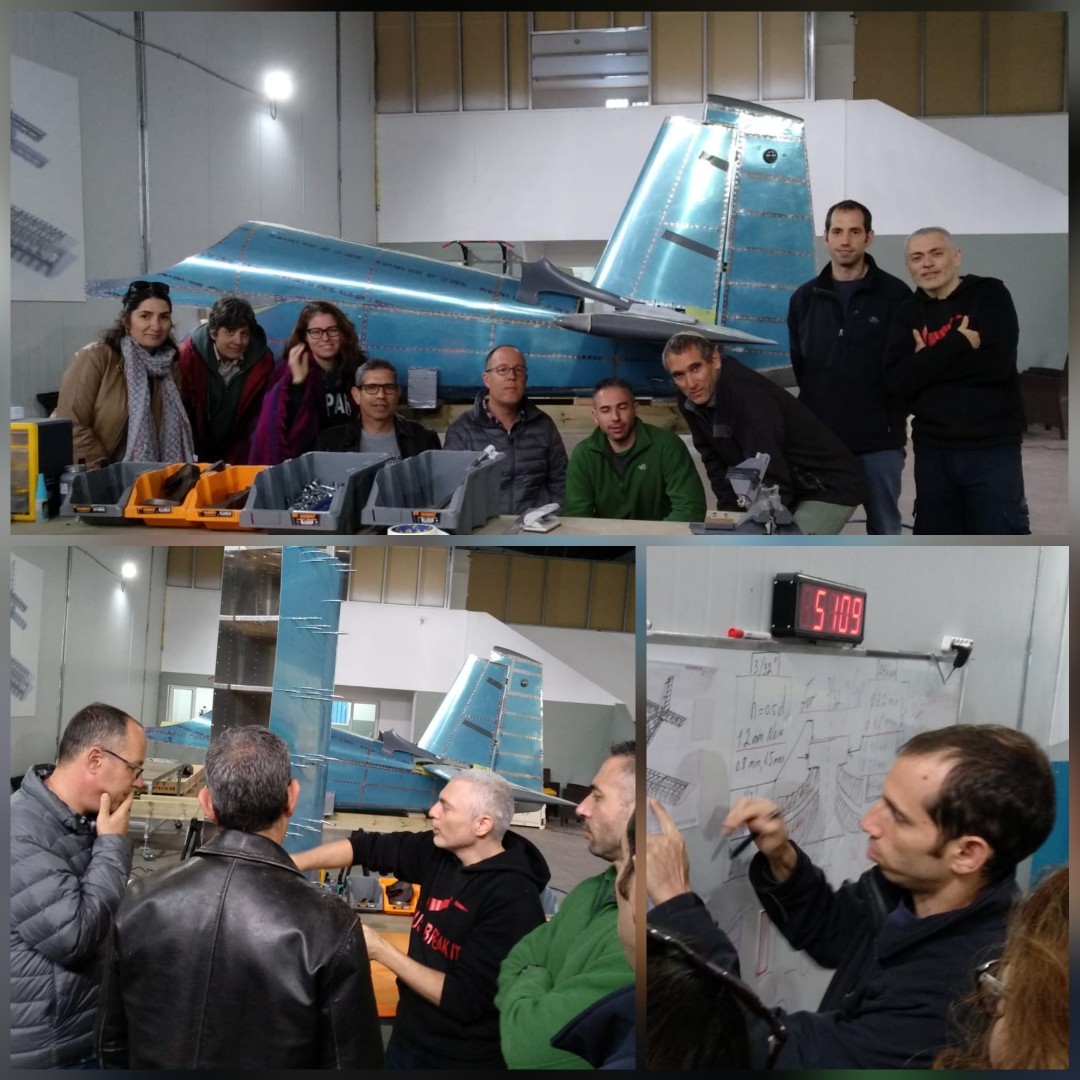
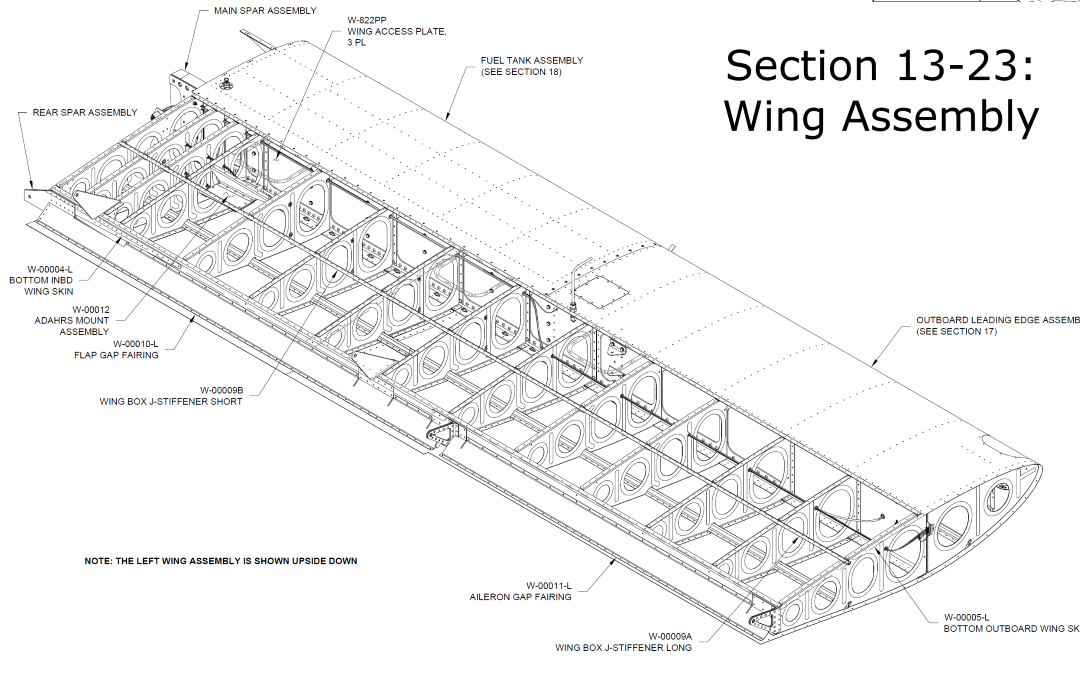
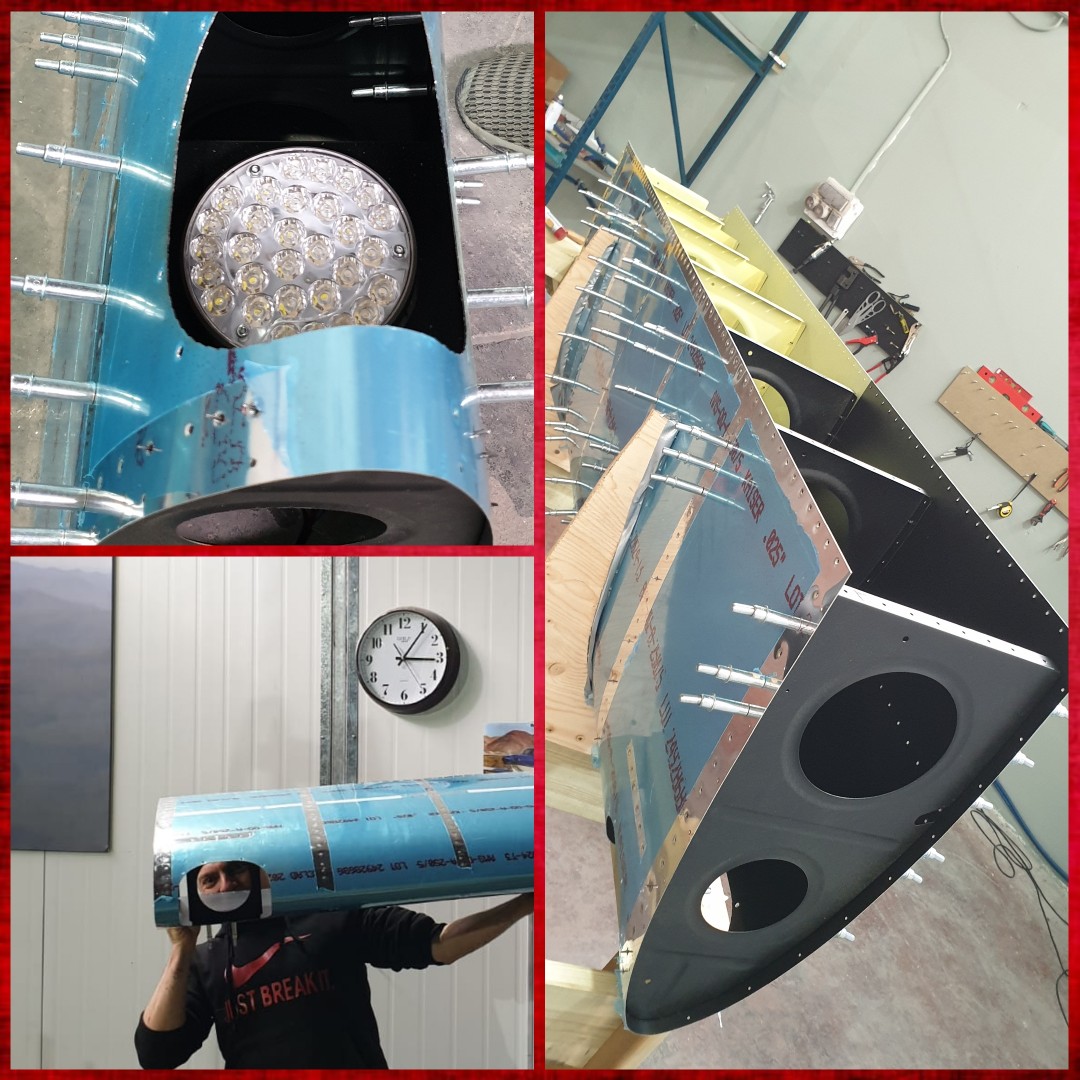
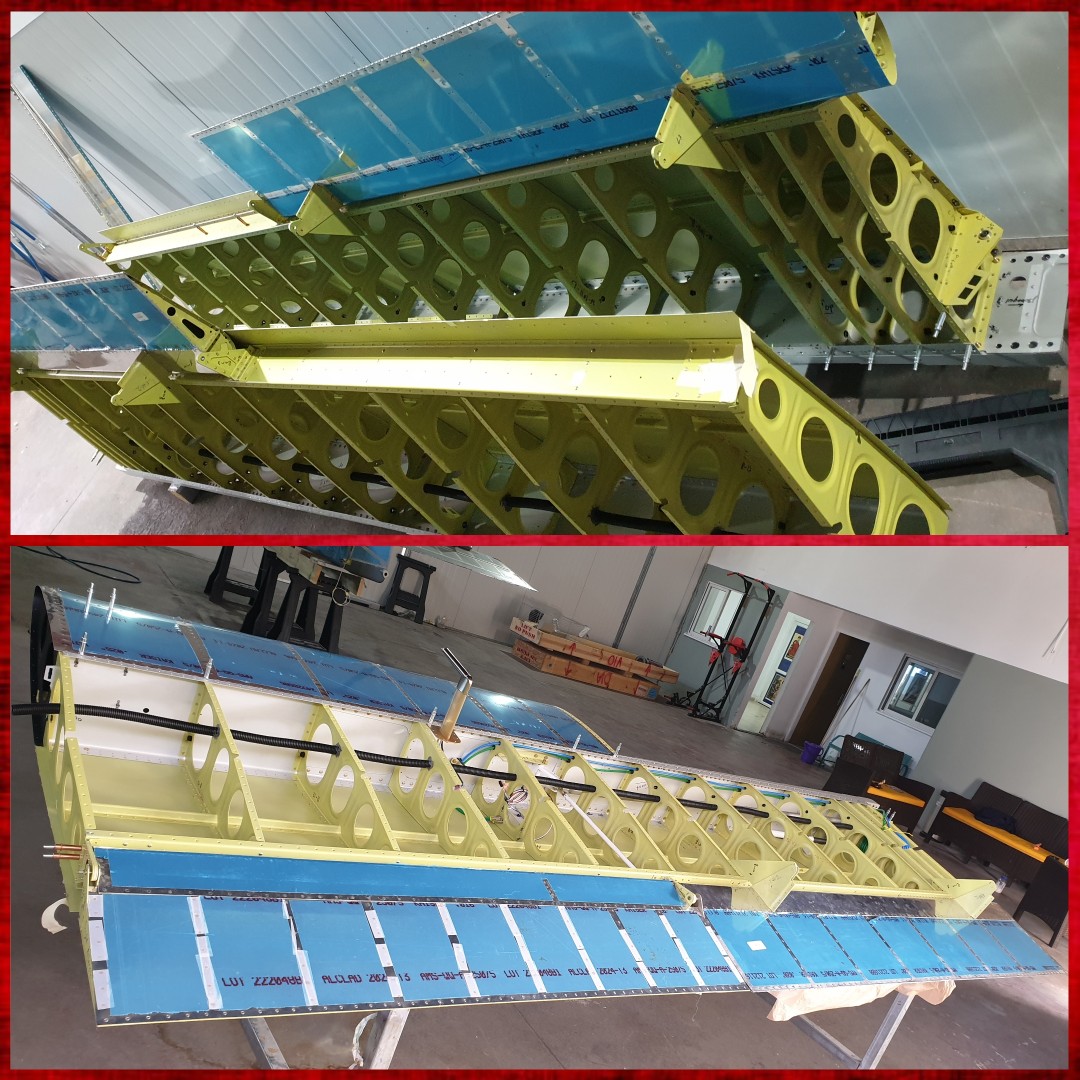
![]() Like any usual work procedure, we drive as quickly as possible to the first assembly, drilling the matching holes, dimpling, deburring and — what is mostly important — studying the full idea behind the current assembly. This time, we have a very interesting structure constructed from ribs that look like large rectangular frames. The scale of the ribs is growing, that's how the conical structure have been achieved. All that tight together with large longerons and stringers to enforce the construction and finally is closed by large sheets of skin. ![]() Once done, the first assembly looks shiny like a time machine from some science fiction book. Next steps: coat it with some yellow protection. ![]() Usual procedure of coating is omitted here, but we couldn't help holding it and are publishing the first sight of all the internal ribs, nicely anti-corrosion protected. ![]() Starting to rivet the whole thing. There is about 2000 rivets in this section alone. ![]() After first 4000 rivets, you start feeling some confidence as for your chances to finish that job. ![]() I have no idea how one can do that riveting job alone. We are lucky to have four hands. The work on the aft flows really smoothly and we're enjoying every single moment. ![]() Finally, the first steps into the avionics world. The harness is for the ELT device, for the trimmer and the strobe light on the rudder. There will be more, but here touching this one for 5 minutes takes me back into high technology universe, and opens all the discussion about what other electronics we need: and very soon we will post more about that. ![]() Back to the riveting trenches. The deck is, probably, the most interesting structure in this whole section. All the time doing it, I have been puzzled by the way the whole tail is assembled on that focal point. It wasn't that difficult — eventually, — but it required some concentration to get there. .
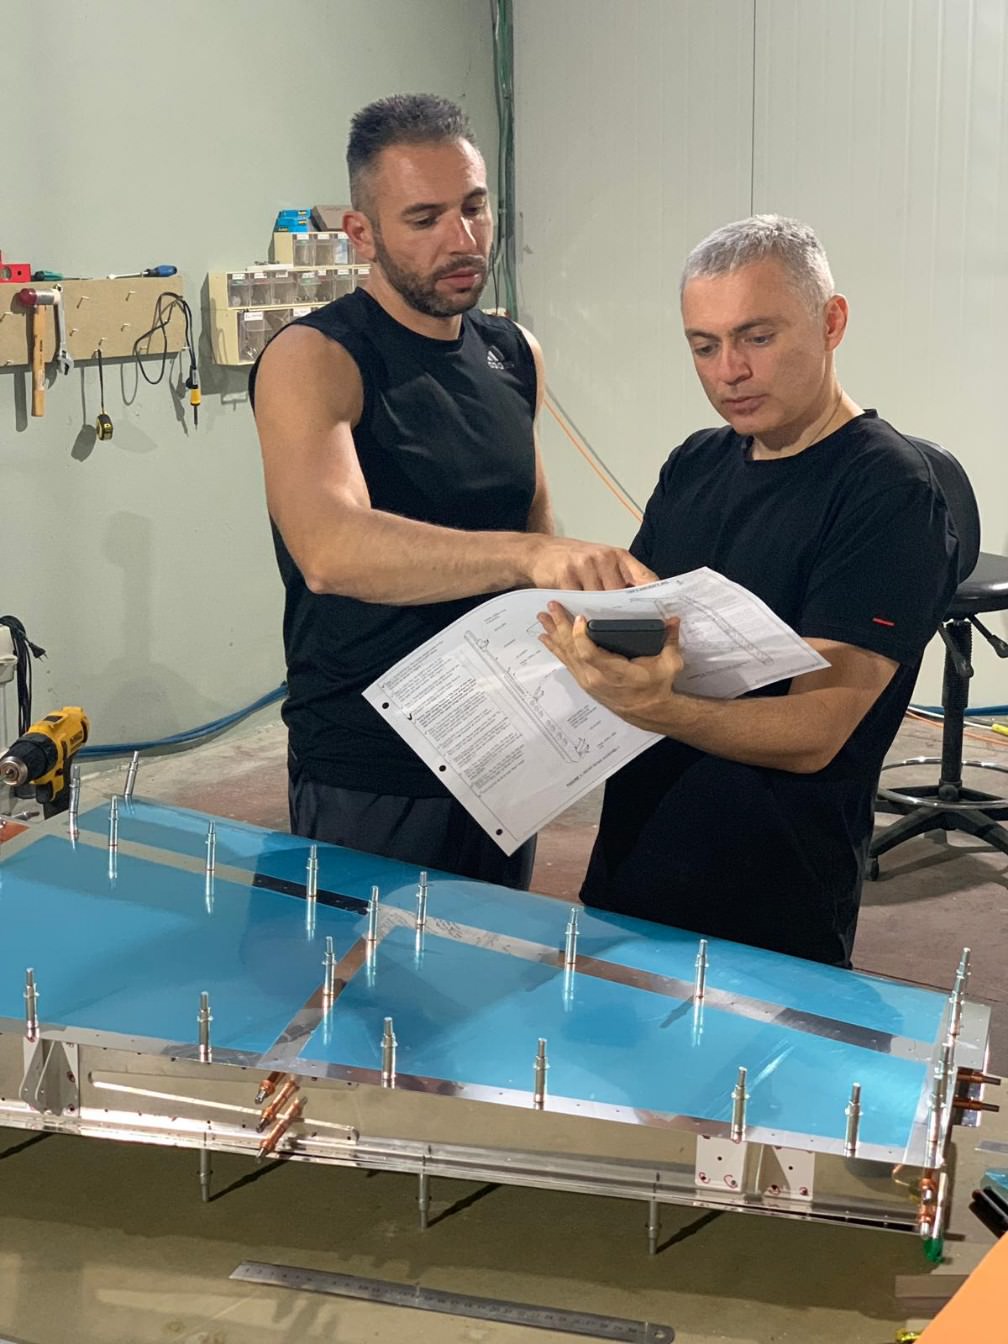
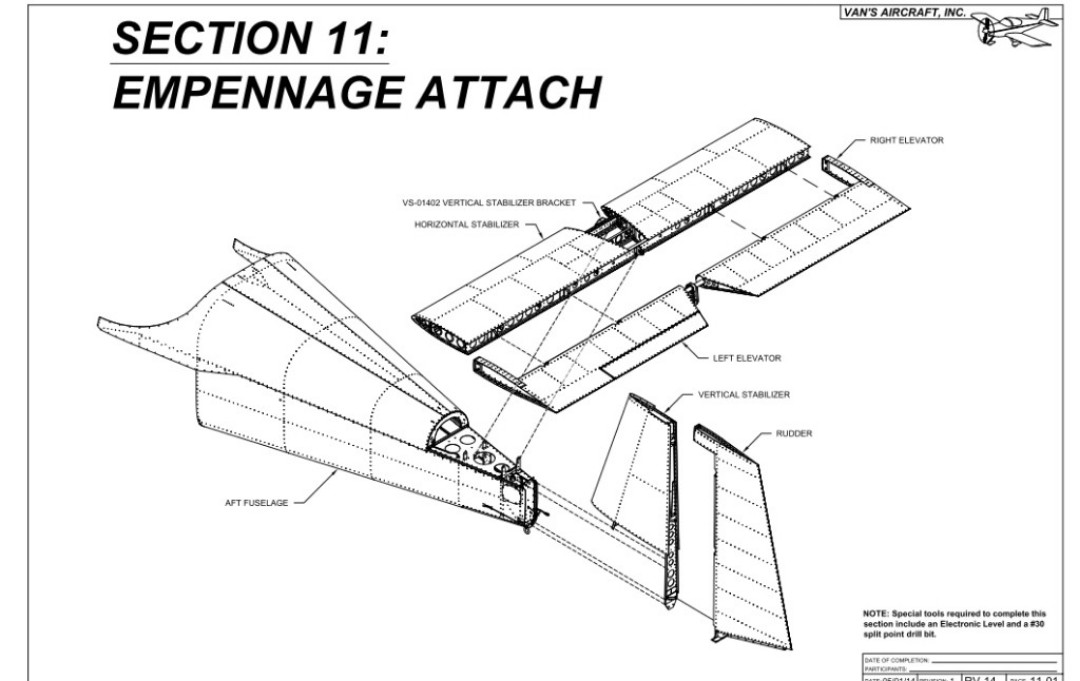
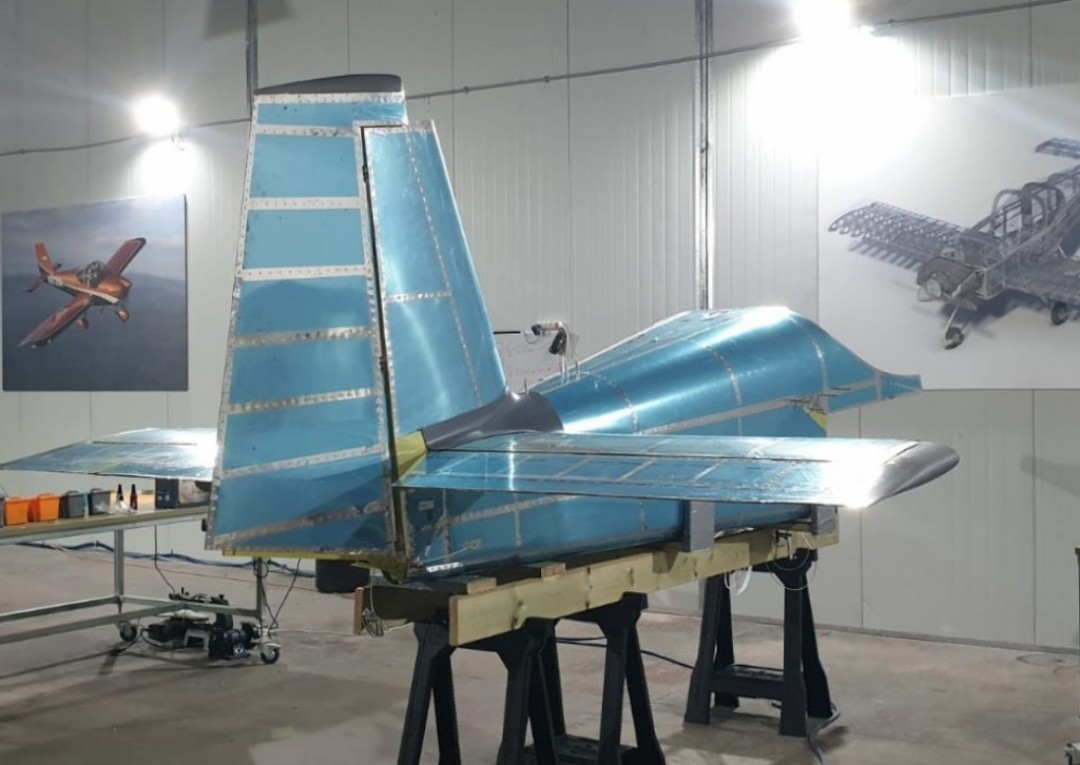
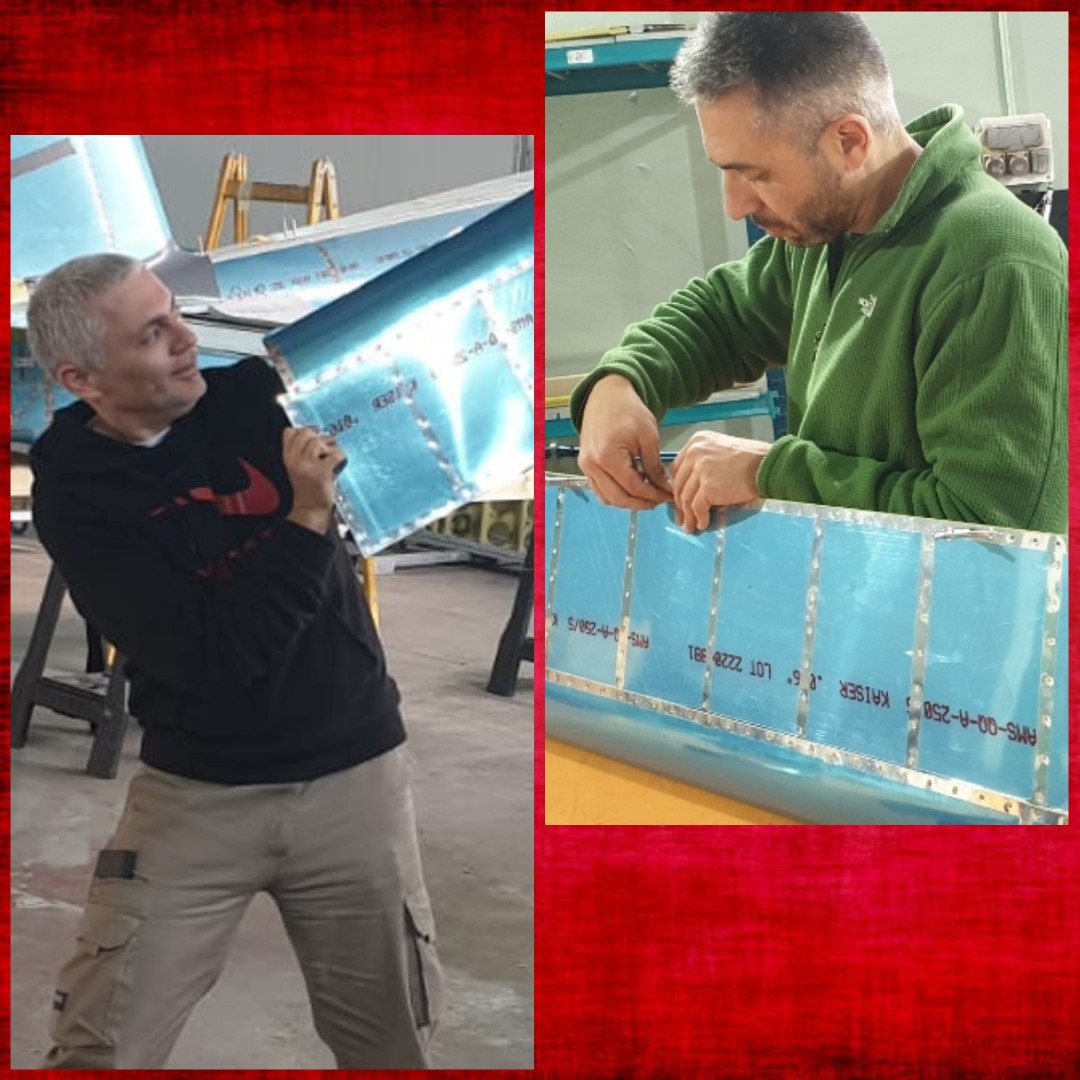
It took us 130 man hours and 2 calendar weeks to finish the Aft part. It is hard to believe but about two months after we touched the metal and really started this project. After almost 5000 rivets we are ready to assembly all the parts together and have full functioning Empennage. Expect for that in the next reports. ![]() Cheers. Roman & Dima |
All times are GMT -6. The time now is 04:53 AM. |