![]() |
Van's 14
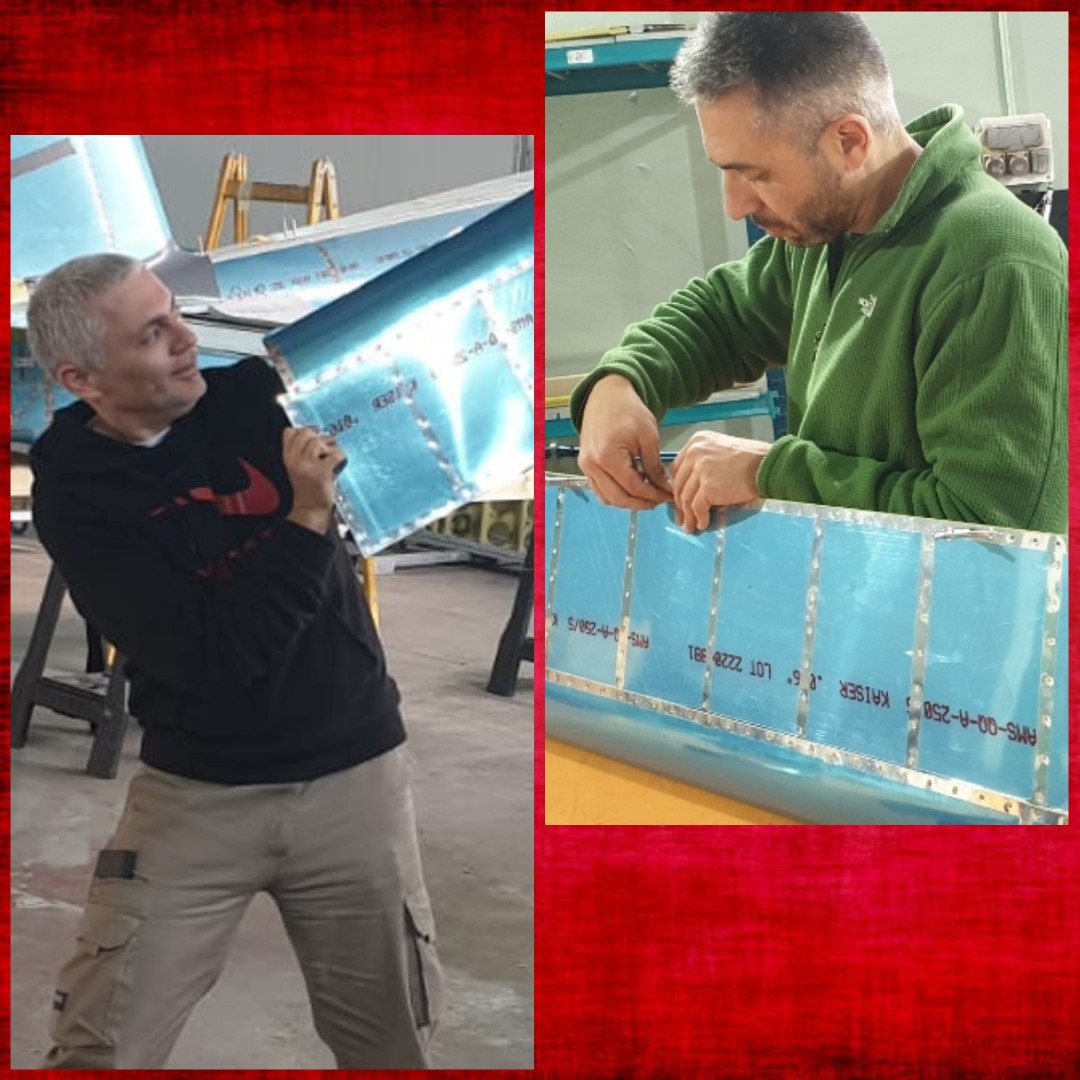
Really exciting to follow other who are building the 14! We are about right in the middle of the project. Fuselage 85%, tail done, quick build wings which is truly cheating and finish kit about 50% done. It is amazing how much is completed on the QB wings, it is well worth the money.
I'm in Colorado but would love to see your project in Israel if I ever get out that way. Please keep sharing! Larry |
Quote:
Especially RV14. |
Larry in Colorado 14
Quote:
https://dan-larry-rv14.blogspot.com/ We just went through a progress inspection yesterday to make sure we are building it correctly and it came out with flying colors! Since we are new at it we just hired someone with vast experience to inspect periodically what we are building. Build on! Larry |
Quote:
Absolute motivation for us to keep going. |
.
Status Report: #10 ![]() That report is about:
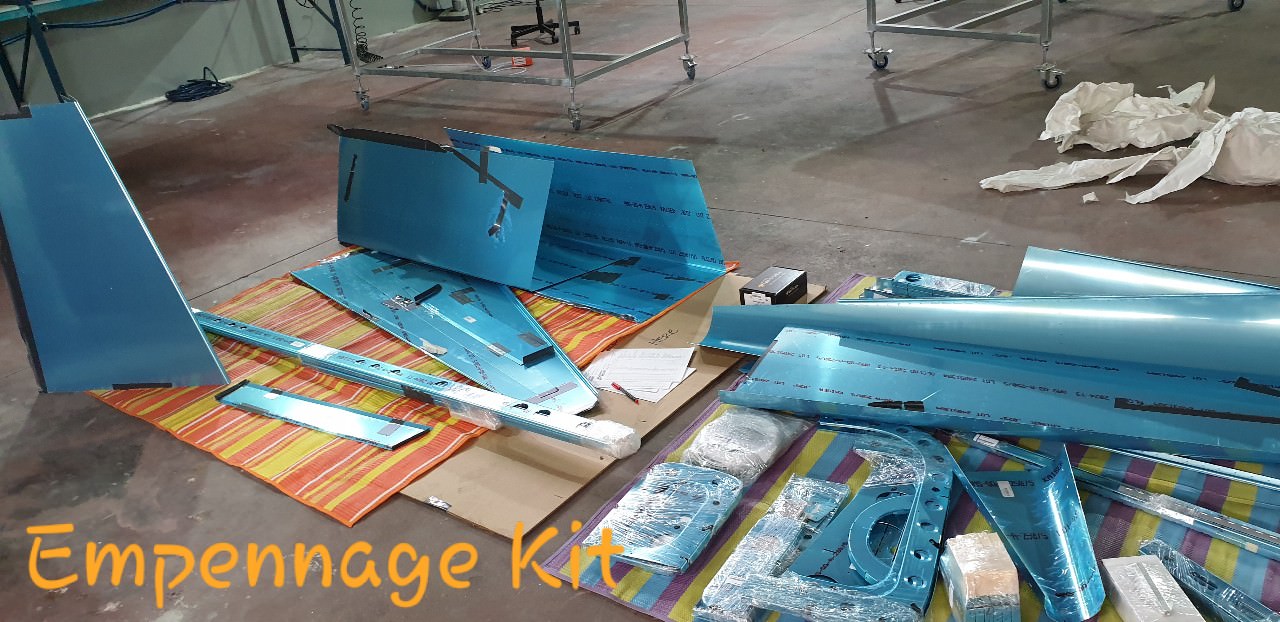
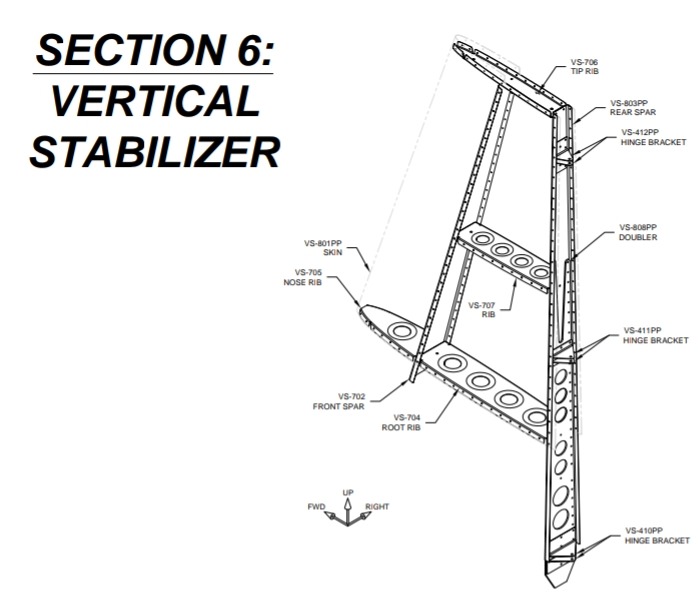
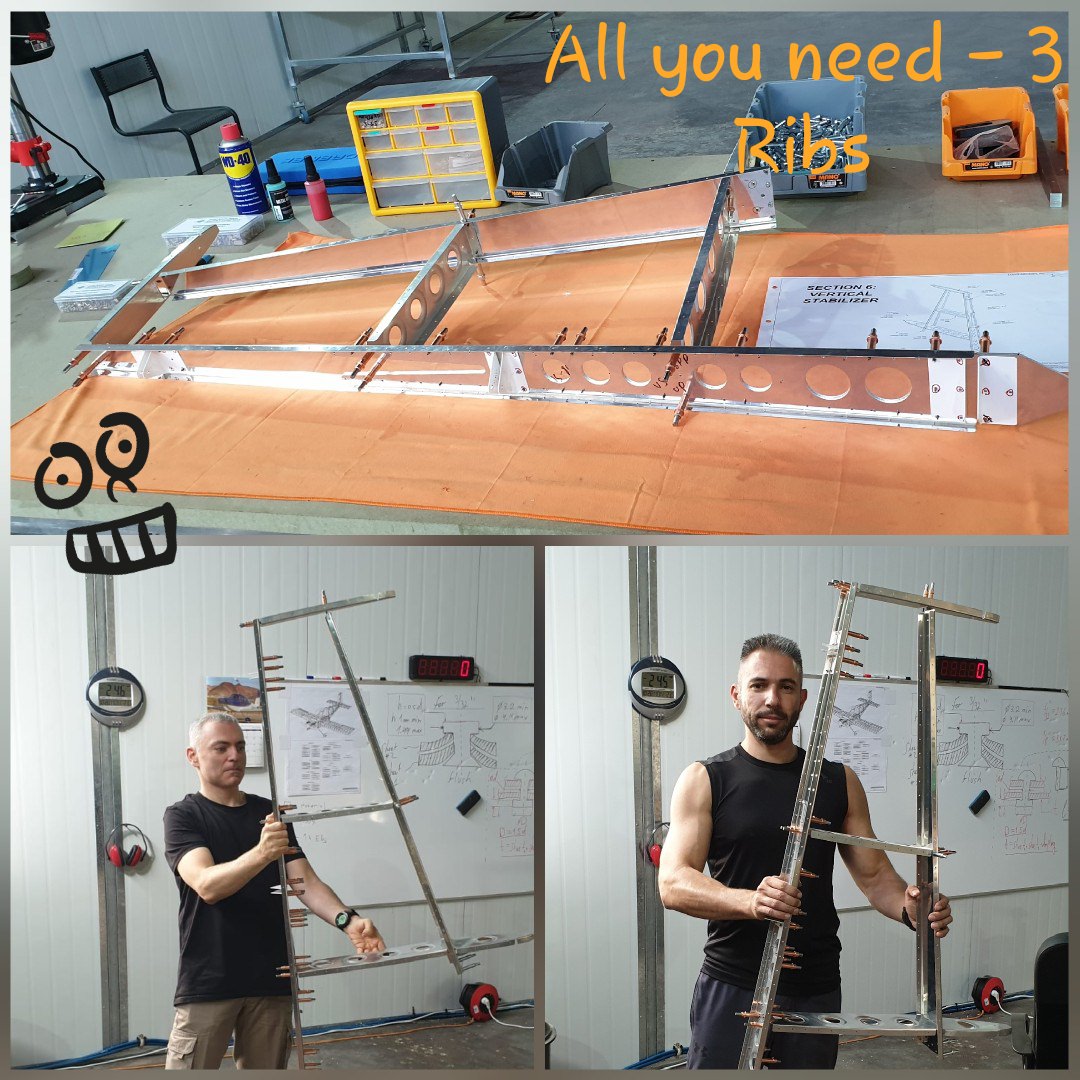
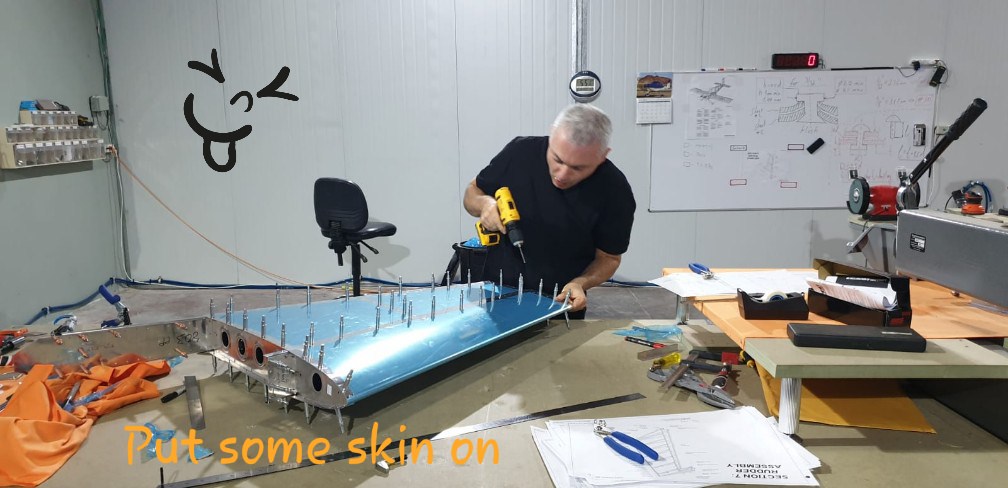
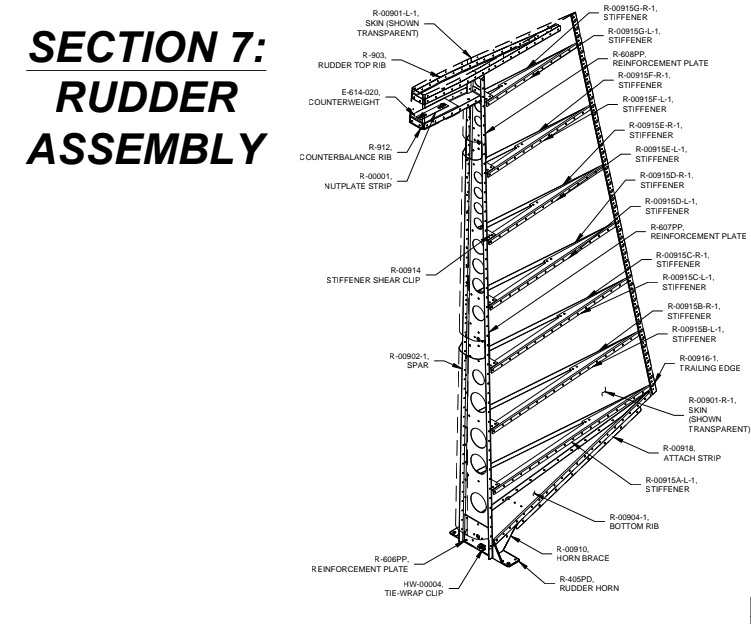
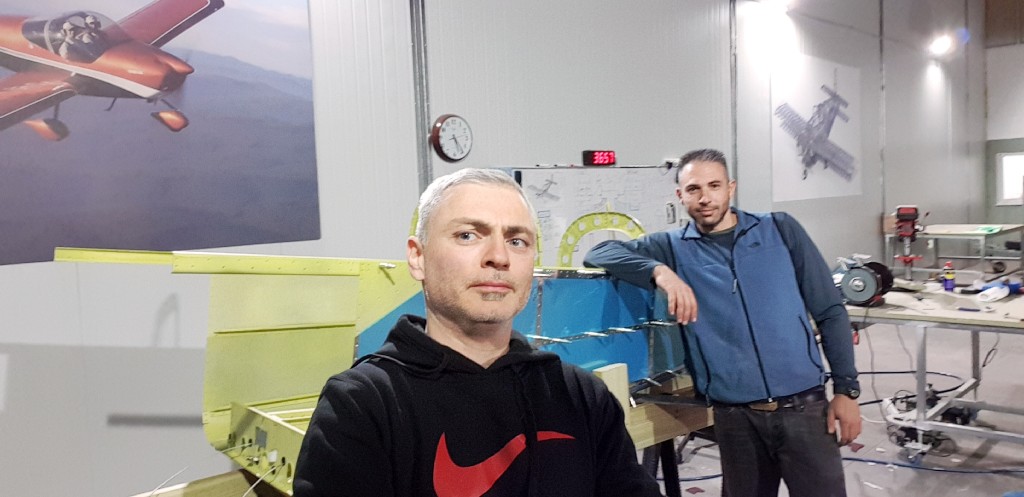
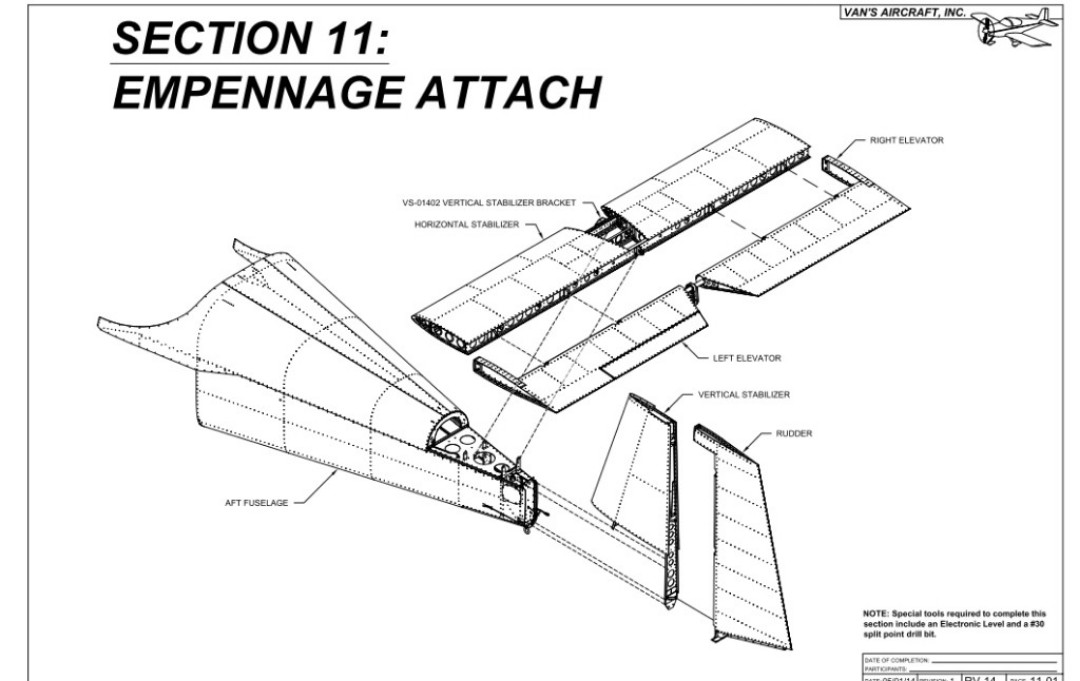
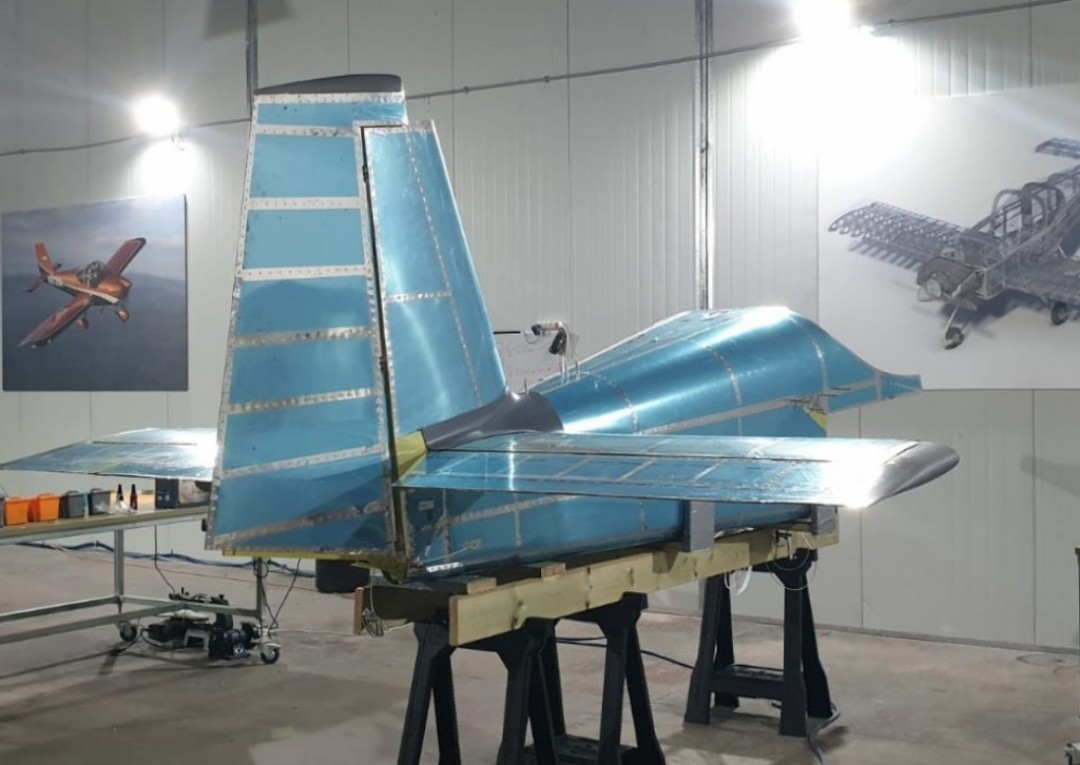
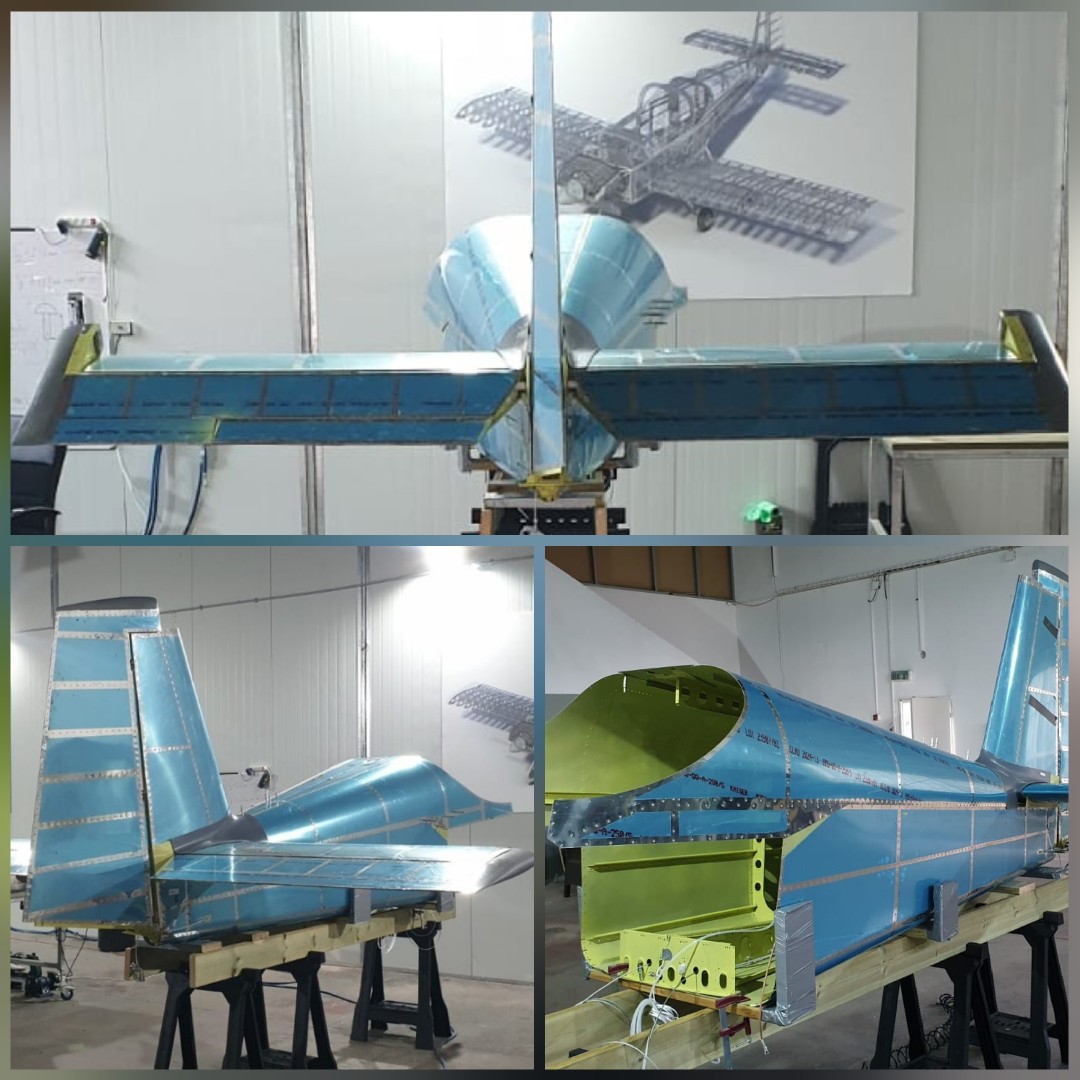
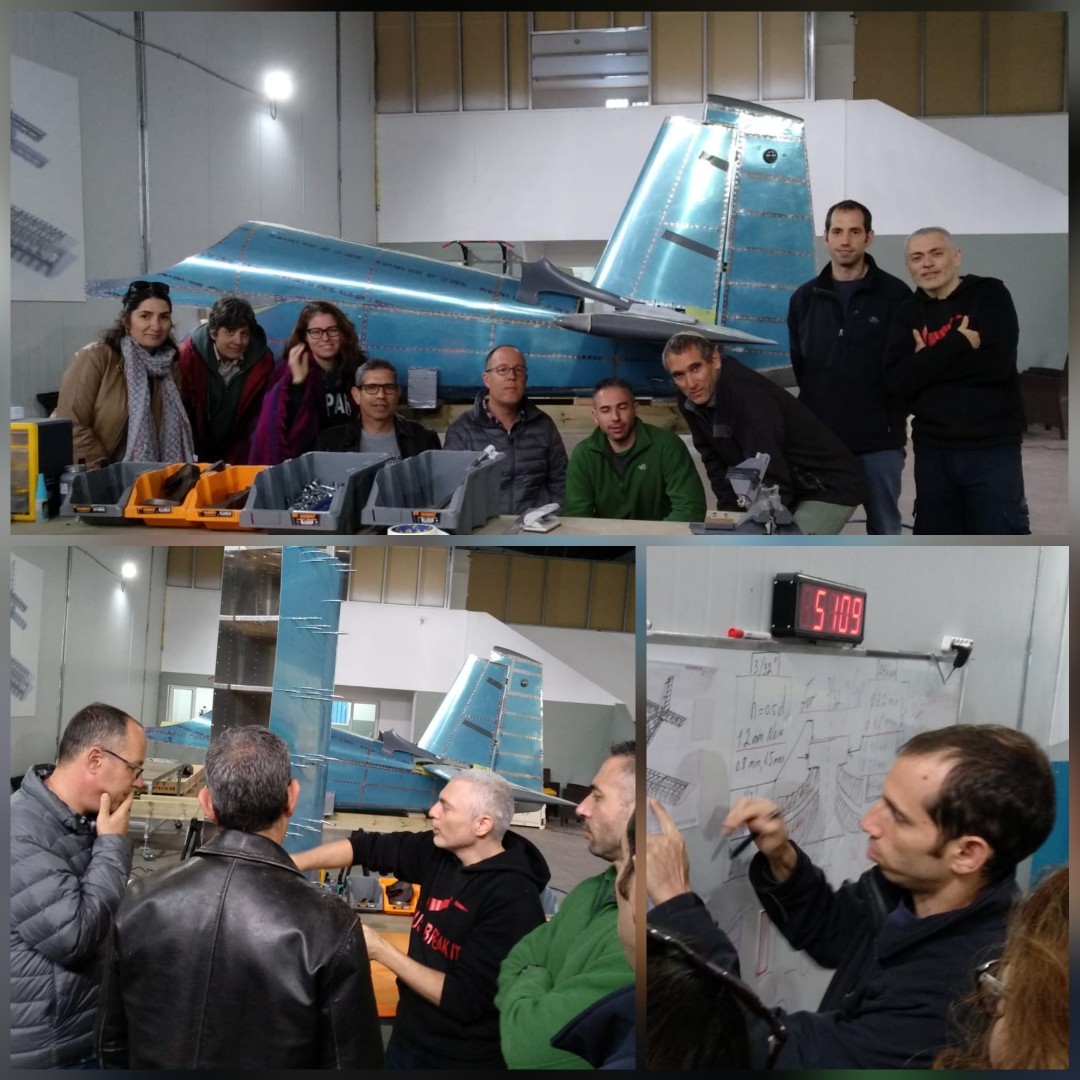
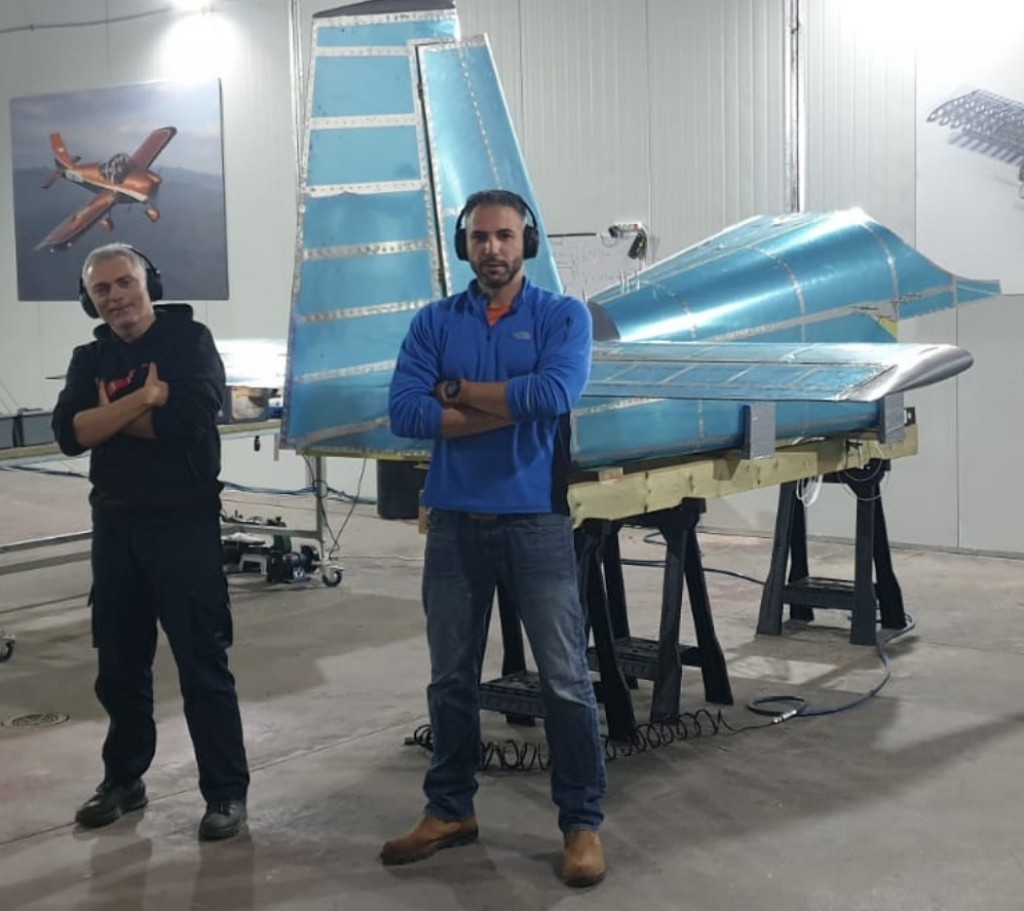
Just in time, we have all the parts making the full functional empennage. It wasn't too hard to connect all the 5 parts together but the result is so fu**ing magnificent. I couldn't stop steering on the plane all that evening. .
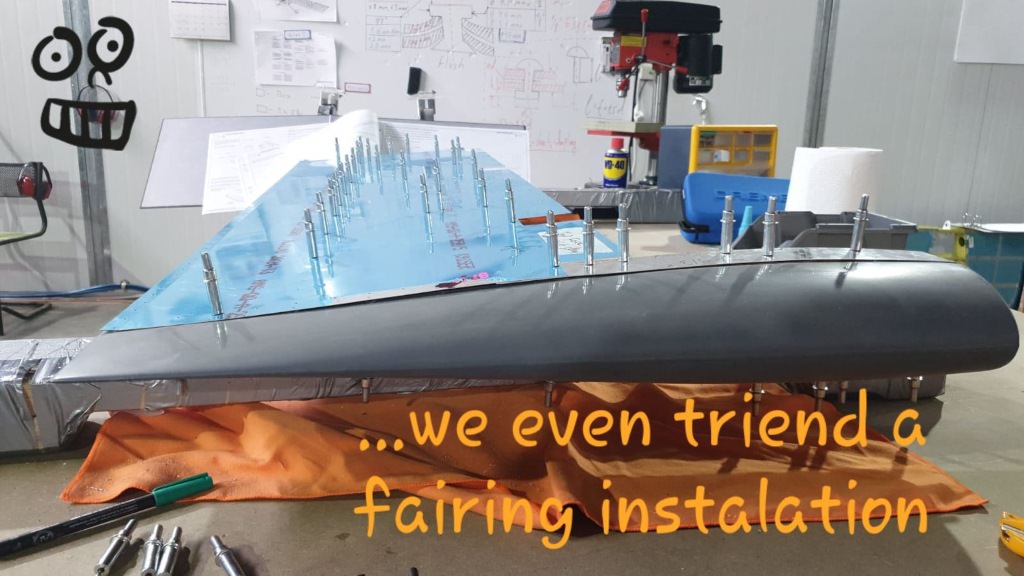
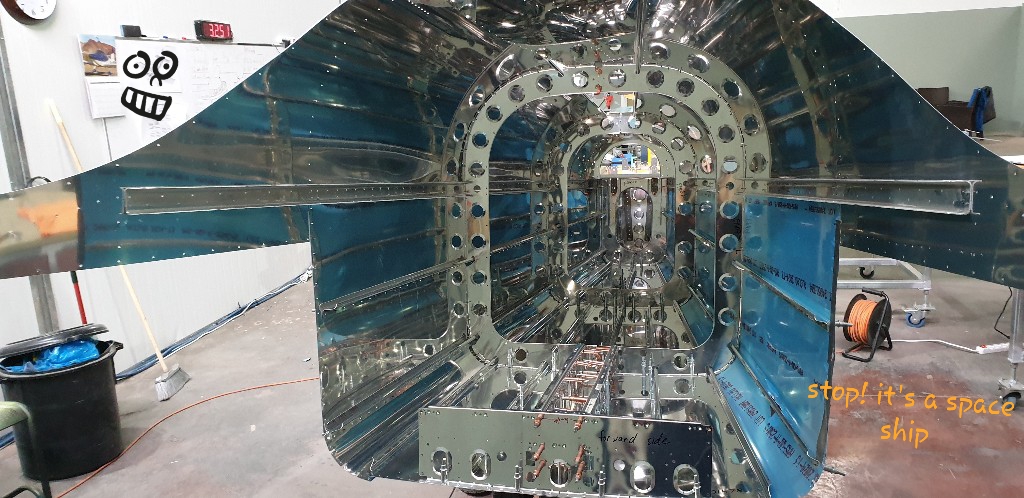
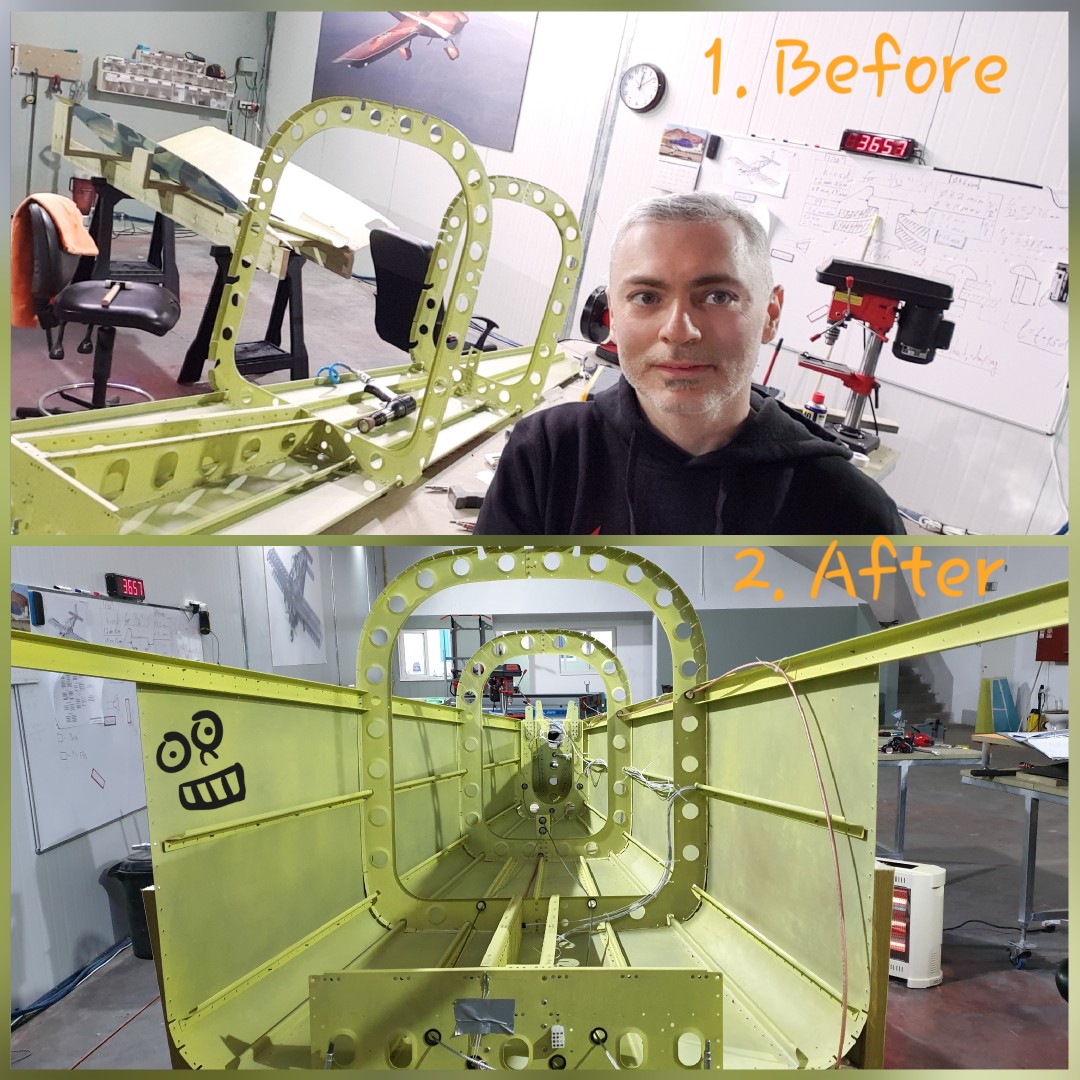
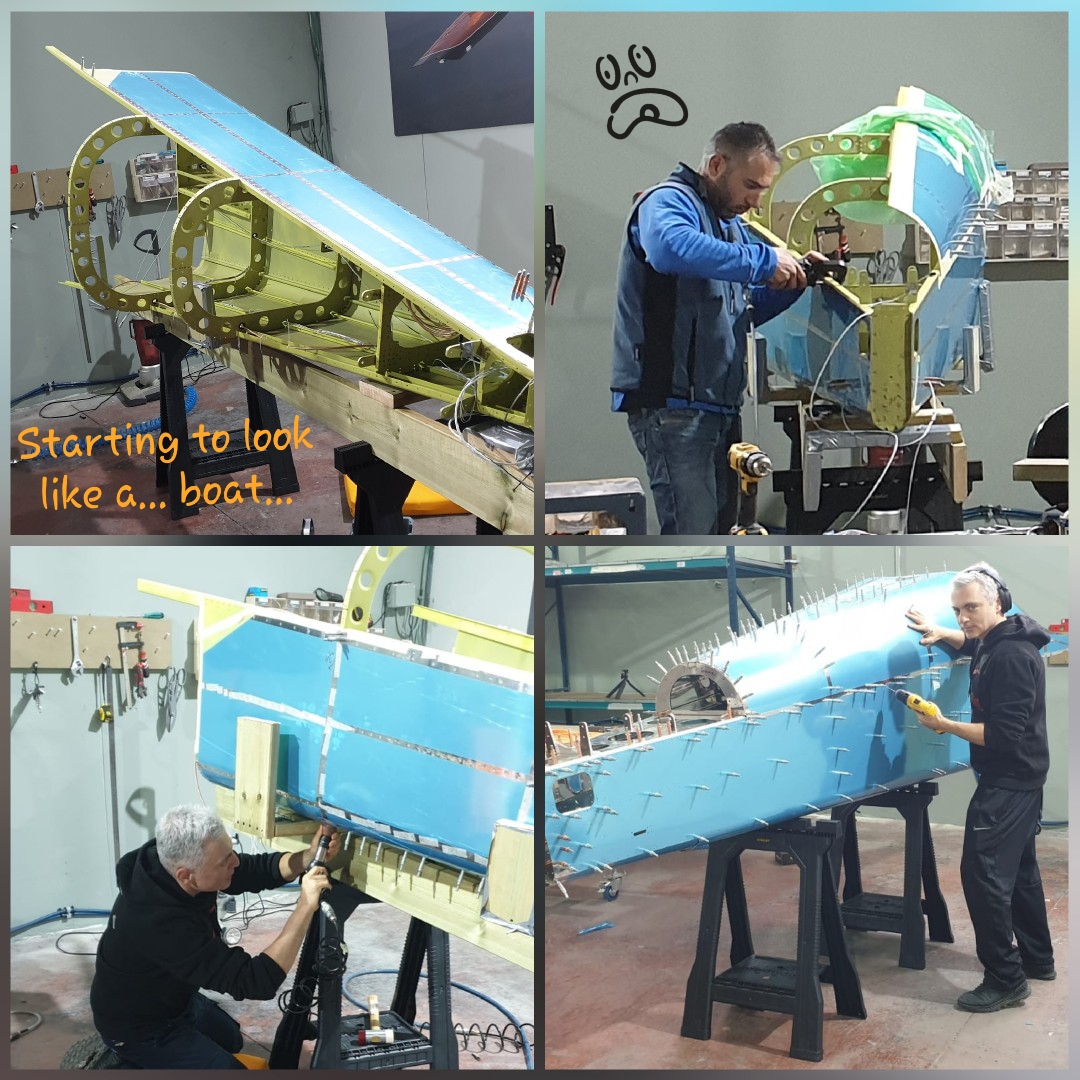
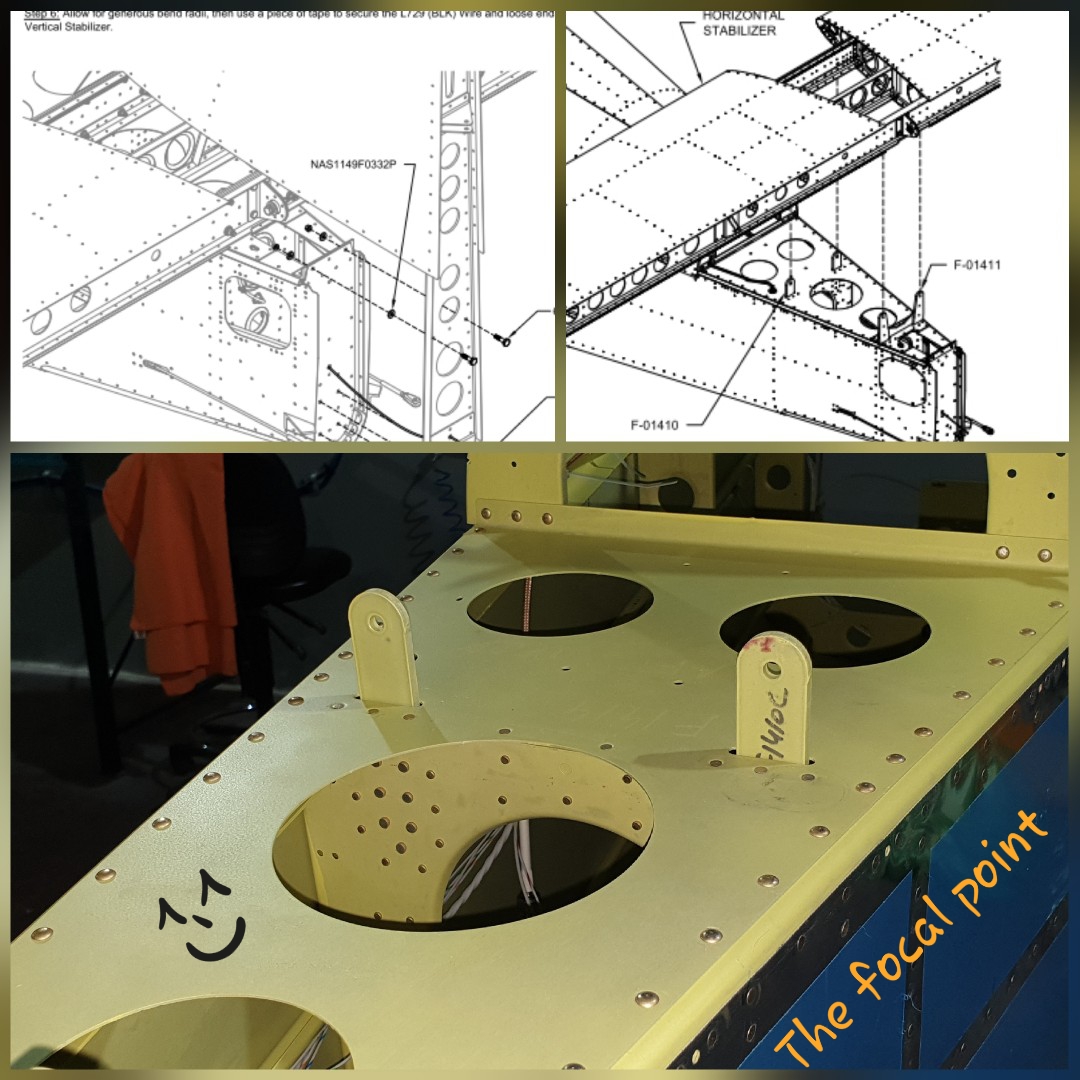
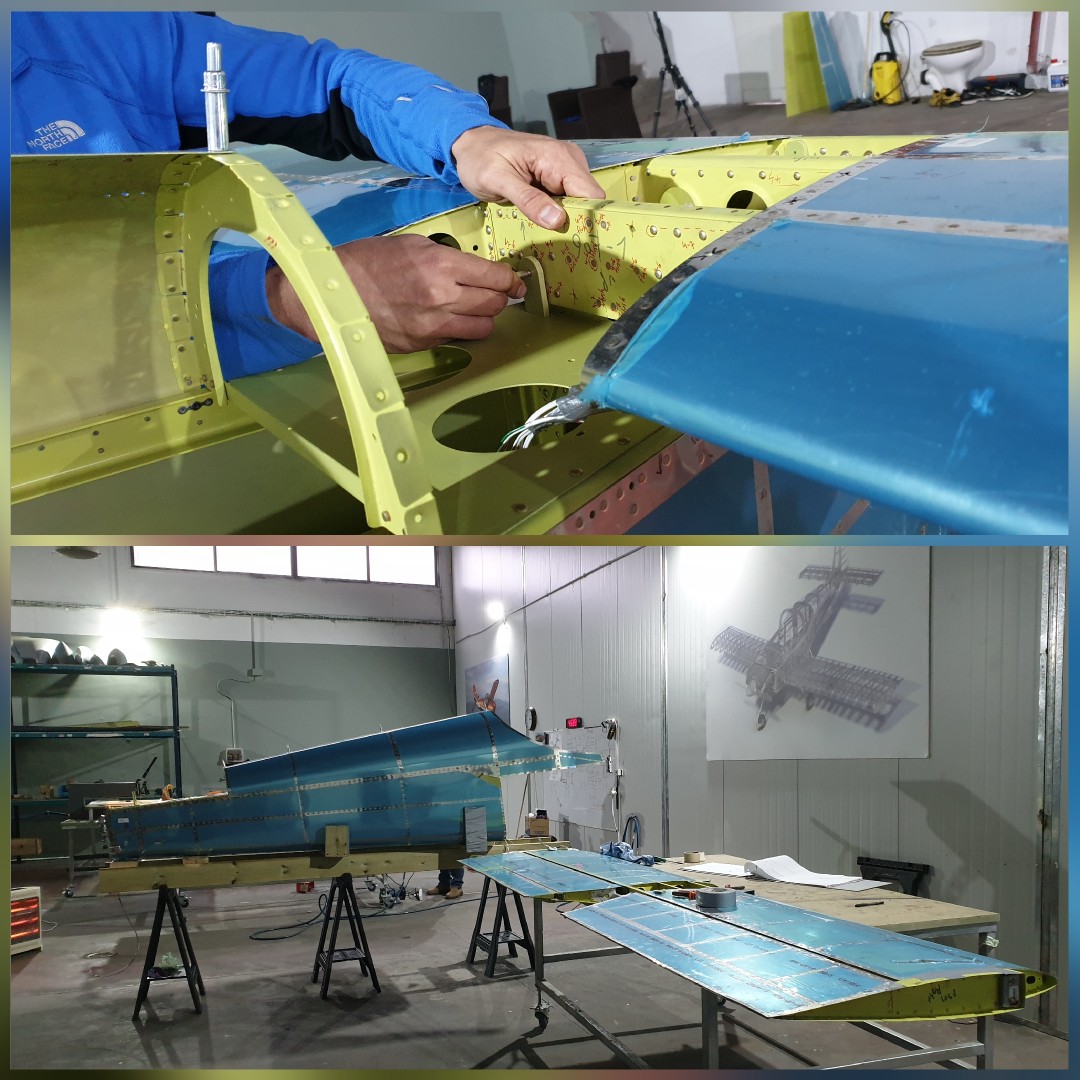
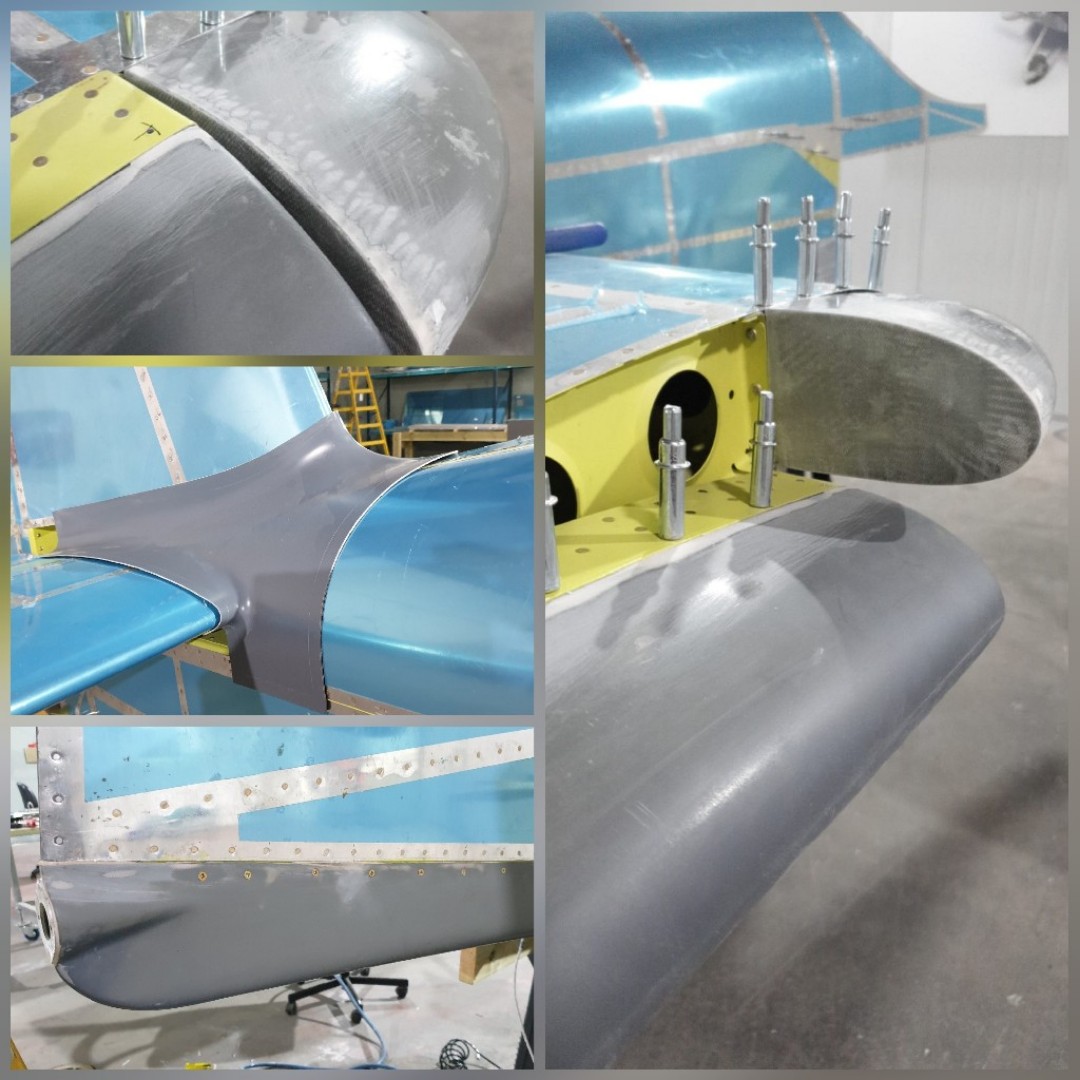
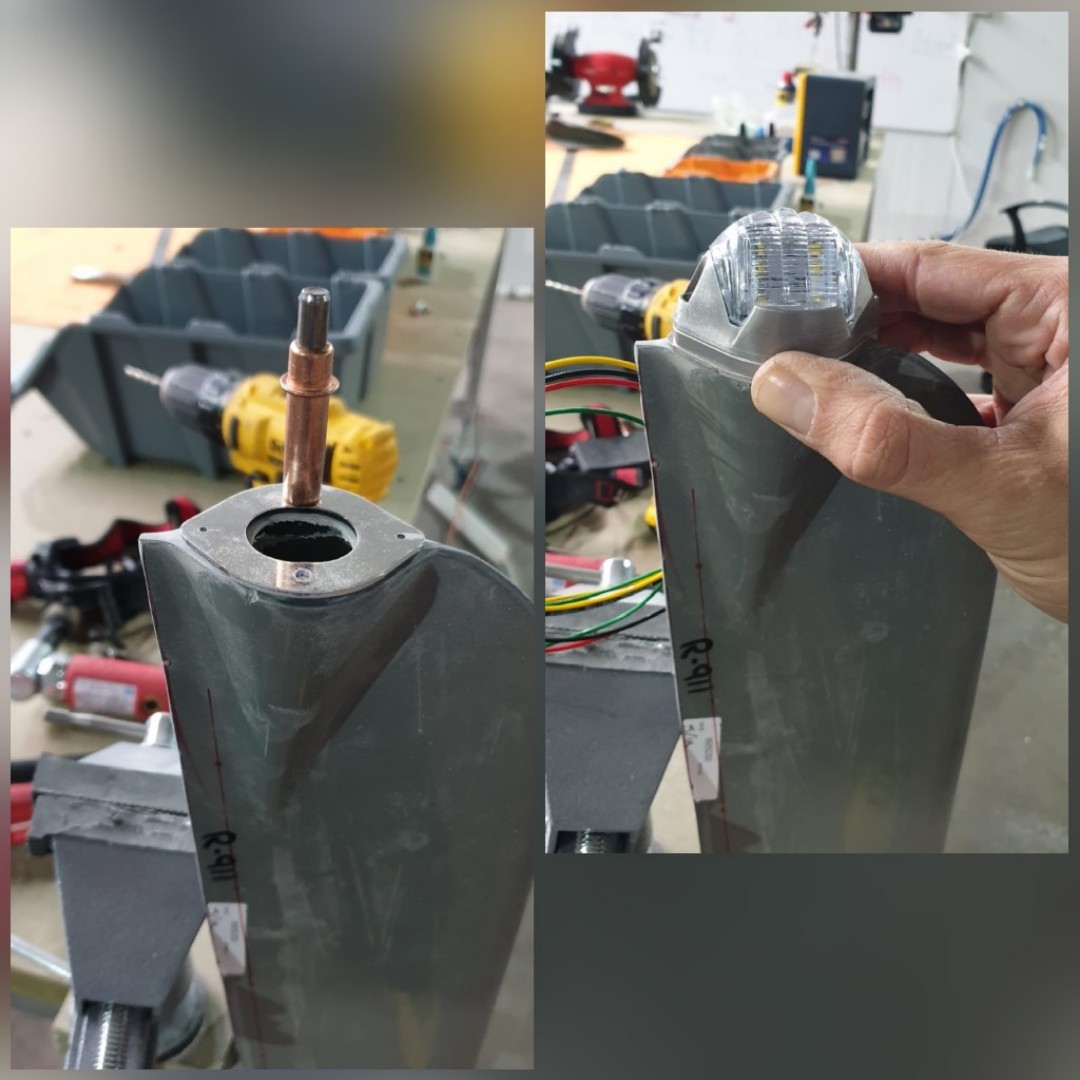
![]() I'll start from the bottom line, it is the first time we got the plane to look like a plane. All the parts that we constructed from sheets of metal and riveted all together are suddenly united into one beautiful construction. ![]() It is much better to attach the elevators section to the horizontal stabilizer -- once it is disconnected from the plane. You have better access. The bolts are not easy to be inserted into the barring so it is much better not to deal with the horns inside the deck hole but to focus on inserting the bolt into the baring hole. ![]() That is the beauty from any perspective. I think I will keep all the words for other events. And will leave the picture to speak for itself. ![]() If you think that the metals combined together look good, wait for setting the fairing up. It is a bit new technique to study - how to work with fiberglass. But the result is really worth all the effort. ![]() And now we are going to have the first light out of all the future lights. .
This is the first stage finale. We started working in the middle of November and there it is: mid of December, and we are totally proud of the achievement. How did all those pieces of metal form an aerodynamic sculpture? Next step will be to turn it into a flying machine, but there is some time till there. Promising to keep you posted. ![]() Cheers. Roman & Dima |
Quote:
The camera must really make a loud noise...:D |
Quote:
|
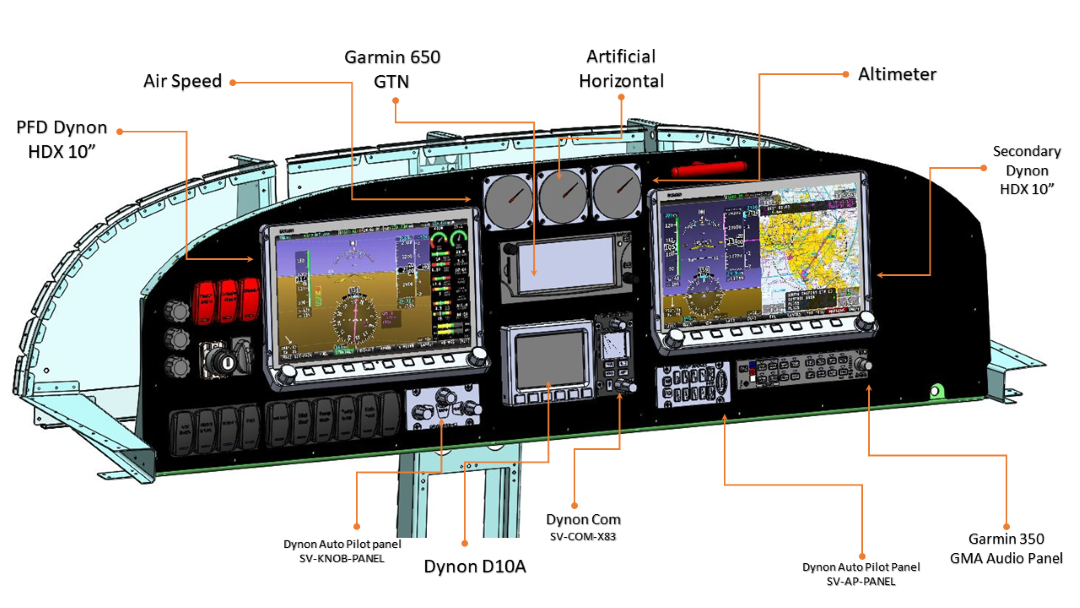
In the meantime we are working on the future ![]() |
.
Status Report: #11 .
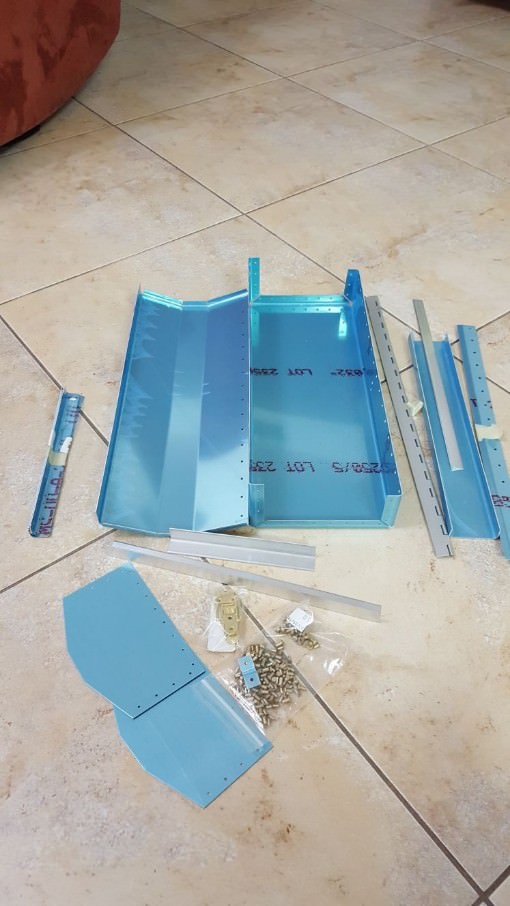
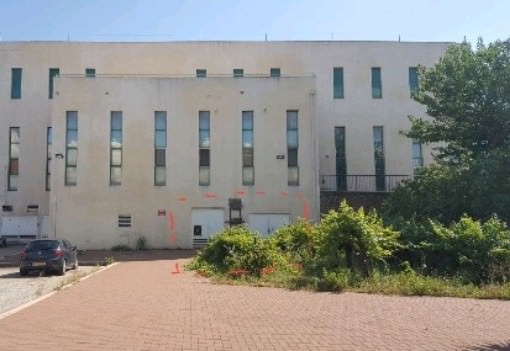
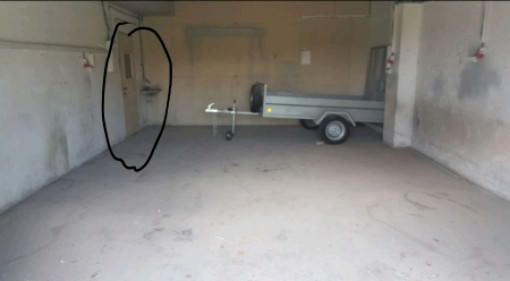
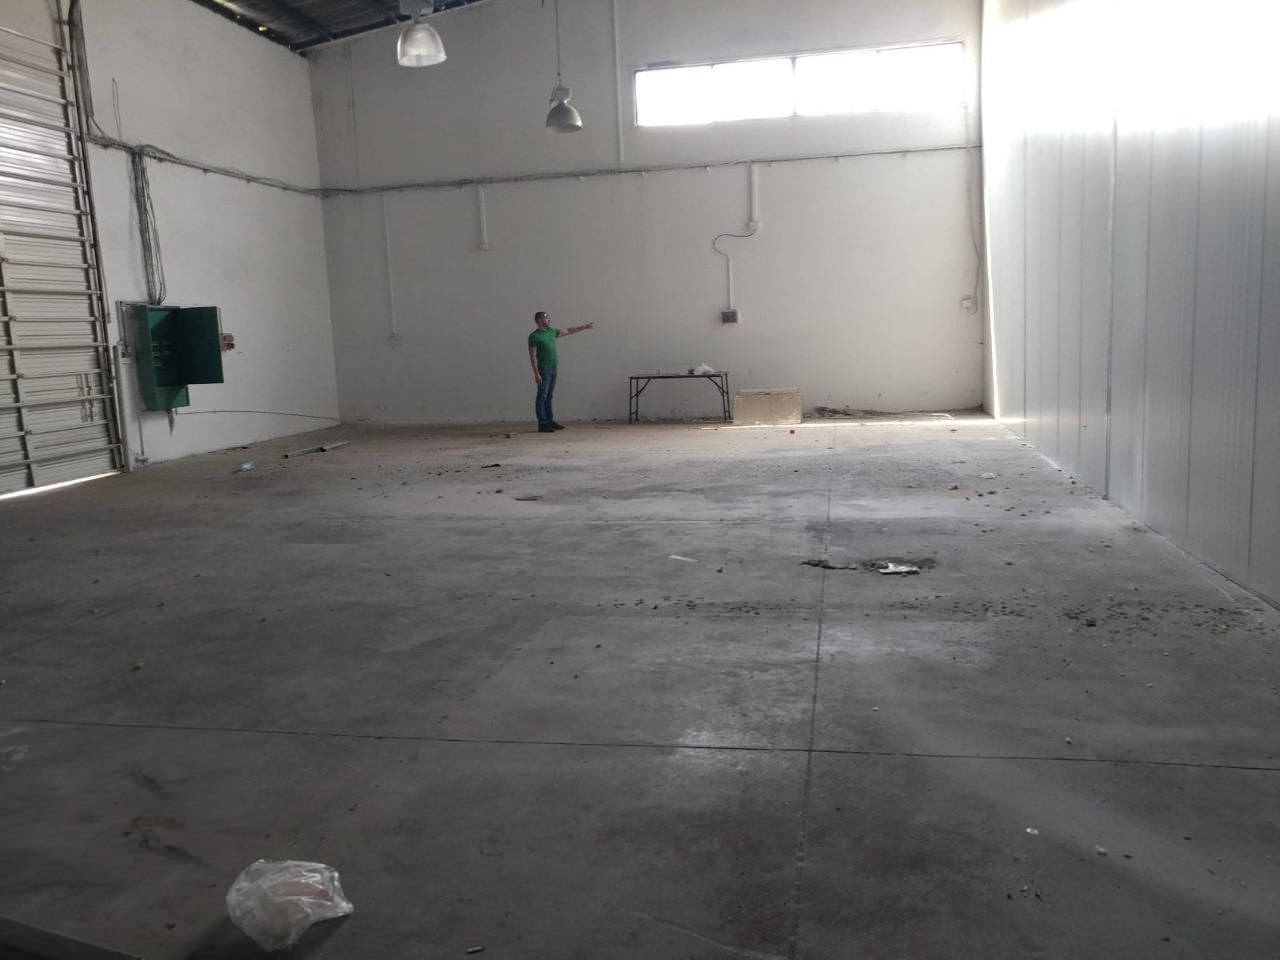
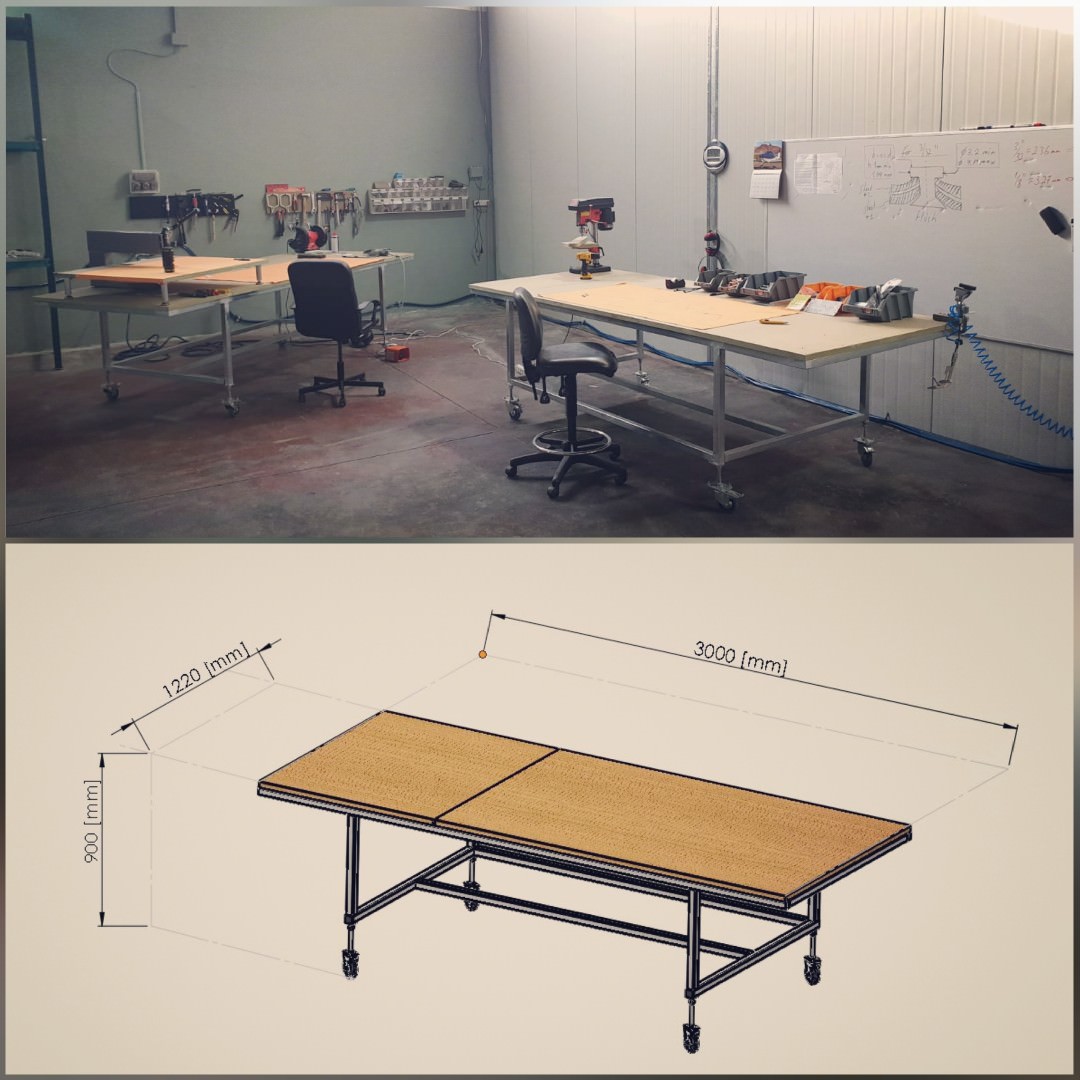
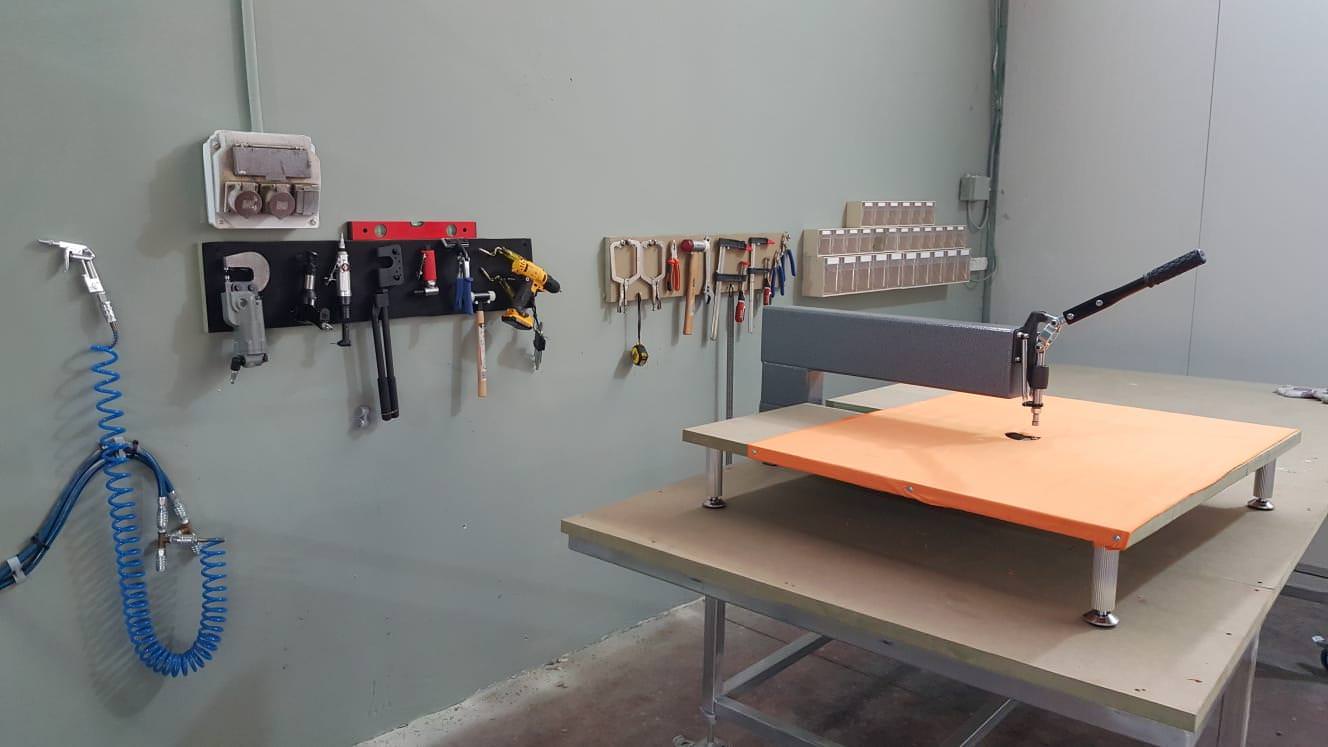
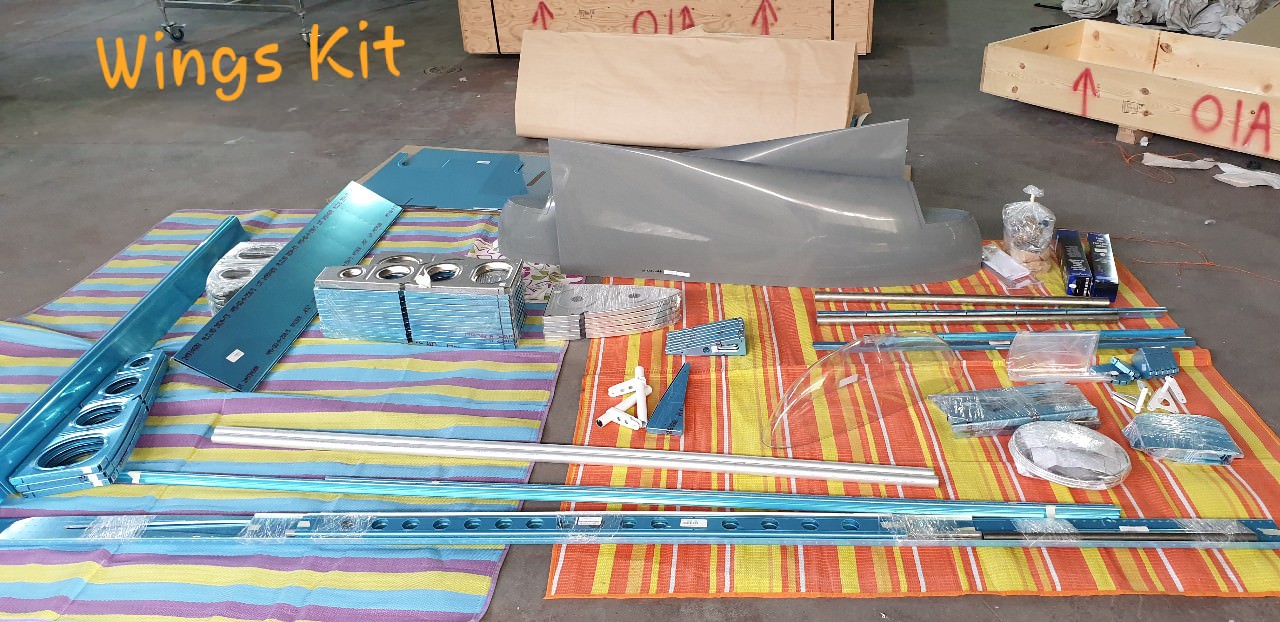
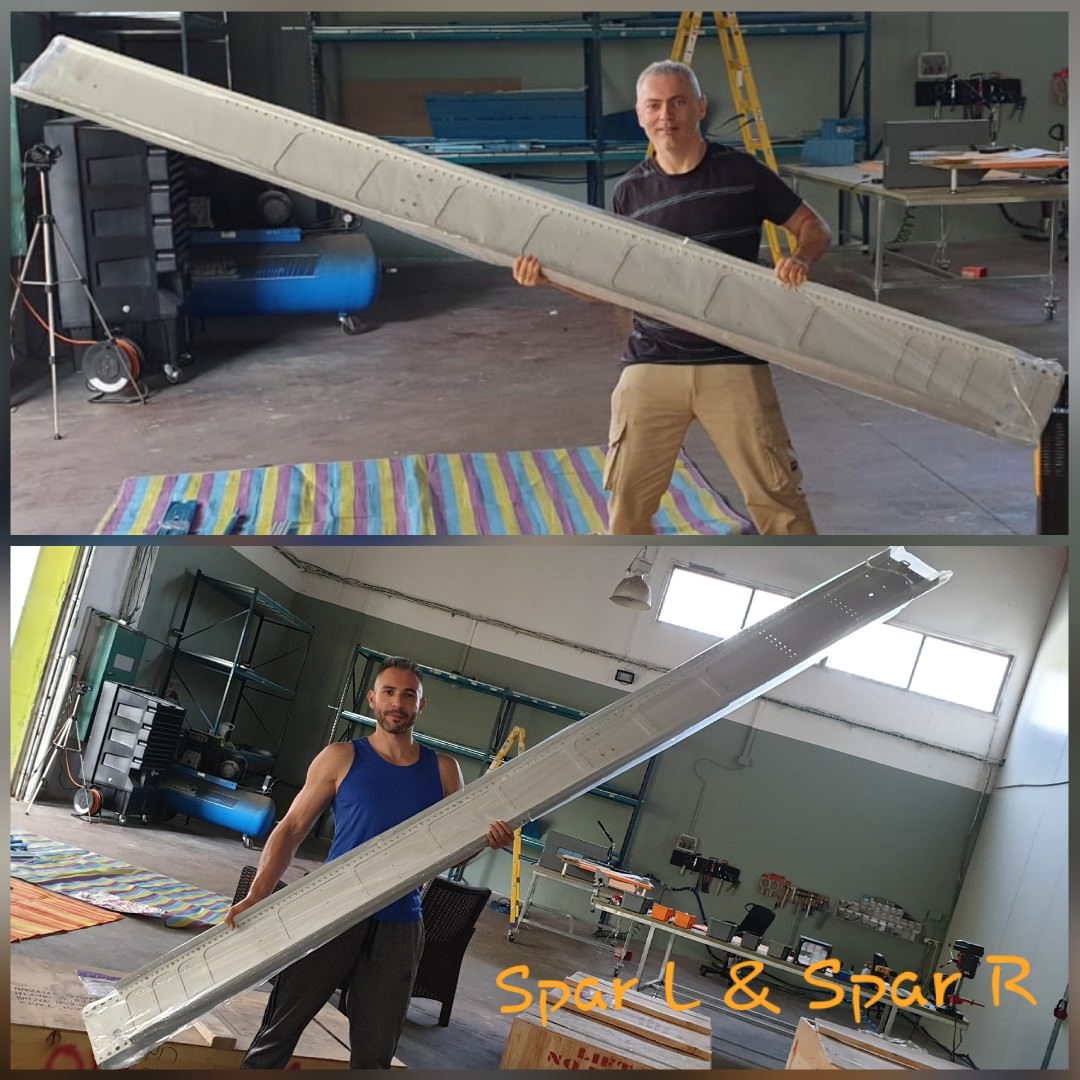
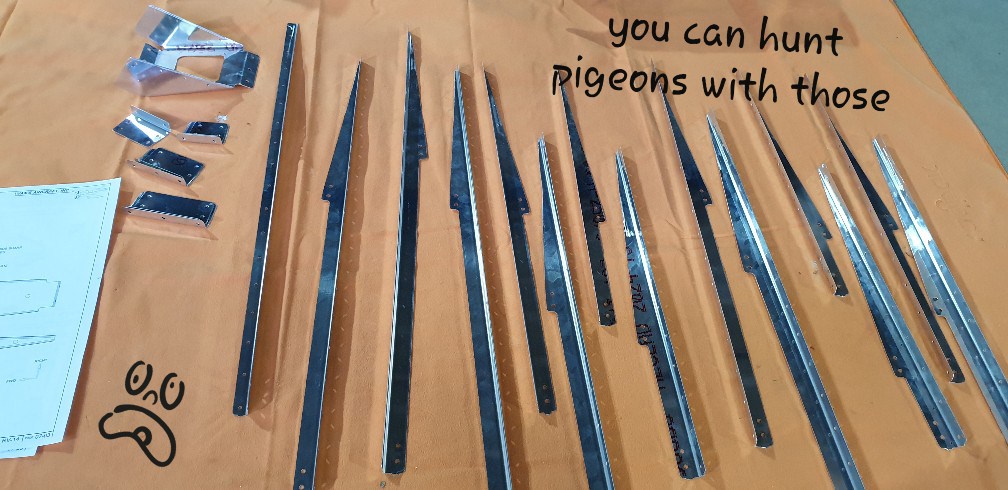
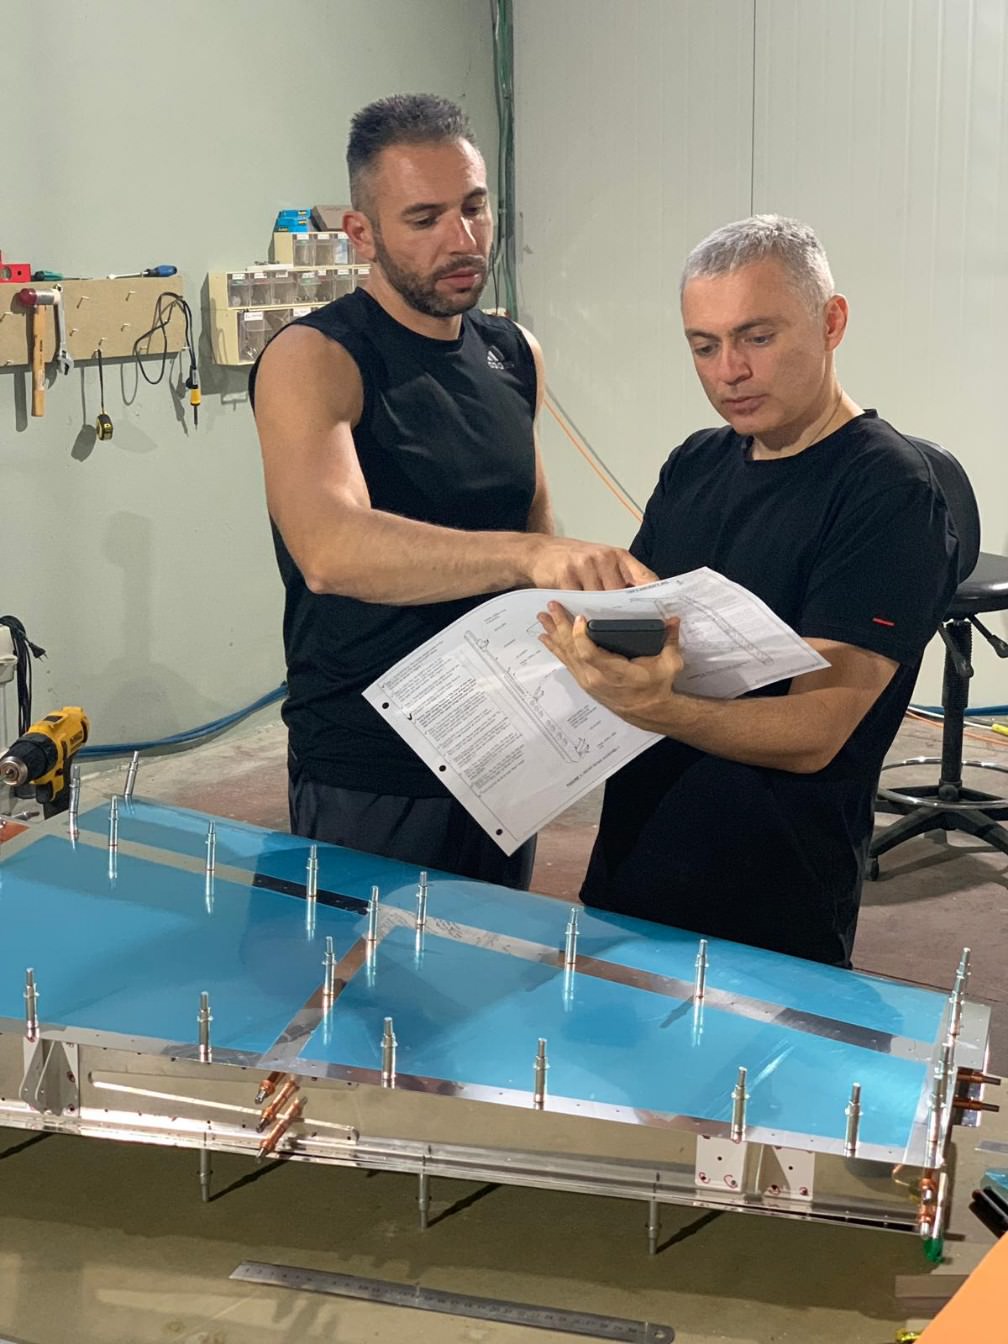
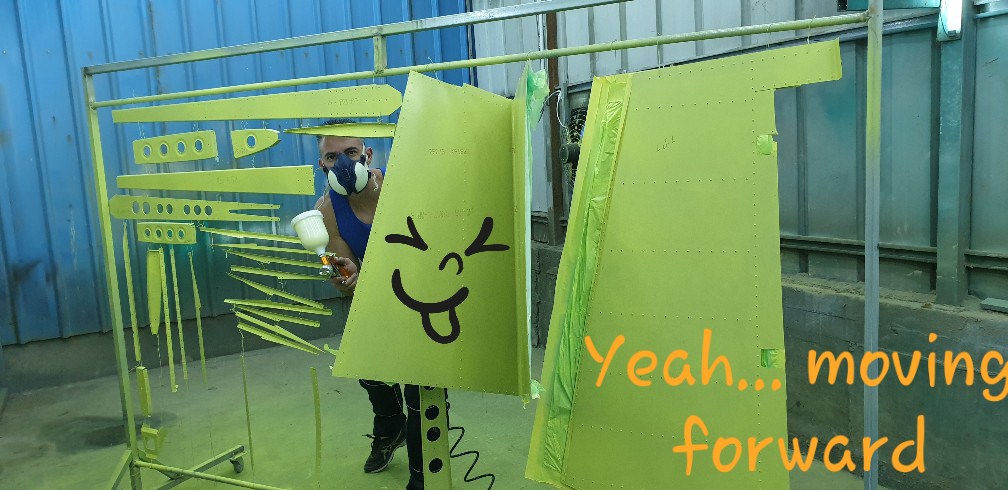
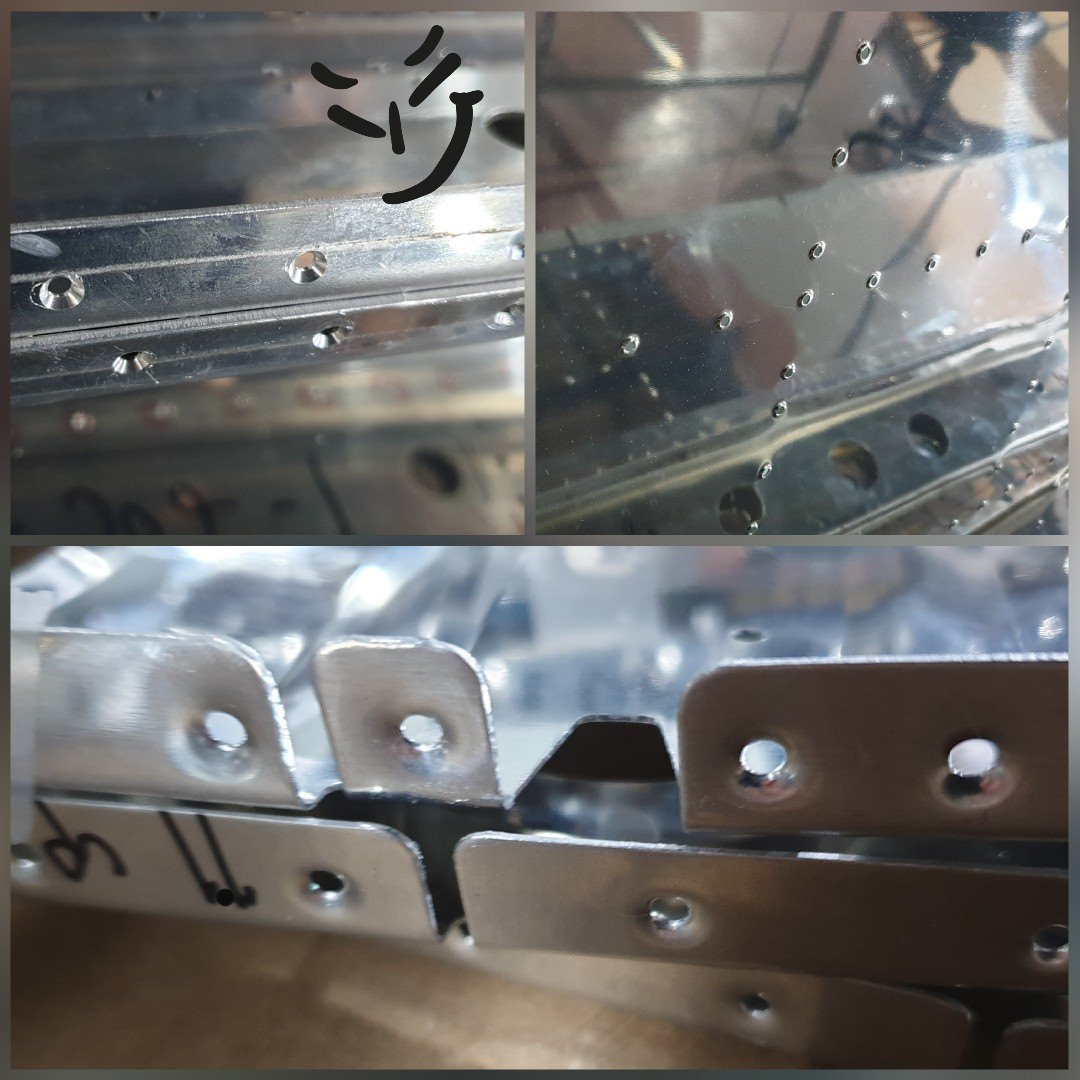
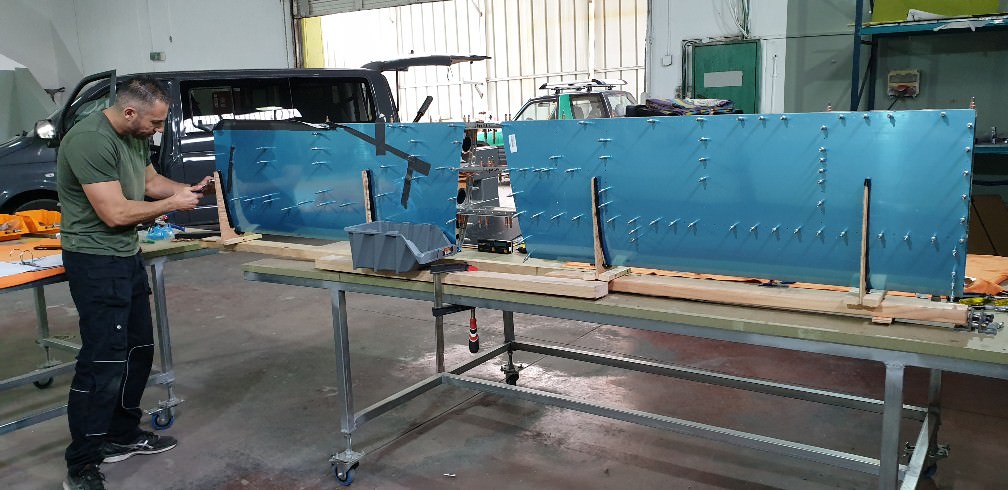
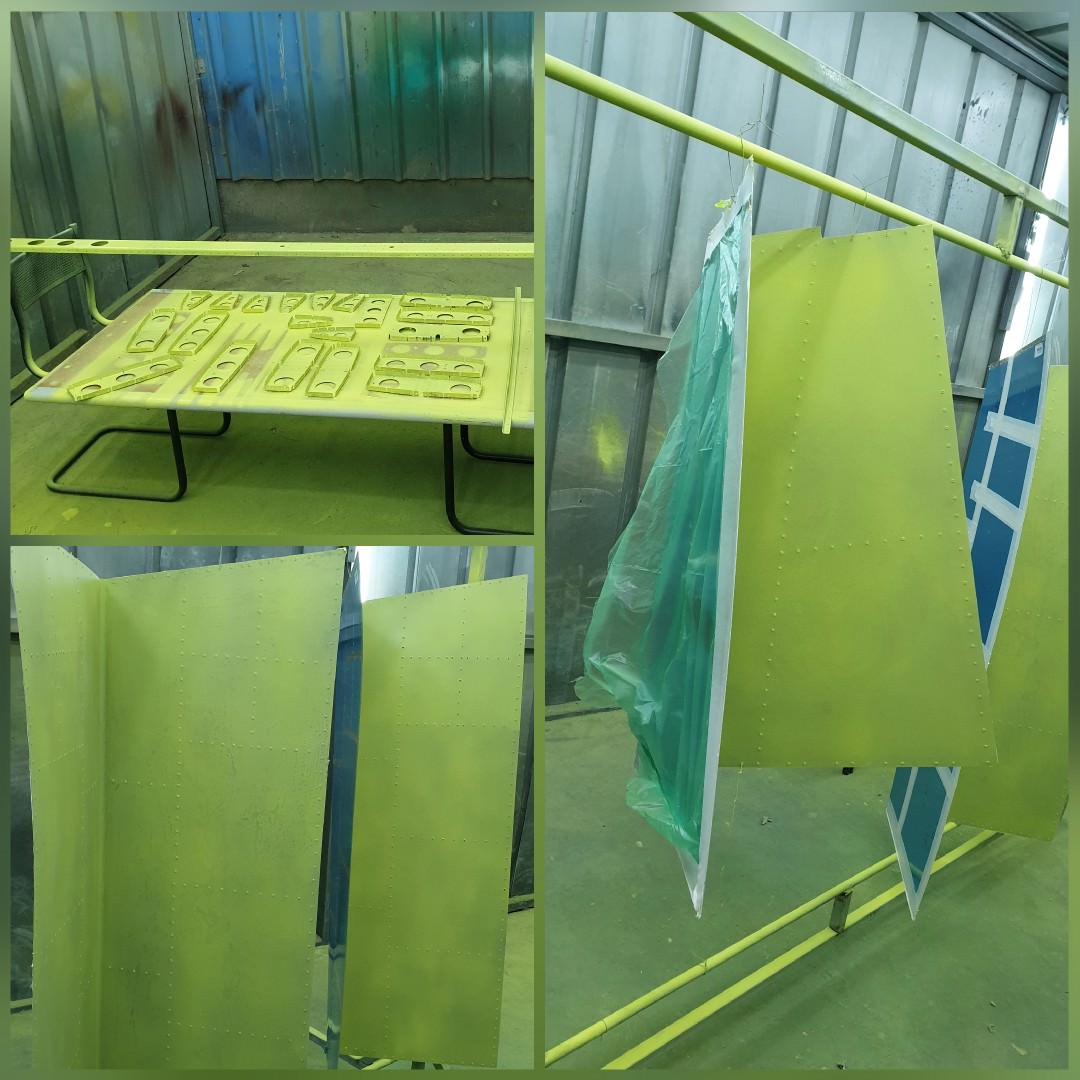
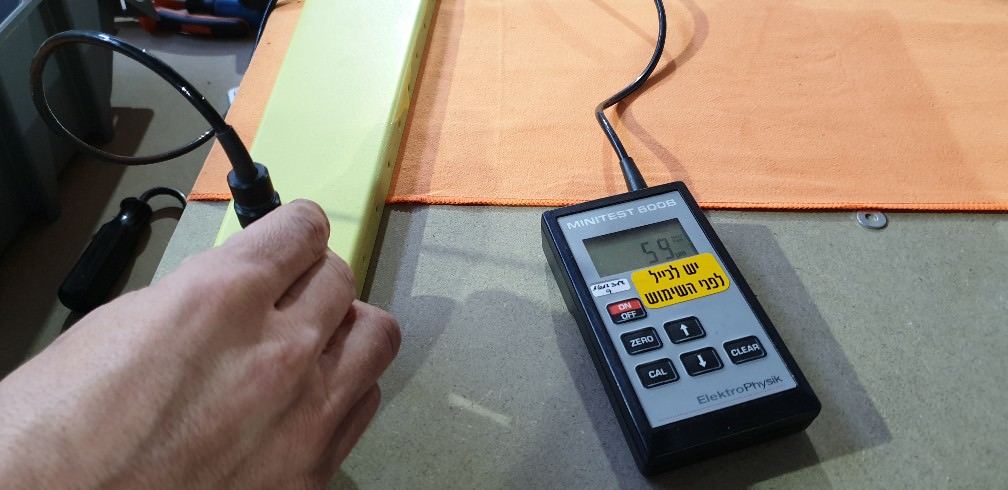
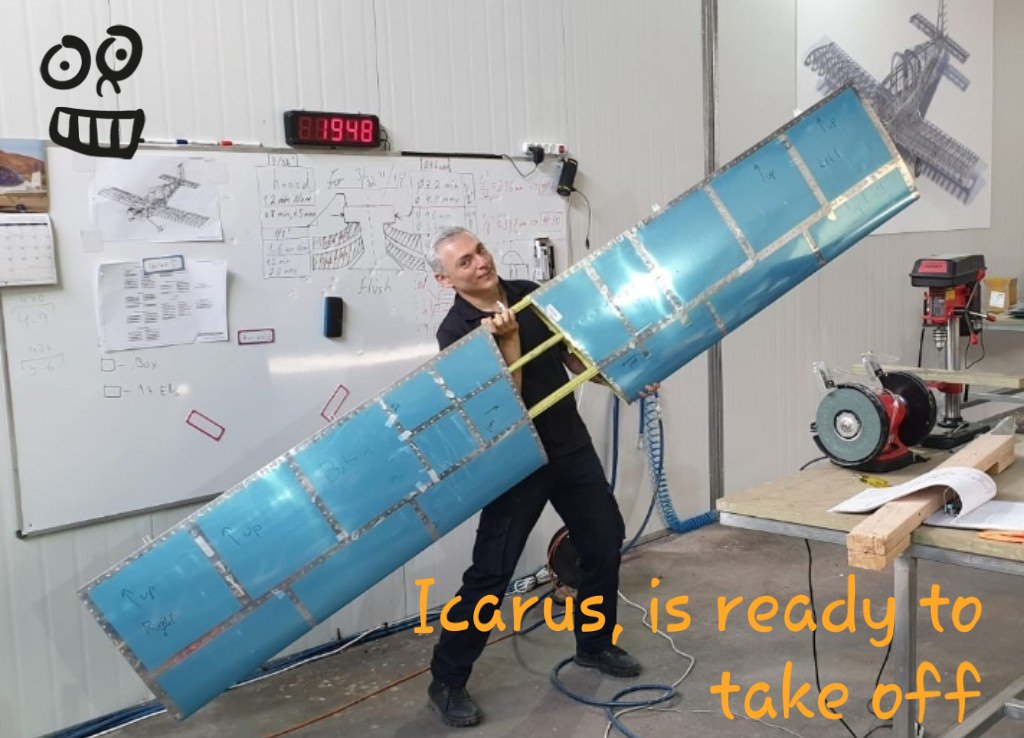
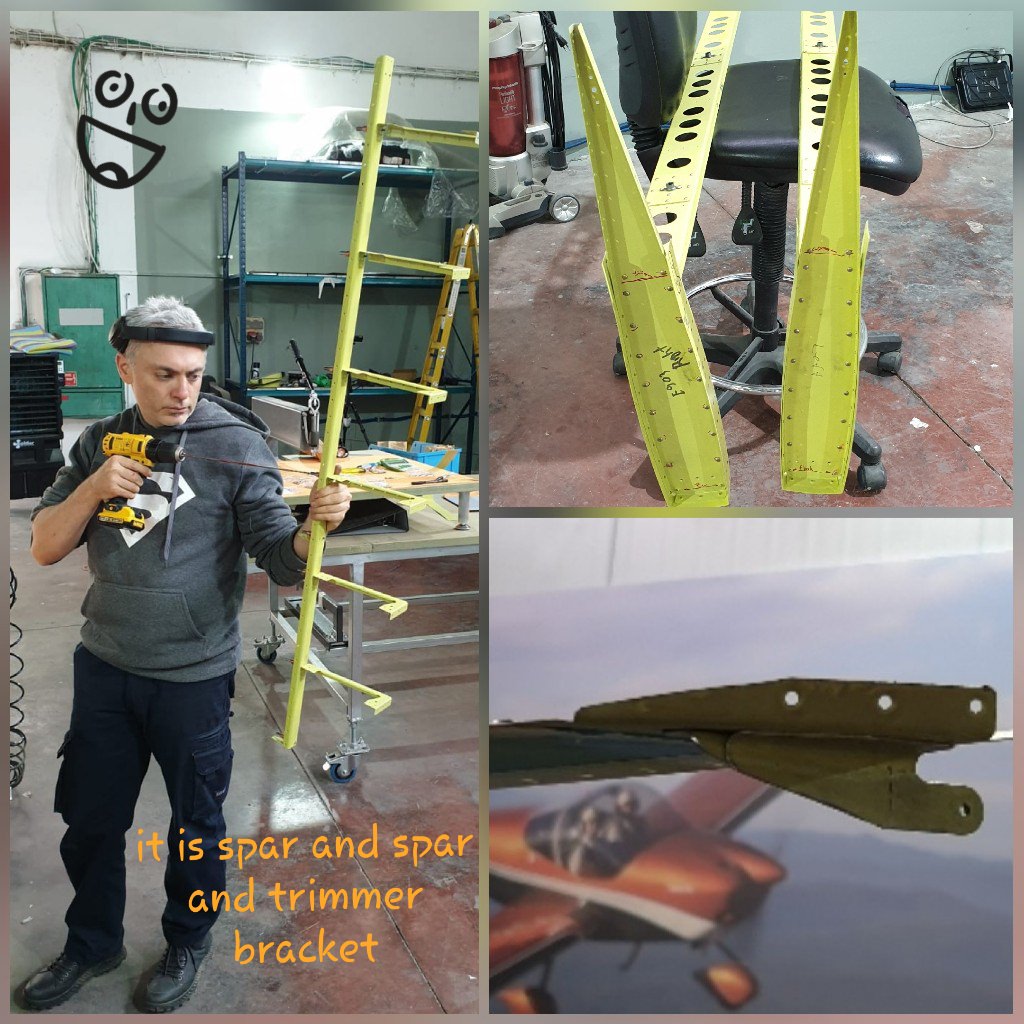
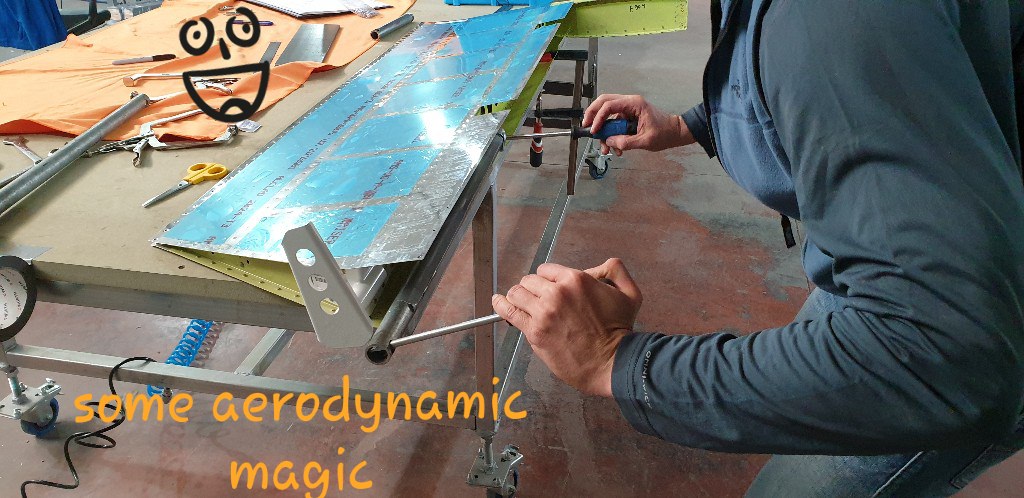
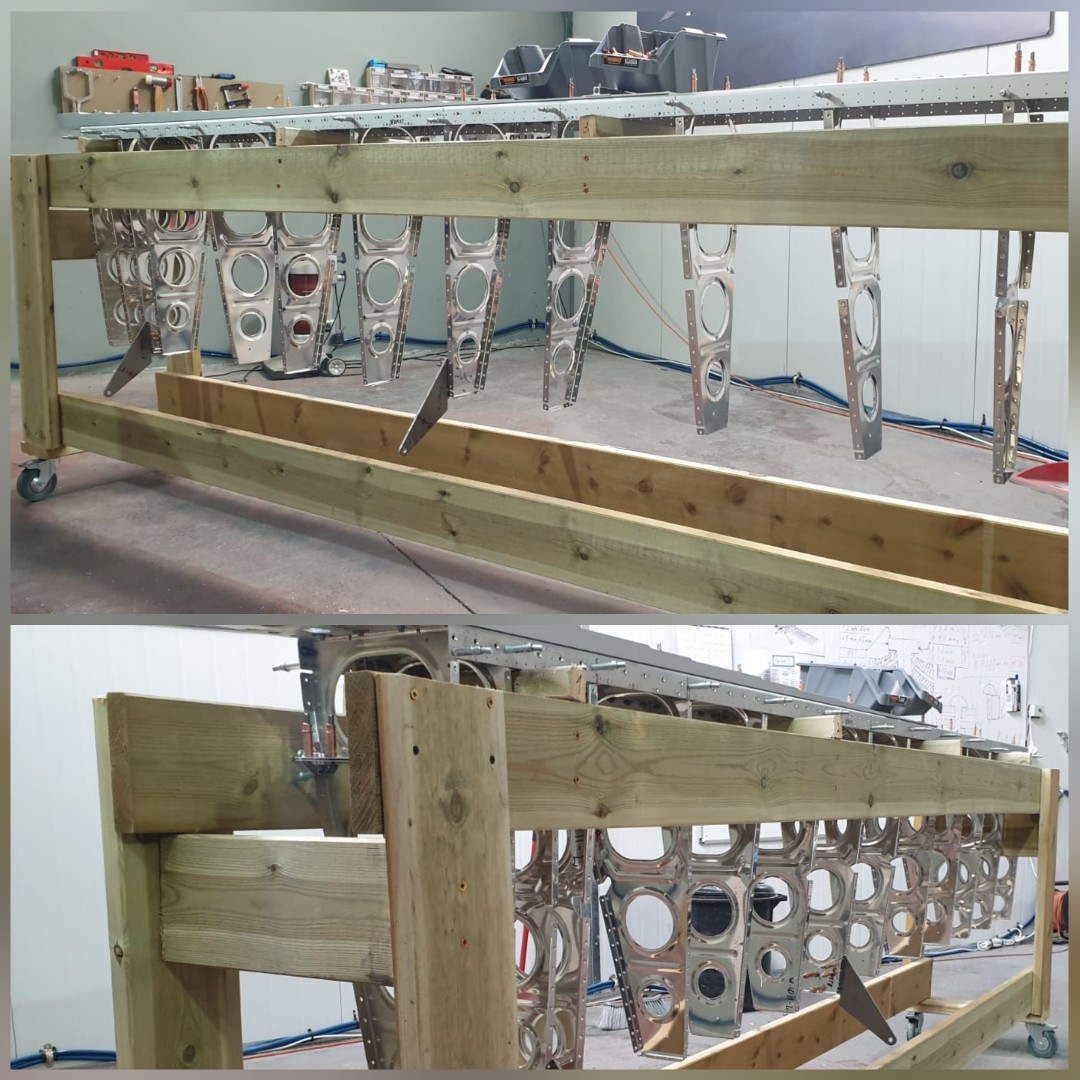
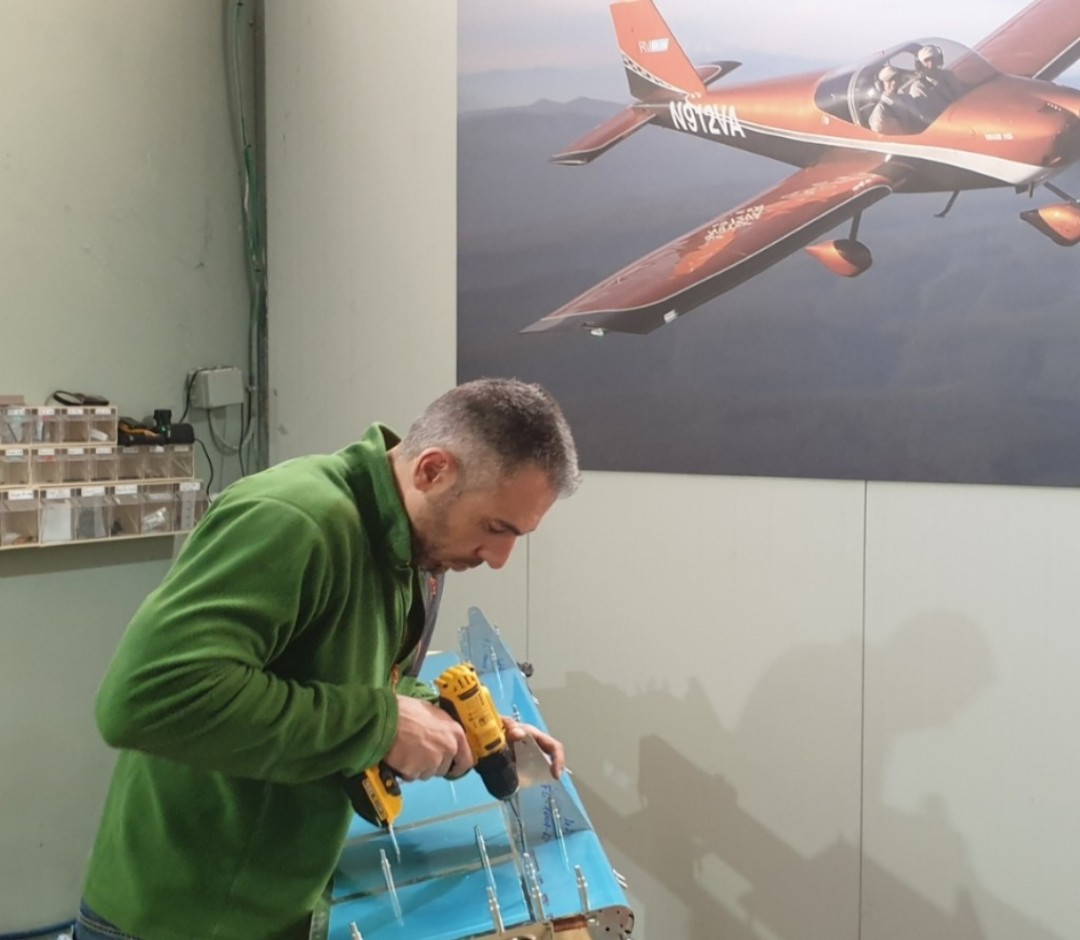
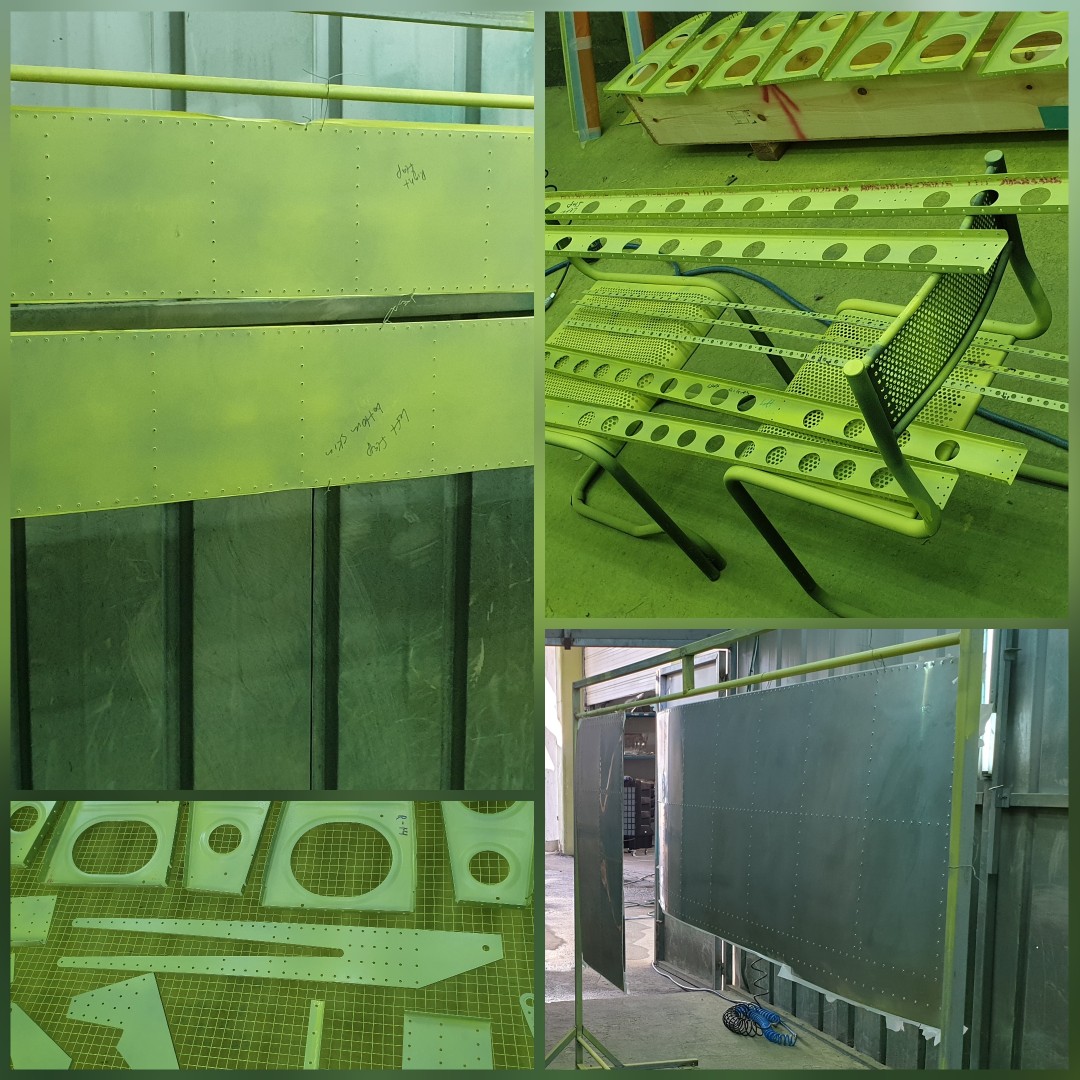
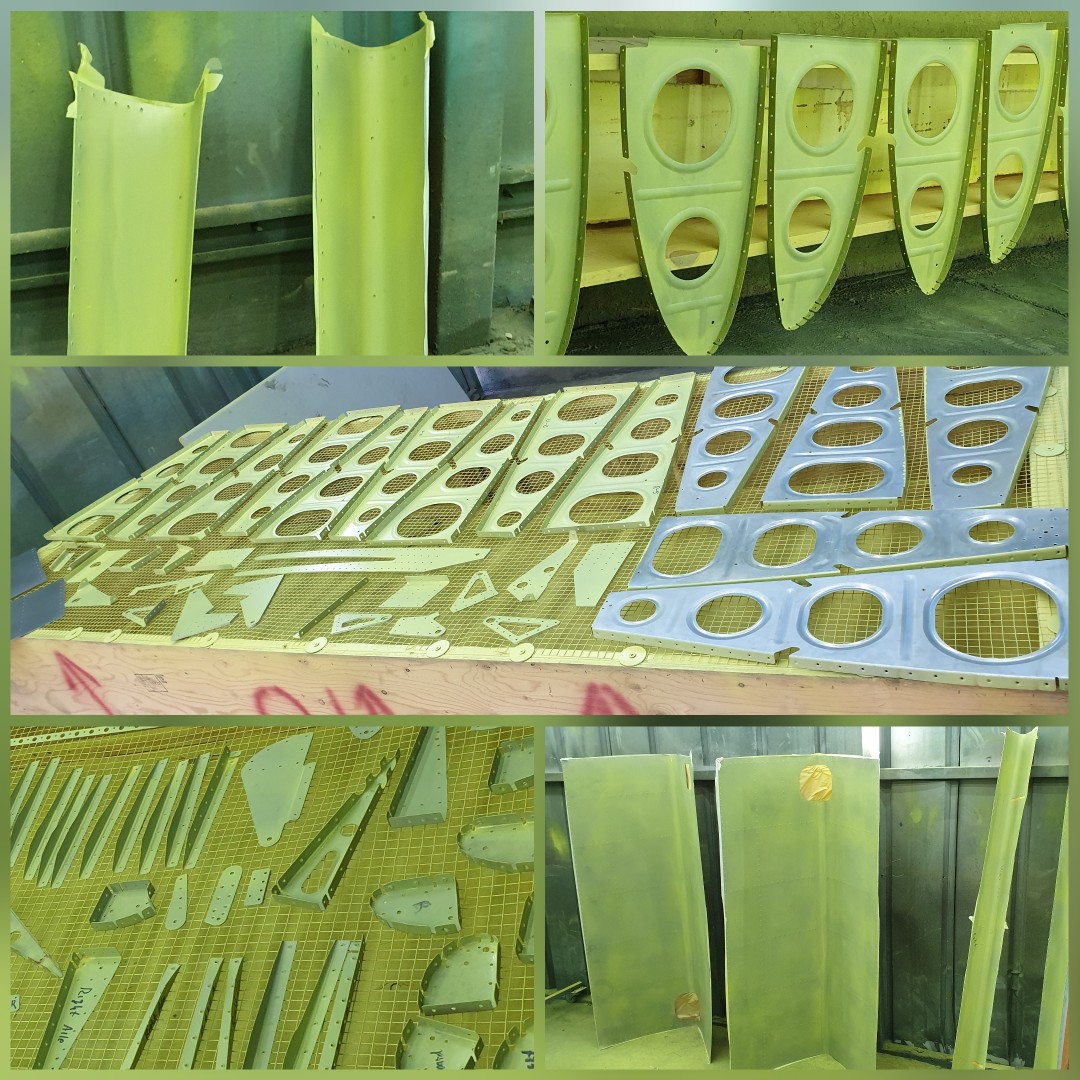
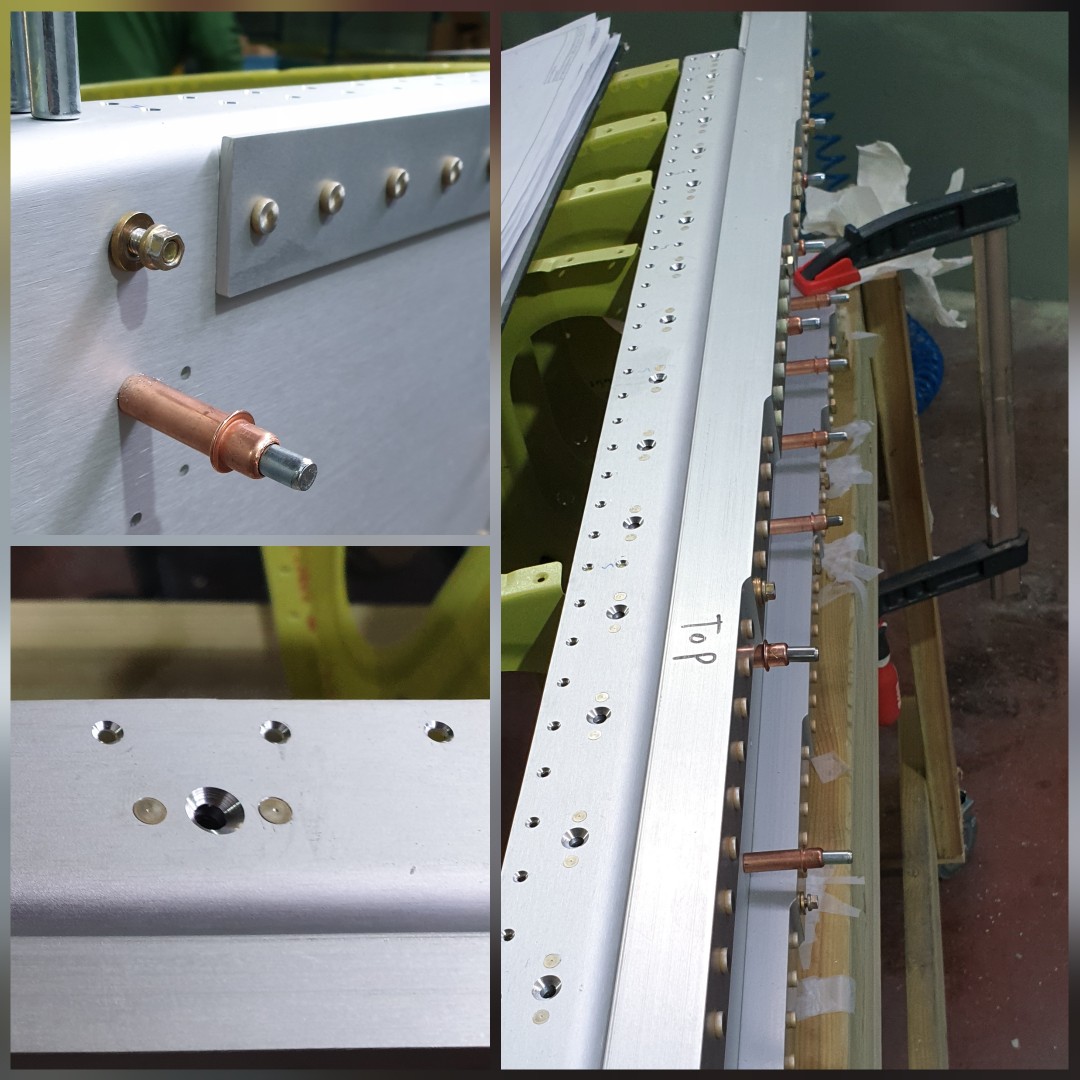
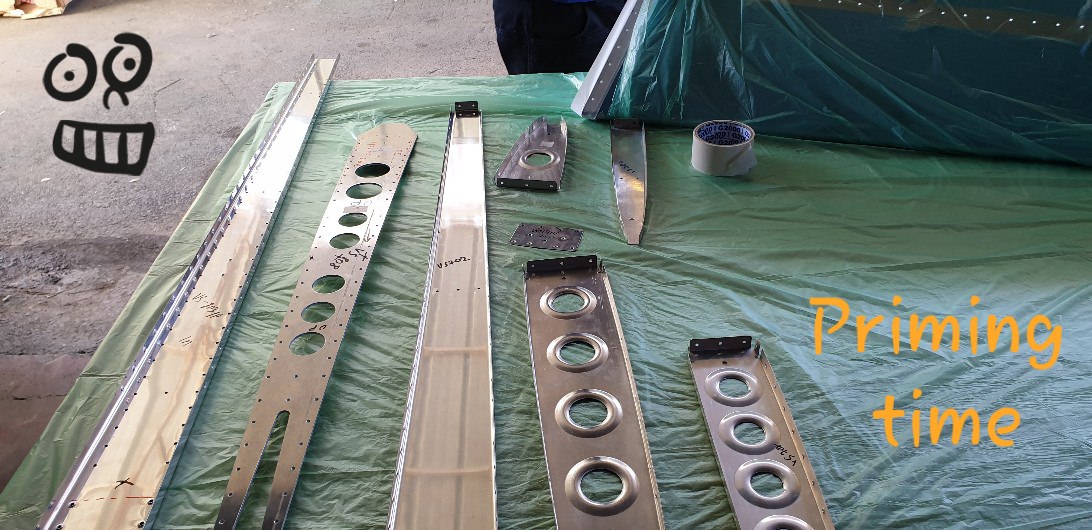
![]() We took a pretty big break after finishing the empennage, and now we are coming back to start the next big part of the aircraft -- the wings. ![]() To start doing wings, you need two things: a plan and a good table. Here Dima used all his engineering skills and made one of those good workbenches; we kept saying all the way, "what would we be doing without it?.." It gives you really good access and allows to work on the wing during all the stages and at any angle you want. ![]() ![]() ![]() Now the plan: so, the plan was to make all the first-time assembly -- all the four parts of both the wings totally, and then paint them altogether. This is exactly what we have done. The main section, the leading edge, the aileron and the flap of both wings. No single rivet was banged at that stage, but the whole wing was completely constructed on cleco, and after tons of match-drill and dimpling we had a ton of aluminium prepared for the coating. Eventually, we spent three full days just on painting, but, hey!, no more painting till the fuselage. Pretty effective time-run this time. ![]() However, we actually had the chance to do some riveting work on; it was the main spar. Basically, it included a ton of careful setting of nut plates and then precise rivetting on the right locations. The work on the spar was the most tedious during all that stage because one should go slow and double-check all the steps. No mistake is forgivable; after all, this is the lift that will hold all the plane -- including us -- up there in the air. The spar is one big piece of ingenious engineering by Vans. It is very strong and thick on the inboard side and it is becoming thinner and thinner, more and more flexible as you got toward the tip. All its structure is pre-rivetted with pretty heavy rivets by the manufacturer. I guess, our rivet gun would not work here. Thank you, Vans, for making that one for us! ![]() Meanwhile, rumors are bringing curious birds to our hut. Some guys, real high school teachers, happened to plan some aircraft construction with a bunch of kids from their class. A totally crazy idea, but they came to the right place -- we are usually the first ones to jump in for any crazy idea. Hopefully, we will find some time to spend a couple of days in their class to share some of our experience and see how they are doing. .
The plan turned out to be a good one, and after spending about 200 hours of two-man work we had all the aluminum prepared for the final rivetting. Let's see how much time that one is going to take. Stay with us till the victory! ![]() Cheers. Roman & Dima |
.
Status Report #12 That report is about:
.
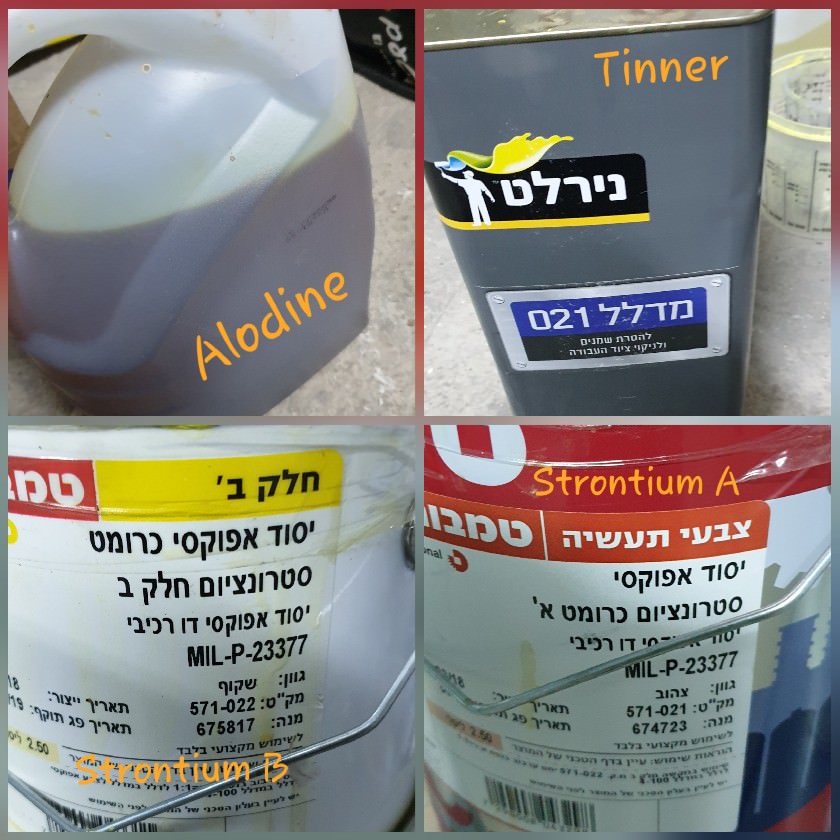
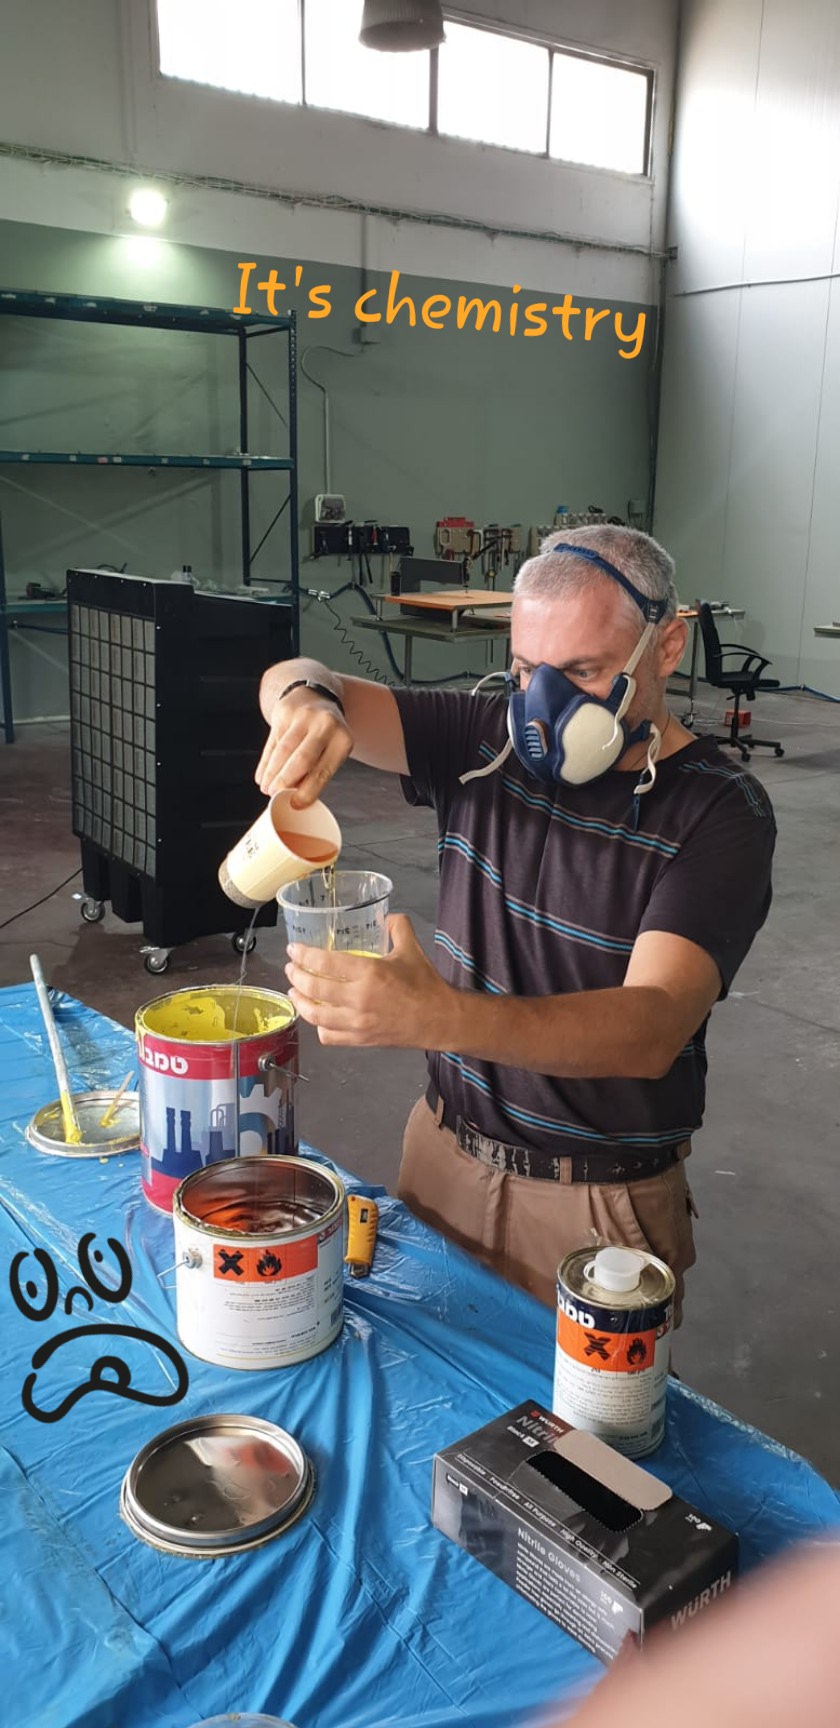
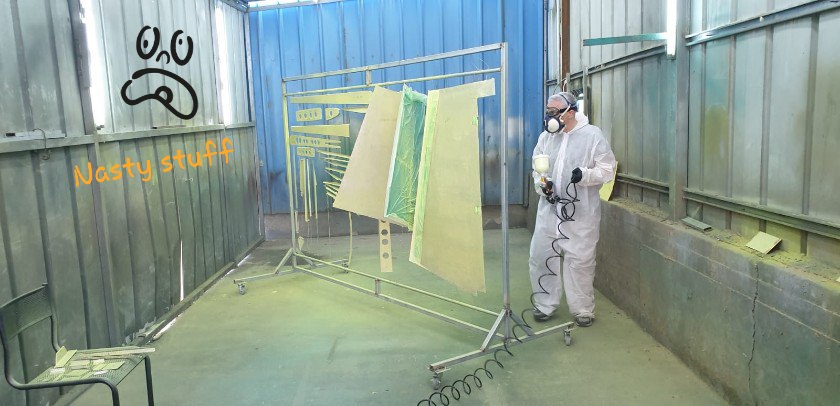
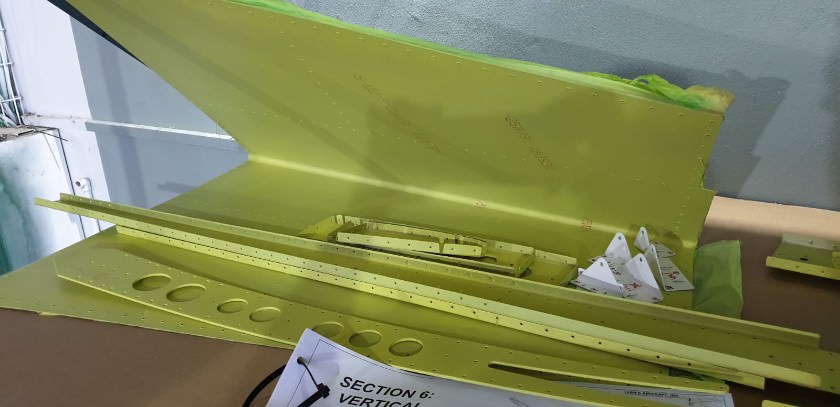
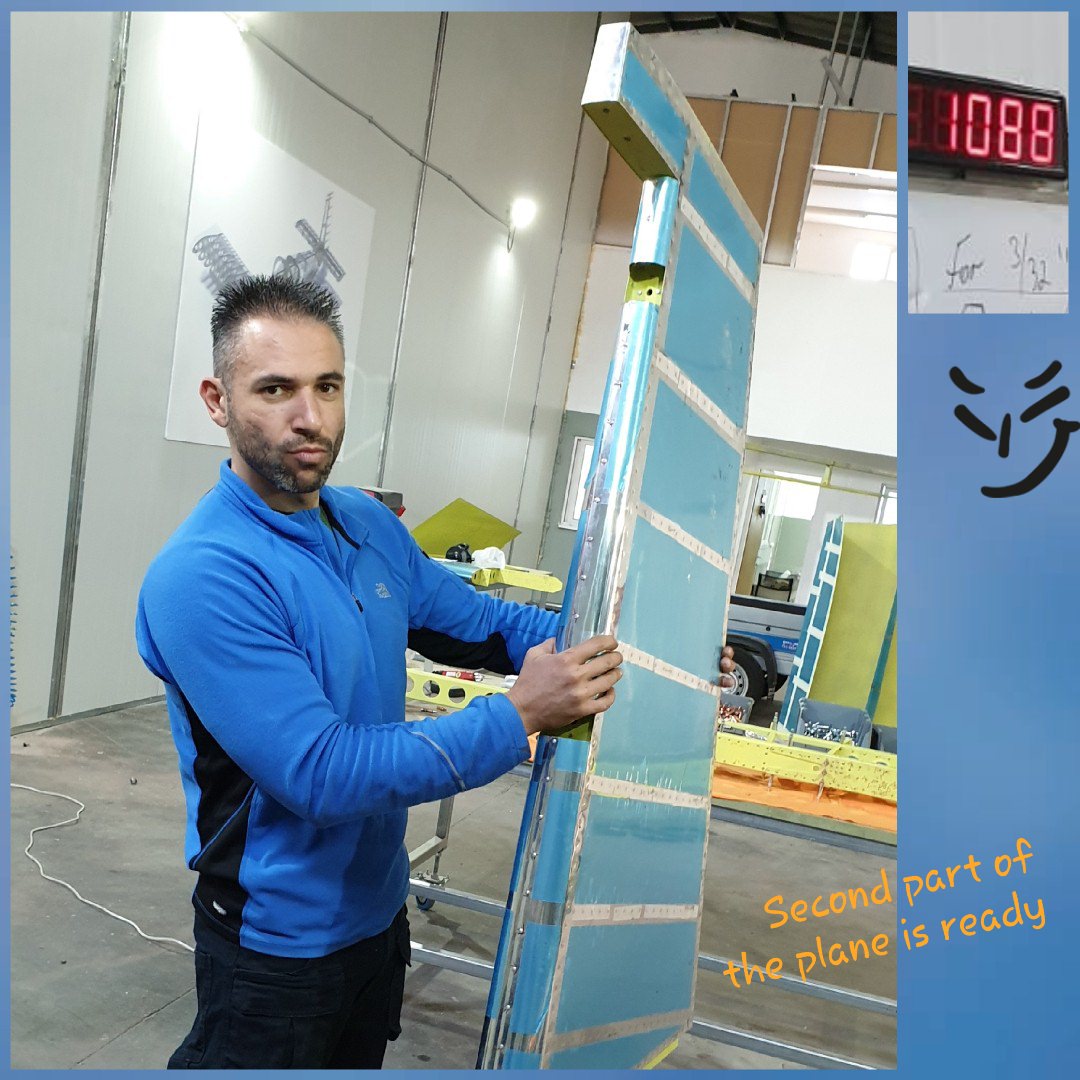
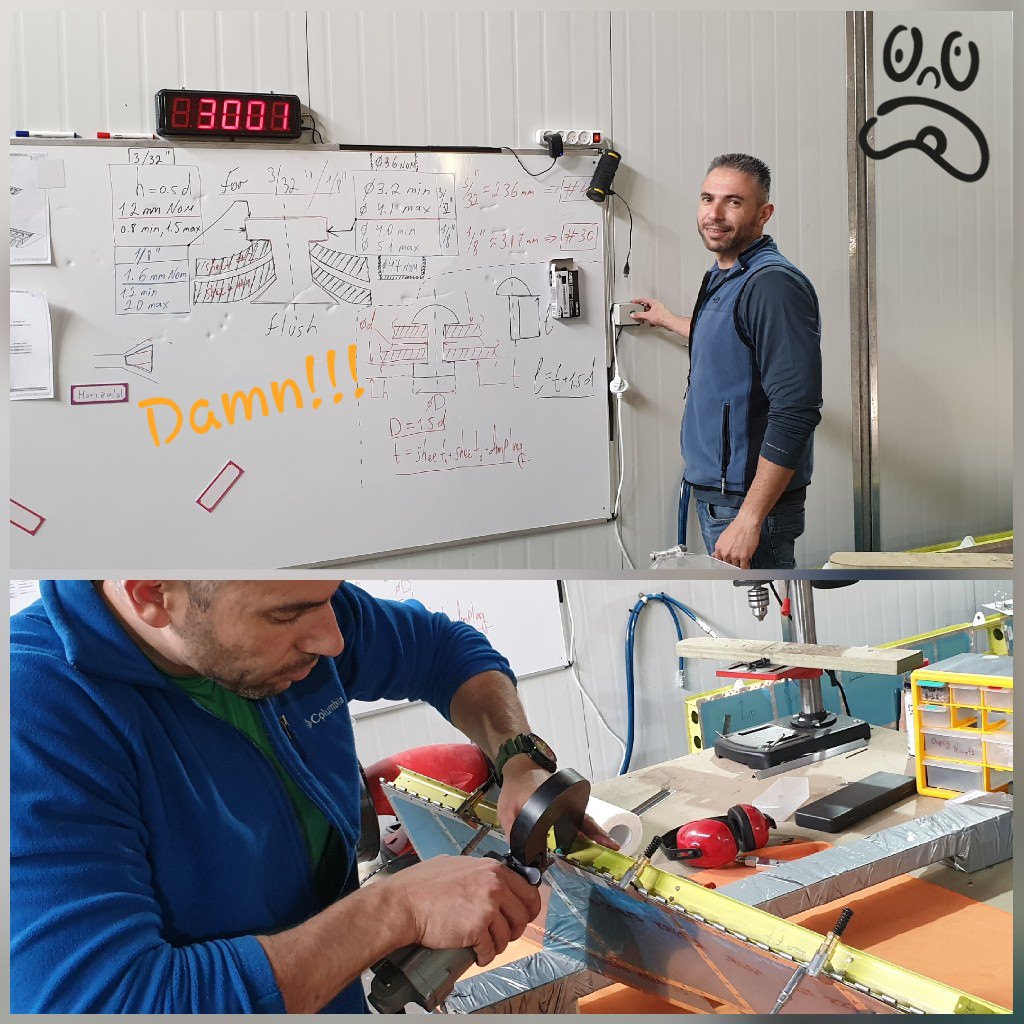
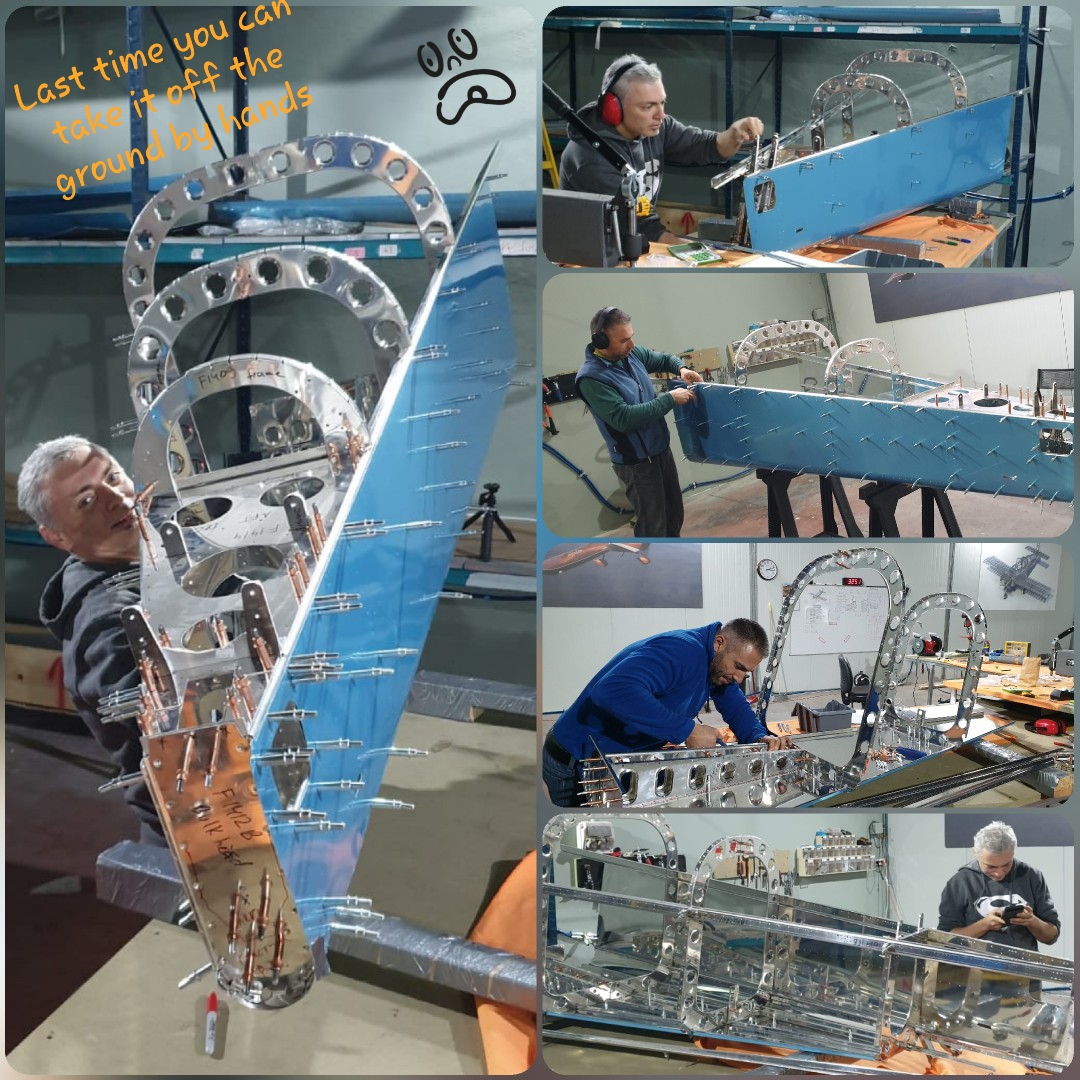
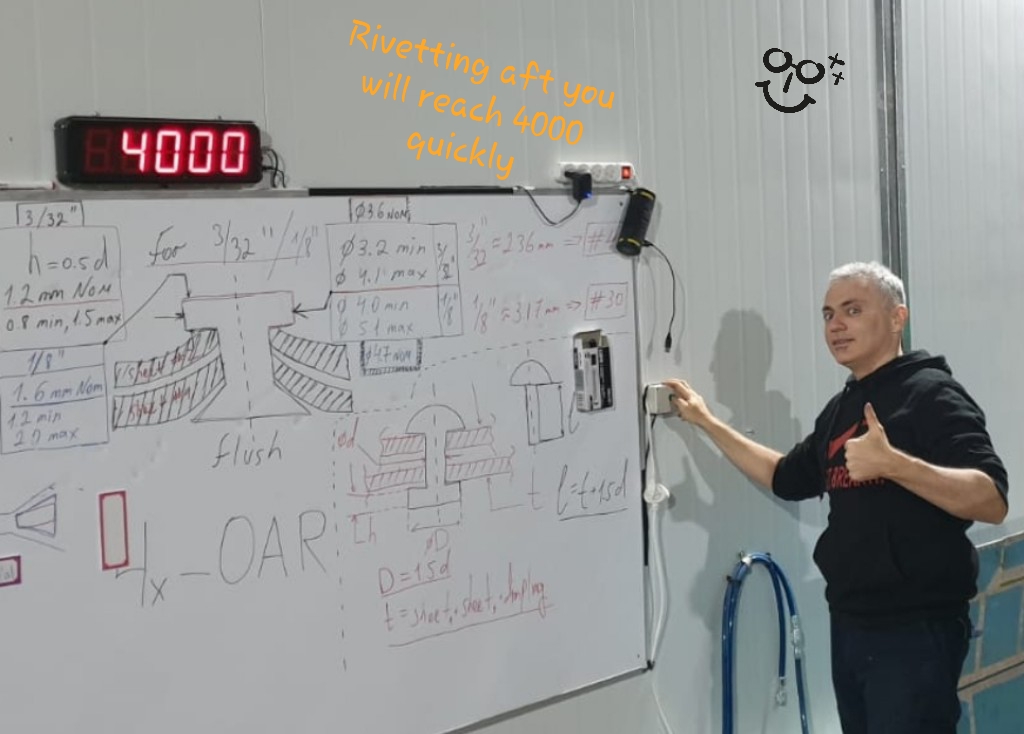
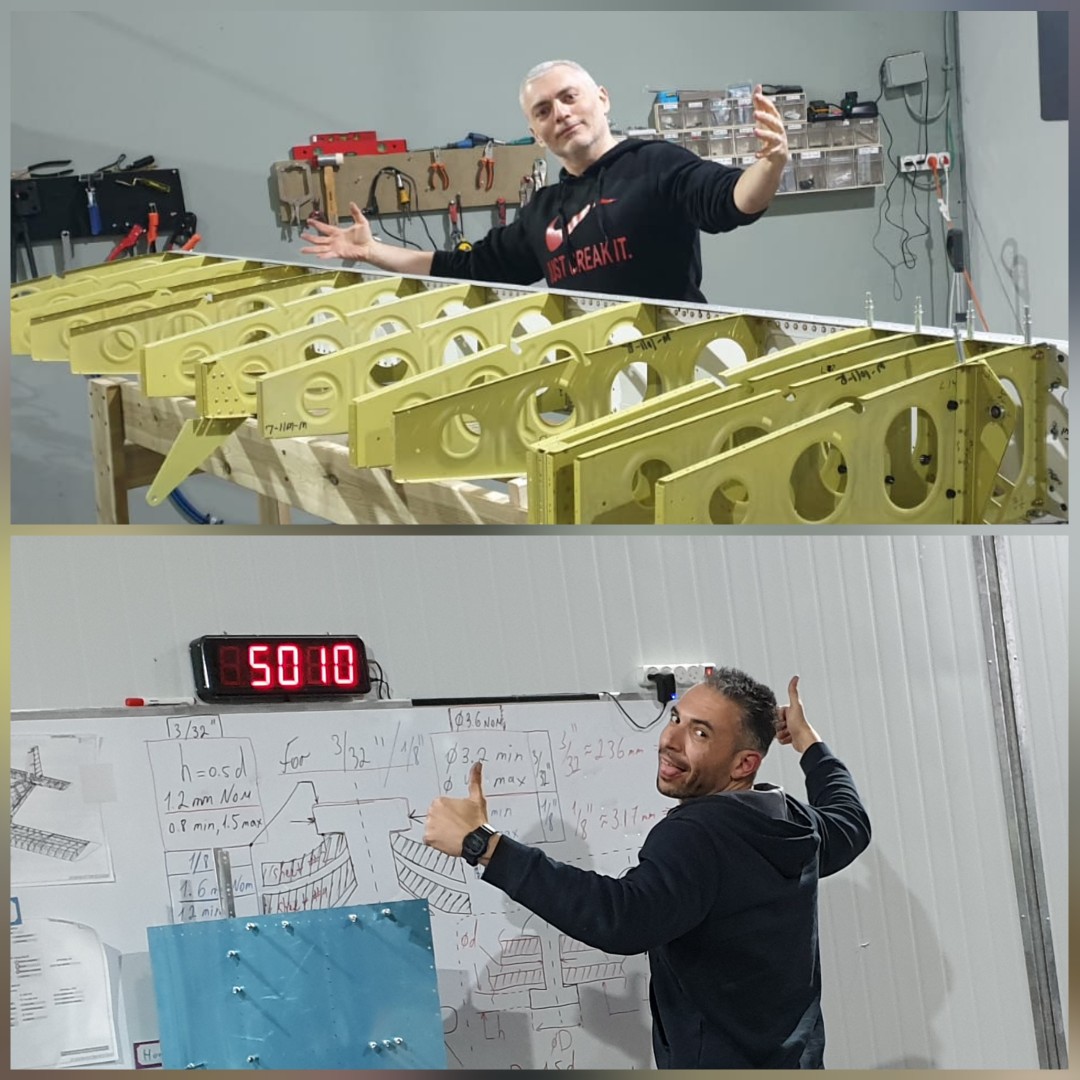
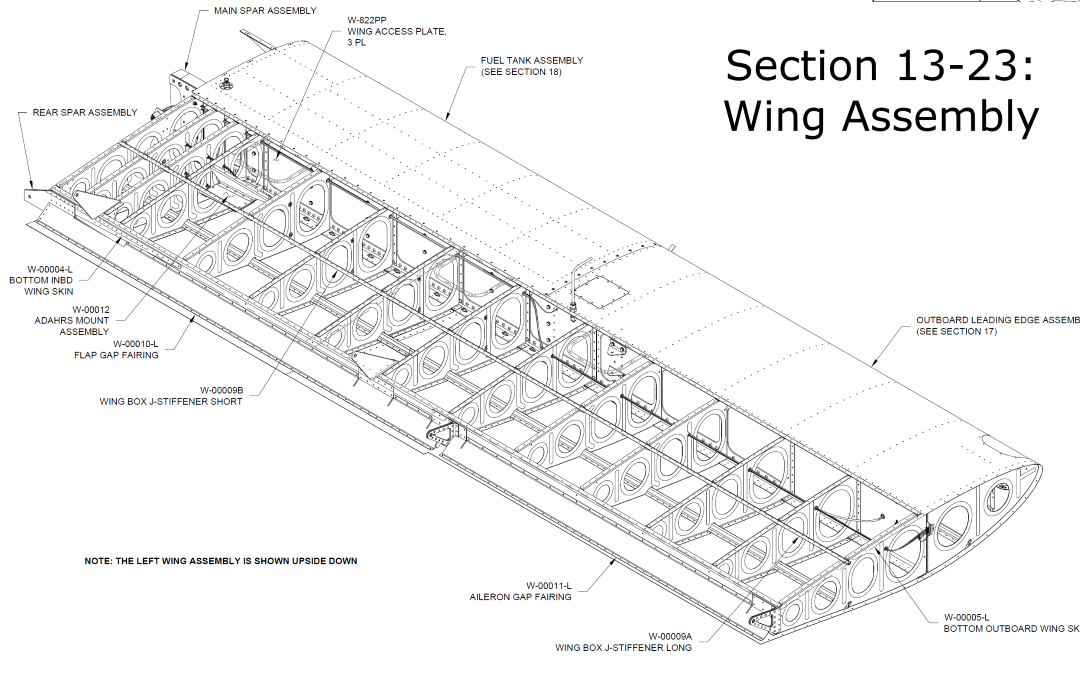
![]() The wing assembly structure is pretty simple once your preparation is done carefully. What I described in the previous post was our idea how to prepare all the aluminum for the assembly up front; then eventually, we had many pieces of metal coated in toxic yellow. So what we had to do from here was to keep focus and no to follow our temptation to finish quickly. The rivet counter was not stopping, and at the end of that post we passed 9000 rivets. But let's put it down step by step. .
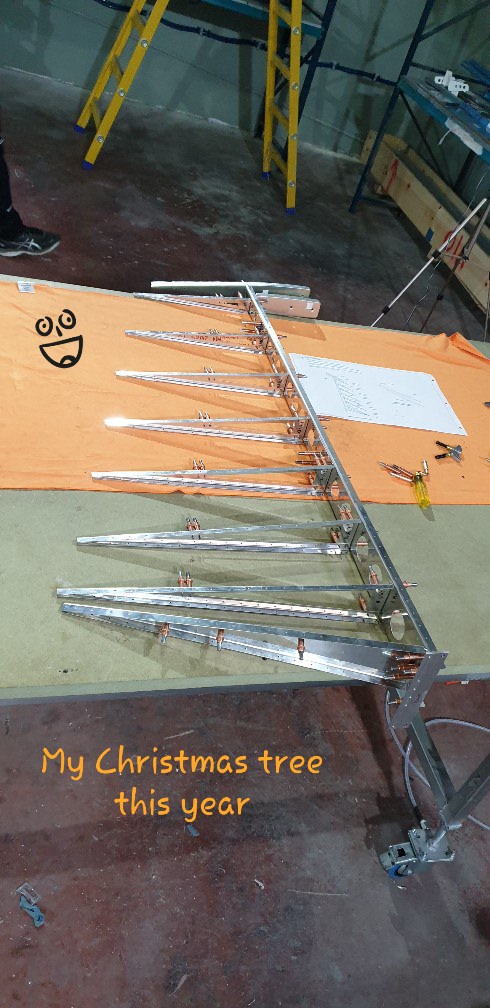
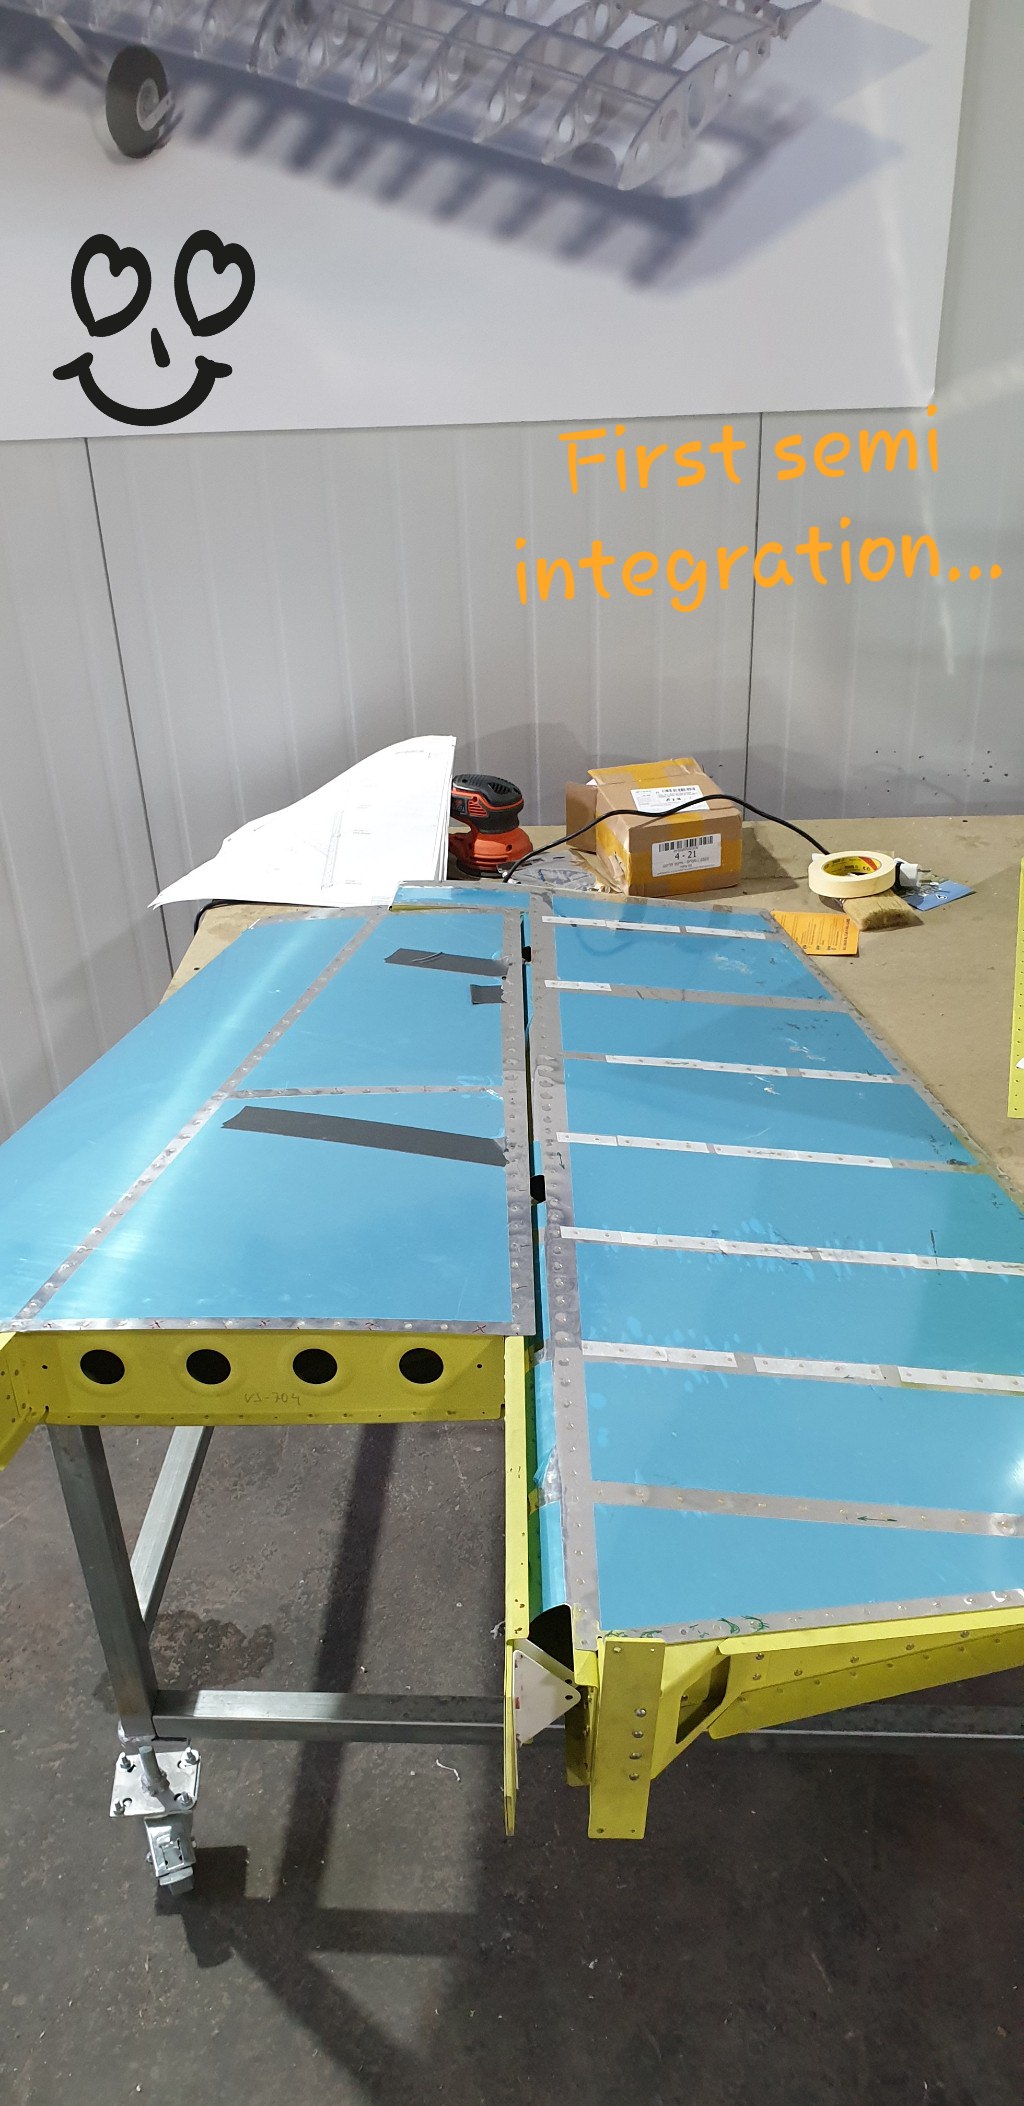
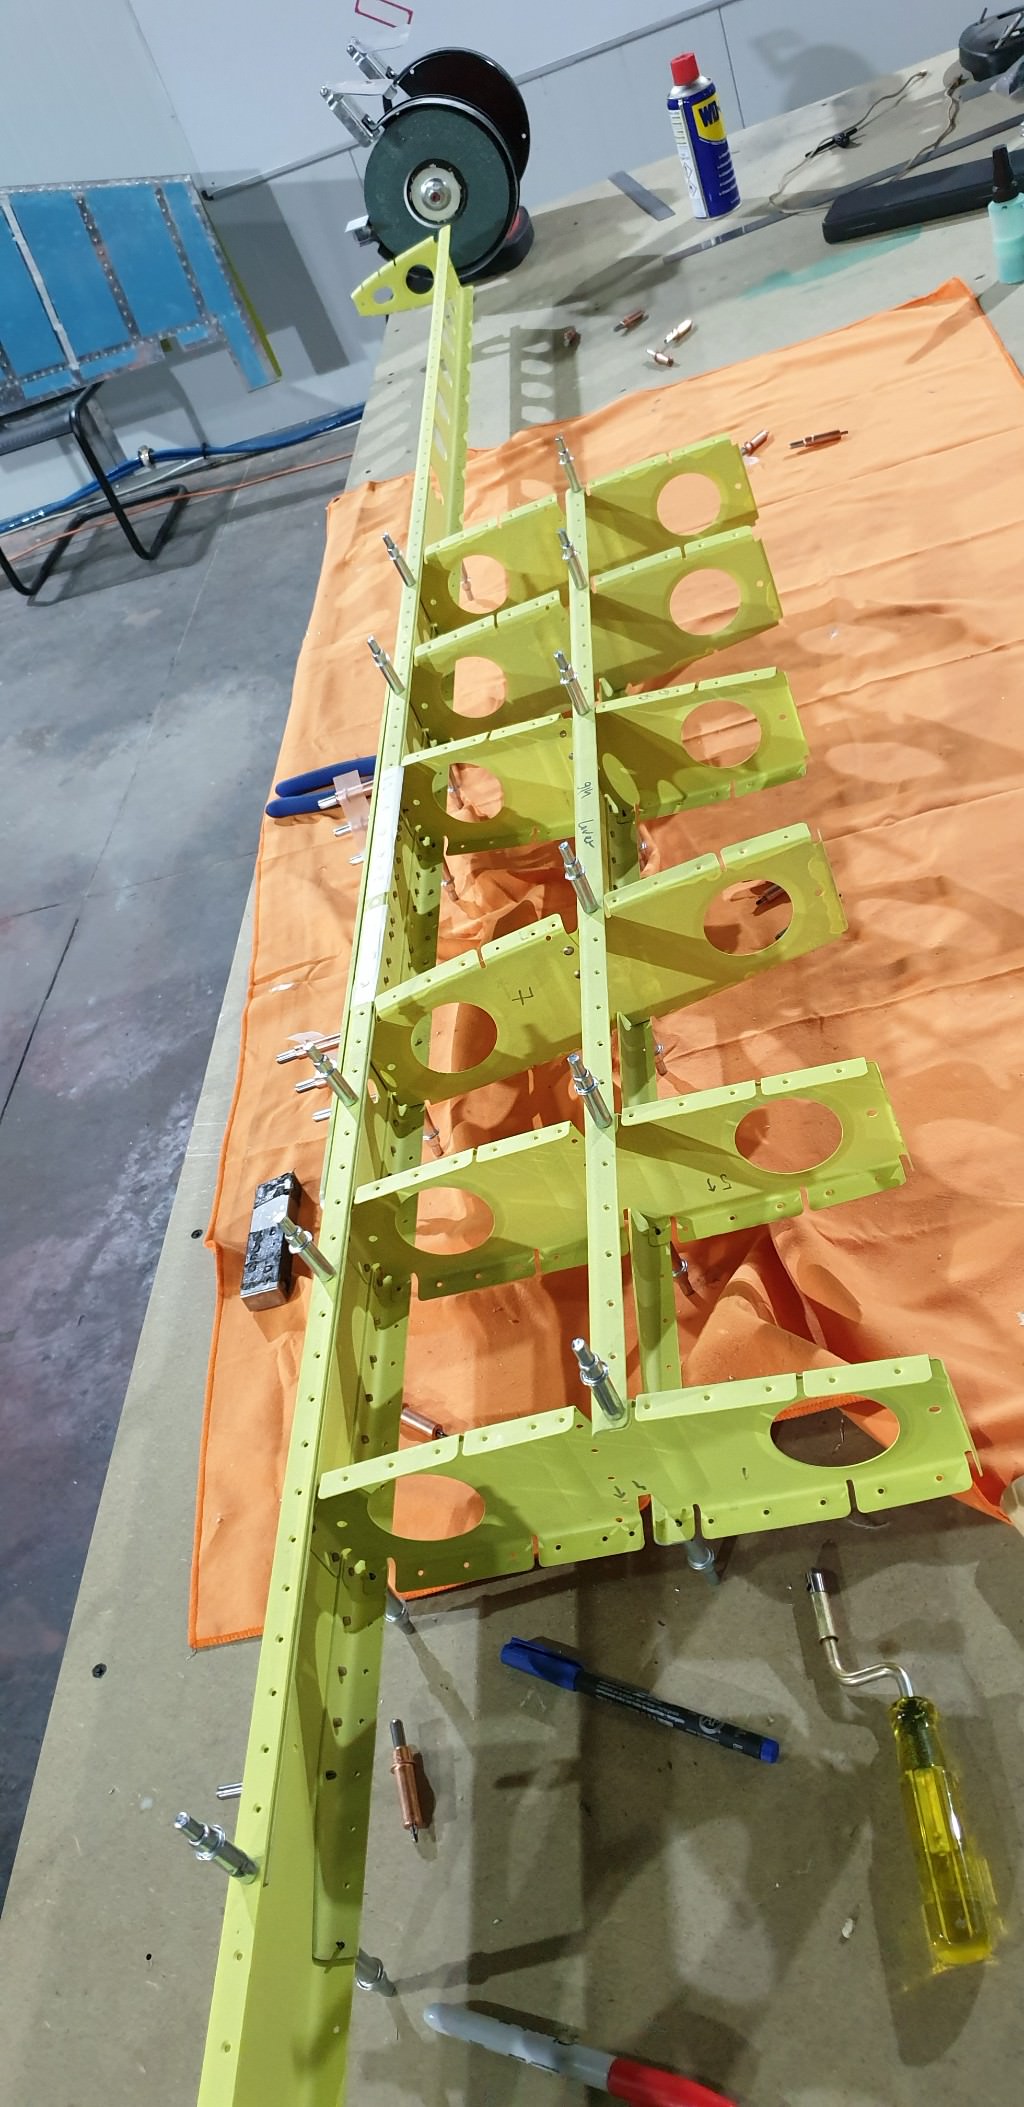
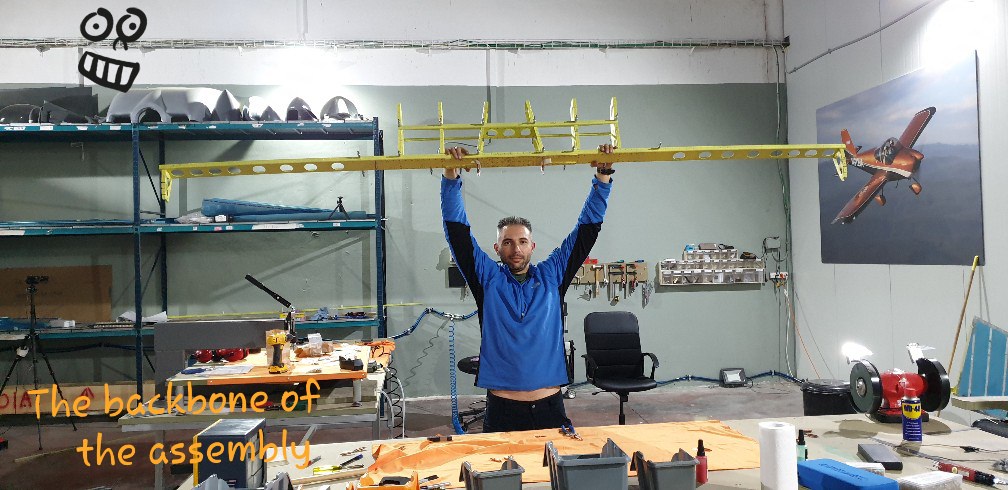
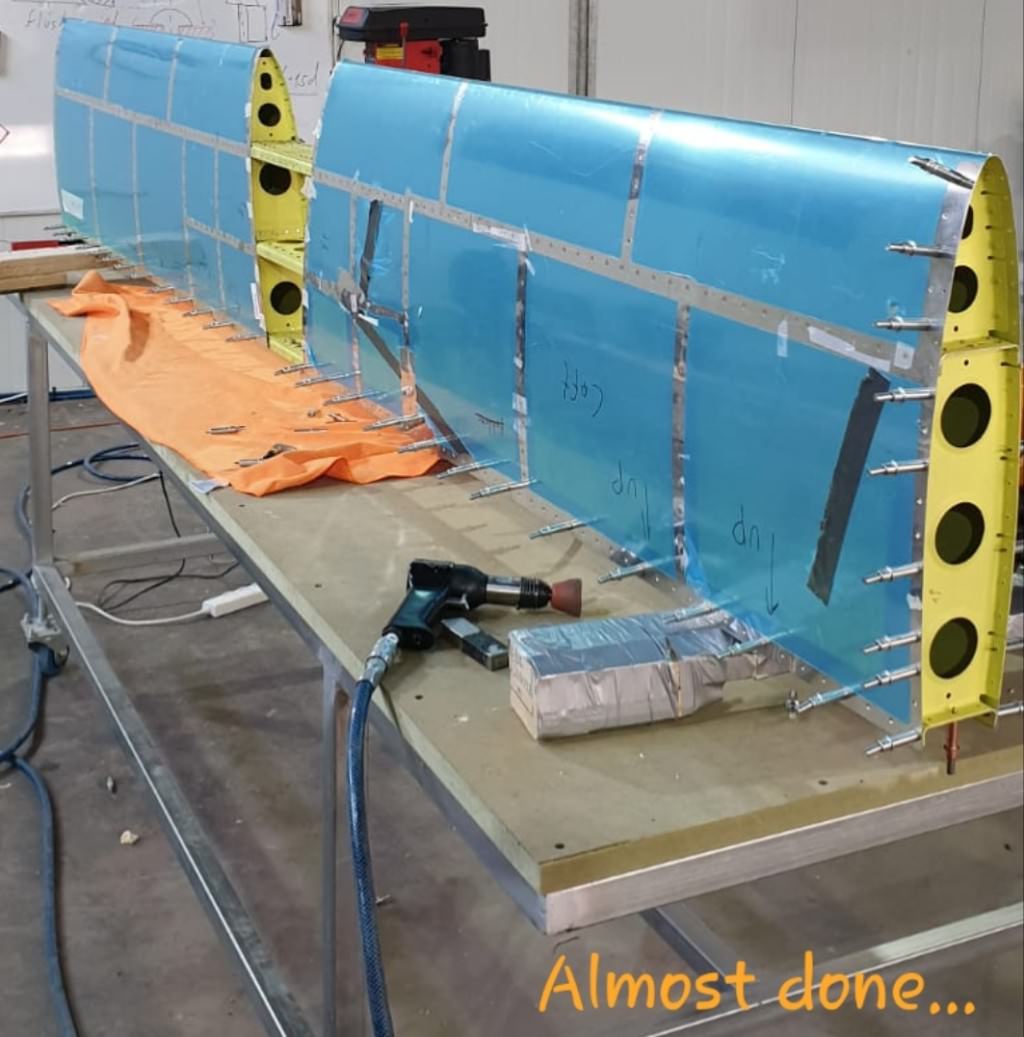
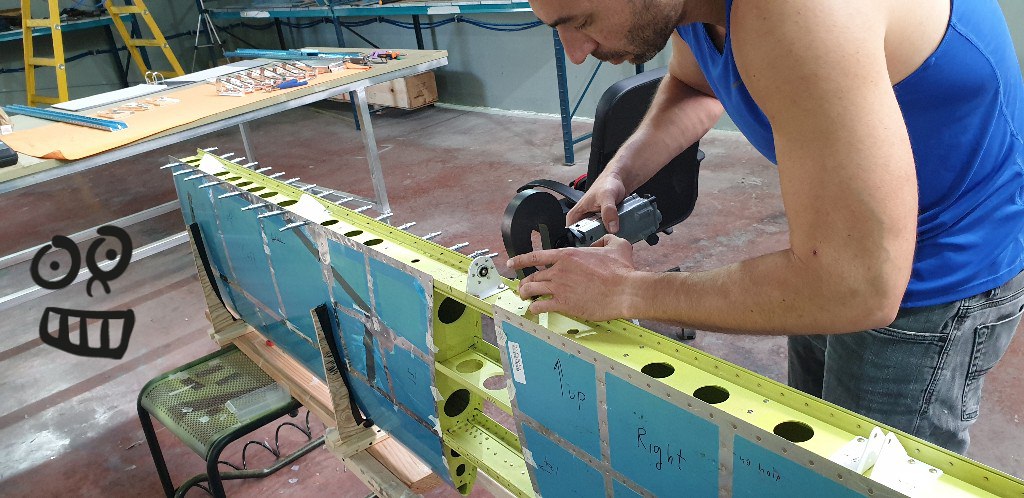
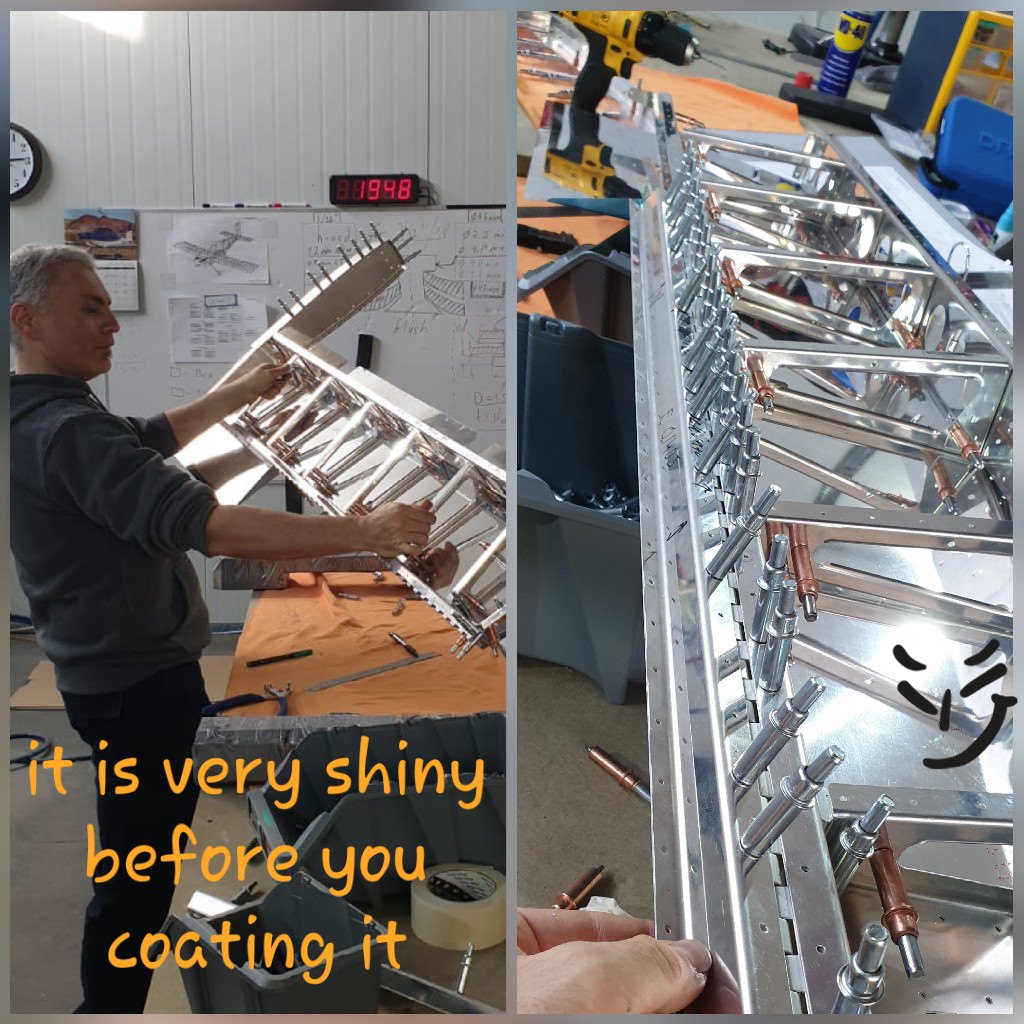
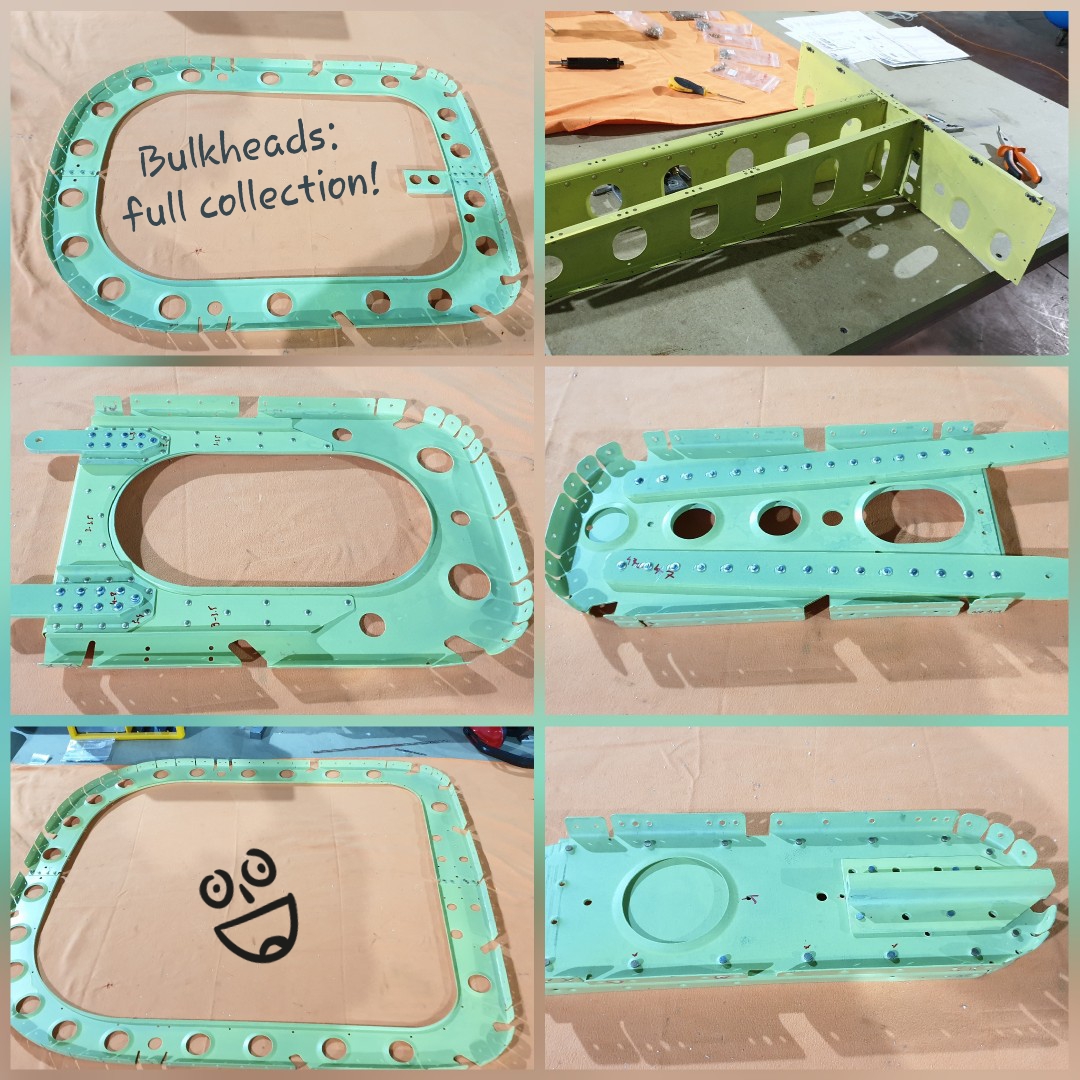
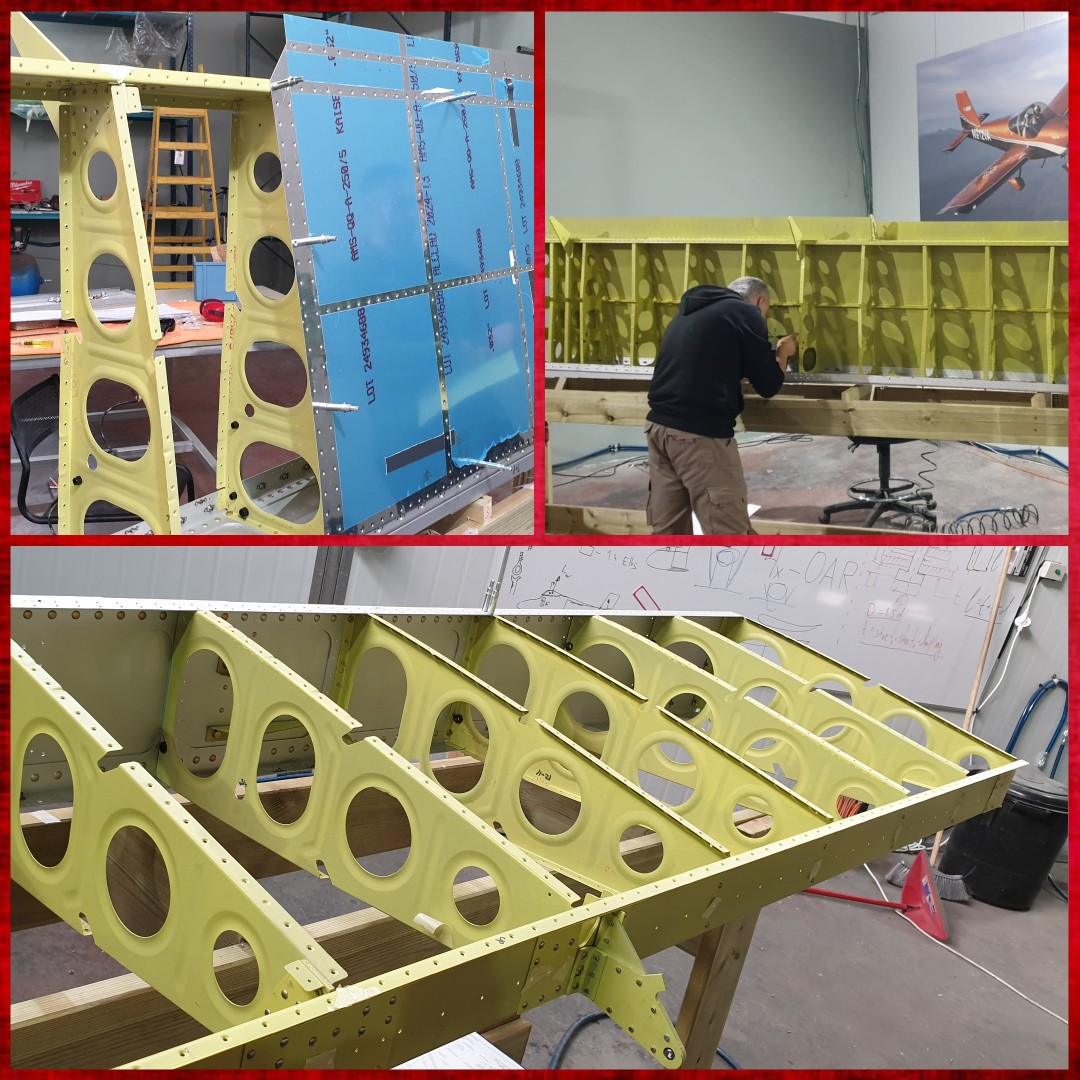
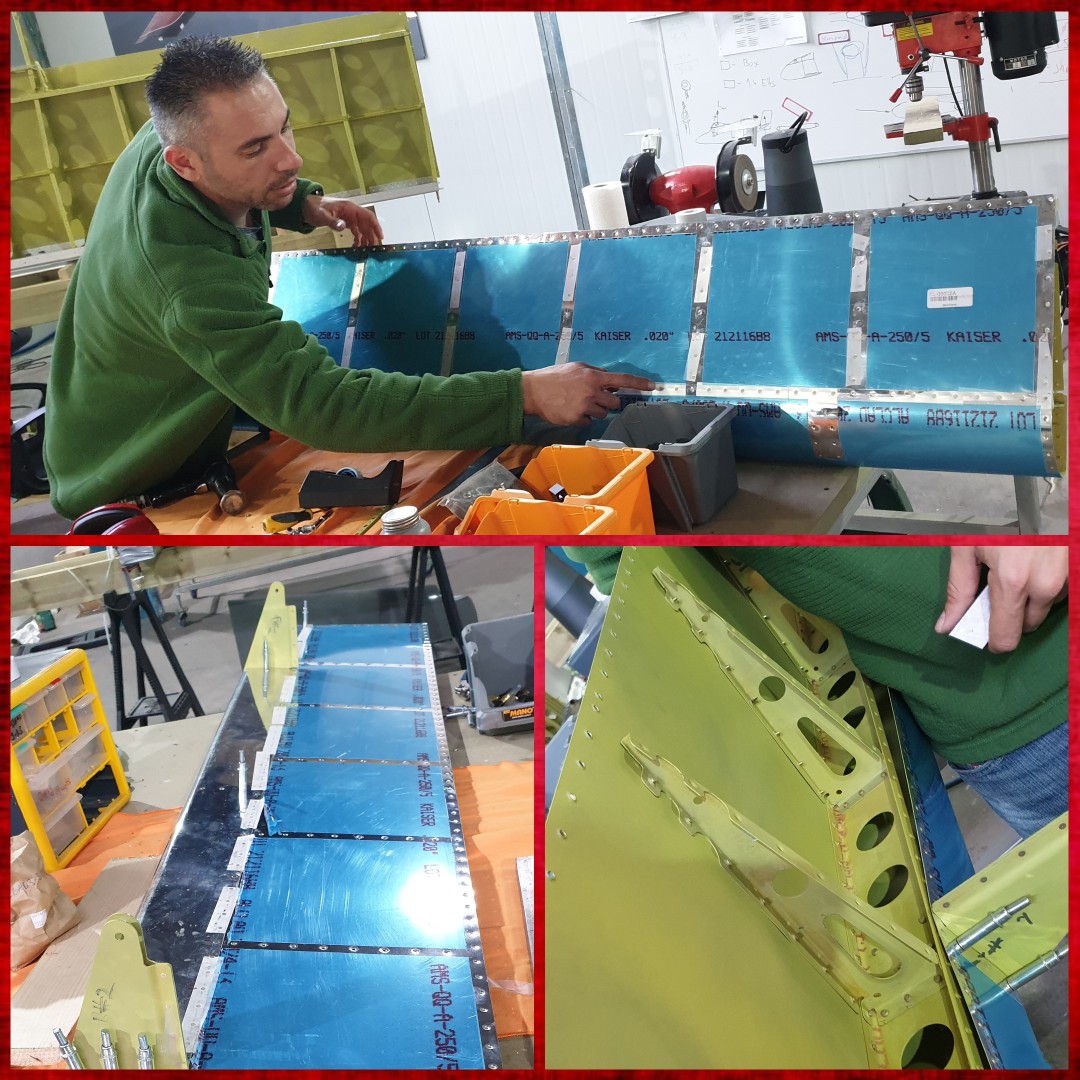
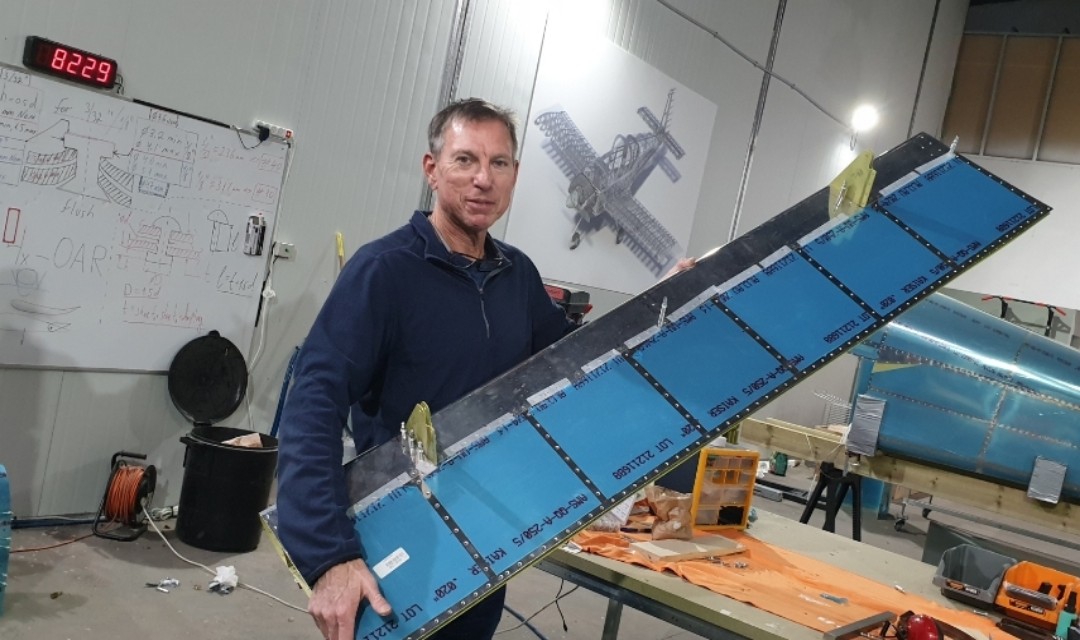
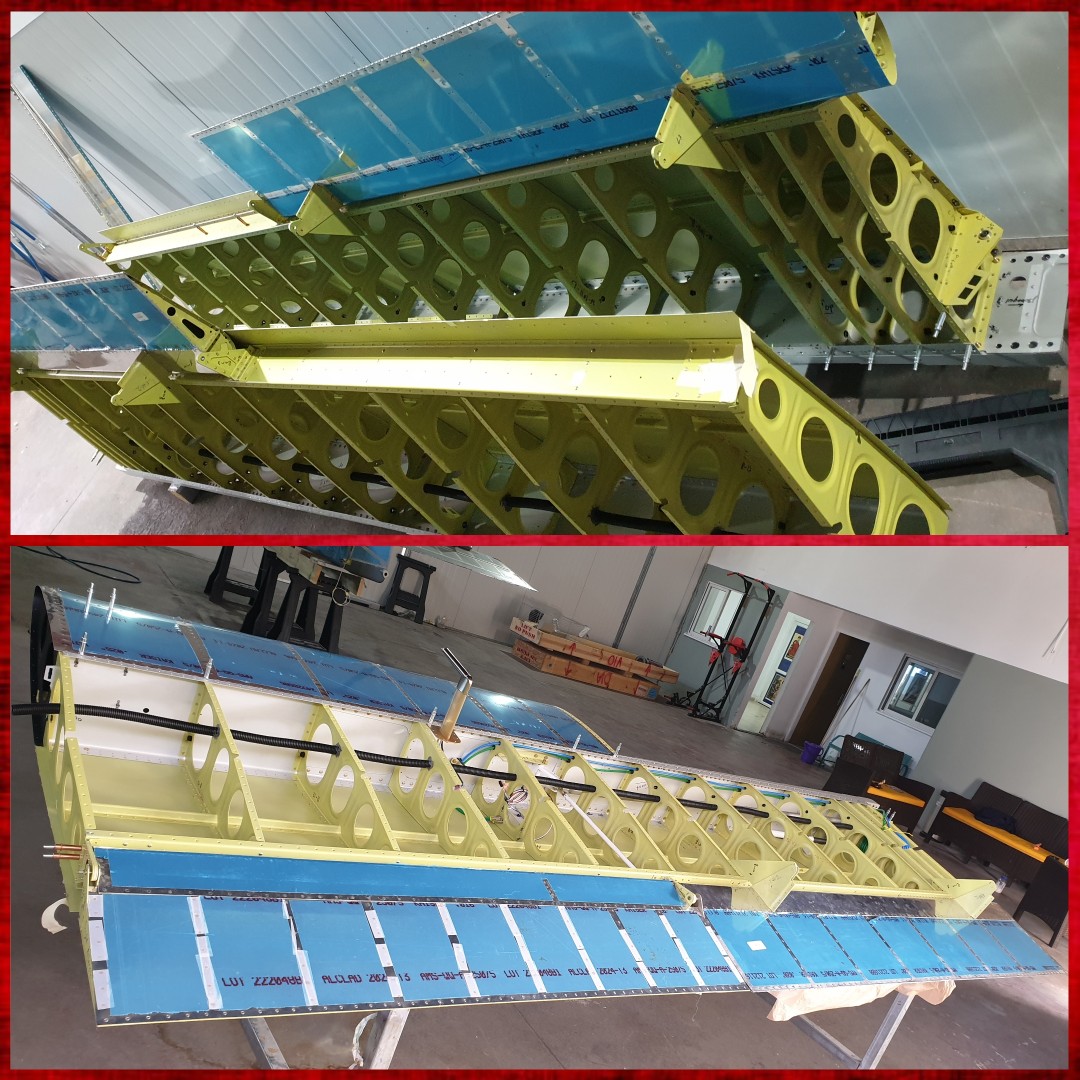
![]() Once you have the match drilling: done, countersink: done, dimpling: done and eventually anti-corrosion coating: done, you have to find the right orientation of the main ribs and rivet them onto the main spar. The spar is a pretty vast bulk, so you have to use bolts additionally to rivets to hold the main ribs on the place. It is once again inspired us: how such a delicate piece -- as an aluminum rib -- can form that surprisingly strong and light construction. Section 16: installing the top skins. It is funny, but because we usually have the wing lying upside down, those skins are really bottom skins for us. But the real bottom skins -- we will keep them open for a while. A better access for all parts of the wing seems pretty important here. .
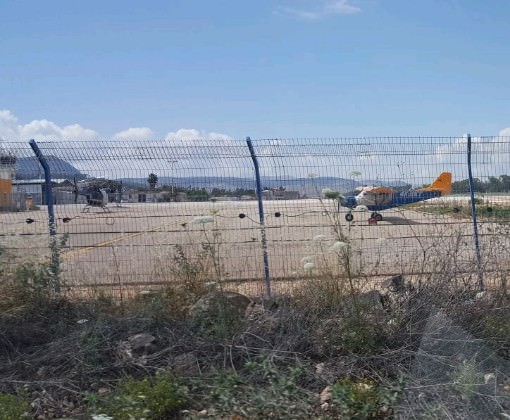
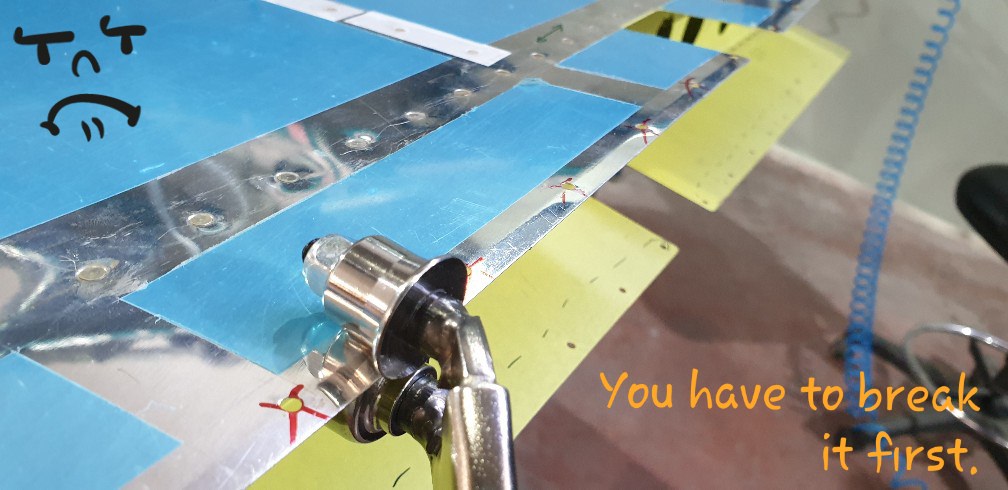
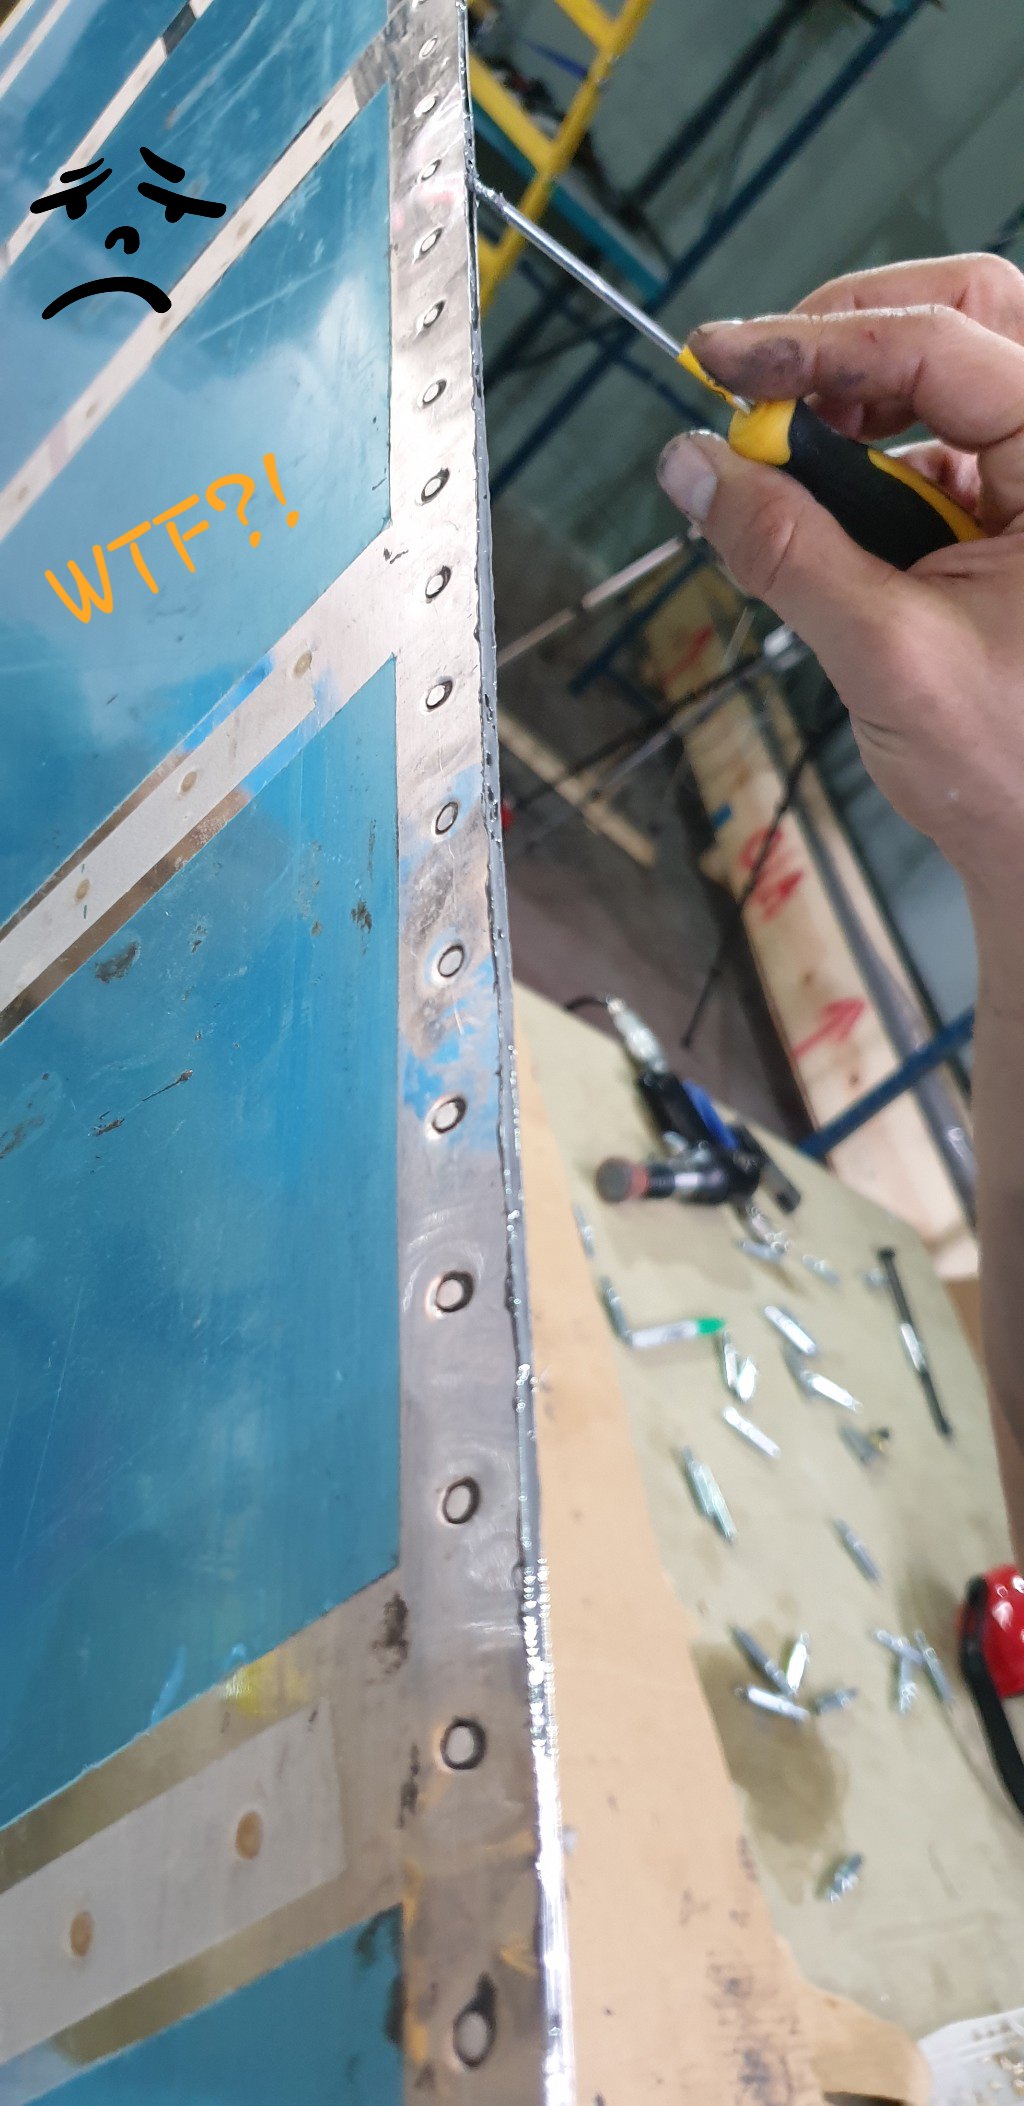
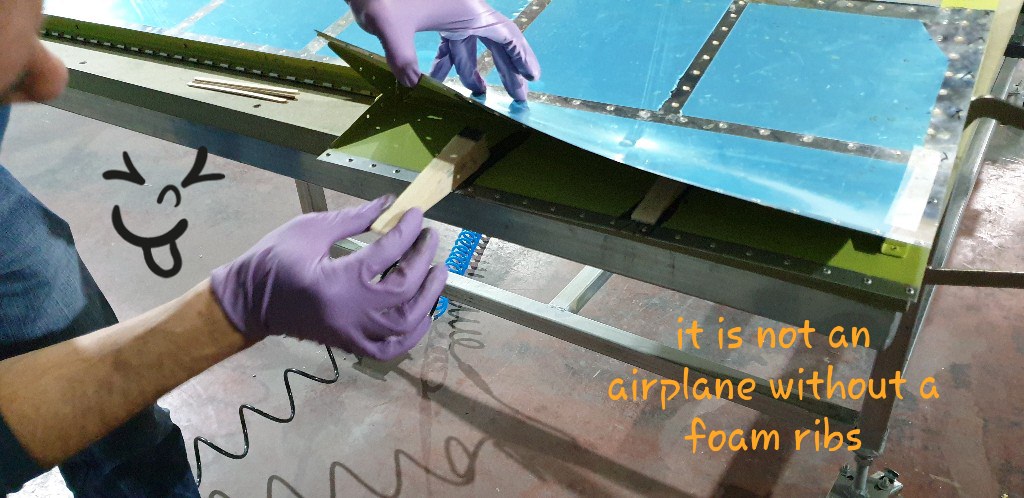
![]() - Flap structure Nose ribs, main ribs and the hinge brackets -- these guys are pretty impressive. The hinge brackets are designed to stand out extensively, so they make a very dramatic whole wing cord change. The most challenging part of the flap construction was to rivet the 2 skins -- the top one and the bottom one. Especially the second skin, 'cause you never have a good gap to insert your hands and control the backing bar. ![]() - Gordon visit We had a very cool guy who pitched up in our garage. Gordon (@Waiex-guy) appeared in our place and told us some pretty interesting stories about flying in the army, flying in business jets, and flying pretty much everywhere except Israel -- cause our authorities asked him to do all the theory exams one more time before he could rent a plane. Fortunately, we don't make a test for a person's riveting expertise, and another pair of hands is always valuable, so we jumped directly into the work on the flap. Cheers, Gordon! Come back whenever you are around! Wet riveting is already a pretty common thing. For finishing the flap it is suggested to wrap the edge with some pro-seal. I guess the reason, as always with control surfaces, is cracks prevention. .
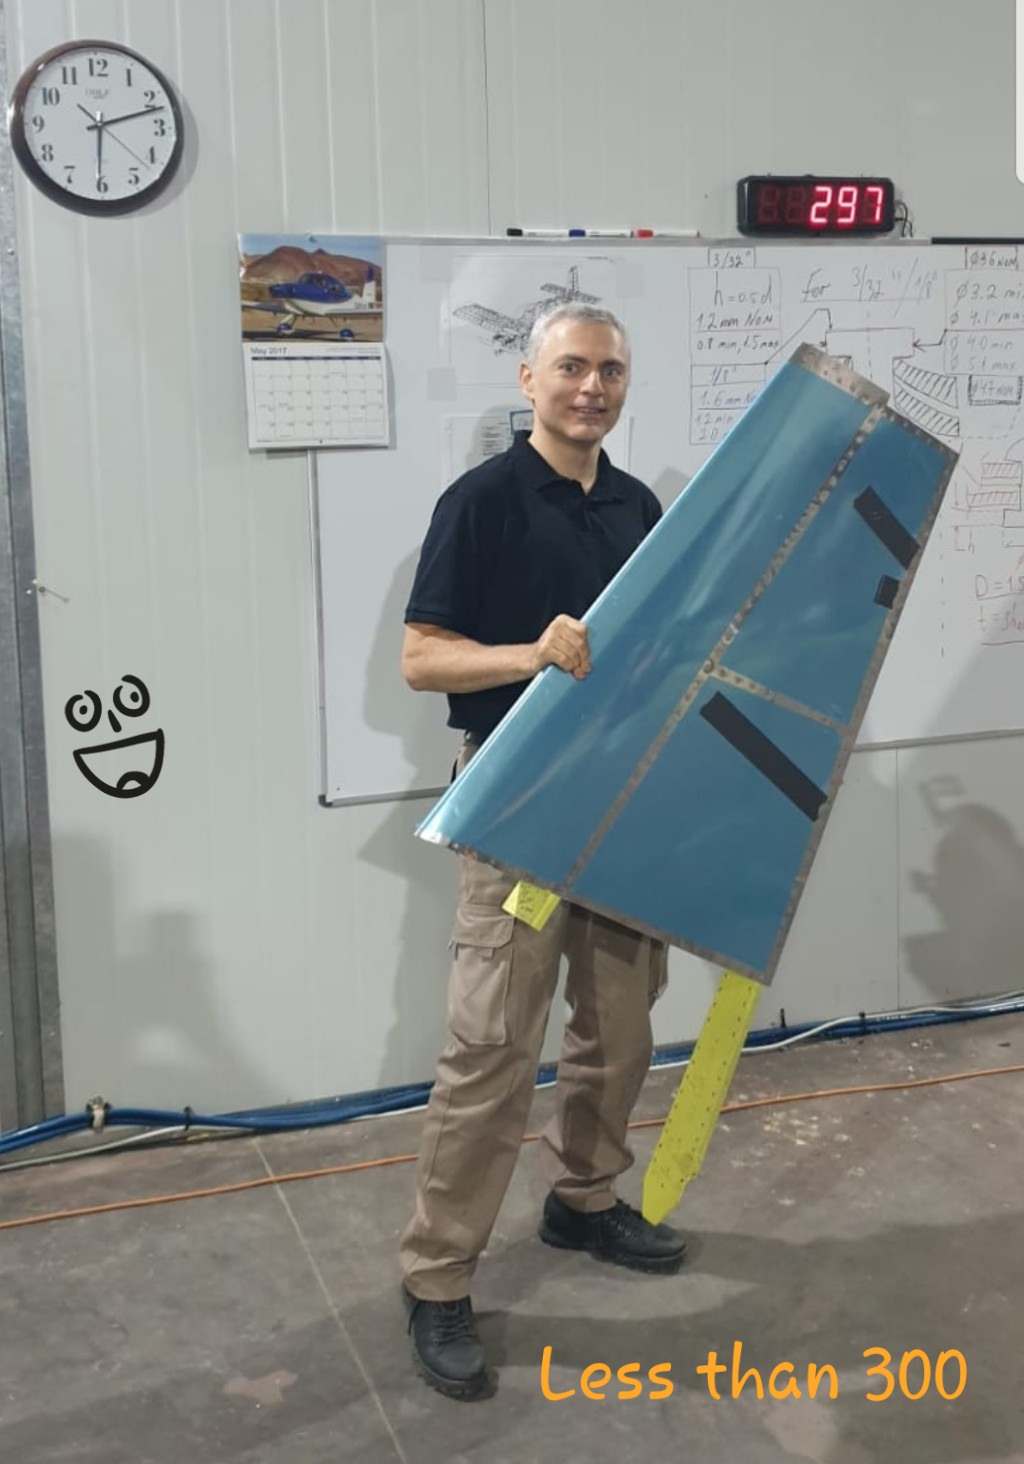
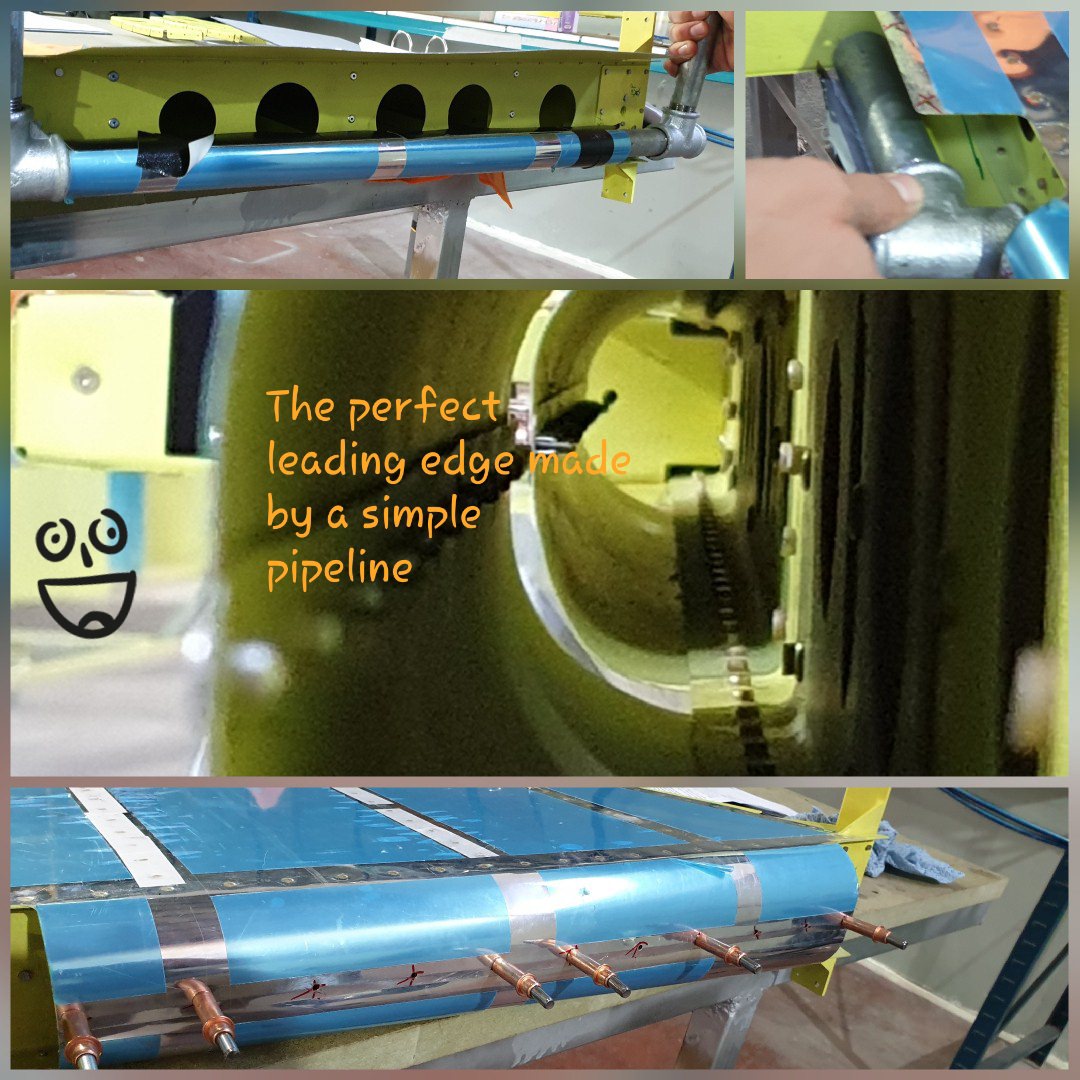
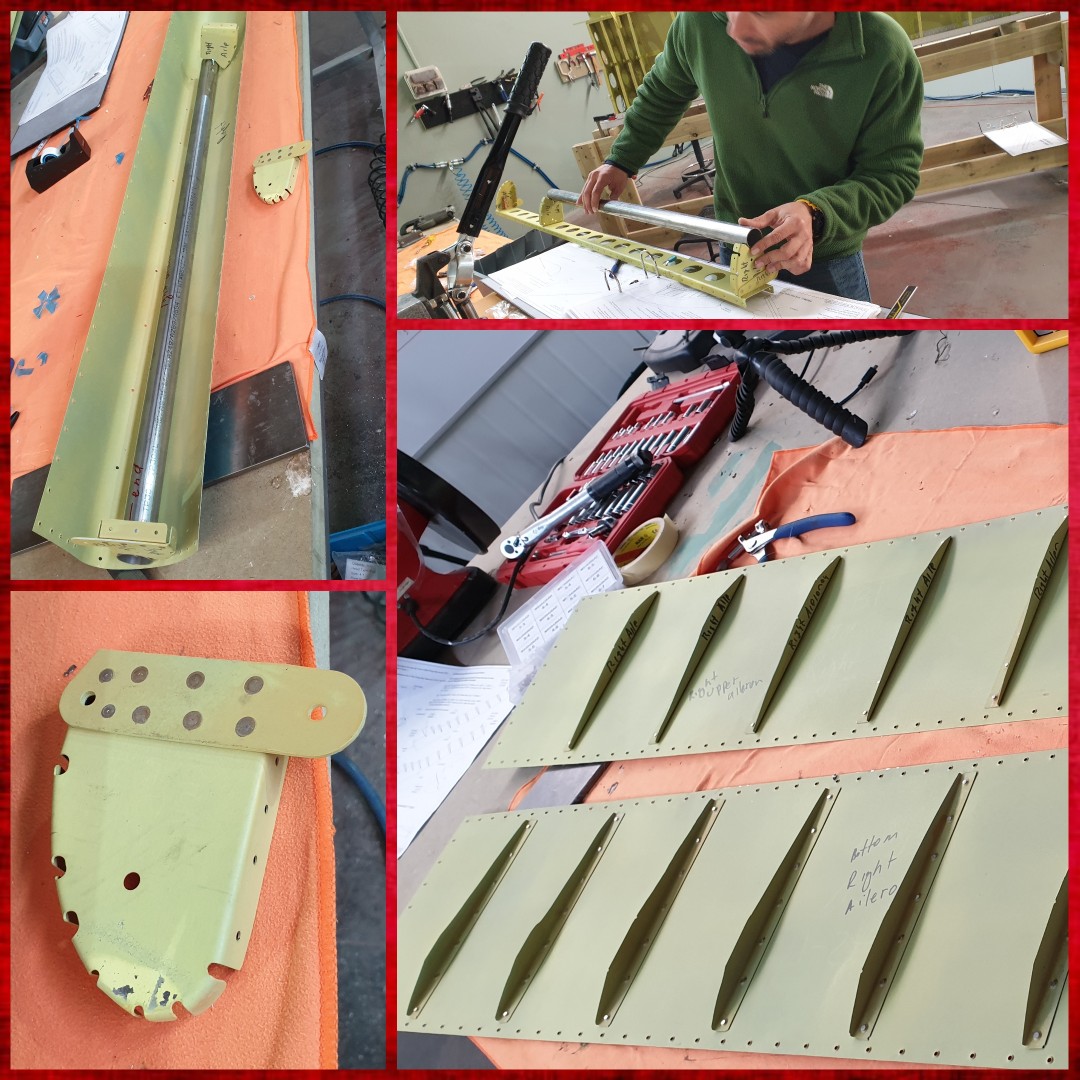
![]() At first glance, an aileron is just a shorter form of a flap, but it is not that simple. It has its special parts and pitfalls. - aileron structure The common parts of all control surfaces are nose ribs and main ribs. The aileron is pretty much following that pattern and working it out makes no problem. But the counterbalance pipe -- that looks pretty harmless -- appears to be not that easy to install. - counter balance The first problem is that you have to drill the pipe precisely using the stand drill. It is not that simple task, cause the pipe is very tough stainless steel, it is rock hard, much harder than the soft aluminum. Second -- you have bolts that would hold the pipe on the ribs, and the chance to make a mistake there is pretty high, and if you didn't do the work correctly there, you have no chance to insert the pipe into the nose skin. .
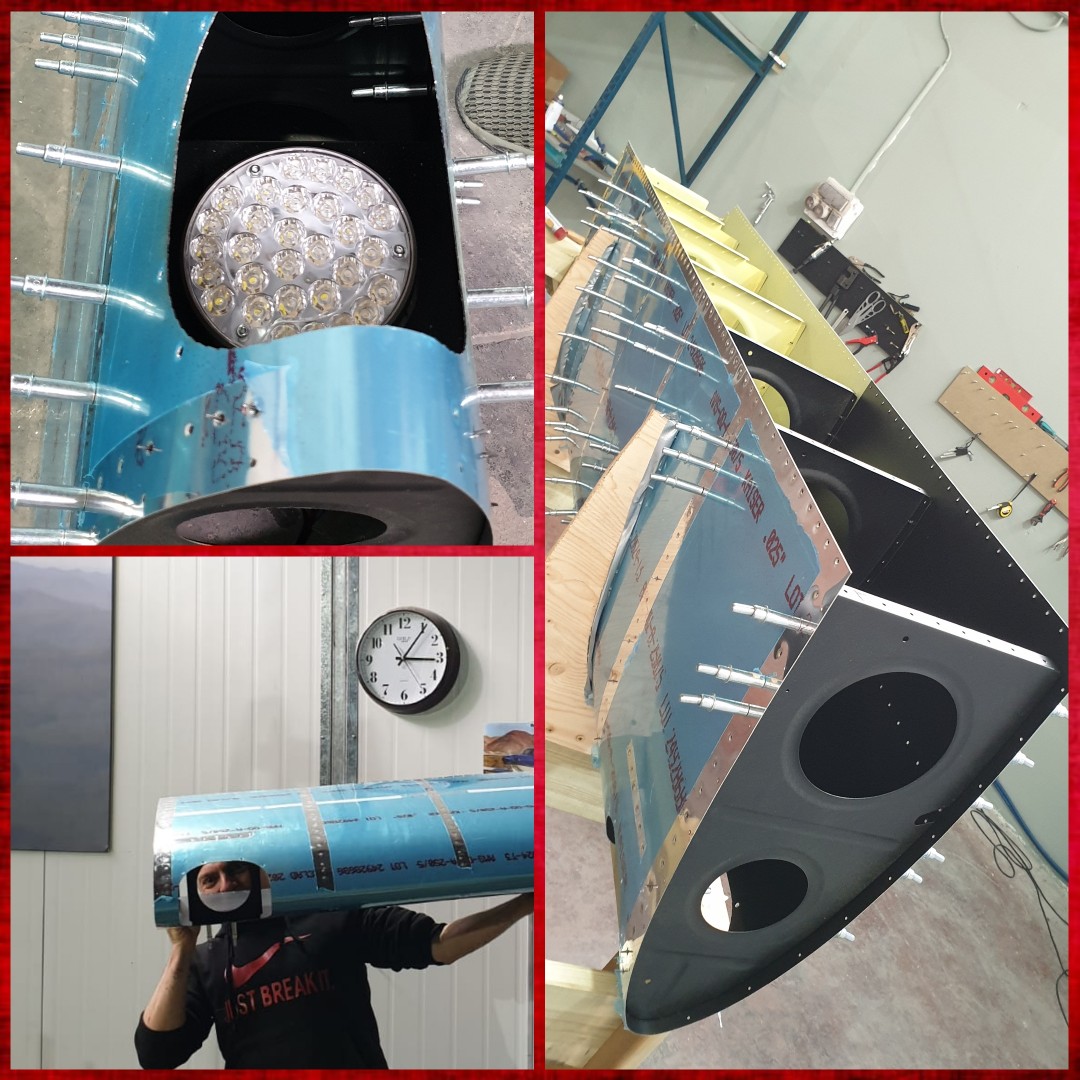
![]() The leading edge has 7 large ribs -- which are pretty much the leading edge ribs of the whole wings. It was the first time we had to paint it with black color, so the nasty yellow wouldn't be visible through the light leans. The light leans gig is a really challenging task to make it match the light hole. After ~8 hours of cutting and fitting, it started to look like a part of a real wing. We got pretty cool and professional lights for the leading edge. Will tell about the internals in a special post about our wings. .
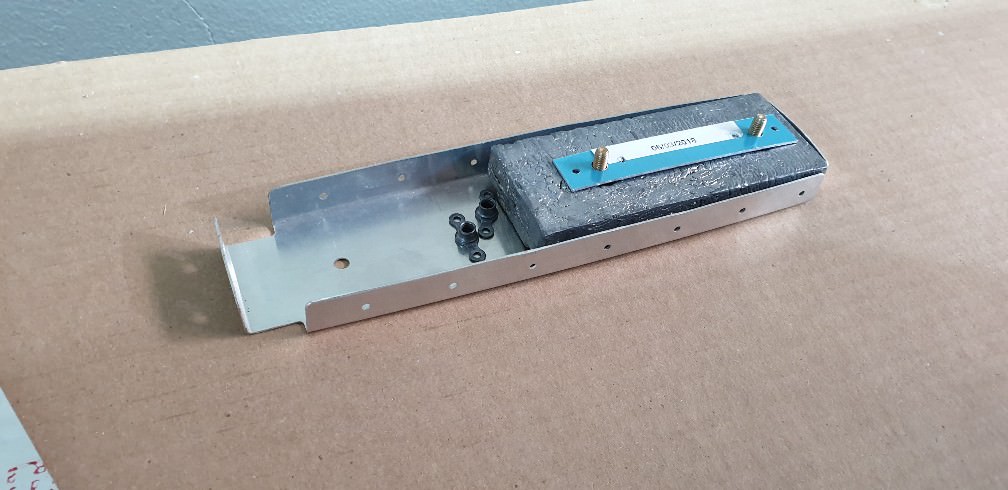
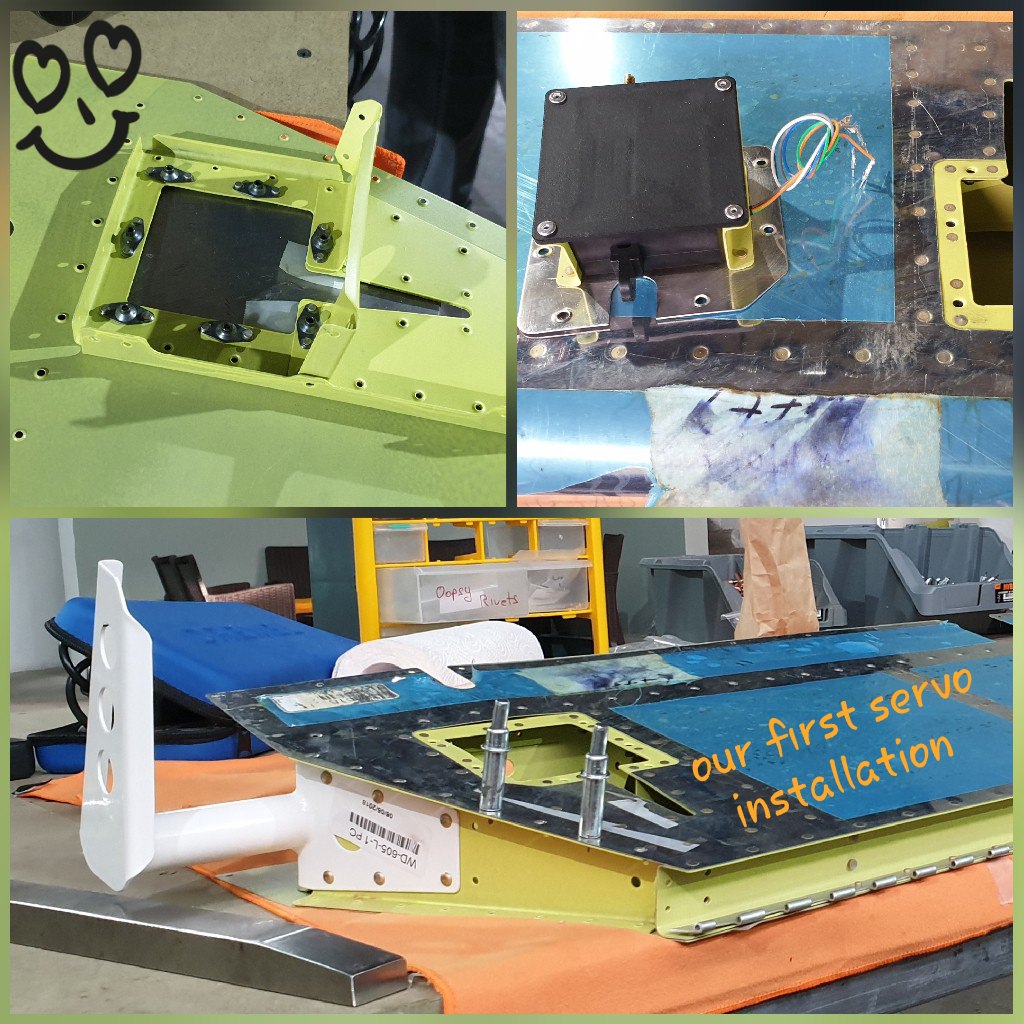
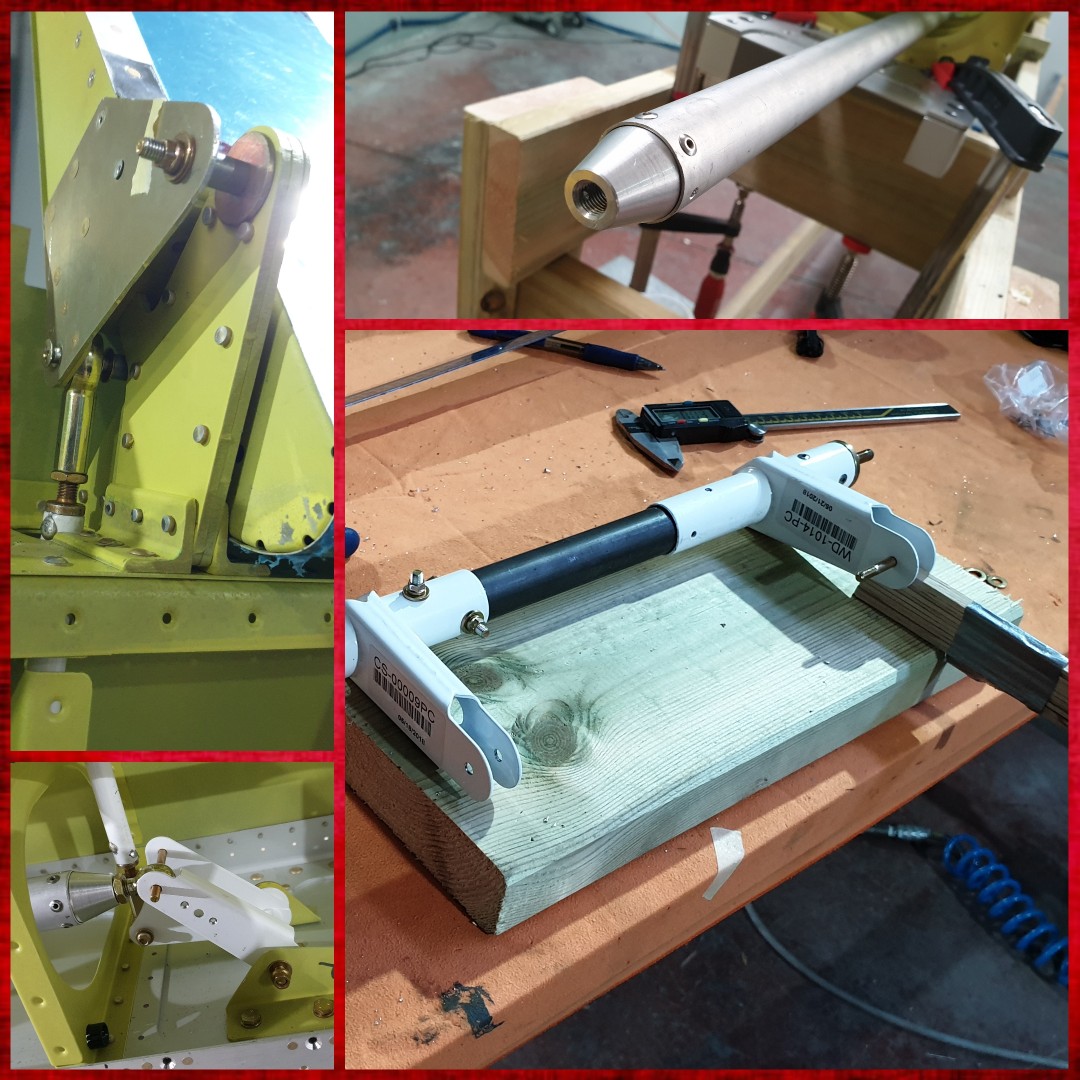
![]() Section 23 is dedicated to the aileron actuation. The general idea is to assembly 2 push rods, and connect them with a provided bell-crank. The torque tube -- the part that will be connected to the actual stick eventually -- should be carefully measured to be twisted in a precise angle. That is why we had to put together a 25 mm spacer block. Eventually, not a big deal -- still have to wait for the fuel tank to be done -- to connect the actuation directly in the place. ![]() Don't forget: the airplane has two wings, so once job on the first one is done, it's better to push forward and do it one more time. .
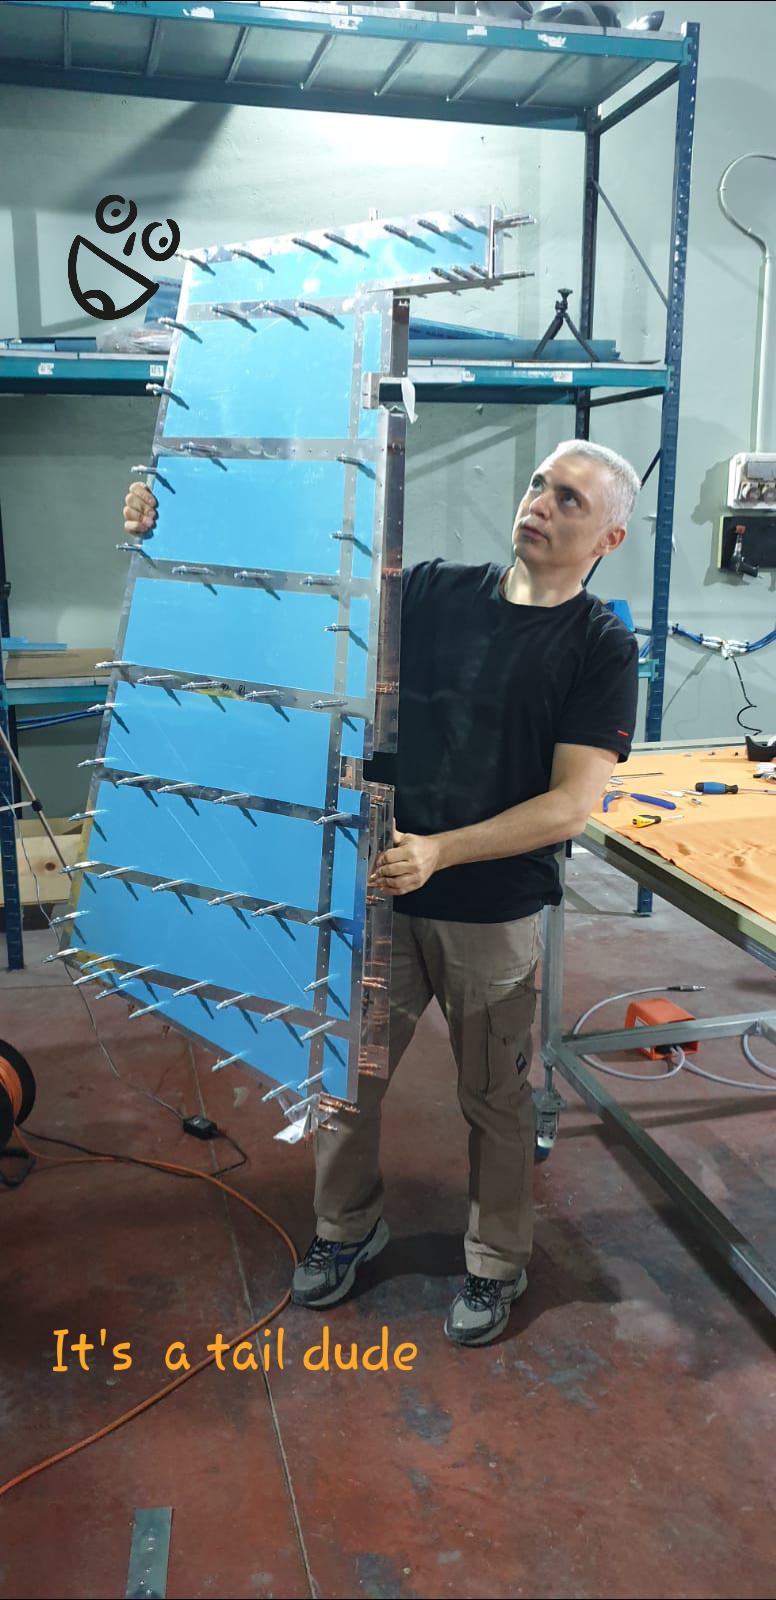
It took us about 100 hours of 2-people work on the main section, the ailerons, the flaps, the leading edge and all the pushrods, and leans cuttings. The wings are now looking like real wings but there is more work to do, and we will tell you all about it. ![]() |
All times are GMT -6. The time now is 02:49 AM. |