bullojm1
Well Known Member
I have been working on getting new landing lights on my RV for some time now. Earlier this year I purchased some Cree T6 XM-L LED lights from DealXtreme.com. I ran into issues with keeping them cool as they tended to overheat and burn up. I then was deterred because they discontinued selling this light. I was a bit bummed out about this since I thought I could get these to work.
A few months ago I ran across a company called Baja Designs (http://www.bajadesigns.com). They make LED lights for dune buggy's and motorcycles. I was quite impressed with the light these LED pumped out. Many forums raved about how bright they were. They also seemed to be just about the right size to fit into the wingtip of the RV. The cost was also in line with what I though was an acceptable price for this technology and the quality of the product. MSRP, the Squadrons run $299.95. However, on Amazon they are $260.
The version I bought was the Baja Designed Squadron in the Spotlight format. The specs on these are quite impressive. Here is the list from their website:
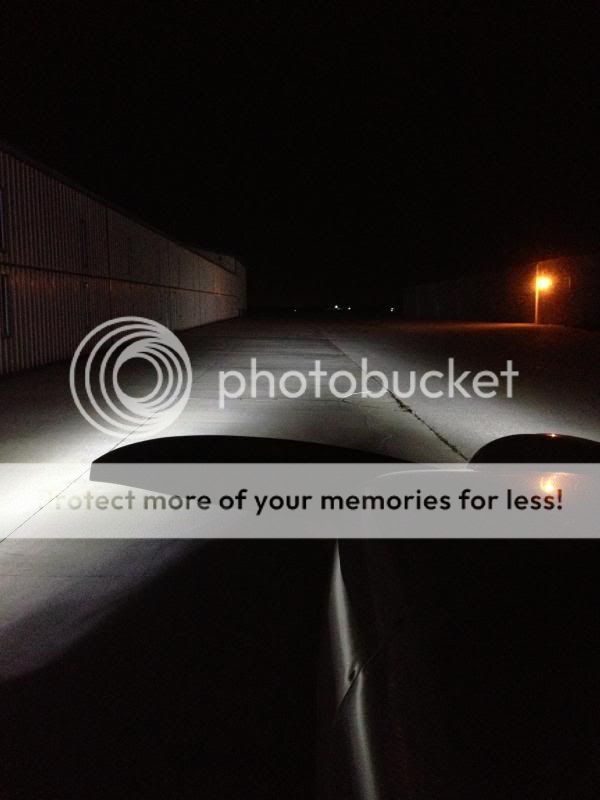
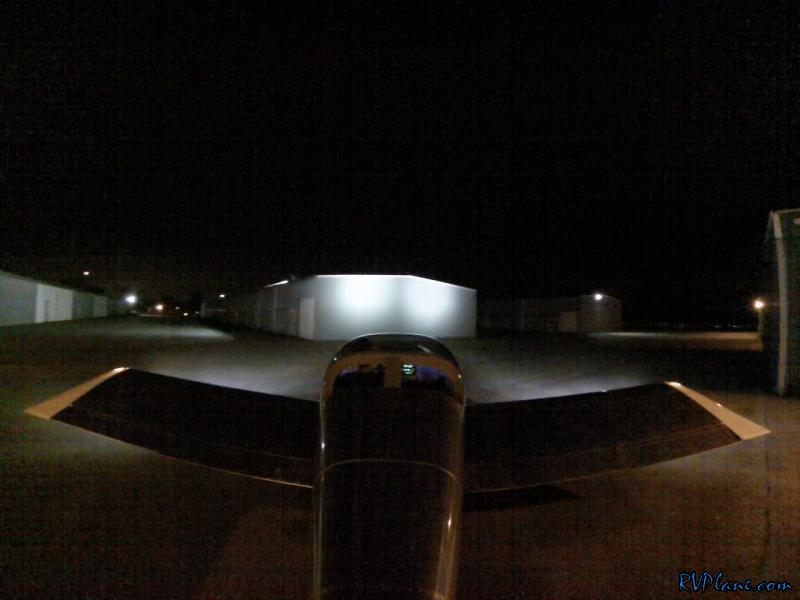
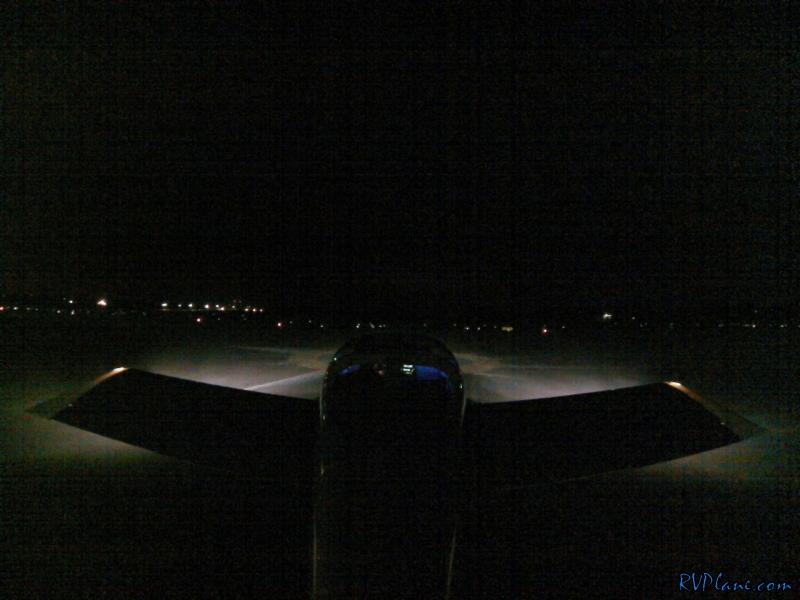
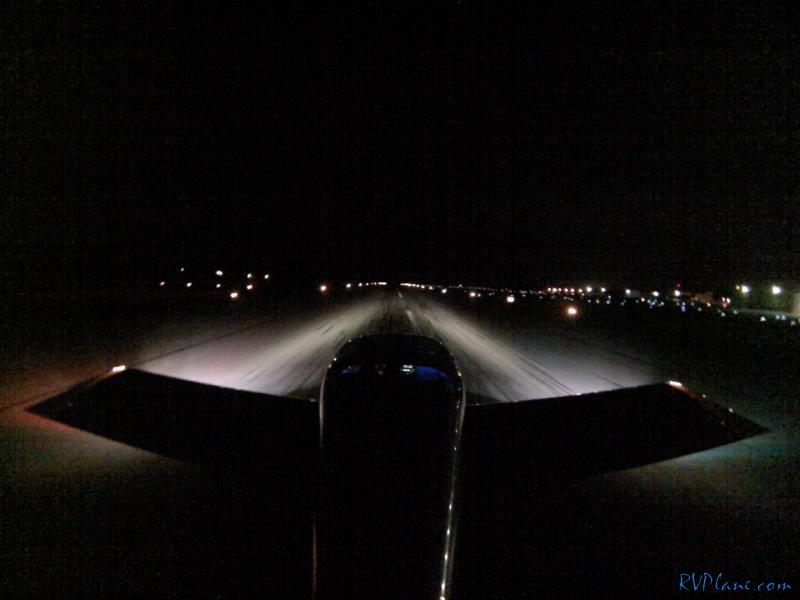
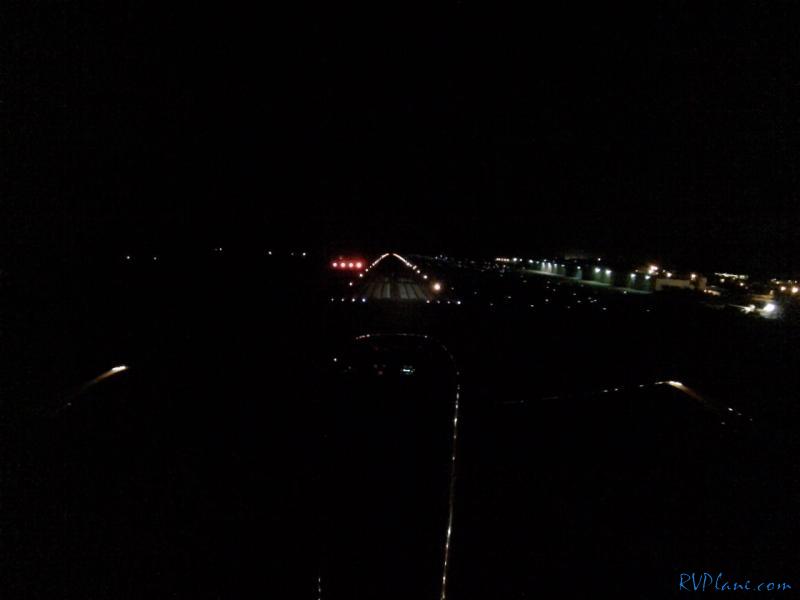
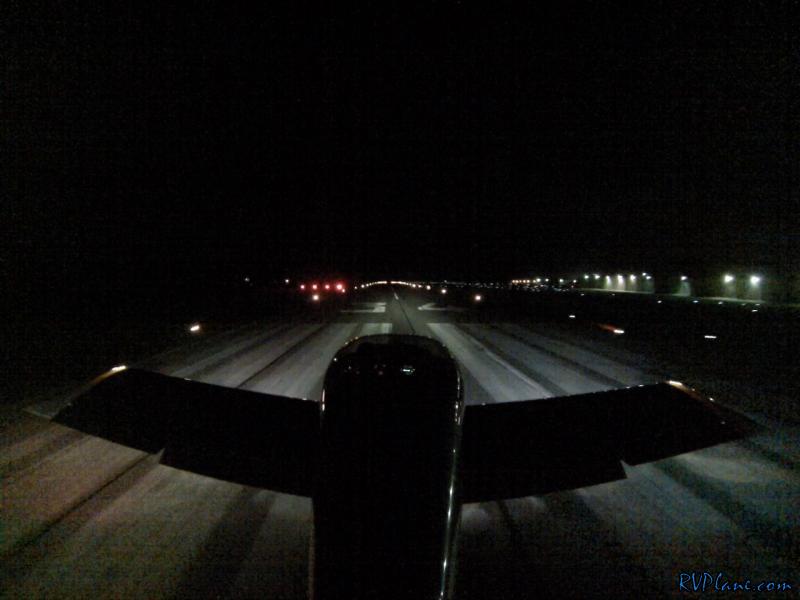
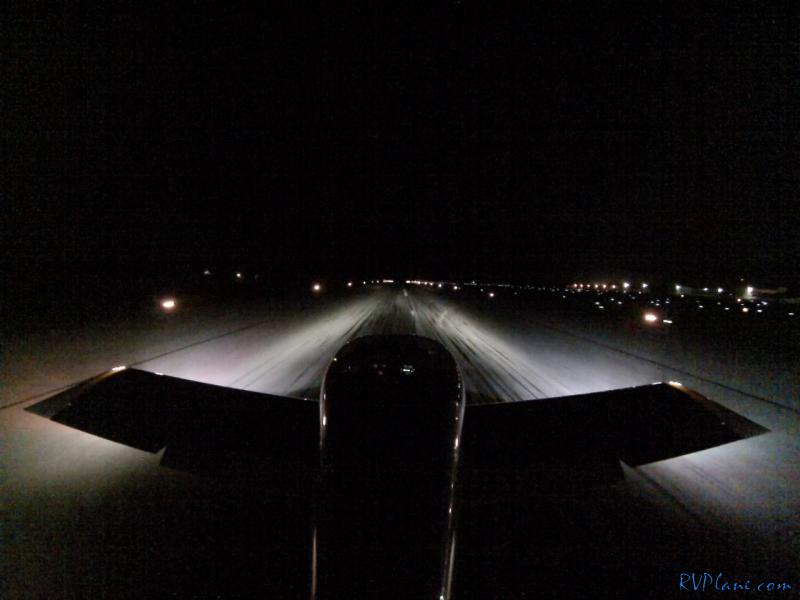
On a moonless night, I set up an experiment at the end of my street comparing the three lights I had - my Duckworks 50W HID, DX Cree XM-L T6 and the Baja Designs Squadron. All of these pictures were taken from a digital SLR camera on a tripod and the manual focus settings were the same. I wanted to get an accurate representation on the differences between the lights. As you can see, the Baja Designs light blows the others away!
Here is an Isolux Plot I found on the Baja design website. I was torn as to which version of the light to get. Since there wasn't much of a difference between the driving and spot light, I went for the spotlight. It would be really nice to do a side-by-side comparison of all four varieties of the Squadron (Combo, Spot, Wide-Cornering, and Flood/Work).
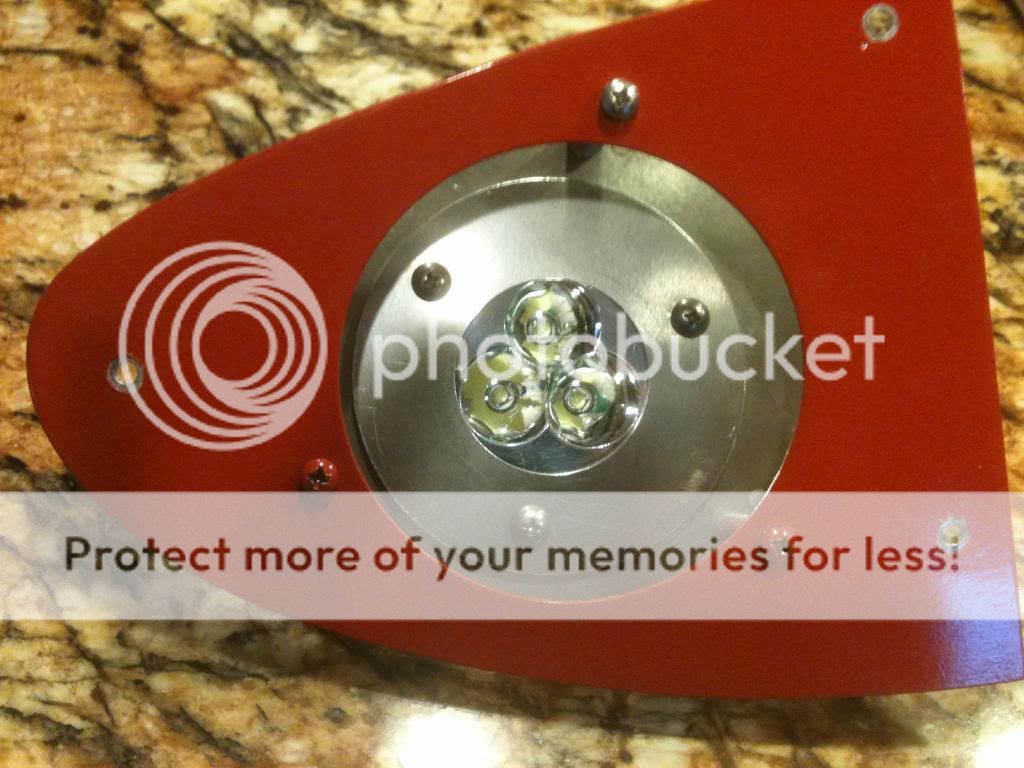
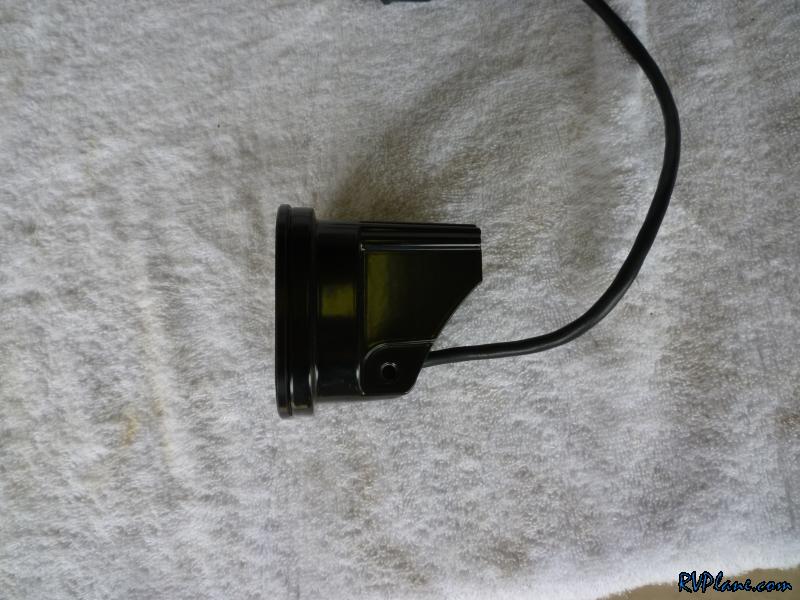
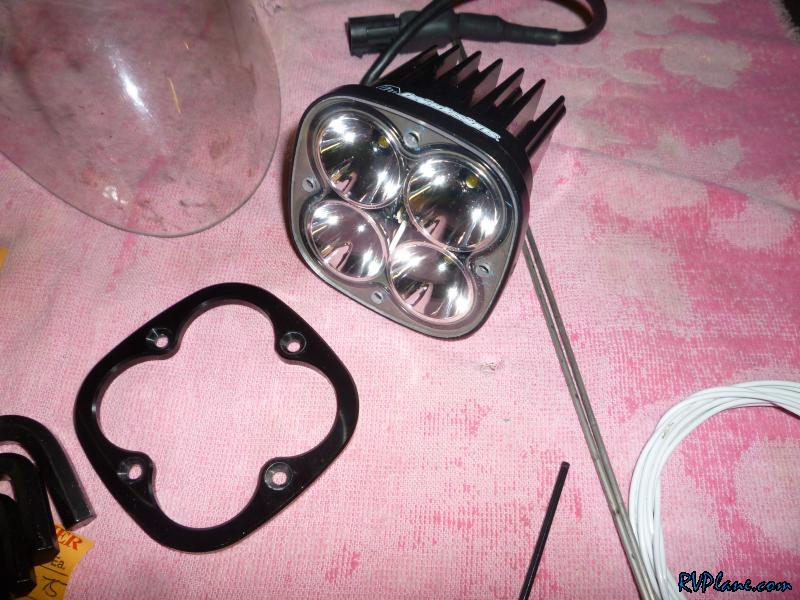
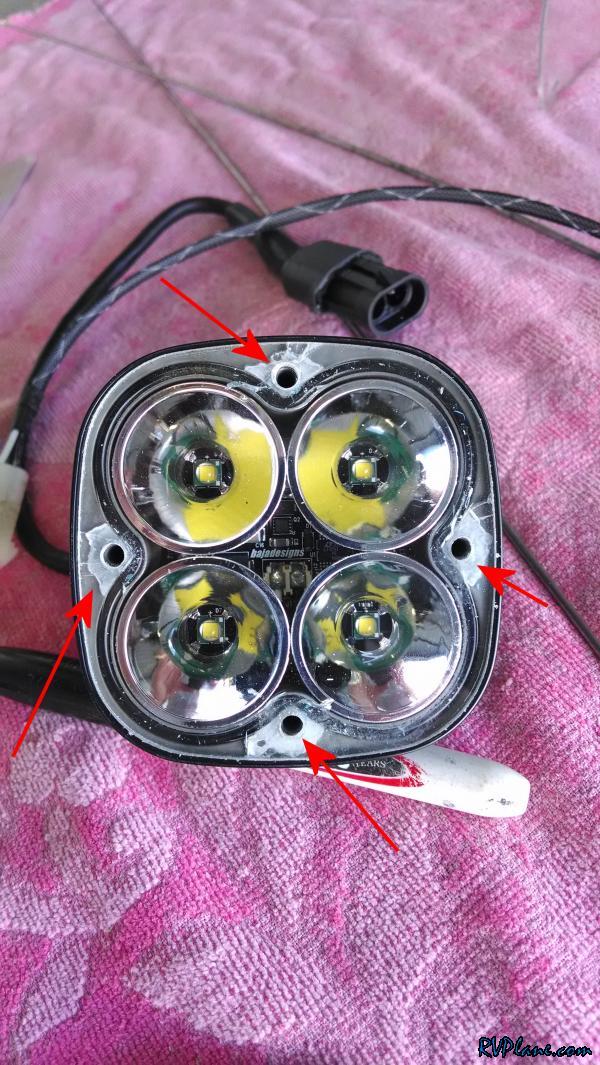
Here are a few pictures of the Squadron. From the front this thing looks mean!!!
It is much smaller than I thought it would be.
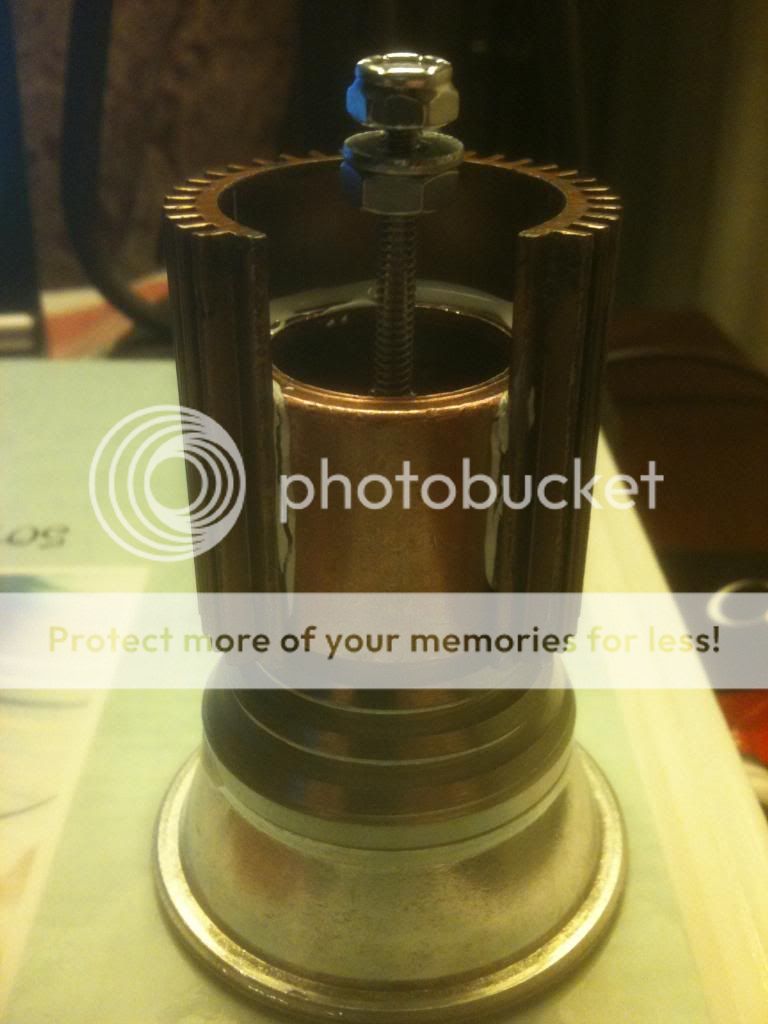
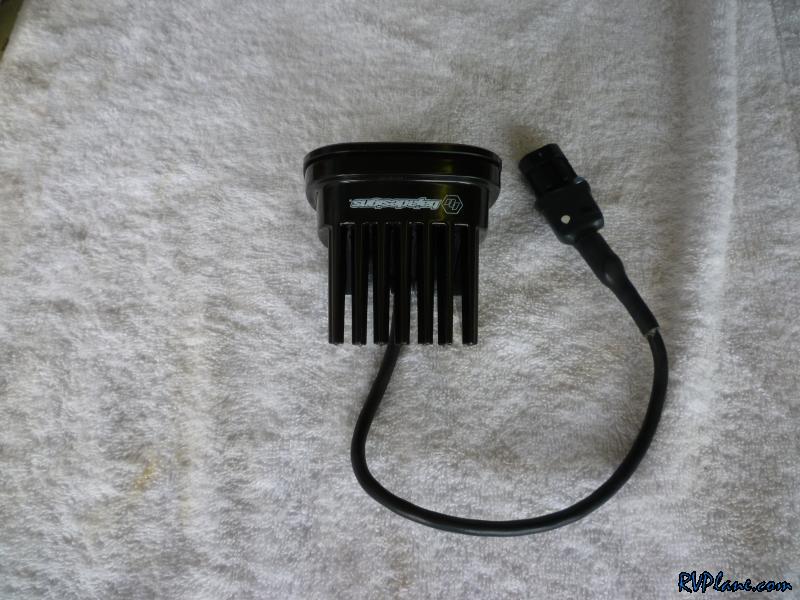
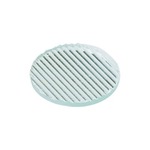
The cooling fins are quite beefy. I believe the housing for the lights is made out of aluminum. They are also lighter than I thought they would be.
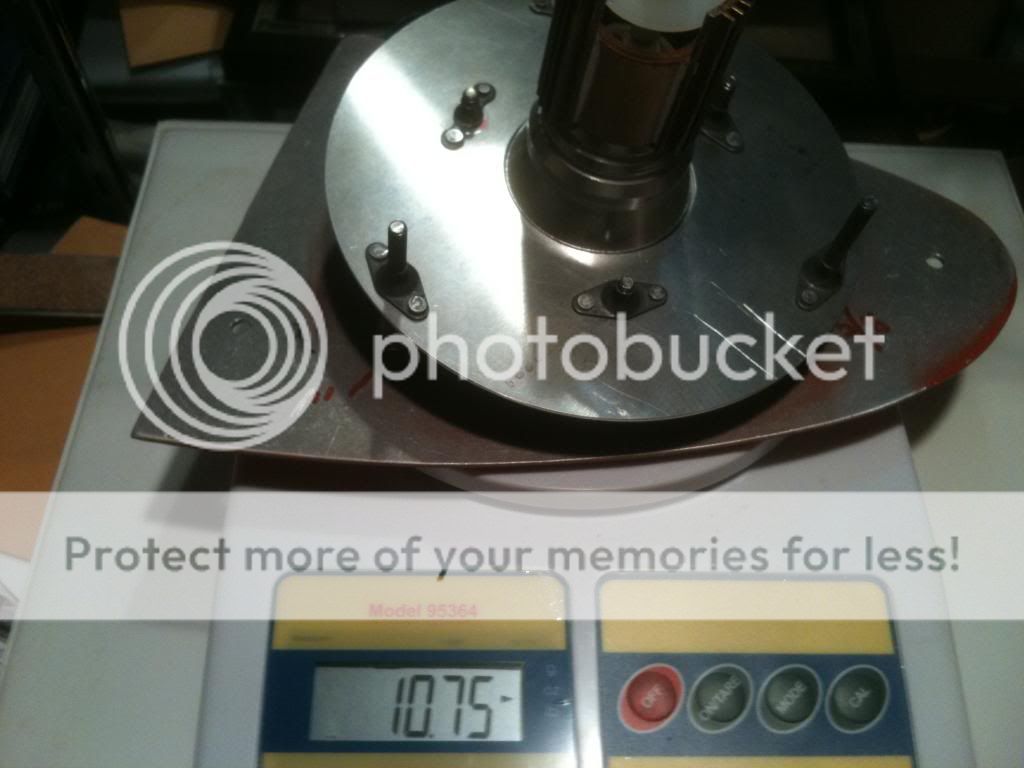
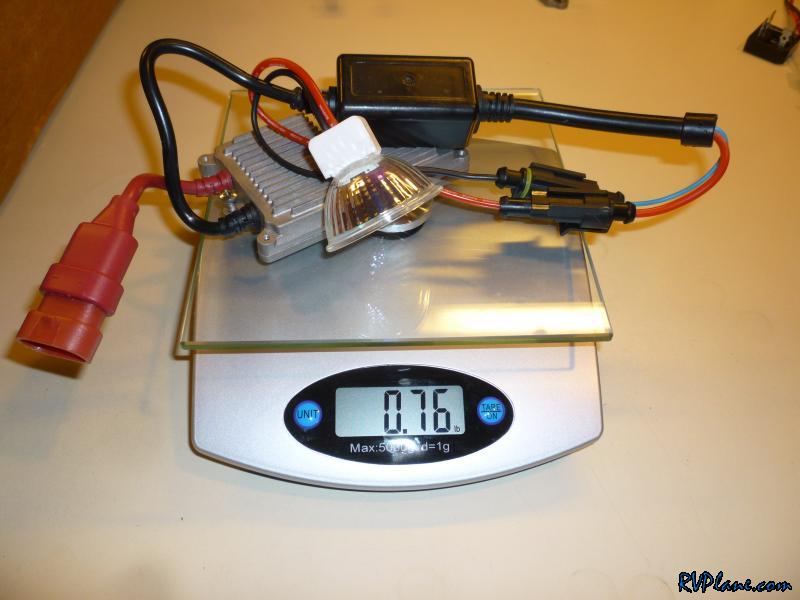
I decided to compare the weight of the Baja Design Squadron to the Duckworks HID. The Duckworks HID come in at 0.76 lbs.
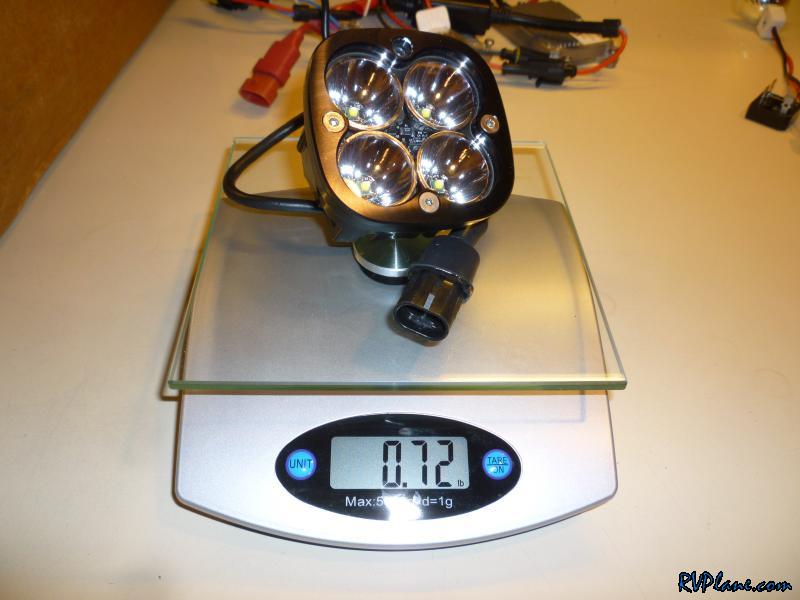
And the Baja Design Squadron is slightly lighter at 0.72 lbs.
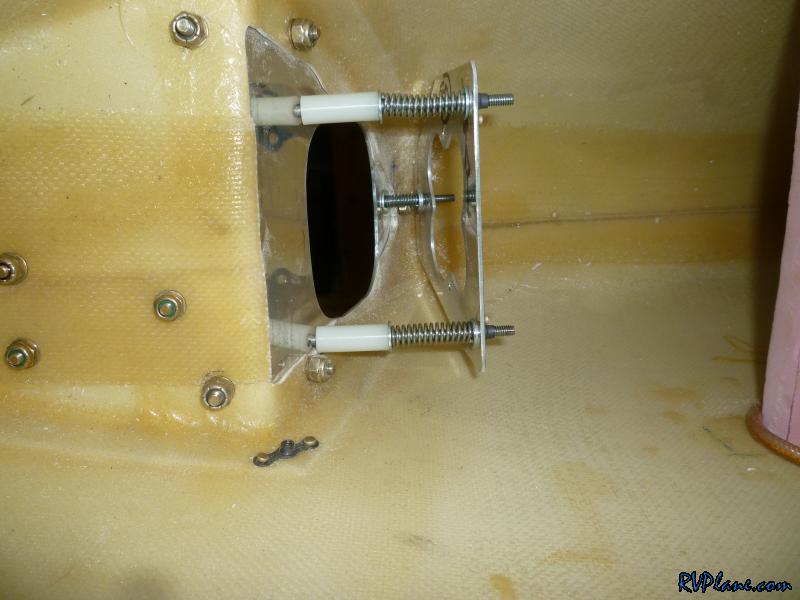
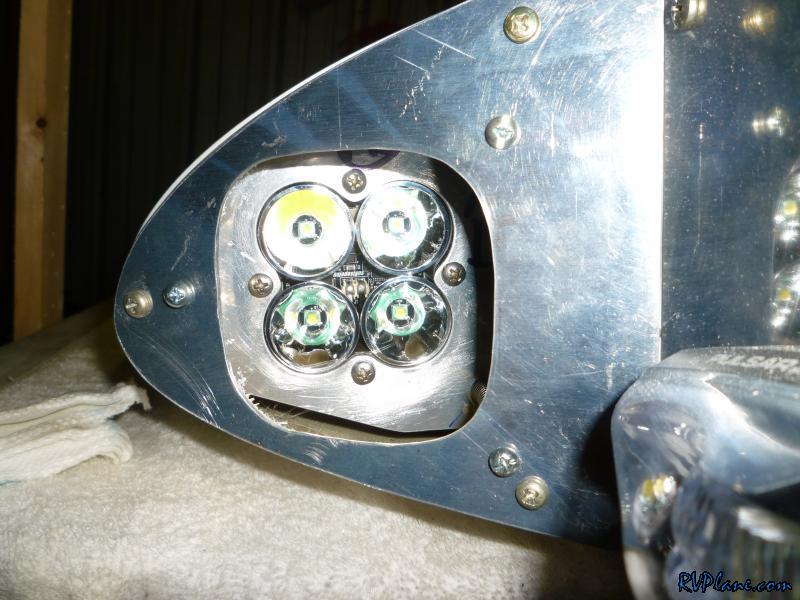
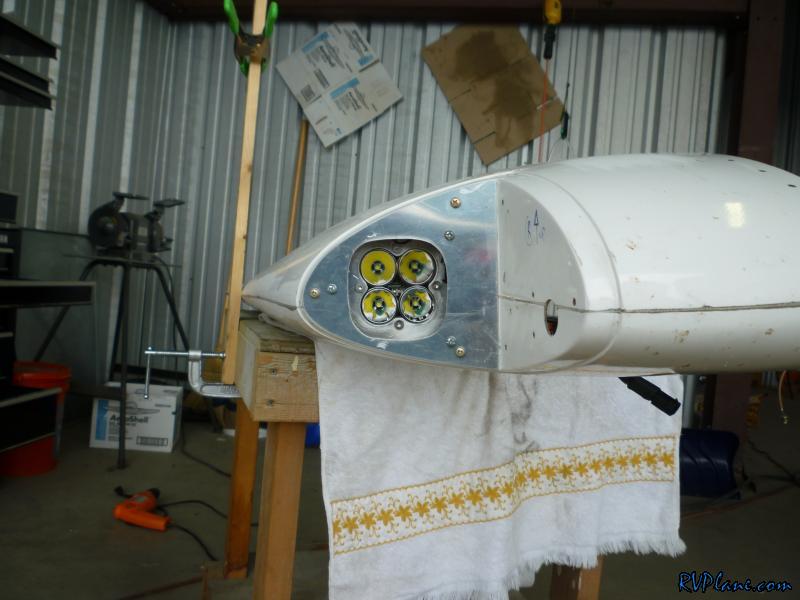
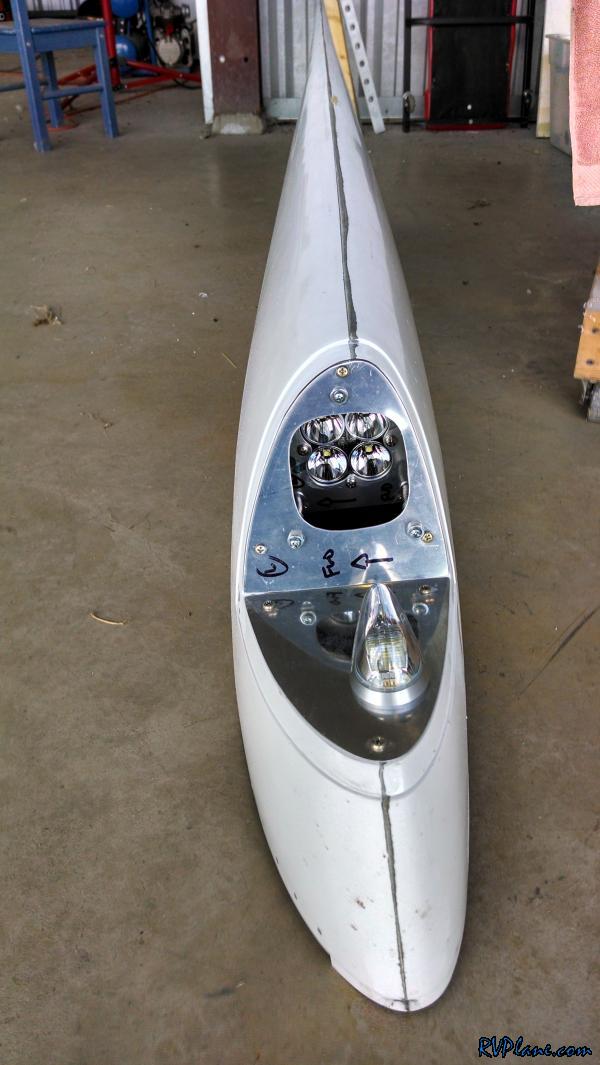
The next project was trying to figure out how to mount these guys to my wingtips.
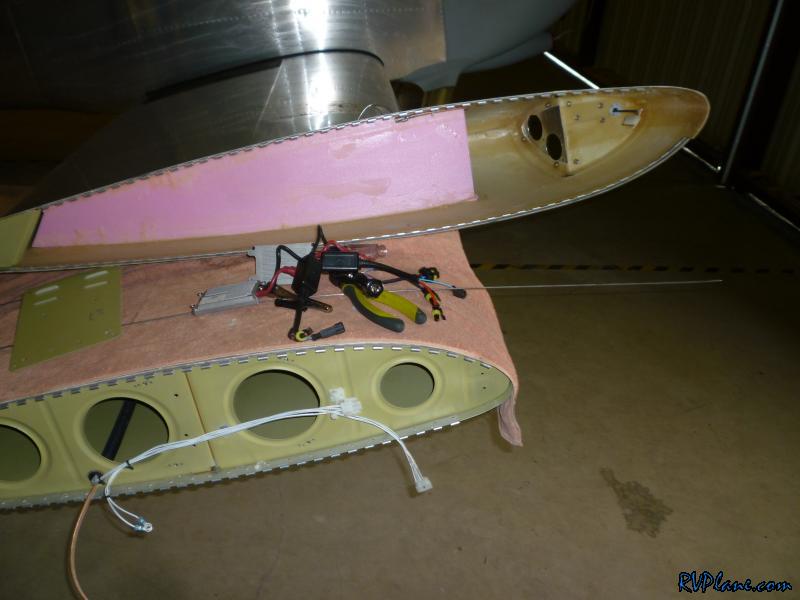
I took off the previous wingtip light mounts.
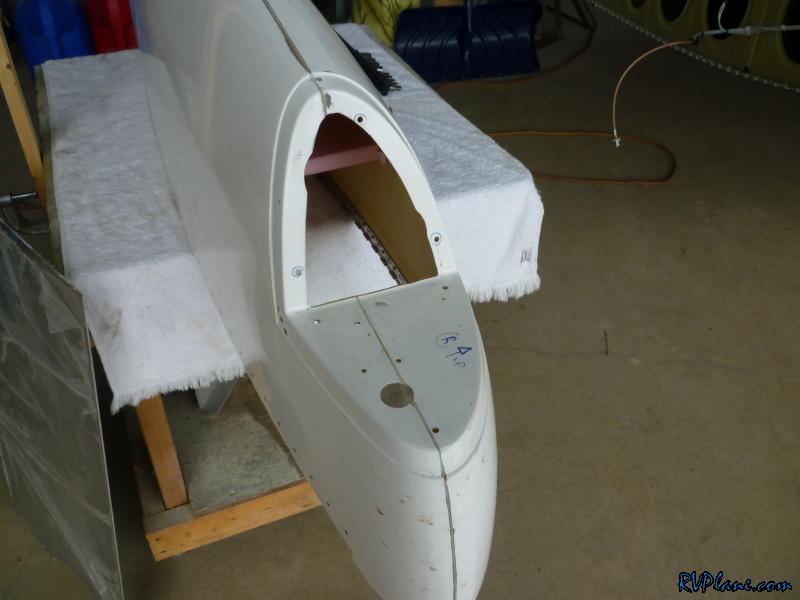
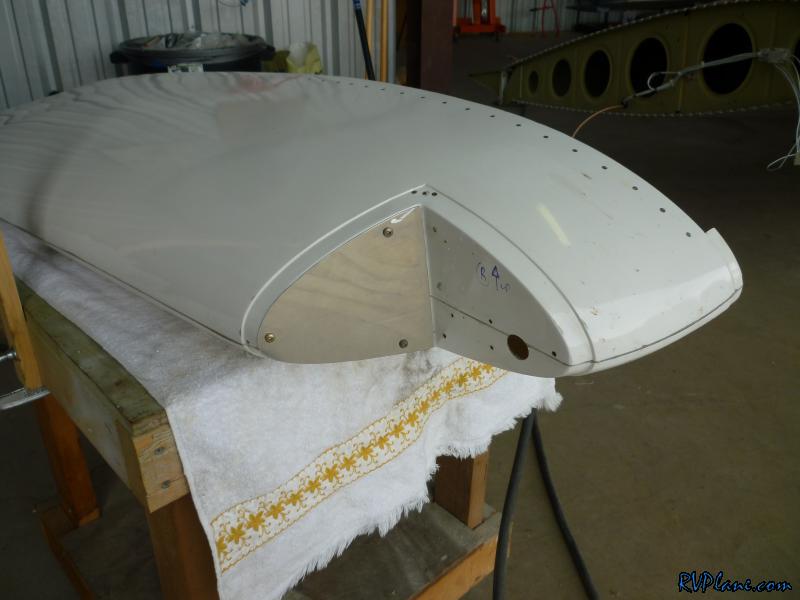
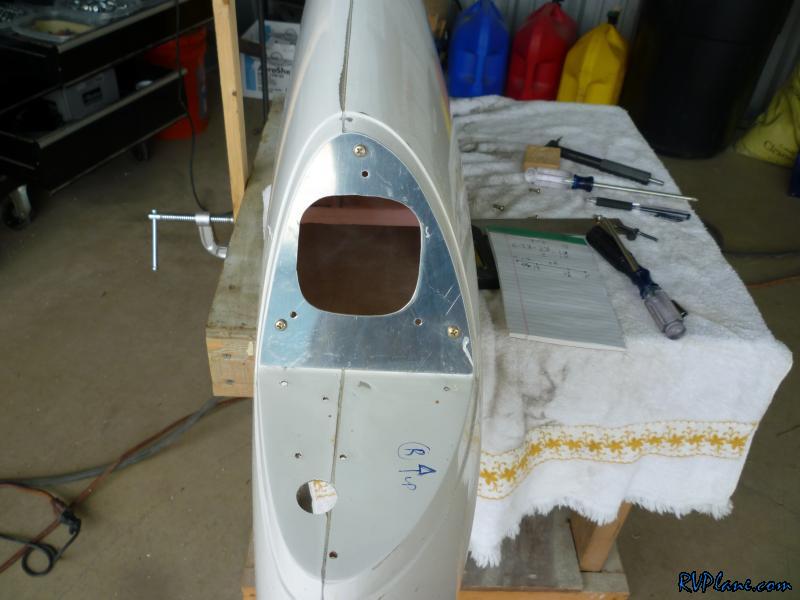
Next I fabricated a new mounting plate out of 0.063" sheet. The old mounting plate was made out of 0.032" and it was a little on the flimsy side.
A few months ago I ran across a company called Baja Designs (http://www.bajadesigns.com). They make LED lights for dune buggy's and motorcycles. I was quite impressed with the light these LED pumped out. Many forums raved about how bright they were. They also seemed to be just about the right size to fit into the wingtip of the RV. The cost was also in line with what I though was an acceptable price for this technology and the quality of the product. MSRP, the Squadrons run $299.95. However, on Amazon they are $260.
The version I bought was the Baja Designed Squadron in the Spotlight format. The specs on these are quite impressive. Here is the list from their website:
Our Squadron 3" x 3" light is the next generation of LED lighting! This light packs 4,300 Lumens that will truly annihilate the night.
The Squadron exceeds HID output yet weighs only 12oz.
Uses active Thermal Management, Single Layer Solid Core Copper Circuit Board and aircraft grade aluminum housing that maintains LED temperature within the defined operating limits.
If you?re looking for the ultimate in LED lighting technology the Baja Designs Squadron is your answer!
Features:
Available in four configurations. Combo, Spot, Wide-Cornering, and Flood/Work using precision in house designed optics
Weight: 12oz
IP69K (Waterproof, Submersible to 9ft)
IK10 Compliant (Mechanical Impact Testing)
Vibration Rating: 7.7Grms
Operating Temperature: -40 Celsius to 80 Celsius
Hard coated polycarbonate lens
Lifetime Warranty
Specifications:
Total Lumens: 4300
Stainless steel fasteners and mounts.
Front Lens: Hard coated Polycarbonate
Power Consumption: 42 watts
Uses four T6 Bin Cree XM-L2 LEDs at 5000K
49,930 hour LED life expectancy
Reverse battery & Transient Voltage Suppressor (TVS) protection
Exceeds MIL-STD810G requirements
Low Temperature Test
High Temperature Test
Temperature & Humidity Test
Thermal Shock Cycling Test
Dust Test
Random Vibration Test
Mechanical Shock Test
Low Pressure Test
Drip Box Water Test
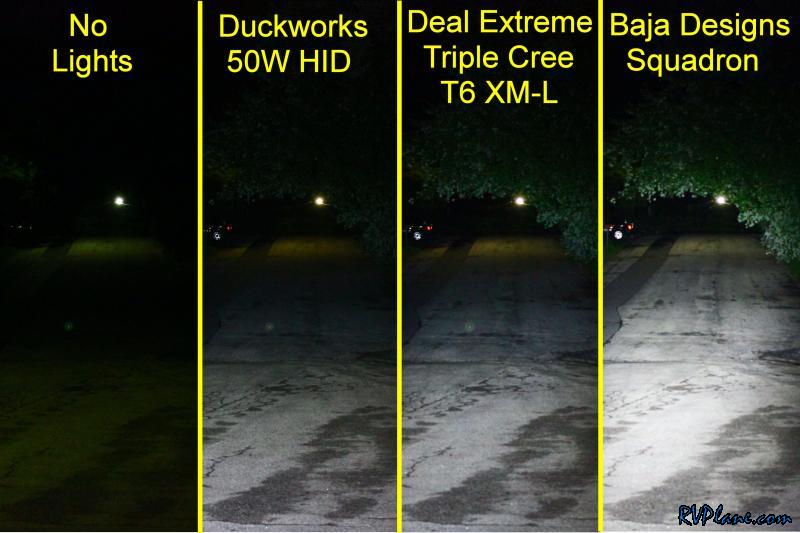
On a moonless night, I set up an experiment at the end of my street comparing the three lights I had - my Duckworks 50W HID, DX Cree XM-L T6 and the Baja Designs Squadron. All of these pictures were taken from a digital SLR camera on a tripod and the manual focus settings were the same. I wanted to get an accurate representation on the differences between the lights. As you can see, the Baja Designs light blows the others away!
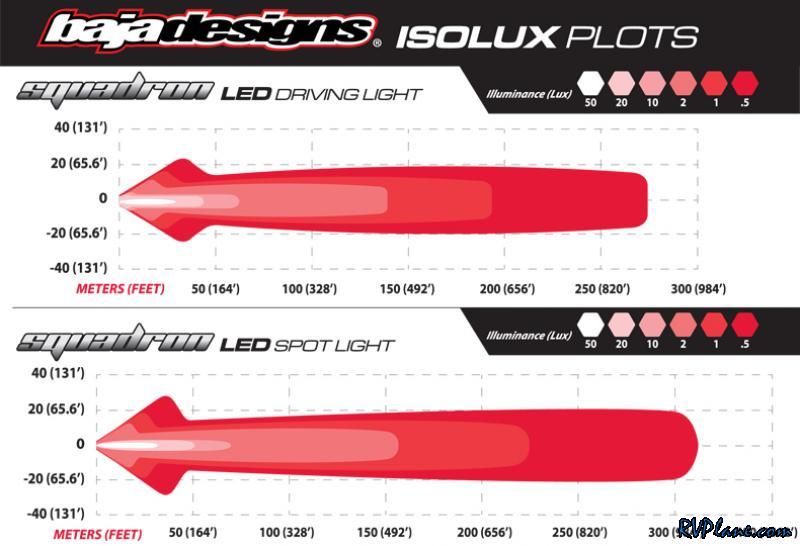
Here is an Isolux Plot I found on the Baja design website. I was torn as to which version of the light to get. Since there wasn't much of a difference between the driving and spot light, I went for the spotlight. It would be really nice to do a side-by-side comparison of all four varieties of the Squadron (Combo, Spot, Wide-Cornering, and Flood/Work).
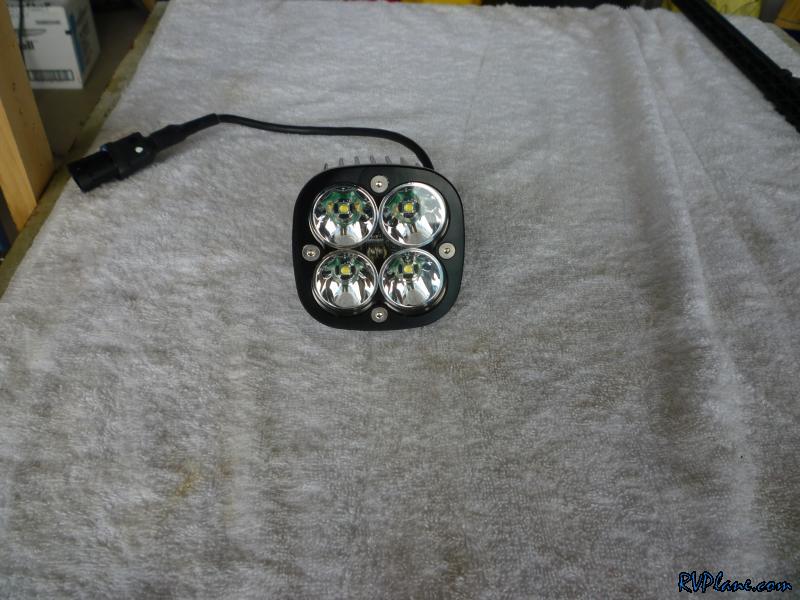
Here are a few pictures of the Squadron. From the front this thing looks mean!!!
It is much smaller than I thought it would be.
The cooling fins are quite beefy. I believe the housing for the lights is made out of aluminum. They are also lighter than I thought they would be.
I decided to compare the weight of the Baja Design Squadron to the Duckworks HID. The Duckworks HID come in at 0.76 lbs.
And the Baja Design Squadron is slightly lighter at 0.72 lbs.
The next project was trying to figure out how to mount these guys to my wingtips.
I took off the previous wingtip light mounts.
Next I fabricated a new mounting plate out of 0.063" sheet. The old mounting plate was made out of 0.032" and it was a little on the flimsy side.


")