All:
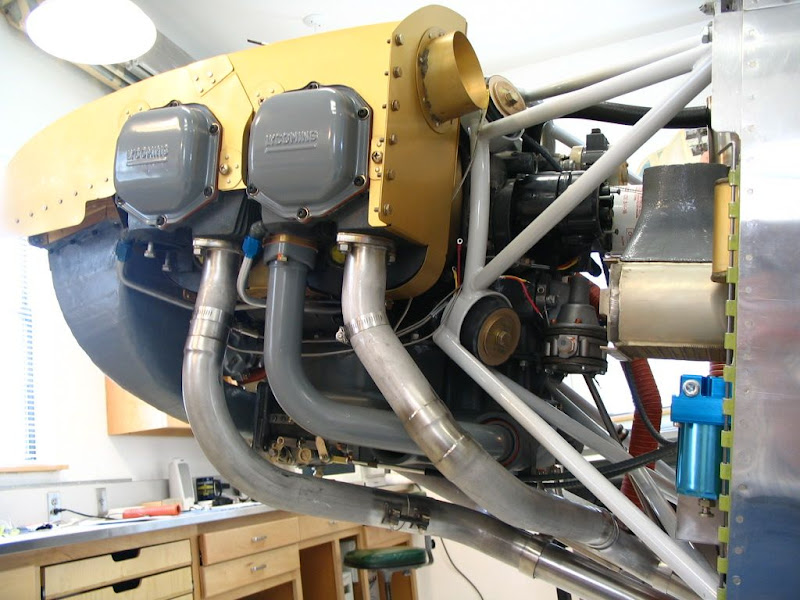
I am a Cozy 4 builder that has run into a snag with my engine selection. I selected the IO-360-C1C after learning that the A1A required cowl modification for the intake pipes (the C series sump does not).
Now that the engine is bolted on firewall and I'm starting to bolt accessories to it, I realized that the space between the servo flange and the firewall is too small to mount the servo and get a tube up to it. I did notice that the sump seemed capable of supporting the servo on the foreward face though.
In searching for information on forward facing fuel servos for IO-360-C series engines I ran across some helpful information in these forums. It seems a number of RV builders have made this modification, so I'm hopeful someone will have drawings that I can provide to a local machine shop to have them modify mine.
Thanks in advance!
-John Basol
") They wouldn't have much arm twisting to do on me either. I'm pretty sure I'm trading my sander for a rivet gun on my next project.
They wouldn't have much arm twisting to do on me either. I'm pretty sure I'm trading my sander for a rivet gun on my next project.