What's new
Van's Air Force

Don't miss anything! Register now for full access to the definitive RV support community.

Montana Build Update

nucleus

Well Known Member
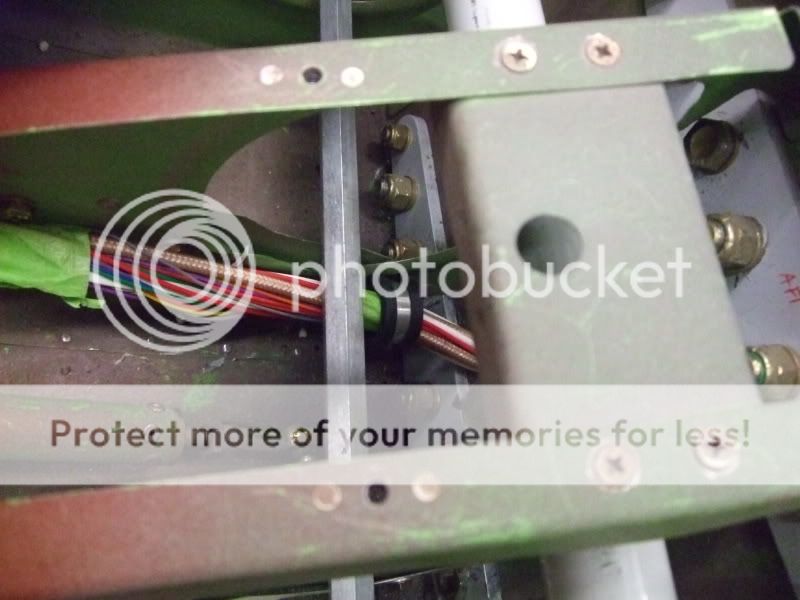
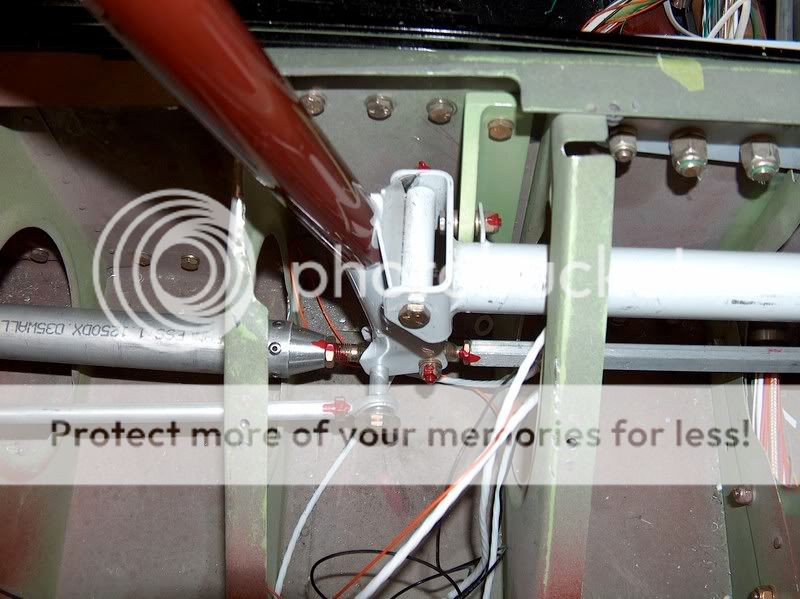
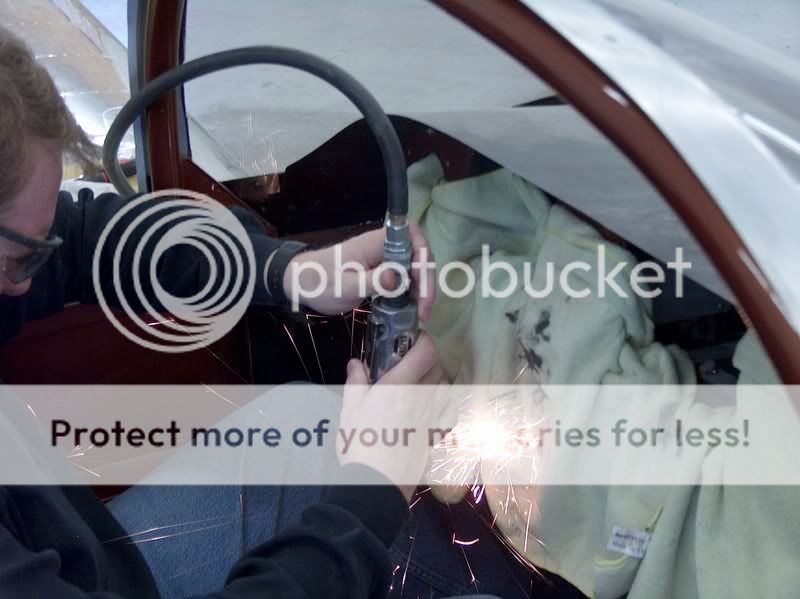
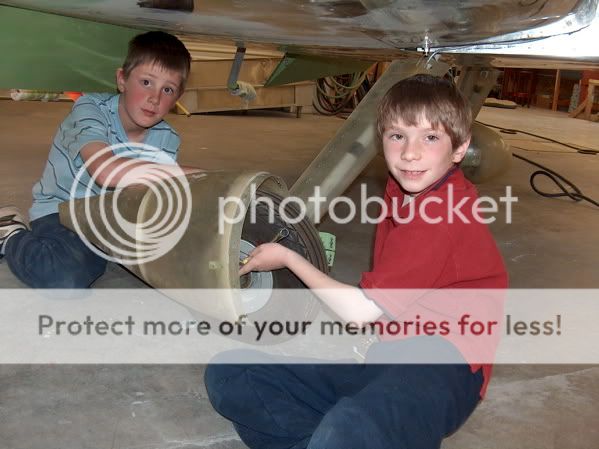
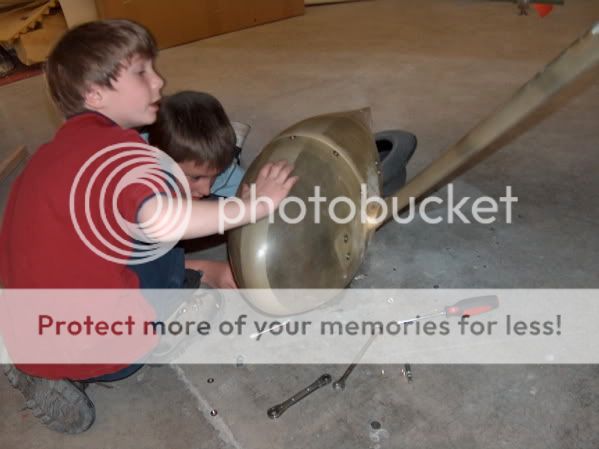
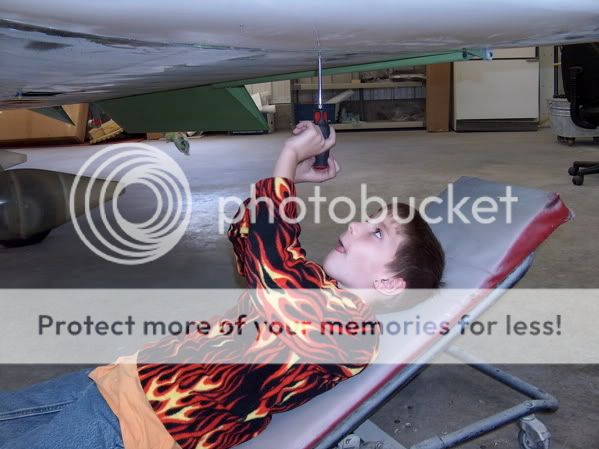
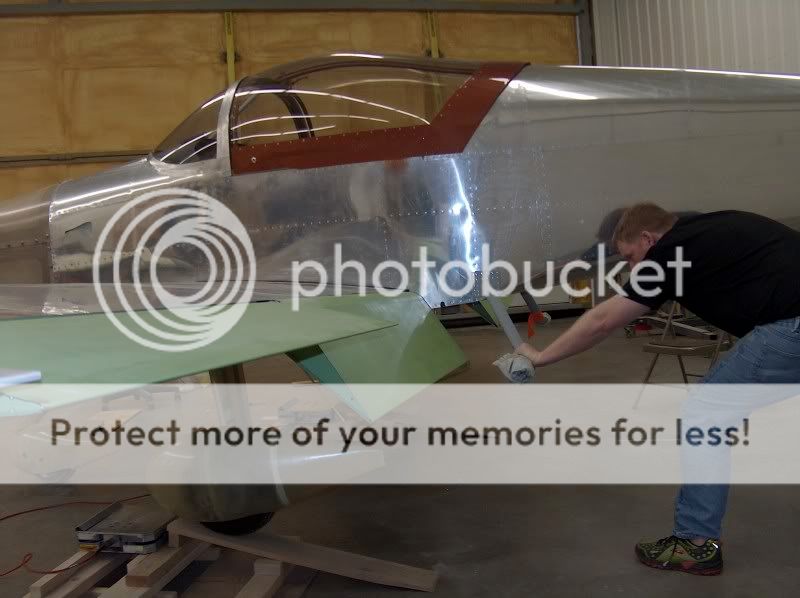
Well, I finished the wing spar bolts, so the wings are finalized, and the flaps are trimmed and hung. I will cut the fuselage and connect the actuators tommorrow.

RV6A11242007001.jpg

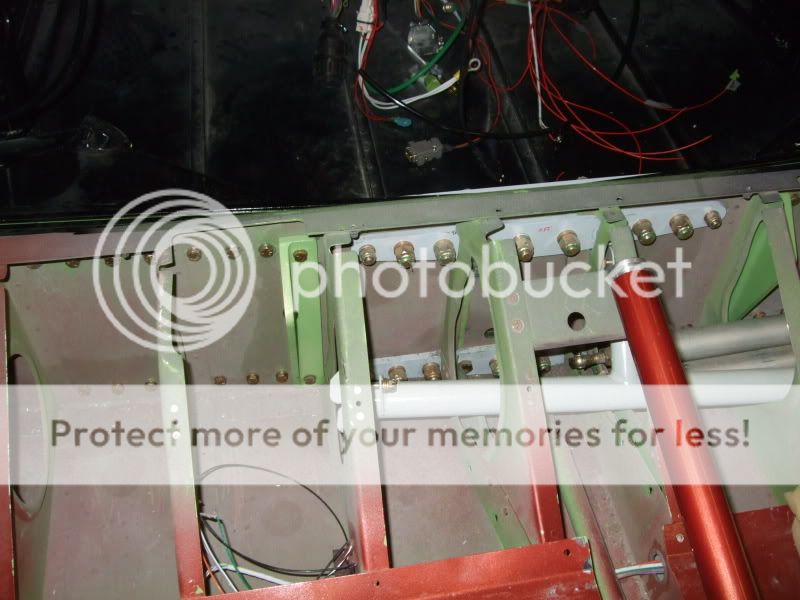
Anyone who has ever done these bolts on an RV-6 knows that this is a big step to get behind you, it took me days.

RV6A11242007003.jpg

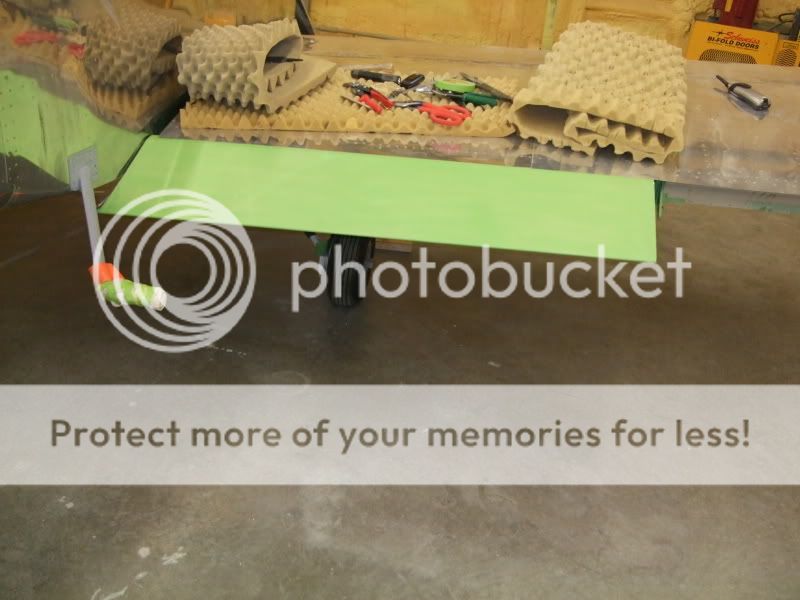
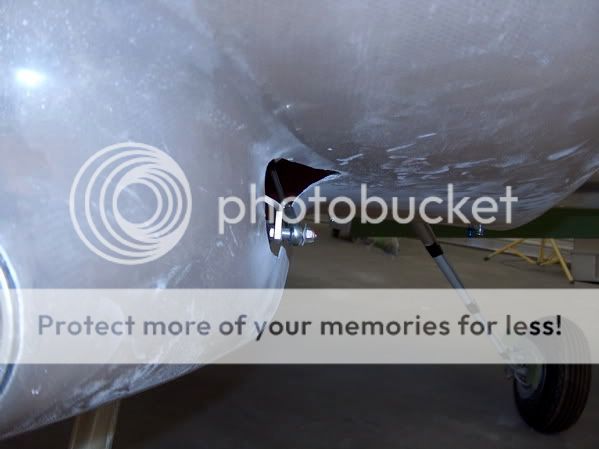
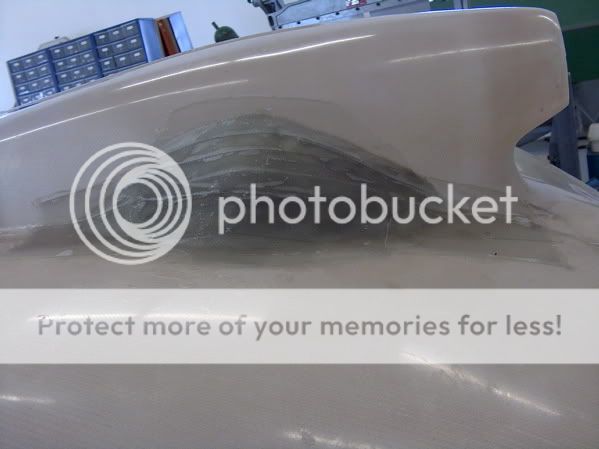
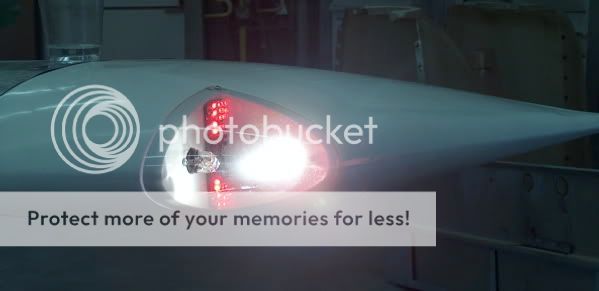
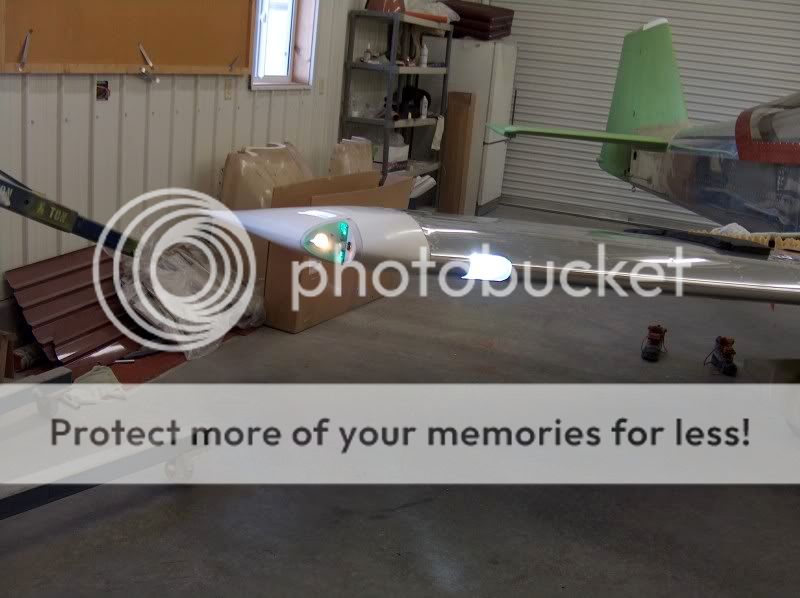
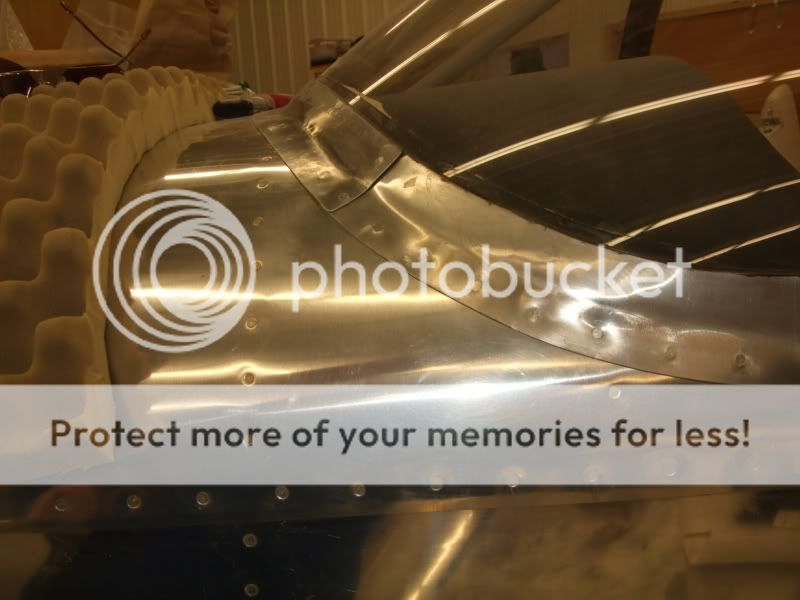
Here is what the flap looks like on the wing.

RV6A11242007004.jpg

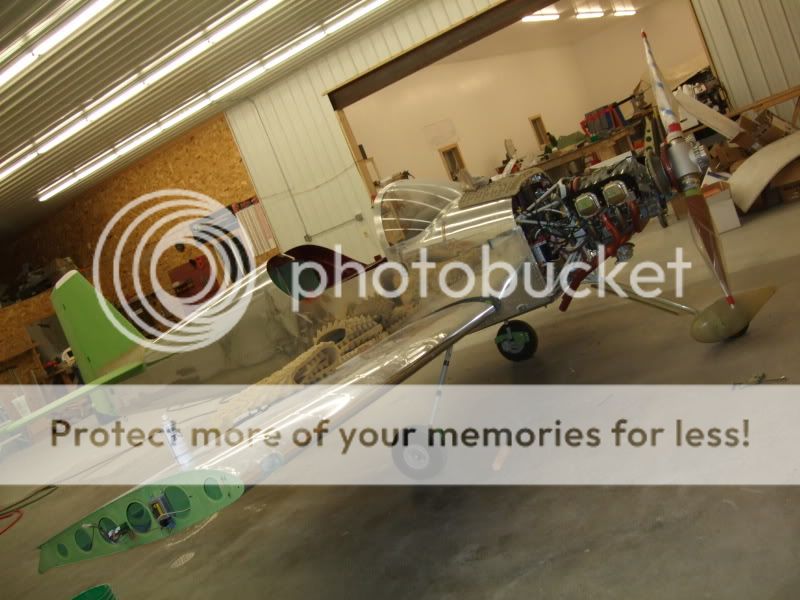
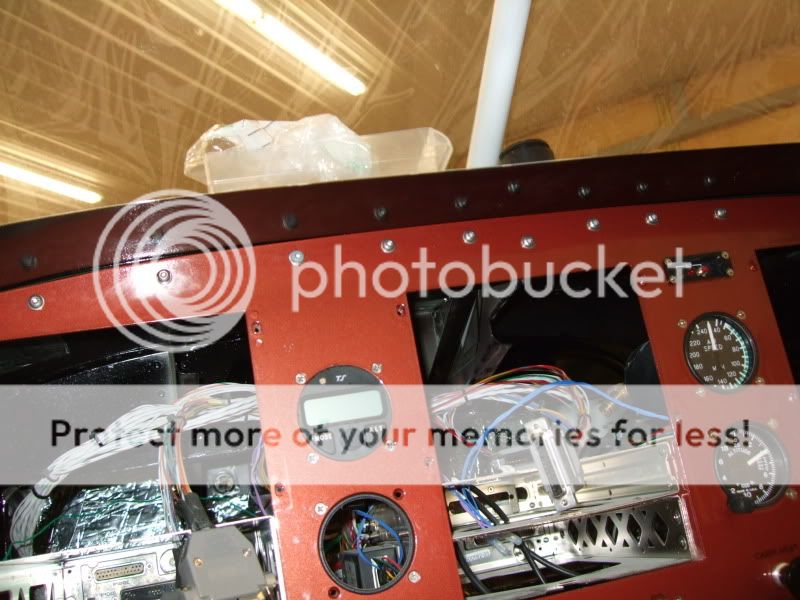
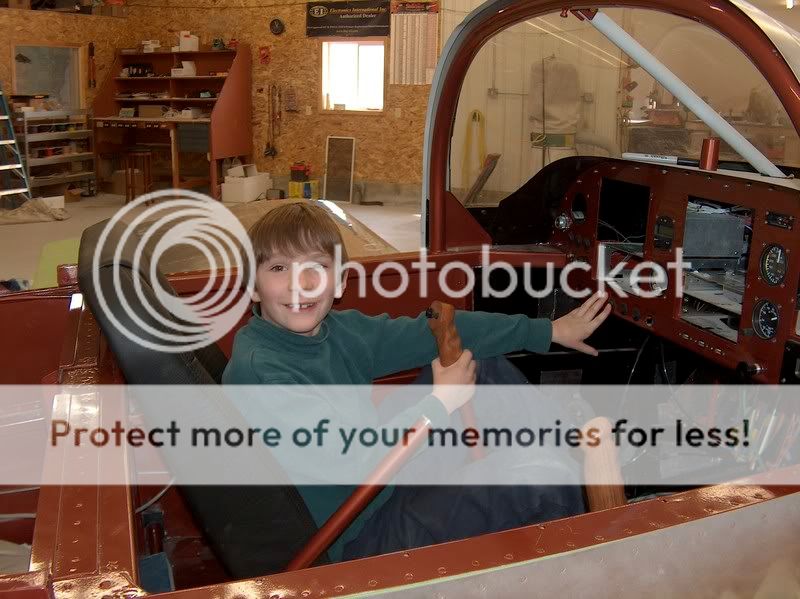
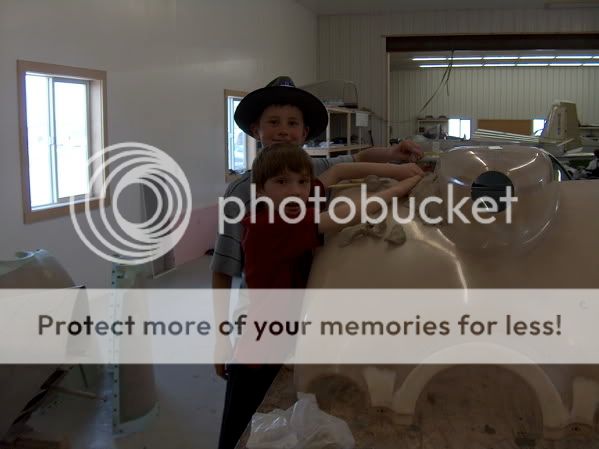
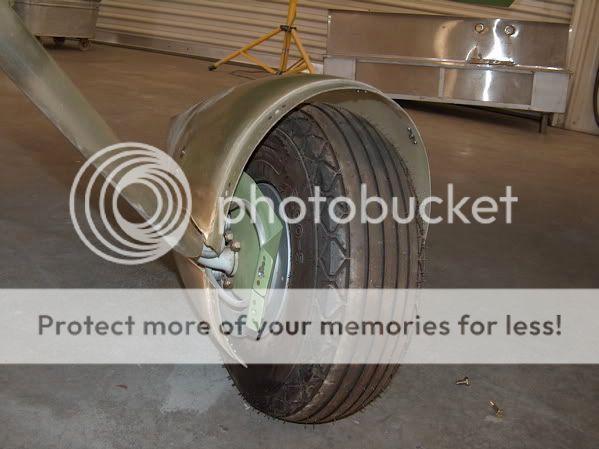
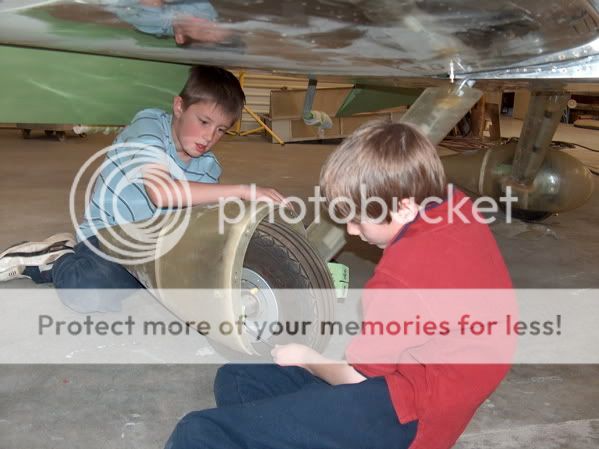
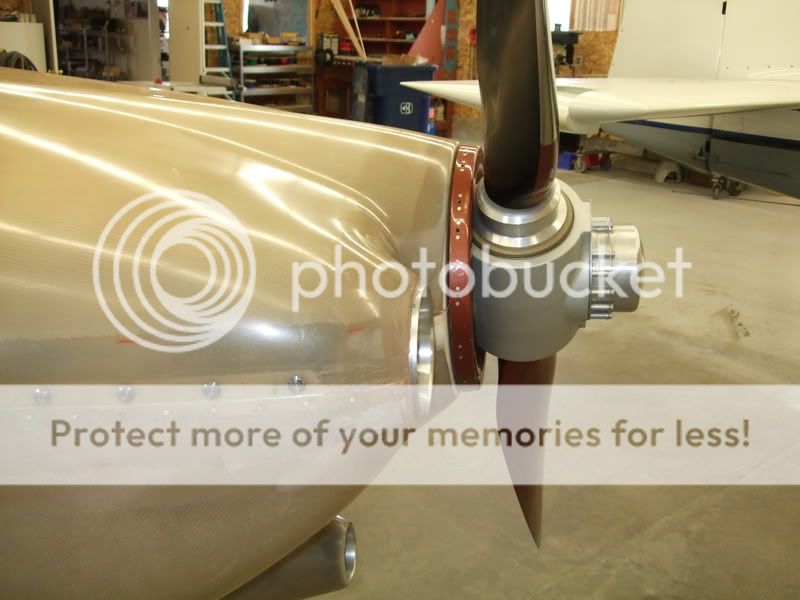
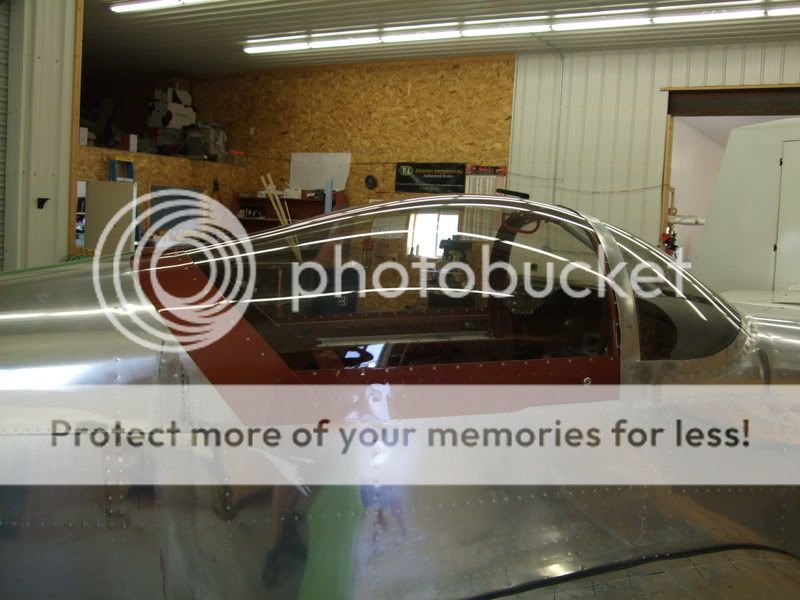
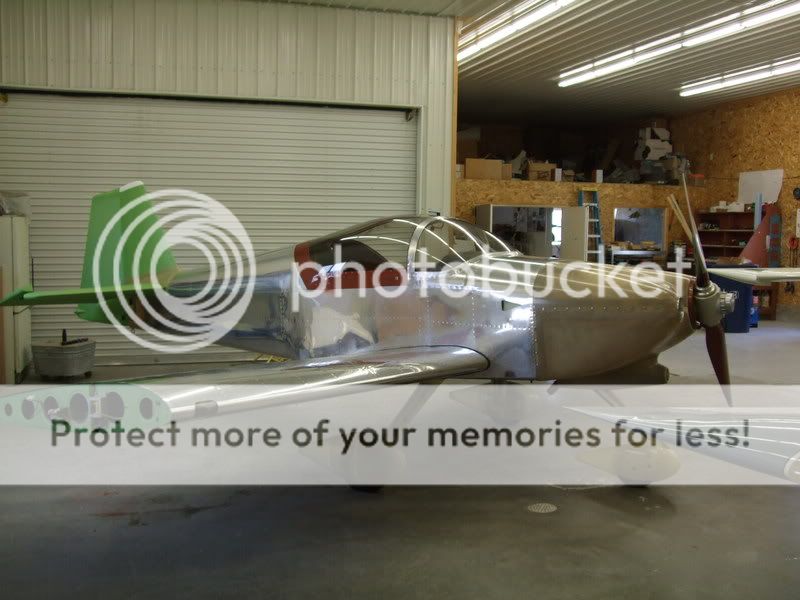
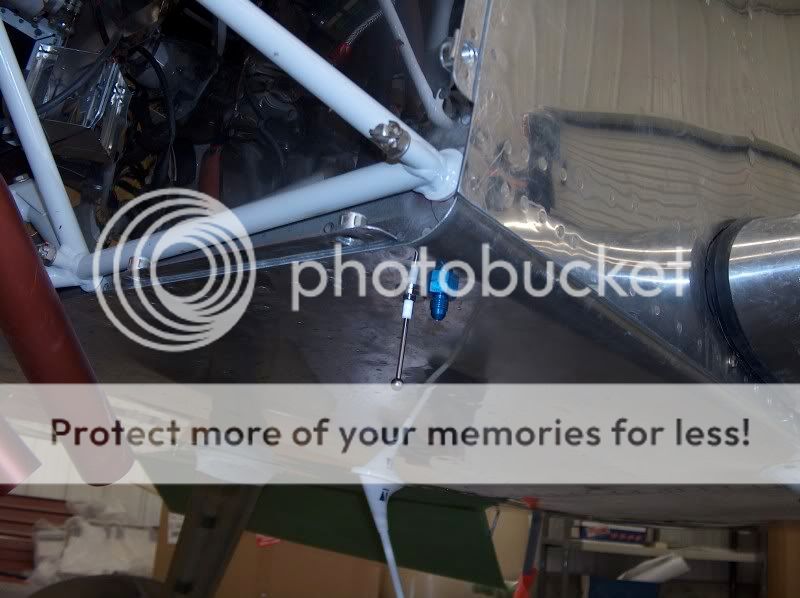
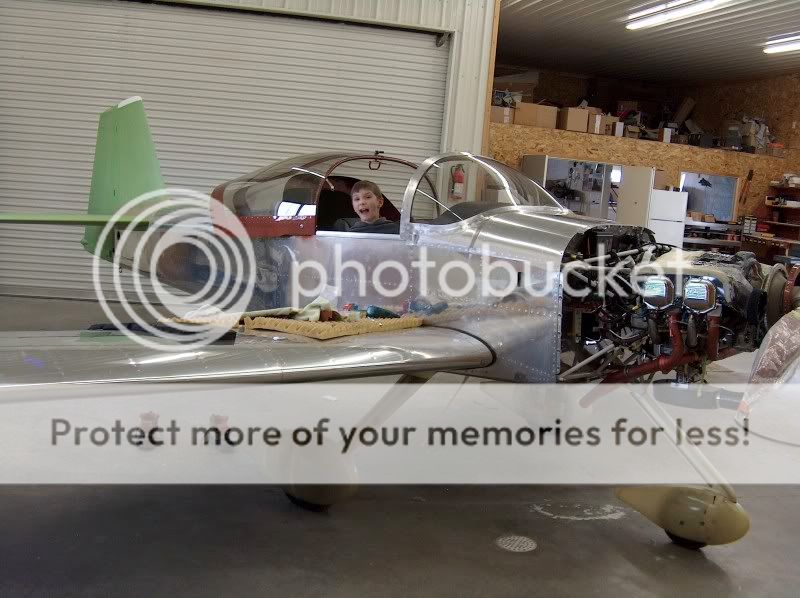
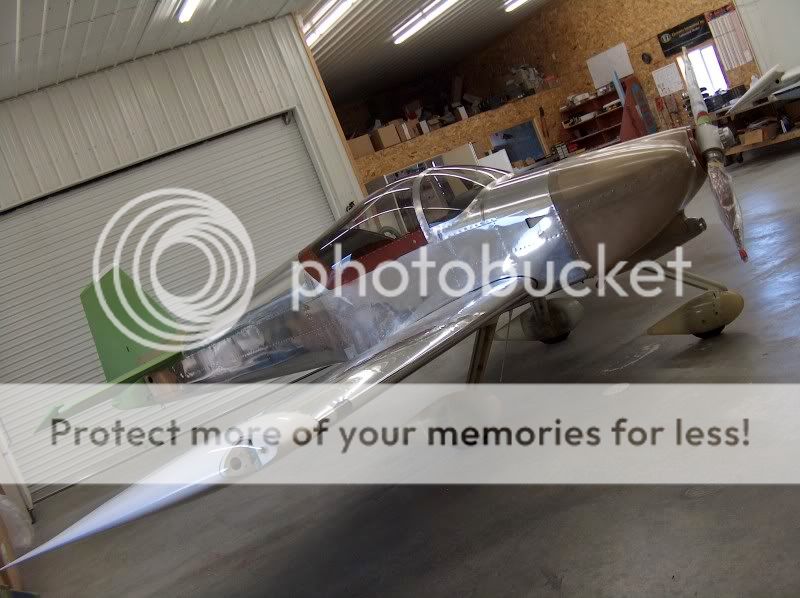
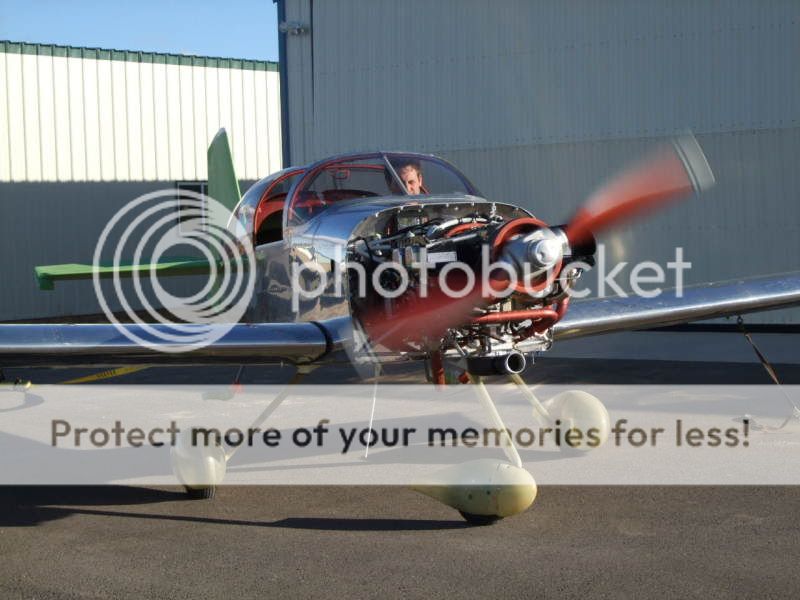
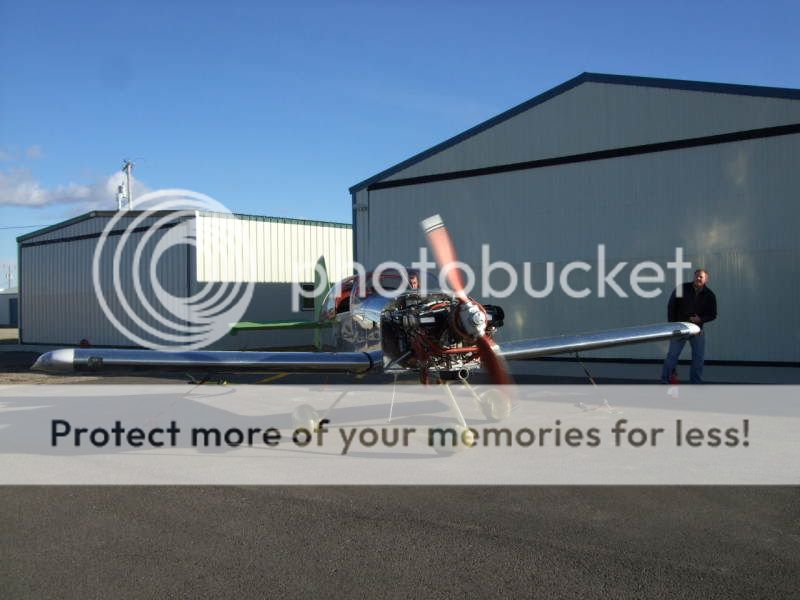
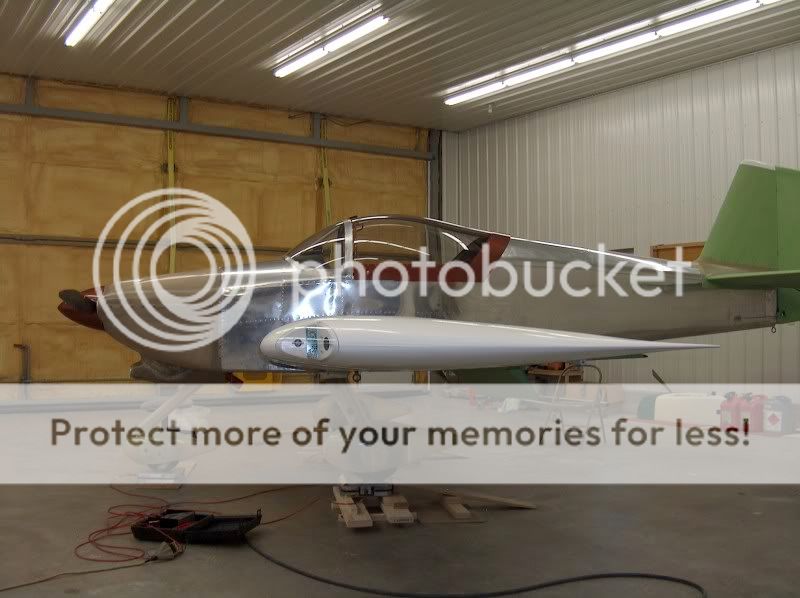
Here is an overall shot of the plane in it's current state of build. Please not that there is a restraining bolt that goes on the nosewheel before first flight, so it cannot interfere with the prop like in the position shown here. We take it off to make the plane easier to move around the shop.

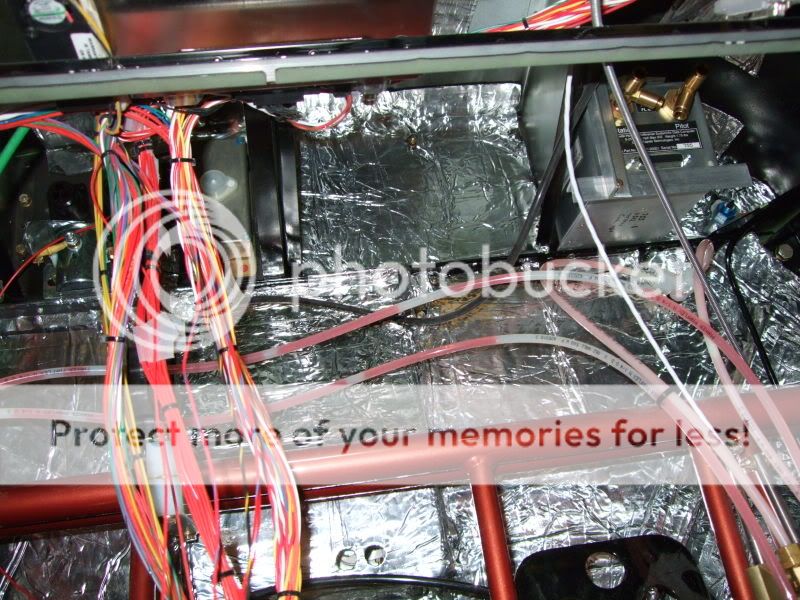
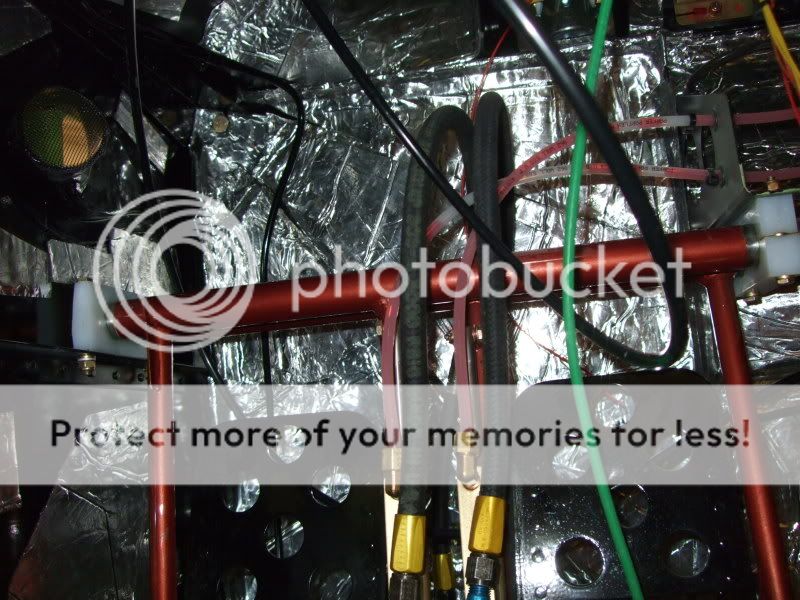
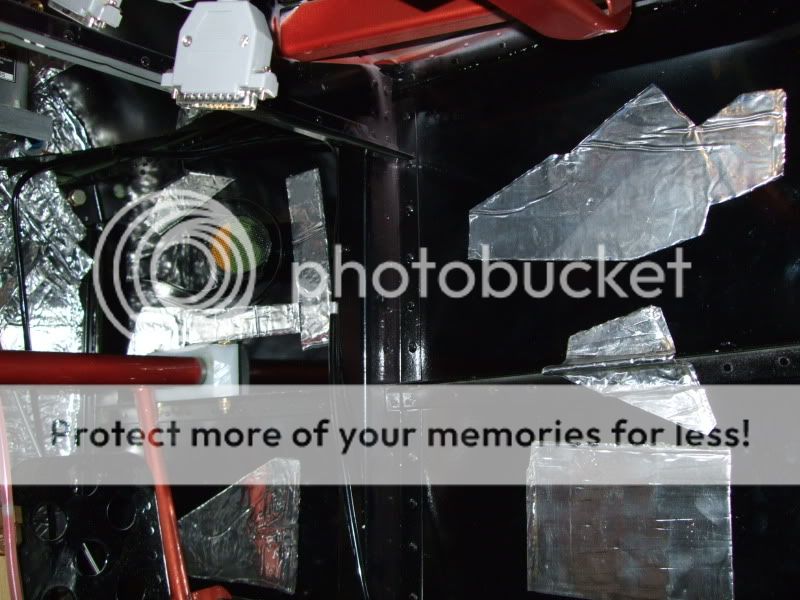
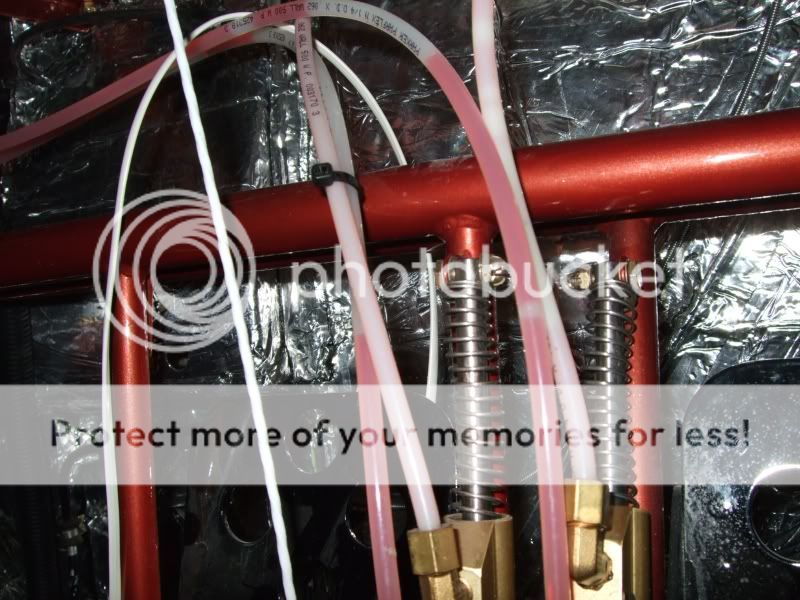
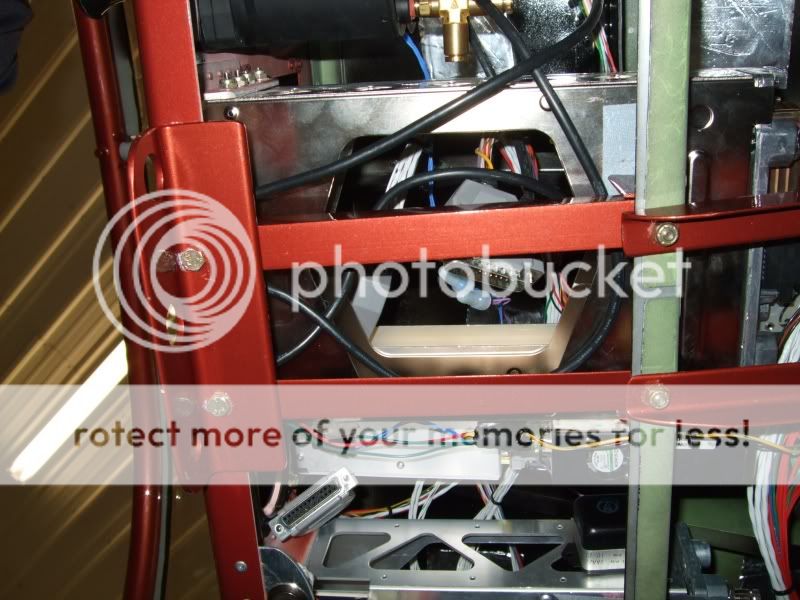
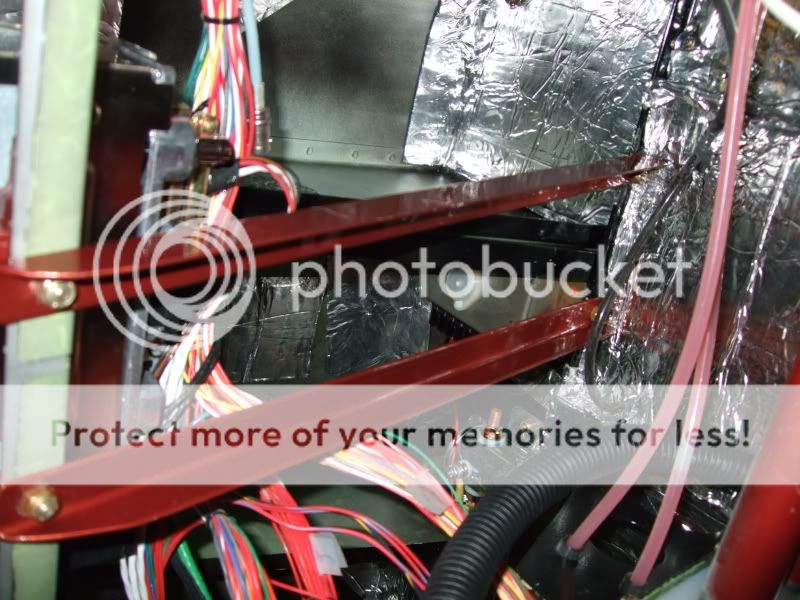
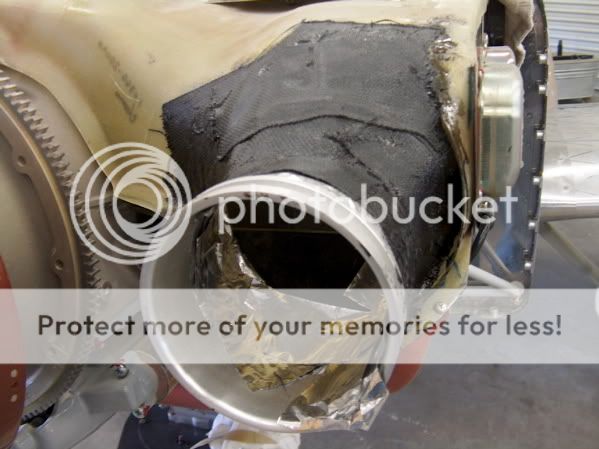
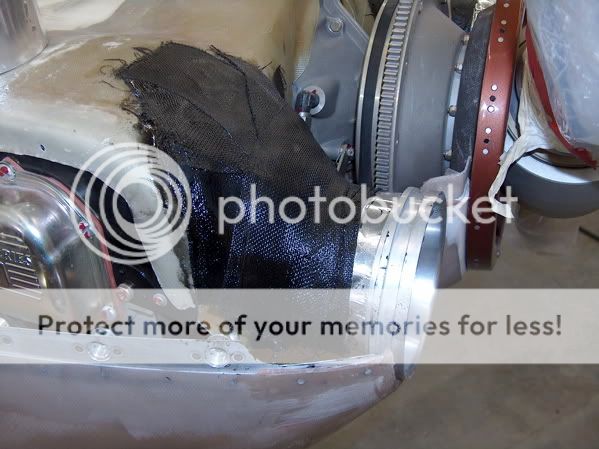
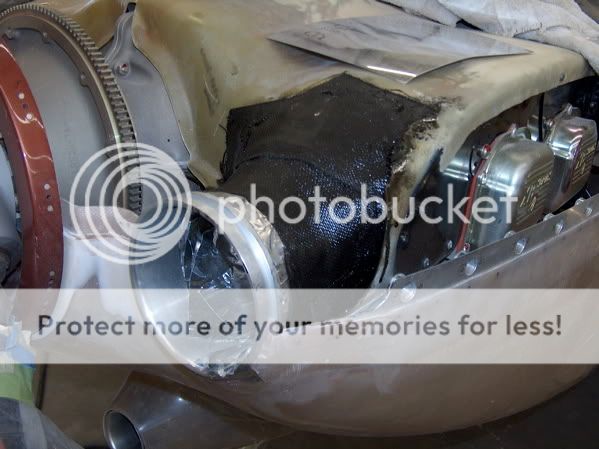
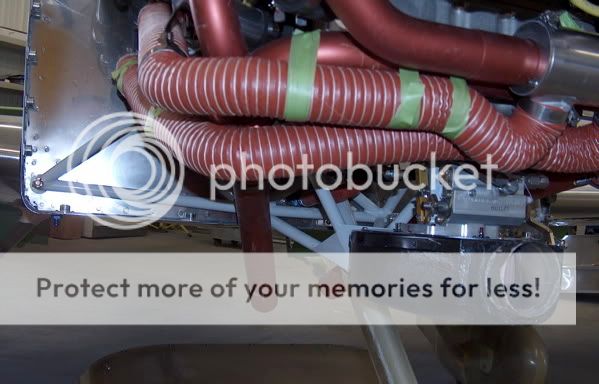
The engine wiring is done. Firewall forward-wise, I need to finish the alternate air on the airbox. run the throttle and prop cables, plumb the cabin air; and glue the trim rings to the plenum.

There are a lot of odds and ends left to do, but it is feeling like I am on the homestretch.

Hans
 
Last edited:
looking good Hans. I was wondering how close you were.

When you get that flying, stop by 8U8. It's probably within your phase 1 area.
 
Looking good... was wondering... is that a metal windshield frame?
I made my windshield frame metal also on my 6A... would like to see close-up picture of what you did there..
Sheldon
 
Windshield Frame Pics

1282007CanopyTrim4.jpg

Okay here are some pictures for you

1282007CanopyTrim2.jpg

I didn't do this, the fellow I bought the airframe from did it

1282007CAnopyTrim1.jpg


One more for you. I think he did a good job. He said that he was more comfortable working with metal.

Hans
 
Ailerons

1282007FlapTrim.jpg

Got the ailerons finalized today. Here it shows how I trimmed the flap back to the clear the pushrod when the flap is up. I had to trim the right rear spar just a little.

1282007Maxpanel.jpg

Here is Maxwell putting in the panel.

Next it cabin heat cable, fuel system reassembly, control stick.

Hans
 
Watch this area..

Very nice, Hans,
Be sure to check that all the seat bottom ribs have the flanges and nutplates at a good 90 degrees to the floorboards, before you install them. They tend to get bent downward and it's usually the last screw that won't thread because the nutplate is leaning:cool:....bad words follow :) Ask me how I know...:mad:

Regards,
 
nutplates

Thanks for the tip Pierre! I am in that spot in the cockpit where I have to consider the layers of what goes in... I realized I should put the soundproofing on the firewall before I put the cabin heat cable on, before I finalize fuel lines, but I have to have the stick installed before I can finalize the fuel because my fuel switch panel ties into the floor...

I spent about two hours doing nothing but figuring that out...

Hans
 
Floorboards

Also, (as you probably know) after installation of the floorboards make sure you cut 1/4" (5mm or so) pieces of plywood to stand and sit on for the numerous times you will be climbing in and out of the cockpit. Occasionally I will see someone that doesn't make the plywood to distribute weight and the aluminum ends up all dented. :(
 
12.16.2007 Update1 Soundproofing

Thanks for the tip on the floorboards. I spent a lot of time on the soundproofing:

DSCF57781.jpg

Here is a shot of the upper firewall...

DSCF57791.jpg

Left side. Obviously still need to get some more air out of the brakes. Idea here was to cover the firewall completely, and just use pieces on the sides and bottoms of the fuselage.

DSCF57821.jpg

I mainly used scraps for the fuselage.
 
Panel Screws

DSCF57841.jpg


We also tapped out the nutplates for the panel, some were not well aligned, which allowed the stainless screws to go all the way in...

DSCF57861.jpg

Here is the worst one.

DSCF57871.jpg


I left it for Noel to fix.:D

We also finalized the spinner bolts (thank you Anastacia) and the rudder bolts, and rudder cable attachments, sorry no pictures.

Next update: About 2-3 weeks, having hand surgery. :(
 
April '08 Montana Build Update Alternate Fuel Line Routing April '08

RV6A419AlternateFuelLineRoute2.jpg

I creased and nicked my lines too much, so I replaced these ones that go from the wingtank to the Fuel Selector Valve. To simplify installation (I mean bend a LOT less) I routed them around rather than through the pass-through on the gear mount webbing. The fiberglass box that came as a part of the Classic Aero Designs interior will protect it. I would not recommend this routing if you didn't have this interior part to protect the fuel line.

Hans
 
Montana Build Update Panel Bracing and Brake Springs

RV6A419BrakeSprings.jpg

Brake Springs! Suppose to save a lot of money on brakes...

RV6A419PanelBraces3.jpg

Here you can are looking at the underside of the panel, on the left you can see the copper painted venier cable panel, two braces in the same copper color going from it to the stringer that goes underneath the panel, and portions of the longer braces that go from that stringer to one on the firewall. This same copper paint will be on the outside of the plane someday. Just above where the two braces intersect in the picture you can just see a little angle iron that is riveted to the stringer and holding the avionics tray up to keep it from sagging. You can see the anti-scuff tape that I put on the avionics tray.

Hans

RV6A419PanelBraces1.jpg

Here is a shot of the braces that extend to the firewall.
 
Venier Cable Mount

RV6A419ThrottleMount1.jpg

I built this piece out of 6061 Angle Aluminum, and Noel painted it for me. Since the bottom of the panel was a bit floppy, I made up the braces I showed you in the prior post to make it rock solid.

RV6A419ThrottleMount2.jpg

From left to right: Throttle, Mixture, and Prop.

Hans
 
Montana Build Update: Controls

Hans01_13_2008_0003.jpg

When you get to pass the wiring bundle through the wing spar, that is a big deal. Here you can see where I used an adel (cushion clamp) to help keep the bundle clear of the elevator rod.

MaxControls.jpg

Birdseye view of the pilot's control stick. The blobs of red are "Honeymoon Red" fingernail polish showing that I double checked and torgued this very important control hardware. See the rod arm coming from the left? That is the Autopilot actuator arm that is how the autopilot controls the ailerons.

Maxsparks.jpg

Then I cut the control stick down about 2.5 inches. I can't believe that some people use them that long.

Hans
 
Last edited:
Montana Build Update: Helpers

MaxFuselage.jpg

Thanks to my helpers... Each one has great strengths

Hans01_12_2008_0005.jpg


Now that the controls are done...

MaxAirplaneNoises.jpg

You can sit in the cockpit and make airplane noises!

Hans
 
Modifying the James Cowl

After hooking up my control cables my lower cowl wouldn't go back on. It was the fuel air mixture arm:
CowlMod1.jpg


So I put the elves to work building up some clay:
CowlMod2.jpg


I highly recommend having some plane elves, they come in handy.

CowlMod3.jpg

Here is a shot of after I glassed it. It turned out that it still interfered, so I had to cut another hole and build it up again.
I went ahead and did it while mounted on the plane

CowlMod4.jpg


Here is a shot of the second build up at the clay stage.
 
James Plenum Inlet Fiberglass

My James plenum did not match the trim rings well. (Not Sam James' fault). What I did was trim the plenum rings off and then run aluminum tape from inside the trim rings to the inside the plenum to make a shape. Then I fiberglassed over the tape.

CowlInletGlass3.jpg

Noel put some black pigment into the resin, so that is why the color.

CowlInletGlass2.jpg


CowlInletGlass1.jpg


I wish I could leave them like this, but then the vibration from the engine (which the plenum is tightly attached to) would transfer to the cowl, which is a no-no. I will cut back the fiberglass and then glue neoprene between the plenum and the trim rings to create a flexible joint to try to isolate the vibration.
 
Wheel Pants!

WheelPant1.jpg

It takes some finagling to get the wheel pant into position and line up so you can put the screws in, it seems like you need four arms to do it.

WheelPant2.jpg

So I decided to put the elves to work on it. So much easier!

WheelPant3.jpg

WheelPant4.jpg

Here is what it looks like with the front on. Thanks elves!
 
My James plenum did not match the trim rings well. (Not Sam James' fault). What I did was trim the plenum rings off and then run aluminum tape from inside the trim rings to the inside the plenum to make a shape. Then I fiberglassed over the tape.

CowlInletGlass1.jpg


I wish I could leave them like this, but then the vibration from the engine (which the plenum is tightly attached to) would transfer to the cowl, which is a no-no. I will cut back the fiberglass and then glue neoprene between the plenum and the trim rings to create a flexible joint to try to isolate the vibration.

I helped do the prototype of this design, a lot of years ago.

We used a truck inner tube for the connection, and a couple of large hose clamps to hold it in place. Sounds crude, but looked and worked fine.

As far as I know, Steve still used the same setup the entire time he had the plane. Periodic replacement of the inner tube is cheap, and easy to do, when cracking appears.
 
An Innertube Sounds Like a Good Option

Thanks for the info Mike. I will keep that in mind. Currently the plan is to try the neoprene and glue that they sent with the trim rings, but the innertube material sounds like a good option as well.

Hans
 
If your gap between the aft edge of the aluminum inlet ring is 4-5" or more, the neoprene has been known to collapse as high-speed air passes through (flying vs ground ops). This caused higher temps and less than stellar engine performance in at least one RV-6 with Sam James cowl / plenum. Hardened extension of the plenum remedied the situation in this case, as it looks like you've done. I'm trying 5" SCEET tube between plenum and rings. First flight soon - so we'll see.
 
I had the same problem.

After hooking up my control cables my lower cowl wouldn't go back on. It was the fuel air mixture arm:
CowlMod1.jpg


So I put the elves to work building up some clay:
CowlMod2.jpg


I highly recommend having some plane elves, they come in handy.

CowlMod3.jpg

Here is a shot of after I glassed it. It turned out that it still interfered, so I had to cut another hole and build it up again.
I went ahead and did it while mounted on the plane

CowlMod4.jpg


Here is a shot of the second build up at the clay stage.

You will probably need about 1 inch clearance between the control arm and the inside of the cowl.

I first flew my RV9A without the side bubble not realizing that the engine would shake a hole in the side of the cowl. I started with about 1/4 inch clearance, but my bubble ended up being about as big as yours.

Kent
 
July Montana RV6A Update

Not many pictures with this update, but I got a lot done this weekend. Finalizing little details on the firewall forward like RTV'ing the plenum, running the vacuum lines to the pmag ignitions, putting on the first oil filter, strengthening the plenum, and installing the canopy. Scroll down for pictures.

Hans

RV6A72508009.jpg


RV6A72508010.jpg


RV6A72508007.jpg
 
What is Next

Noel has to make the electrons go the right way.

I need to:

Finalize three bolts on the canopy.

Install heater scat tubing.

Widen the slot in the lower cowling so the gear leg doesn't scratch.

Finalize the wingtips, I haven't had these on since the ailerons were mounted, so they need some trimming to clear the ailerons.

Install interior.

Get inspected.

Paint comes later, much later.
 
so on your first flight... while your up there by yourself.... soloing a plane you built... Are you going to create a new thread titled "Hans Solo"? :D Couldn't resist... sorry!
 
so on your first flight... while your up there by yourself.... soloing a plane you built... Are you going to create a new thread titled "Hans Solo"? :D Couldn't resist... sorry!

Good one! I think this means that Noel is Chewbacca...
 
Montana RV-6A Build Update 8.23.08

This weekend was a weekend of little firsts. Little firsts like arming the ELT (Emergency Location Transmitter) for the first time.
Or hooking up all the wires in the wingtips for the first time.

RV6AWingtipMax7.jpg


Seeing the wig-wag light flashing for the first time...
RV6AWigWag.jpg


Hearing the Avionics solenoid click on for the first time.
Seeing the autopilot fire up for the first time.

All good.:D

Hans
 
Montana RV-6A Build Update 8.23.08 Part Deaux

One frustration is the heater tubing. I have been fussing with this stuff for hours trying to route it so it doesn't rub on the cowling. :mad:

After the first three unsuccessful attempts I ended up with two pieces of SCAT that were too short. After this I started to mock up the routing with tape...
RV6AHeaterSCAT1.jpg


After a lot of finagling the bottom portion of the tubing on the right below only clears the cowling by about 1/4 inch.:mad: I may have to extend my cowl bubble, again!:eek:
RV6AHeaterSCAT2.jpg


To finish the weekend on a positive note I installed my "quick release button connector" onto the copilot stick to make it secure and easily removable at detailed in this thread.

Here is the copilot stick locked into position:
RV6ACoPilot1.jpg


Just push the button...
RV6ACoPilotStick2.jpg


And it comes right out
RV6ACoPilotStick3.jpg


All but one photo by Maxwell Conser.

More next week,

Hans
 
Last edited:
November 23 Montana Build Update

Okay, time for another update!

A major goal this weekend was to get the seats installed. Since you locate the seats laterally using the interior side panels, I had to install those panels first. A custom brace under the avionics panel interfered with the fit of the side interior panels, so they required some trimming:
RV6APanelTrim.jpg


RV6ABottomAntennae.jpg

I also installed the comm and transponder belly antennae..

RV6AFixedWigWagWingtip.jpg

And chased down why the right wigwag light didn't work...
 
November 23 Montana Build Update Part 2

These seats are amazingly comfortable (thanks Classic Aero Designs). Now that they are installed my plane elf keeps climbing into the cockpit and making airplane noises...
RV6AMacAirplaneNoises2.jpg


RV6AMaxAirplaneNoises1.jpg

Less Pitch Captain!

RV6AMaxYell.jpg

Get to work Elf!

RV6AOverall1123.jpg

I had to put the cowl on for some glueing on my trim rings, so I went ahead and took an overall "state of build" shot.

Flying soon!

Hans
 
Maybe you did this already, but before you get too far along, don't forget to take those fuel vents to the grinder and put the nice fwd facing chamfer on them (it also removes drag)! :)

Cheers,
Stein
 
These seats are amazingly comfortable (thanks Classic Aero Designs). Now that they are installed my plane elf keeps climbing into the cockpit and making airplane noises...
Shoot, with that airplane, I'd be in there making airplane noises. Come on, let's fly! :D

Looks great. The Montana winter should provide you with time to finish up.

TODR
 
First Engine Start

Thanks for all the nice comments guys! The engine start was funny, because prior to starting the engine Noel gave me a big "lowering expectations" lecture, told me how it may sputter, cough, stall etc because of the preservative oil and so on...

Then when he hit the starter it started instantly, ran perfectly, and no leaks!

Here are some photos:

DSCF6756.jpg

DSCF6752.jpg


Thanks to VAF, Superior Air Parts and Noel and Yoshie Simmons.

Hans
 
Minor Update aka Getting Closer...

I don't have any pictures because I was all business Saturday, drove from Bozeman to Lewistown and back in subzero weather and worked on the plane in between. Just little things like moving the attachment points for the shoulder harnesses back one bulkhead (tight fit!), putting on some labels, and riveting the data plate on the plane. I also chased down why the ELT wasn't working which was an unconnected connector behind the little ELT controller panel. The 430W and TruTrak ADI are due in this week and the DAR is tentatively scheduled for Saturday.

Hans
 
Hans, sorry not to meet up with you in BZN. I had to change my plans due to work (here) and weather (there). We spent most of the holiday over in Alder in the cabin.

Will be back in the spring, and hopefully you'll be flying then!

TODR
 
Montana RV-6A Build Update 1.4.09

Well, after two cancellations, I finally got the airworthiness inspection out of the way yesterday. Maiden flight did not happen today due to snow drifted taxiways at LWT. Next weekend, weather permitting of course.

Interestingly, the holidays have prevented my last two avionics pieces (True Trak ADI & Garmin 430W) from moving from Aerotronics in Billings MT to Lewistown MT, which I think is less than 200 miles.

Hans
 
Congratulations, Hans. Can't wait to see it fly.

but looking at the Metar, I'm guessing it won't be today:eek:

KLWT 051633Z AUTO 24026G34KT 4SM HZ CLR M03/M09 A2937 RMK AO2 PK WND 25041/1607

KLWT 051626Z 0516/0612 24027G36KT P6SM SCT070 BKN120
TEMPO 0516/0519 3SM BLSN
FM051900 24024G32KT P6SM SCT060 BKN120
FM060000 24010KT P6SM BKN080
 
Congratulations, Hans. I hope to get mine inspected too someday before I get too old for my grandkids to give me a ride in it. Actually, I have started working on mine again, so maybe I will be able to give them the ride.

I have good news and bad news. The bad news is I have to turn my present airplane room into a baby room. The good news is we are expecting a baby next summer, and the garage will give me more work space. I'll give you a call sometime. I'd love to hear what all happpened at the inspection. Did you make a POH for your plane?
 
Back
Top