
Van's Air Force
You are using an out of date browser. It may not display this or other websites correctly.
You should upgrade or use an alternative browser.
You should upgrade or use an alternative browser.
Build Update Polishing
- Thread starter nucleus
- Start date

Excaptusmc
Member
Polishing
You're building a beautiful airplane. Keep it up.
You're building a beautiful airplane. Keep it up.
pierre smith
Well Known Member
Yes
It looks really good so far. BTW, now is the best time to finish mounting the wheel fairings and pants because once the wings are on, you're gonna be pe-ohd having to crawl on your knees under the wings. Ask me how I know
Regards,
It looks really good so far. BTW, now is the best time to finish mounting the wheel fairings and pants because once the wings are on, you're gonna be pe-ohd having to crawl on your knees under the wings. Ask me how I know
Regards,
More Progress; Baffling, Exhaust
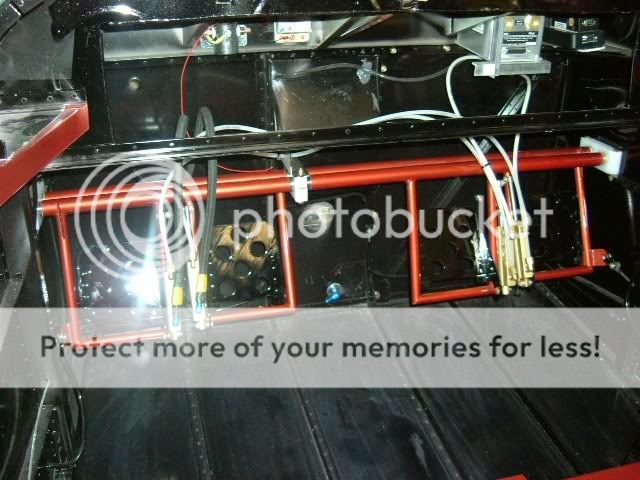
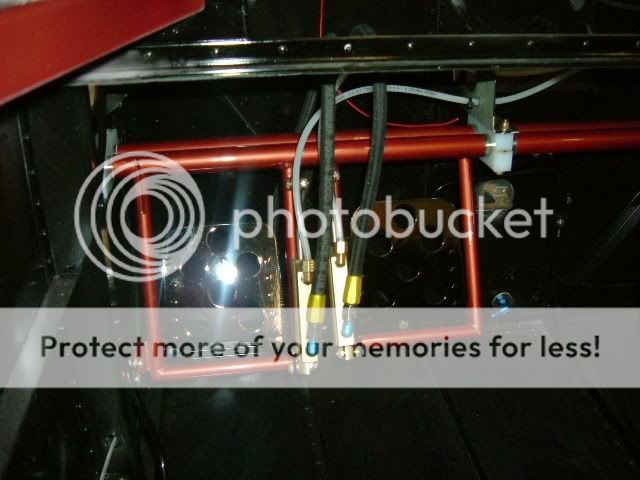
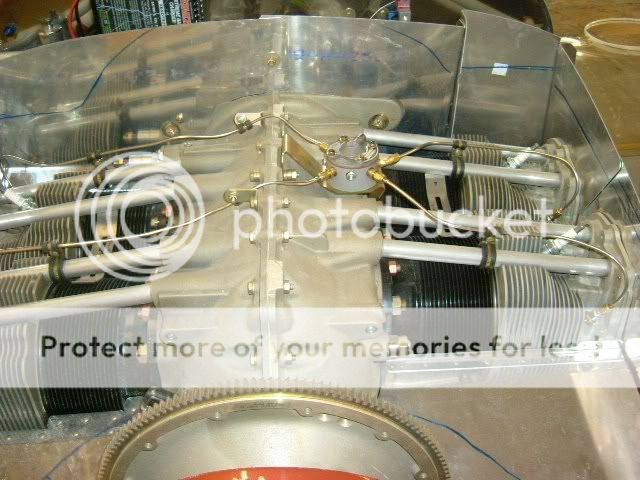
Well, I still have to put the panel and wiring in before we put the wings on. Here are a couple of shots of the baffling I was working on today:

Between the back and the sides we are putting in nutplates instead of rivets for ease of removal.
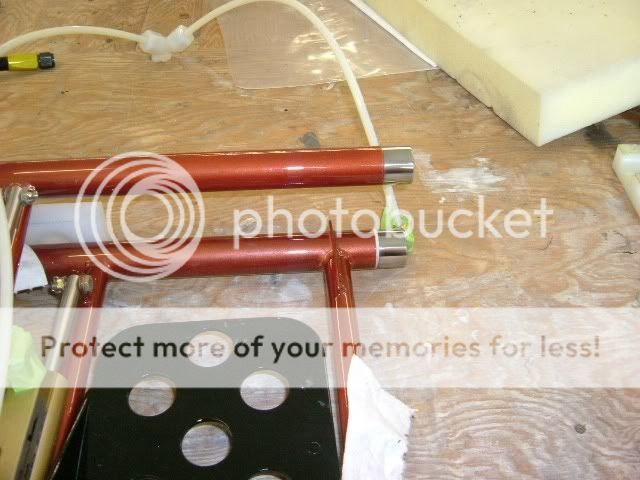
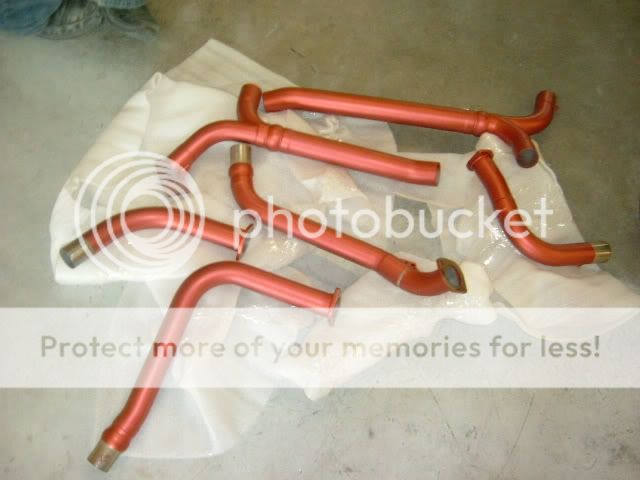
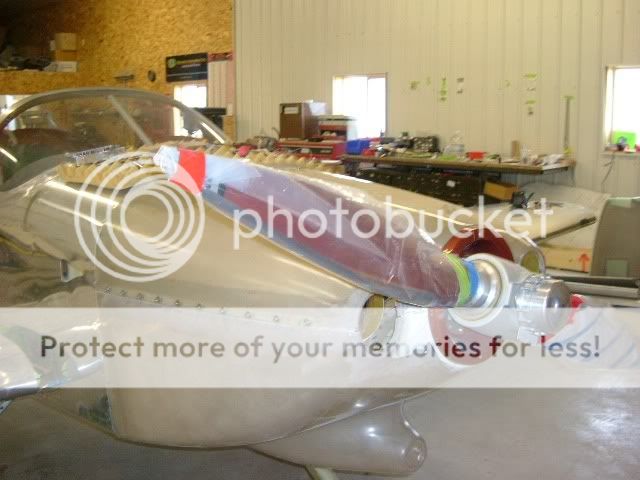
Here is a shot of my exhaust with a Jet-Hot "Copperhead" ceramic coating:
I just had it confirmed that it is not the correct exhaust, it is for a forward facing sump, not the downdraft sump I have.
Hans
Well, I still have to put the panel and wiring in before we put the wings on. Here are a couple of shots of the baffling I was working on today:
Between the back and the sides we are putting in nutplates instead of rivets for ease of removal.
Here is a shot of my exhaust with a Jet-Hot "Copperhead" ceramic coating:
I just had it confirmed that it is not the correct exhaust, it is for a forward facing sump, not the downdraft sump I have.
Hans
Last edited:
RV6A Update 3.27.2007
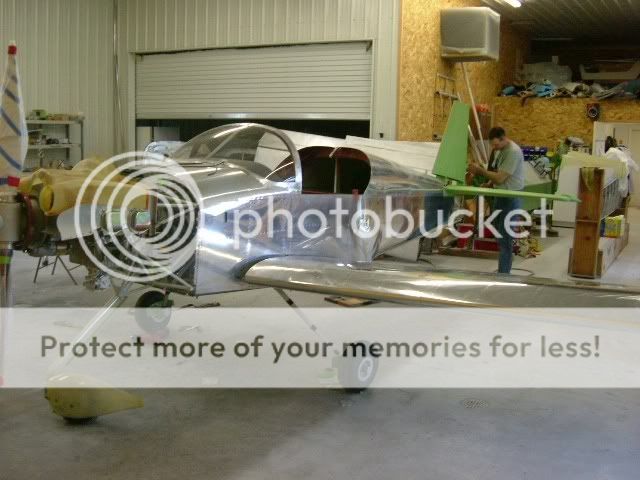
Okay, we hung the elevators and rudder today. The wings are on temporarily to put on the wing root fairings. They guy in the picture is Noel Simmons of Blue Sky Aviation who is helping me build the plane. He is the guys with all the great wiring.
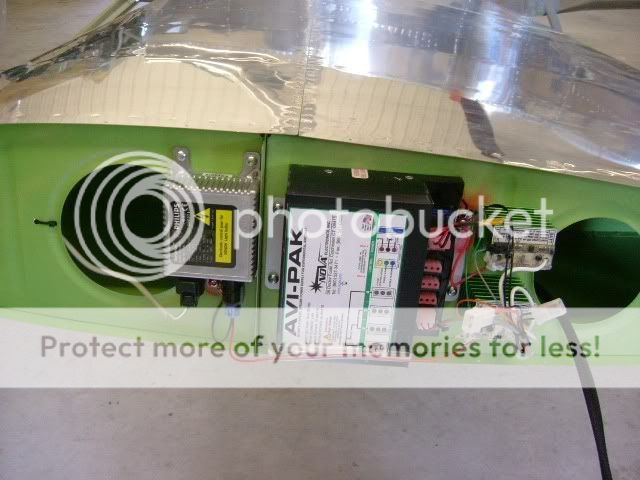
The left wingtip has the power suppy for the strobes (labbeled AVI-PAK), the electronic control gear box for the HID (High Intensity Discharge) landing lights that are built into the leading edge of the wings, and two solid state relays that are mounted on large green heatsinks. These are rated for 9 amps even though the highest amp item is the landing light only pulls up to 9 amps at startup, 3 amp continuous. The little beige thingies that kind of look like flat capacitors are polyfuses, they trip and reset themselves.
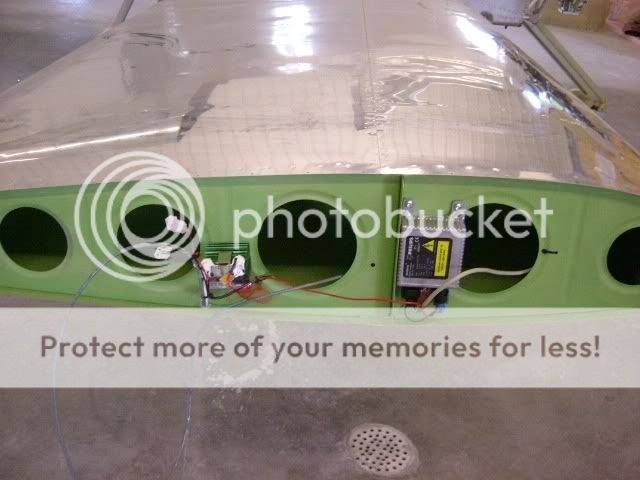
The right wingtip only has one relay, and the box for the HID landing light.
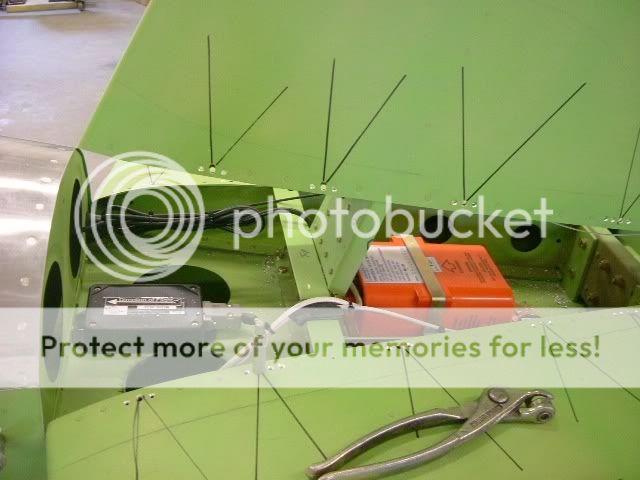
The tail shows the magnetometer for the EFIS, which is the black box, and the ELT (Emergency Locator Transmitter)which is the orange box.

The close up is one of the landing lights in the wing.
More updates soon,
Hans
Okay, we hung the elevators and rudder today. The wings are on temporarily to put on the wing root fairings. They guy in the picture is Noel Simmons of Blue Sky Aviation who is helping me build the plane. He is the guys with all the great wiring.
The left wingtip has the power suppy for the strobes (labbeled AVI-PAK), the electronic control gear box for the HID (High Intensity Discharge) landing lights that are built into the leading edge of the wings, and two solid state relays that are mounted on large green heatsinks. These are rated for 9 amps even though the highest amp item is the landing light only pulls up to 9 amps at startup, 3 amp continuous. The little beige thingies that kind of look like flat capacitors are polyfuses, they trip and reset themselves.
The right wingtip only has one relay, and the box for the HID landing light.
The tail shows the magnetometer for the EFIS, which is the black box, and the ELT (Emergency Locator Transmitter)which is the orange box.
The close up is one of the landing lights in the wing.
More updates soon,
Hans
4.7.2007 RV6A Update
Okay, I got the rudder pedals installed, and the brake lines all hooked up:
I plan to blow out the bake lines and then bleed the brakes tommorrow.
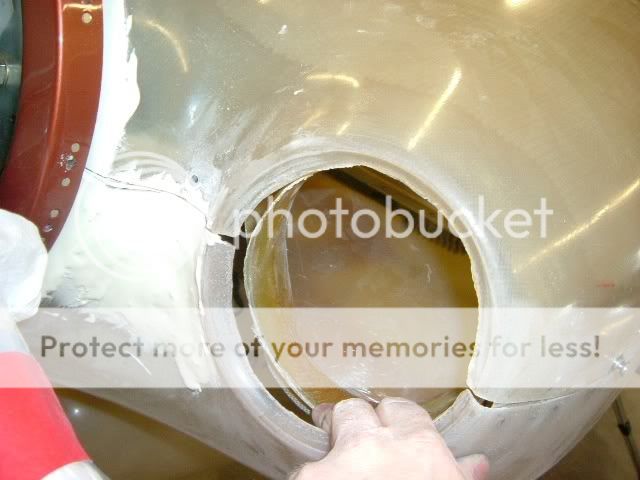
I also put on the right wing root fairing:
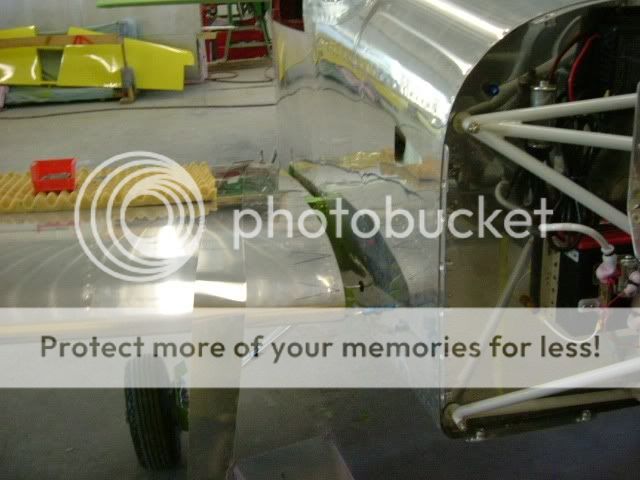
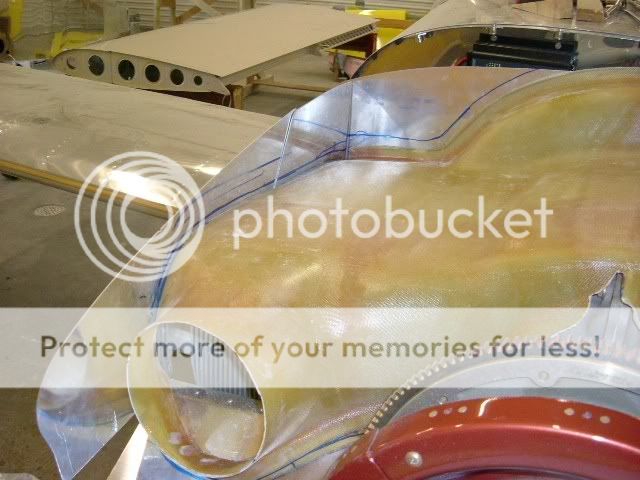
The wing root fairings are to cover the nasty gap between the wing and the fuselage shown above.

First you drill out the rivets that you are going to replace with nutplates to be able to take the fairing on and off. Next time I build a plane I will try to remember to skip every third rivet on the top of the wing so I can drill the two holes at the same time. Since you want to hit the holes that are already there in the wing you make these marks to help locate the holes.
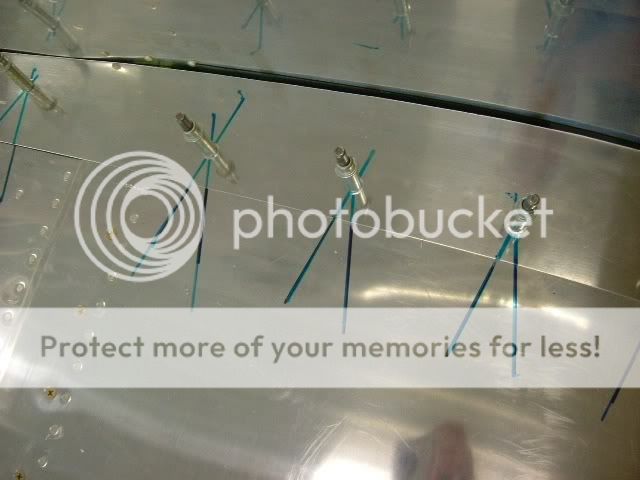
Then you lay your aluminum down and trace the lines with a straightedge and drill the hole where they meet. If you have done it right your drill will just drop into the hole in the wing. The shot above shows after I have drilled a few holes and then clecoed the fairing to the wing.

You try to get as tight a wrap as possible.

And I still had a bit of a gap on the leading edge. This really is all new to me, as I bought this plane mostly done (thank you Stuart).
We are out of nutplates, so I am a little stuck on finishing that stuff.
More soon,
Hans
Okay, I got the rudder pedals installed, and the brake lines all hooked up:
I plan to blow out the bake lines and then bleed the brakes tommorrow.
I also put on the right wing root fairing:
The wing root fairings are to cover the nasty gap between the wing and the fuselage shown above.
First you drill out the rivets that you are going to replace with nutplates to be able to take the fairing on and off. Next time I build a plane I will try to remember to skip every third rivet on the top of the wing so I can drill the two holes at the same time. Since you want to hit the holes that are already there in the wing you make these marks to help locate the holes.
Then you lay your aluminum down and trace the lines with a straightedge and drill the hole where they meet. If you have done it right your drill will just drop into the hole in the wing. The shot above shows after I have drilled a few holes and then clecoed the fairing to the wing.
You try to get as tight a wrap as possible.
And I still had a bit of a gap on the leading edge. This really is all new to me, as I bought this plane mostly done (thank you Stuart).
We are out of nutplates, so I am a little stuck on finishing that stuff.
More soon,
Hans
RV6A Build Update 4.10.2007
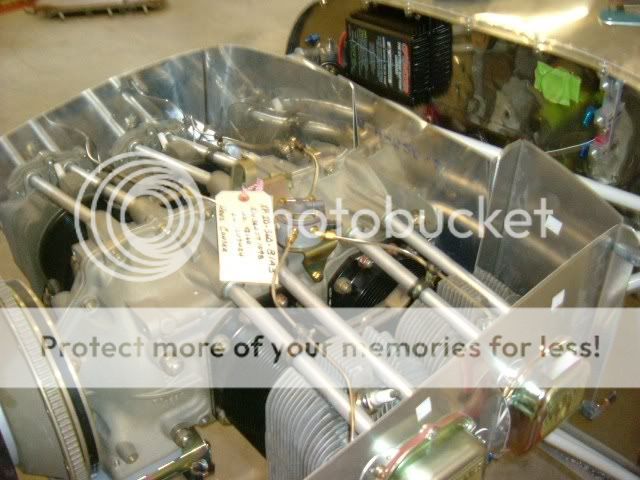
Today I worked on the plenum and baffling:

First I cut the plenum so it would fit inside the baffling.
Then I marked the baffling
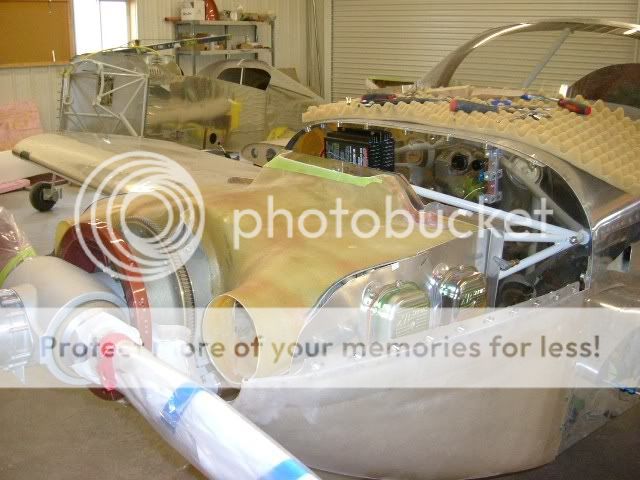
Cut the baffling and the top of the plenum down, put the lower cowling on
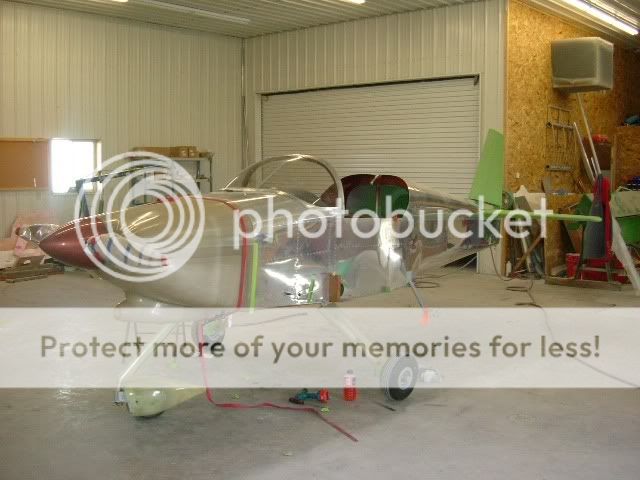
Then put the top cowl to check fitment. This is the first time the top cowl has been on with the plenum on at the same time.
I reworked the pistion of some of the fuel lines and their adel clamps to keep them from rubbing on the plenum.
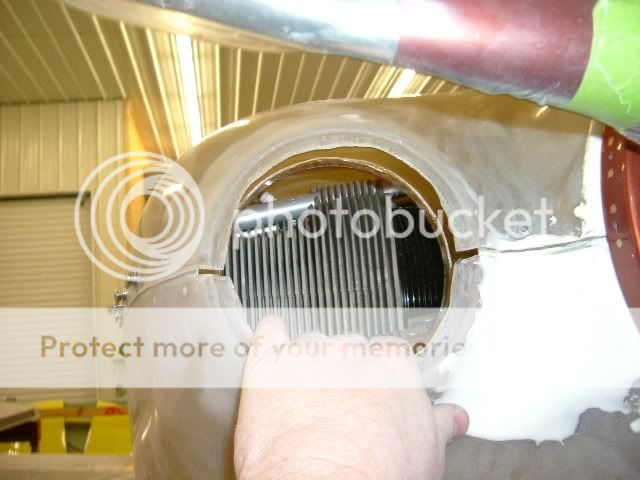
Here is a shot where you can see the opening of the plenum through the opening of the cowling.
I have to hold the plenum with my hand to hold this alignment. I spent about five hours getting the pleum to fit without holding it. There is a lot of work to be done still, getting it all tied together.
Today I worked on the plenum and baffling:
First I cut the plenum so it would fit inside the baffling.
Then I marked the baffling
Cut the baffling and the top of the plenum down, put the lower cowling on
Then put the top cowl to check fitment. This is the first time the top cowl has been on with the plenum on at the same time.
I reworked the pistion of some of the fuel lines and their adel clamps to keep them from rubbing on the plenum.
Here is a shot where you can see the opening of the plenum through the opening of the cowling.
I have to hold the plenum with my hand to hold this alignment. I spent about five hours getting the pleum to fit without holding it. There is a lot of work to be done still, getting it all tied together.
RV6A Panel Update 4.10.2007
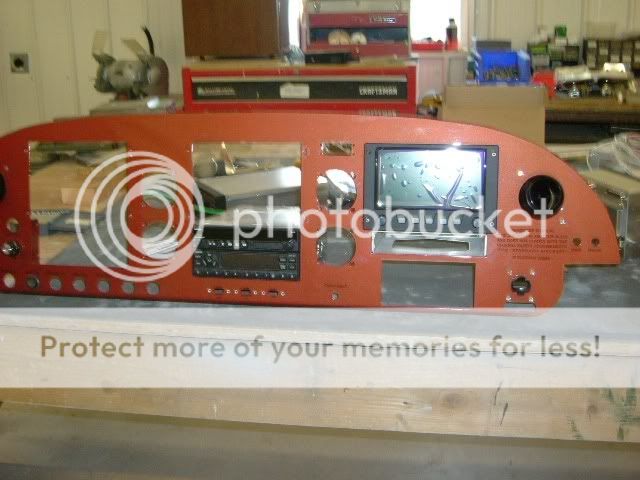
Meanwhile Noel was working on the panel.
He got almost all of it set in the panel before I left.

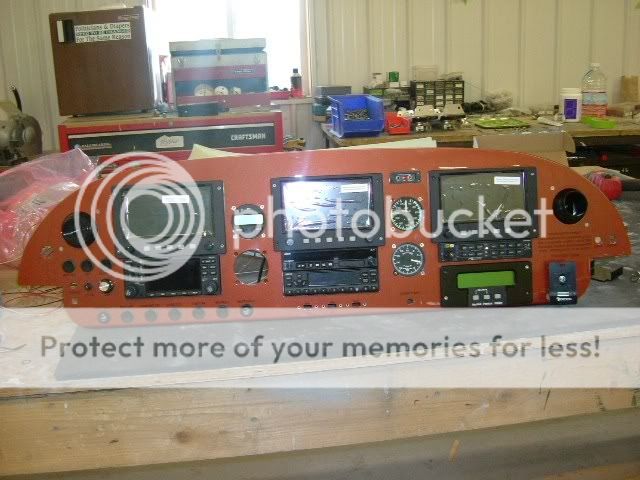
Left Panel with Grand Rapids EFIS, Garmin 430 GPS/NAVCOM, Trutrak autopilot, and a hole for the backup ADI, switches.
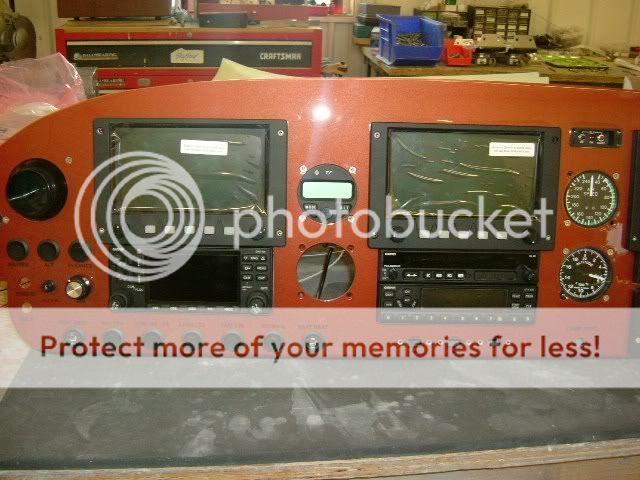
Left and center panel, the center holds second GR EFIS, Garmin GTX-327 transponder, and SL-40 radio.

Right panel has the ELT controller, backup altitude and airspeed, third EFIS, Audio panel, engine monitor, and ipod mount.

Here is the mandatory warning placard with our extra comment below.
Next day is all about nutplates!
Hans
Meanwhile Noel was working on the panel.
He got almost all of it set in the panel before I left.
Left Panel with Grand Rapids EFIS, Garmin 430 GPS/NAVCOM, Trutrak autopilot, and a hole for the backup ADI, switches.
Left and center panel, the center holds second GR EFIS, Garmin GTX-327 transponder, and SL-40 radio.
Right panel has the ELT controller, backup altitude and airspeed, third EFIS, Audio panel, engine monitor, and ipod mount.
Here is the mandatory warning placard with our extra comment below.
Next day is all about nutplates!
Hans
New Thread
I am going to put the next series of progress reports in this thread:
http://www.vansairforce.com/community/showthread.php?p=125522#post125522
I am going to put the next series of progress reports in this thread:
http://www.vansairforce.com/community/showthread.php?p=125522#post125522

